A high ponytail with volume is one of those styles that looks effortless but secretly requires a plan. Without the right prep, it falls flat by noon. With it, you get that lifted, full, swingy ponytail that makes everything look better. These ten ideas cover every texture and occasion, so pick the one that matches your hair and your day.
1The Double-Bump Ponytail

This is the oldest trick in the book and it still works. You create two stacked ponytails, one at the crown and one just below it, then let the top one drape over the bottom. From the front, it reads as one impossibly thick ponytail. Ask your stylist for a layered cut with face-framing pieces, because those shorter layers are what give the top section its natural lift. This suits fine or thin hair better than any single trick on this list. Maintenance is simple: a bit of dry shampoo at the roots keeps the sections from slipping together. The drawback is bulk at the base, so if you hate the feel of heavy elastics stacked up, this might annoy you by hour five.
2Teased Crown Classic
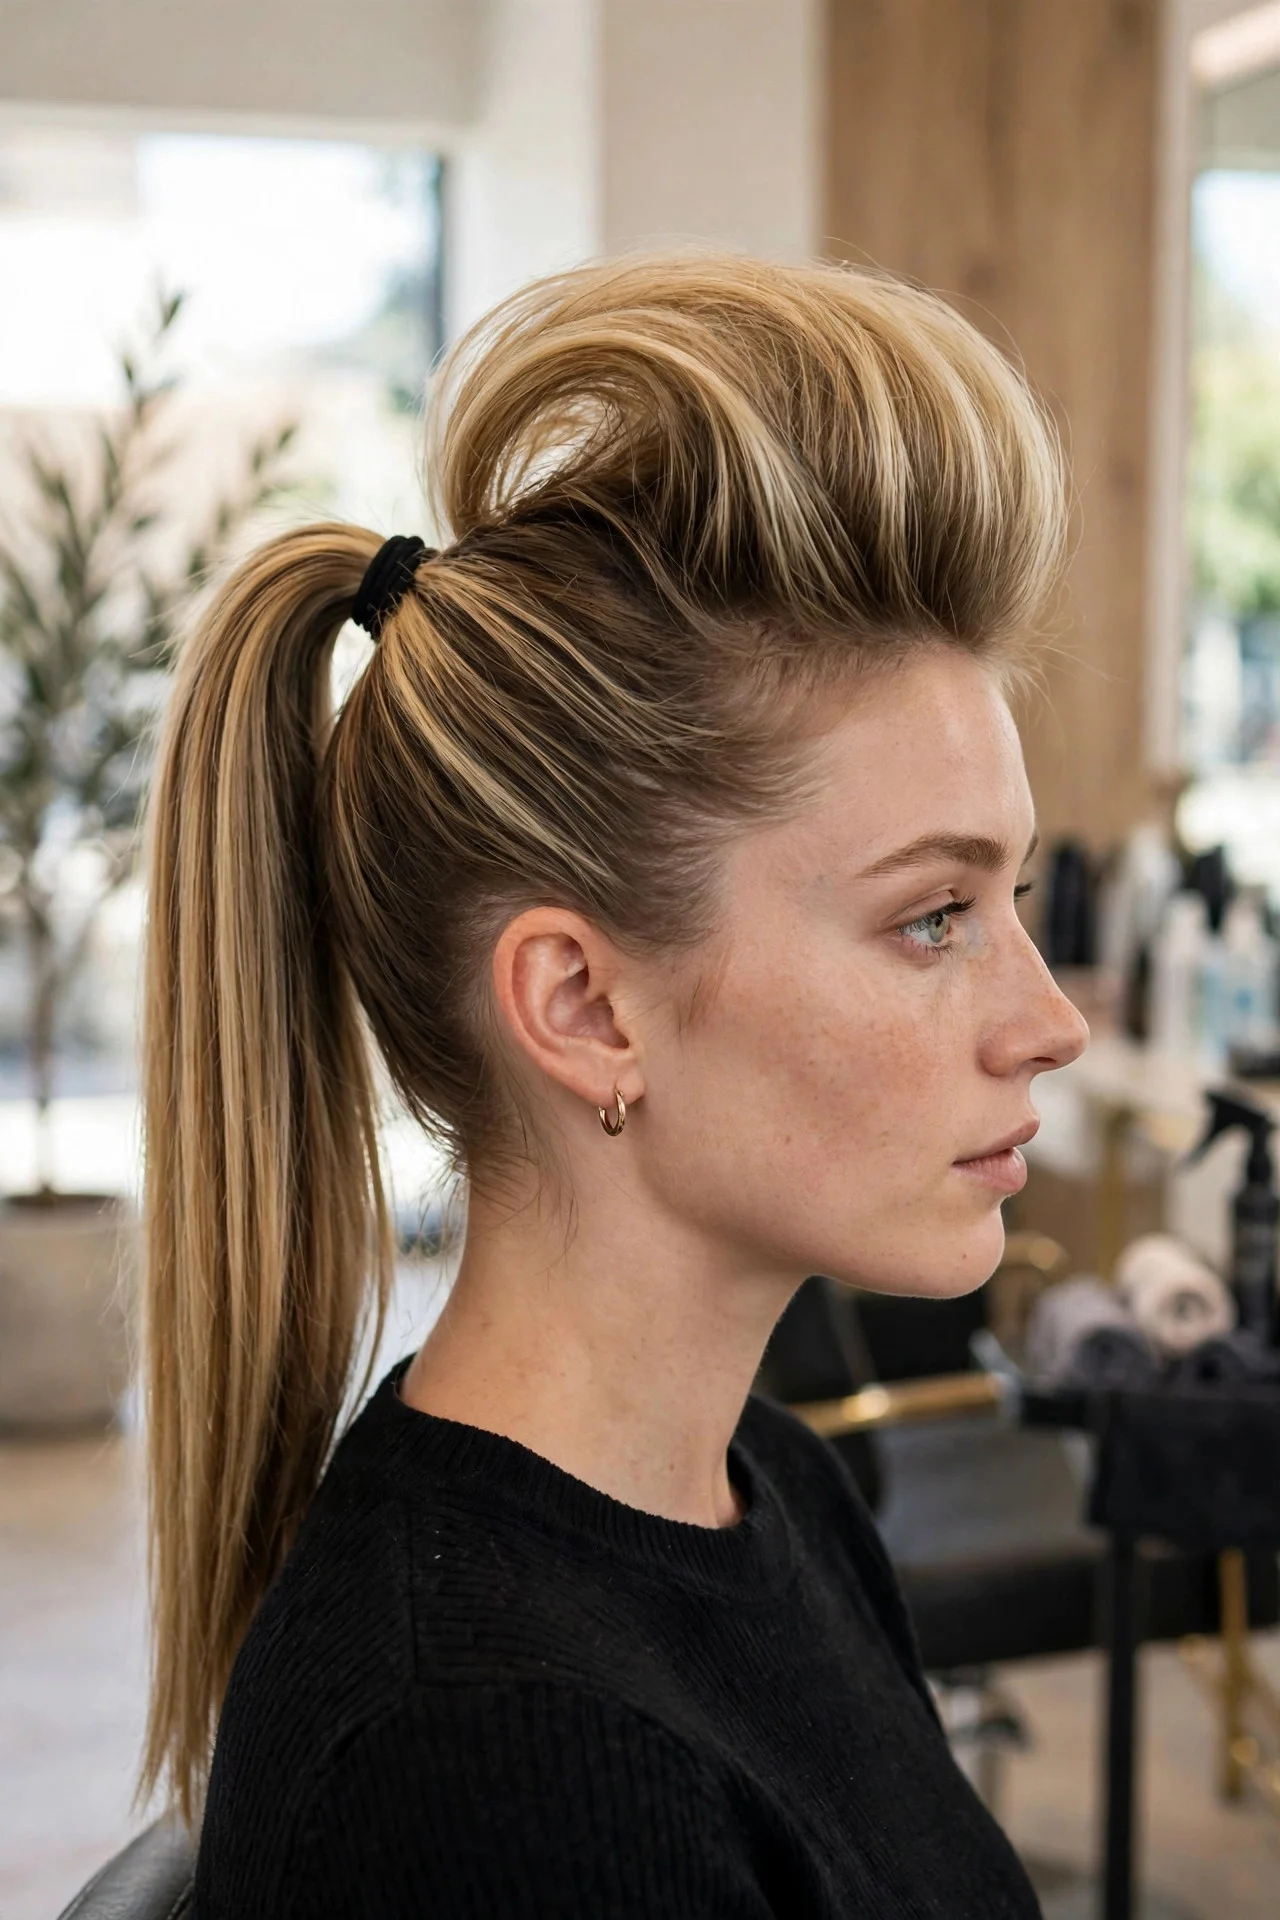
The teased crown is the reason high ponytails have volume in the first place. Backcomb the crown section in small bites with a fine-tooth comb, smooth the top layer over it, and gather everything high. Do it yourself by working in thin sections and using a light hairspray as you go, never a heavy one that collapses under its own weight. This suits medium to thick hair best, since very fine hair sometimes refuses to hold the tease past lunch. Maintenance is minimal once it is up, just carry a small brush for flyaways. Honest downside: daily teasing stresses the hair shaft, so save this for special days rather than every morning.
3Half-Up Volume Ponytail
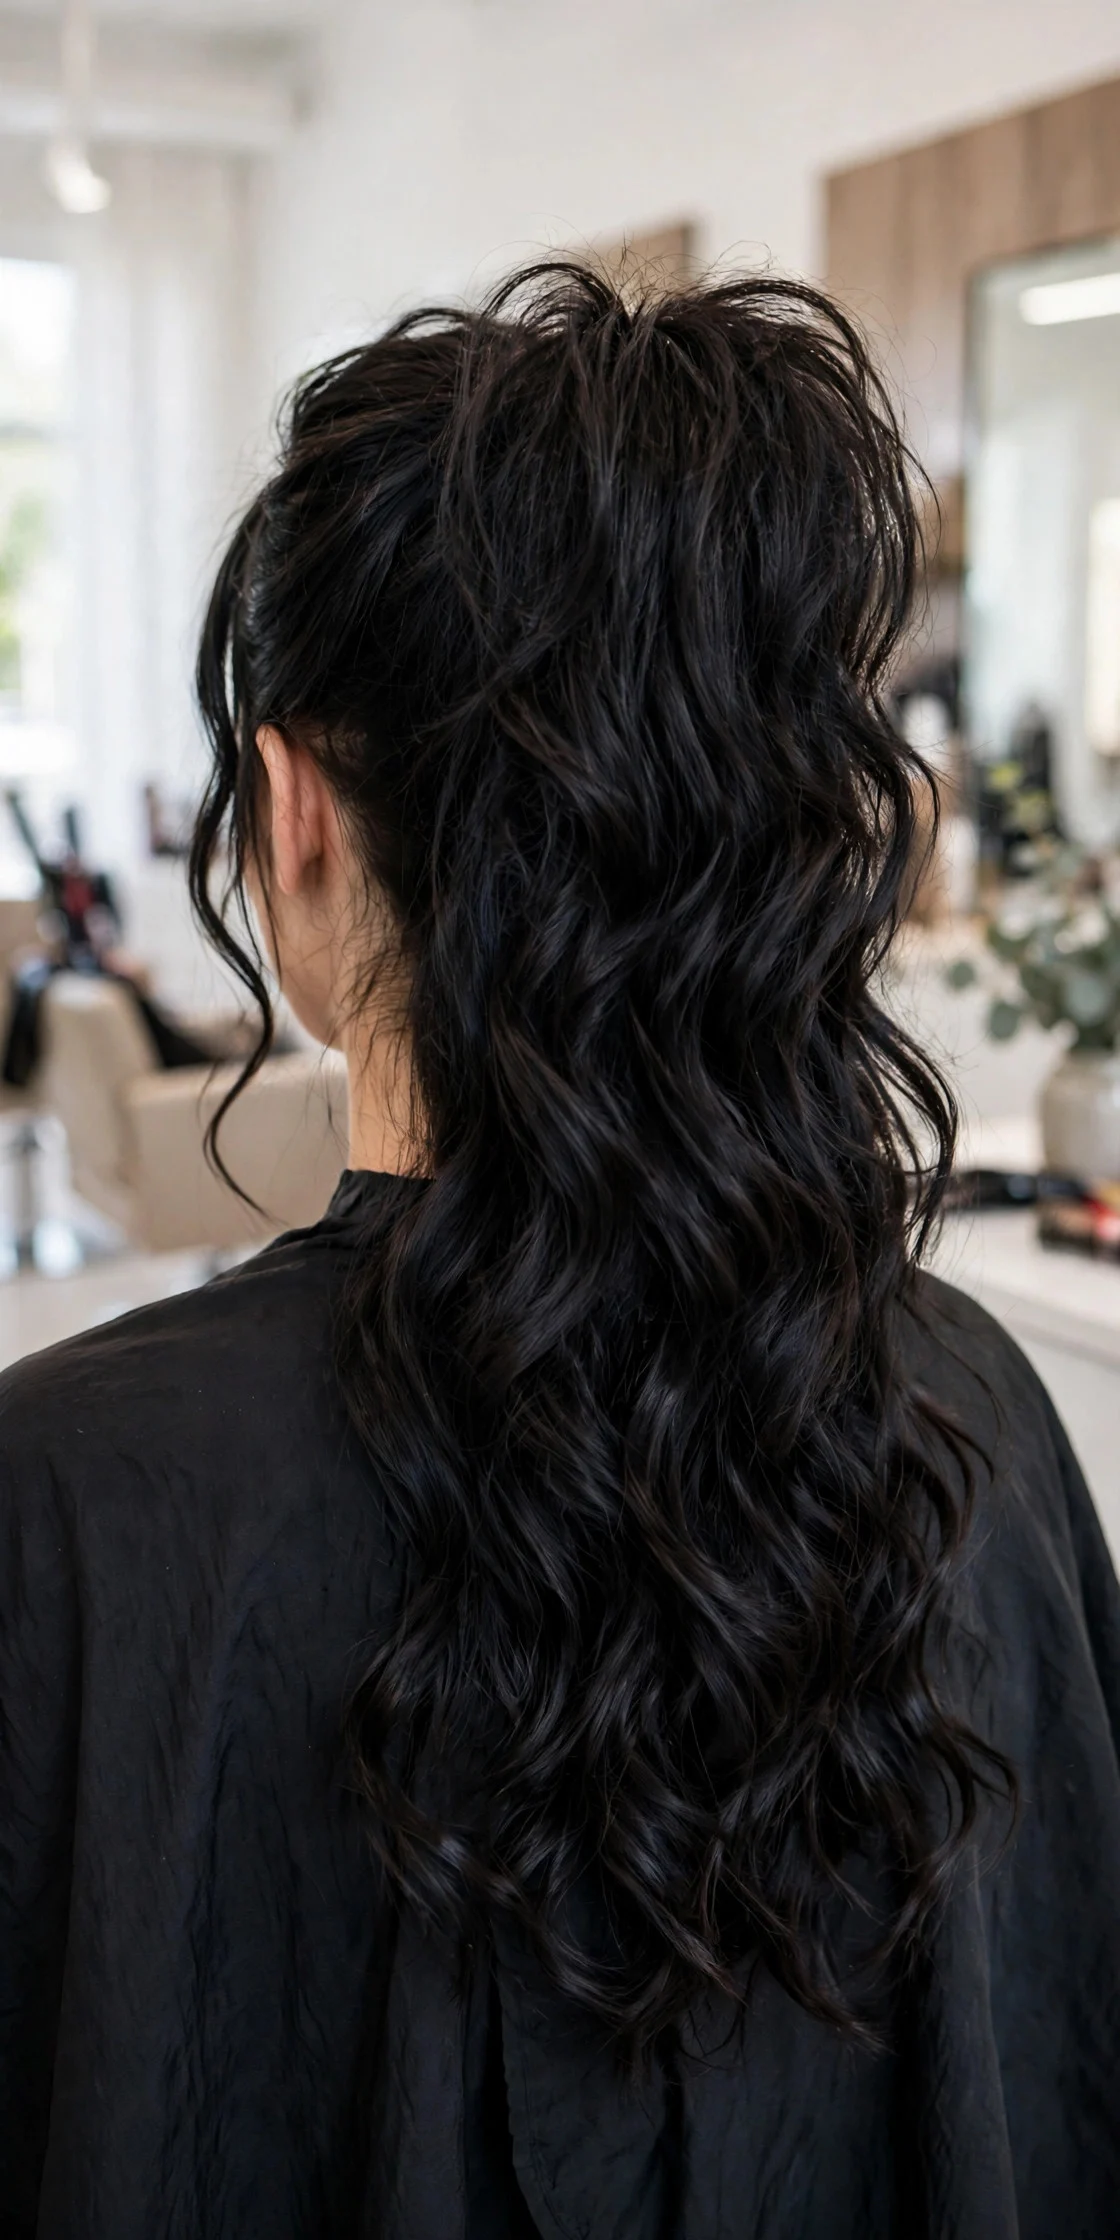
Not every high ponytail needs all your hair. This one pulls the top half into a lifted ponytail while the rest flows free, giving you volume up top and length at the back. It is the easiest DIY option here. Tease the crown lightly, gather the top section, secure it high, then let the underneath hair blend in. It suits long hair best, where the contrast between the lifted section and the flowing length really shows. Upkeep is almost zero. The real drawback is that on shorter hair the bottom layer can look thin next to the big top, so shoulder-length hair may need extensions or extra texturizing spray to balance it out.
4Textured Wavy Pony

Curl the whole head first, then gather everything high. The wave pattern is what creates the fullness here, not teasing, so it is gentler on your hair. Use a one-inch curling wand, alternating directions, then rough up the curls with your fingers before tying it up. Ask your stylist for long layers cut in, because blunt ends curl flat and kill the effect. This works beautifully on medium to long hair and flatters round faces by adding height. It holds for a full day with a flexible-hold spray. Cost-wise, the only real expense is time. Plan forty-five minutes for the full routine, which is a lot on a rushed weekday morning.
5Slicked-Back Pouf Pony

Think polished sides, lifted crown, and a clean ponytail, the kind of look that reads formal without feeling stiff. Slick the sides and back with a smoothing serum and a boar bristle brush while teasing just the crown for height. Secure it high and wrap a strand of hair around the elastic for that finished touch. This suits straight or fine hair particularly well because the slickness shows off shine. It is a favorite for weddings and events where you need the style to survive hours of photos. The upkeep is the tradeoff: you will need smoothing serum, edge control, and possibly a mid-day touch-up to keep everything glassy.
6Bubble Ponytail

The bubble ponytail turns a basic high pony into a statement. You tie elastics at intervals down the length, then gently tug each section outward to create full, round bubbles. It is pure DIY and takes about ten minutes once your hair is up. Clear or color-matched elastics keep it clean looking. This suits long, thick hair best, since short lengths only give you one or two bubbles before running out of room. The style holds all day with almost no maintenance. The only drawback is elastic marks if you wear it often, so rotate your days and give your hair a break between bubble sessions. For a formal event, you might pair this playfulness with something more structured, like one of the braided updos for formal events.
7Curly Volume Pony

Curly hair has a built-in advantage here: natural volume that straight hair has to fake. Gather curls high, leaving the crown slightly loose, and let the curls cascade. Use a satin scrunchie instead of a tight elastic to avoid crushing your curl pattern at the base. This suits type 3 and 4 curls beautifully, though looser waves need extra diffusing first to build enough body. Maintenance during the day means scrunching a little leave-in into any curls that start to droop. The honest drawback is shrinkage at the base. The ponytail can look shorter than expected, so stretch your roots with a blow dryer on low heat before gathering.
8Side-Part Full Pony

A deep side part changes the whole geometry of a high ponytail. Sweep everything across, build volume on the heavy side with a little backcombing, then gather it all up high toward the opposite side. The asymmetry creates instant fullness and frames the face in a way a center part never does. Ask your stylist to check the part placement with you, because a part that is too deep will fight you every morning. This suits most face shapes and both straight and wavy textures. Upkeep is easy. The only real catch is that second-day hair holds the part better than freshly washed hair, so plan a wash-day gap for the best result.
9Braided Base Ponytail
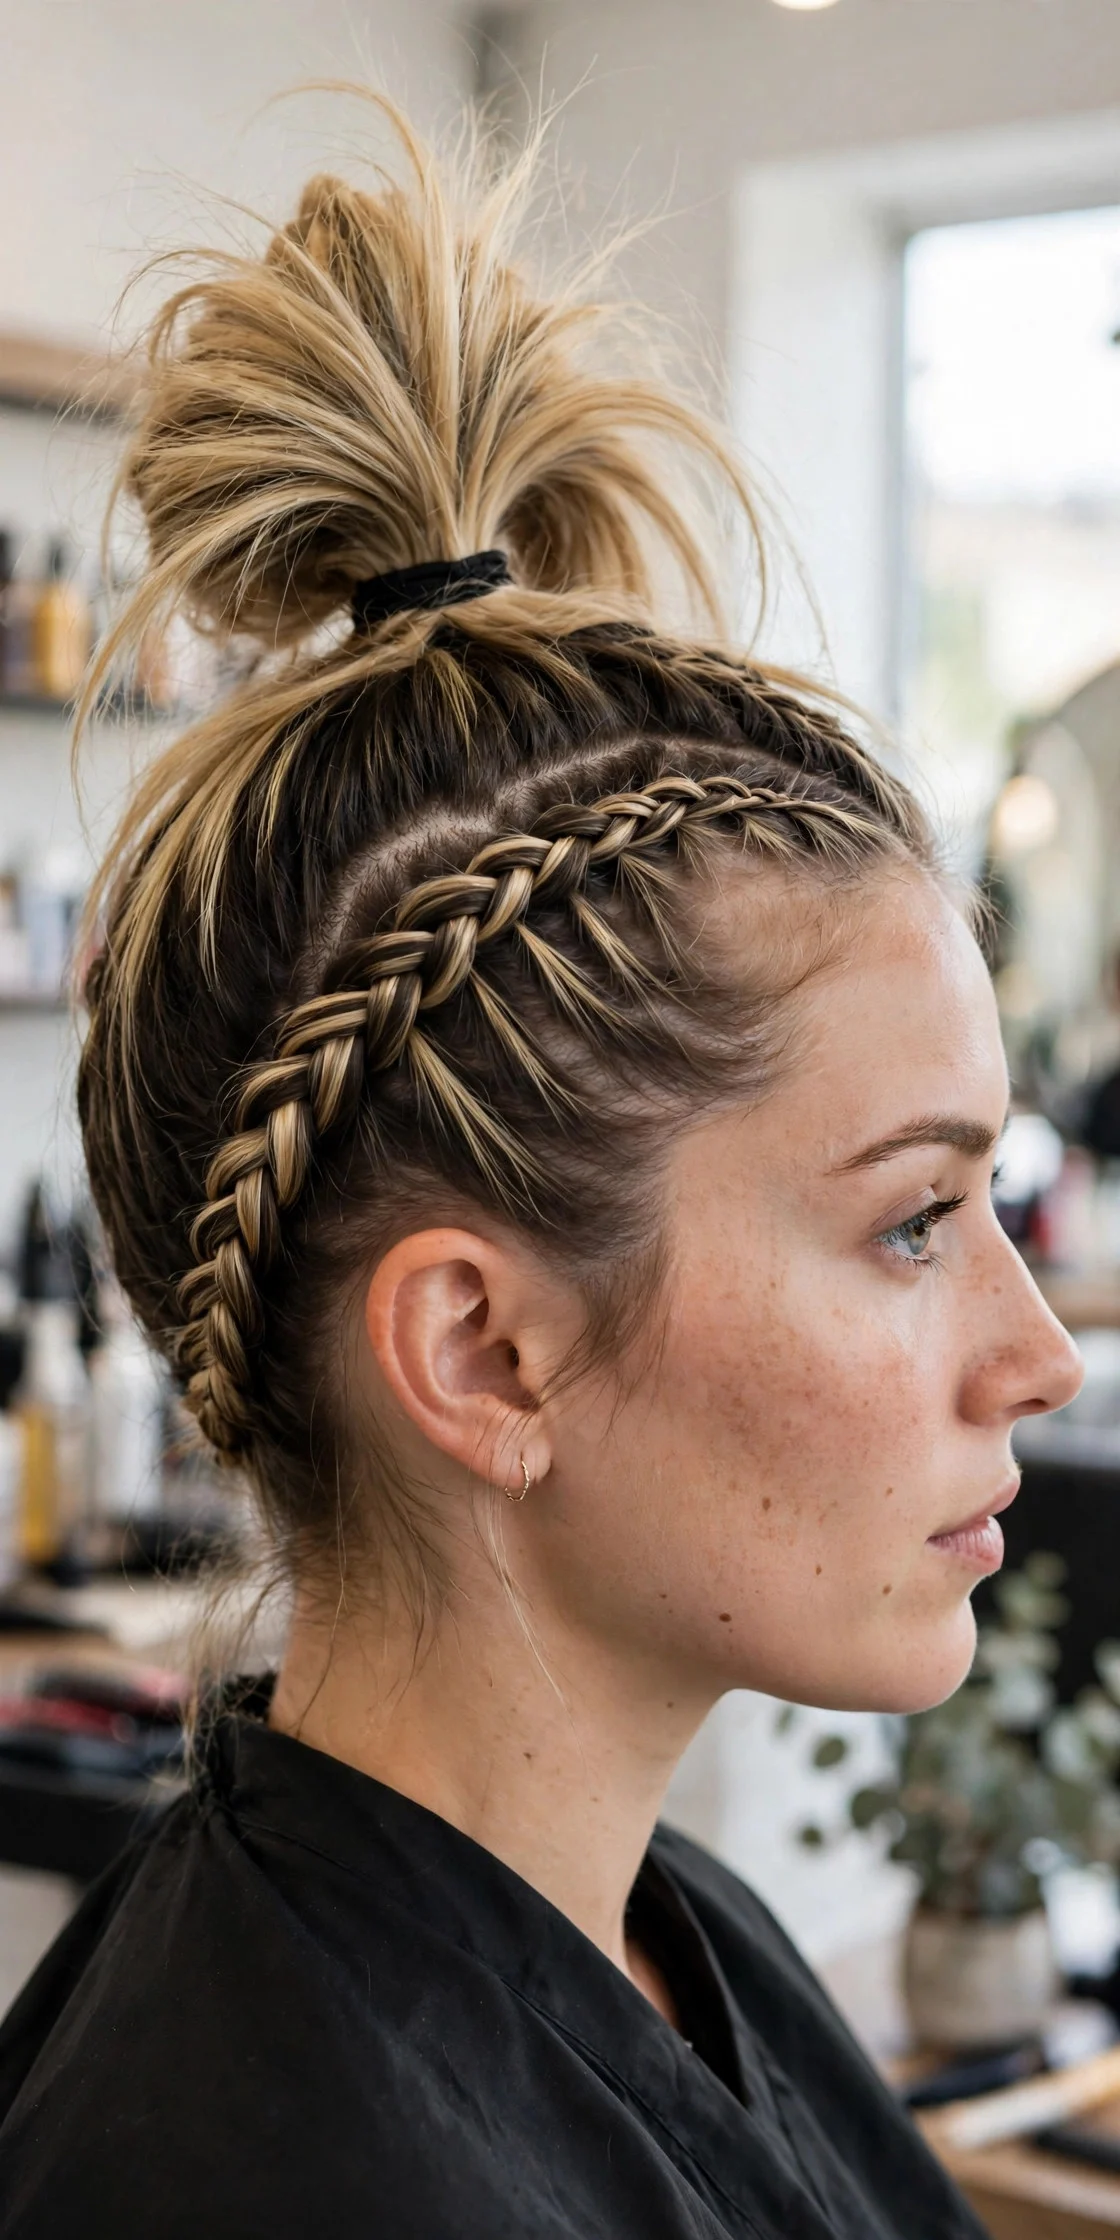
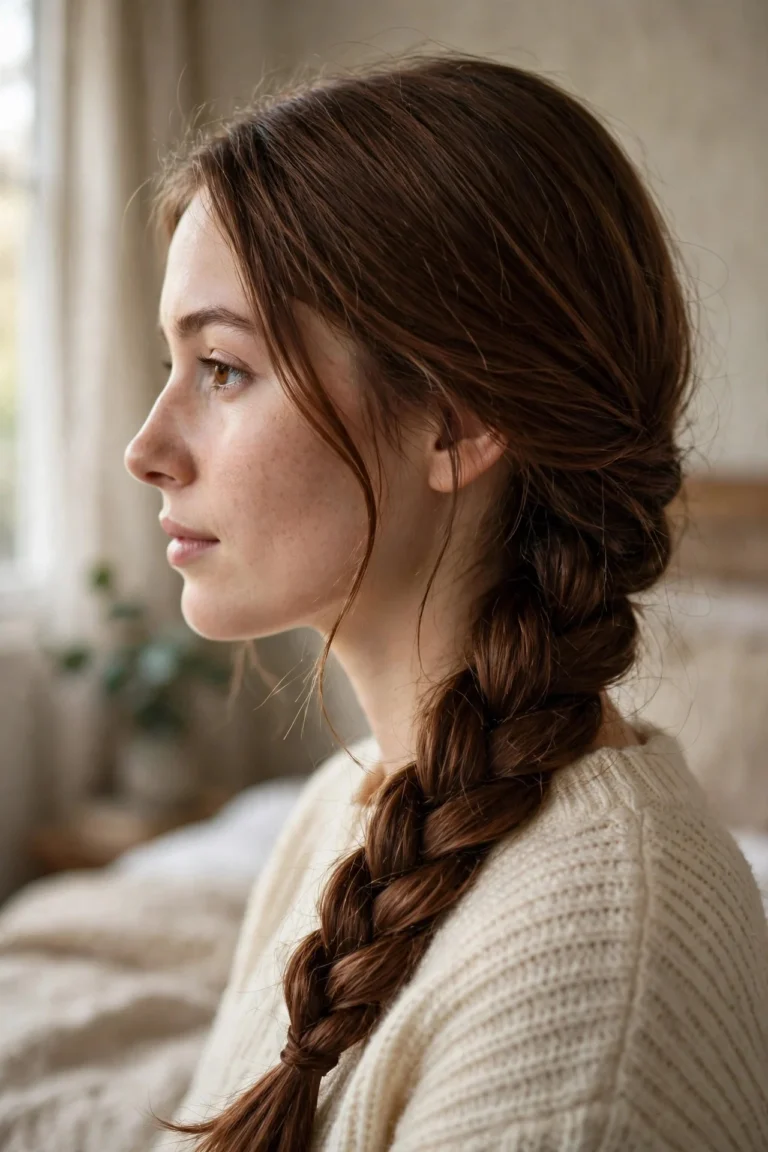
Here you braid a small section at the crown or nape and fold it into the ponytail base, and that braid acts like scaffolding that props everything up. Try a Dutch braid starting at the front hairline and feeding it back into the high ponytail, which adds both volume and visual interest. It suits thick hair best, since the braid needs enough density to hold its shape against the pull of the ponytail. Maintenance is low once it is in, though the braid can loosen by evening. The drawback is skill. It takes practice to braid neatly enough that it looks intentional rather than messy, so try it on a weekend first.
10Messy Lifted Ponytail

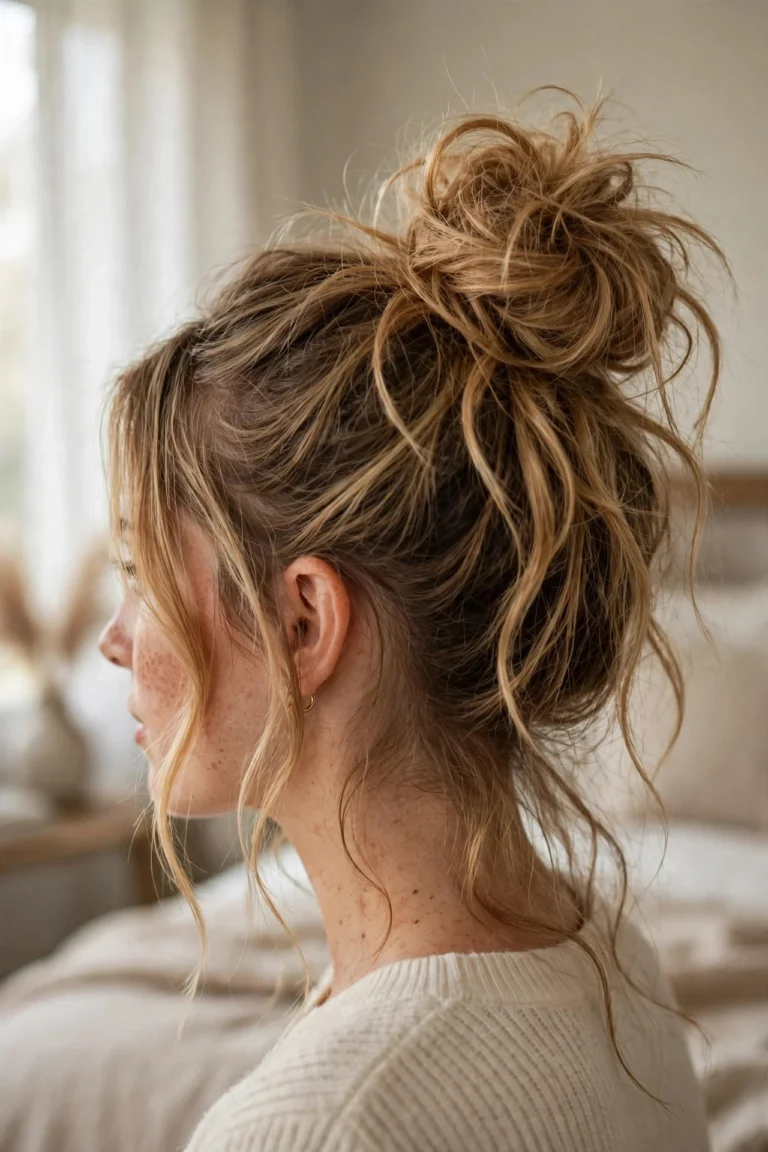
Sometimes volume does not need structure. This one is all about roughing up the texture, pulling the ponytail high, and letting pieces fall where they want. Apply dry texturizing spray to dry hair, flip your head over, gather at the crown, and tug the roots gently with your fingertips to loosen everything. It suits second-day hair perfectly, when natural texture does half the work for you. The maintenance is basically nothing, which is the point. The drawback is predictability. It never looks the same twice, and on a humid day it can slide from artfully messy to genuinely chaotic. Keep a spare elastic in your bag.
Caring for Your High Volume Ponytail
Volume starts before the styling. Wash with a volumizing shampoo and skip heavy conditioners at the roots, applying conditioner only from mid-lengths down. Rough-dry your hair upside down to build natural lift at the crown, and always let hair cool completely before tying it up. Hot hair stretches elastics out and loses height faster.
Protect your hairline. High ponytails pull, and daily tension can thin the edges over time. Rotate your ponytail height from day to day, and use fabric-covered or spiral hair ties instead of rubber bands, which grip and snap strands.
At night, take it down. Never sleep in a high ponytail. If you want to preserve the style for the next morning, loosely wrap it in a satin bonnet or pineapple it with a soft scrunchie. A little dry shampoo at the roots on day two revives the lift without a full wash.
Frequently Asked Questions
How do I keep my high ponytail from sagging by afternoon?
The sagging almost always comes from the elastic stretching or the hair being too smooth at the base. Use two elastics instead of one, anchor them tightly, and add texture with dry shampoo or texturizing powder before you gather the hair. Hair that has some grip holds height far longer than freshly washed, slippery hair.
What is the best way to add volume to a thin ponytail?
The double ponytail trick works best for thin hair. Make two stacked ponytails and let the top one fall over the bottom. Clip-in extensions on the underside are another honest fix, and there is no shame in it. Teasing the crown before gathering also creates the illusion of much thicker hair with zero extra product.
Can I wear a high volume ponytail with short hair?
You can, with some creativity. The bubble ponytail and the messy lifted ponytail both work on shoulder-length hair if you add texture first. Clip-in extensions are the most reliable way to get real length and fullness. Without them, focus on crown height rather than ponytail length, since height reads as volume even on shorter hair.
Will a high ponytail damage my hair?
Occasional high ponytails are fine, but wearing one every single day with a tight elastic can cause breakage and traction alopecia around the hairline. Vary your styles through the week, loosen the elastic a notch, and never yank hair wet into a ponytail. If you notice thinning edges, switch to looser styles like the claw clip updos for thick hair for a few weeks.
What products do I actually need for a voluminous ponytail?
You need less than you think. A good dry shampoo or texturizing powder for grip, a flexible-hold hairspray for staying power, and a smoothing serum for the polished styles. A fine-tooth comb for teasing rounds it out. Skip the heavy mousses and waxes, which weigh hair down and defeat the whole purpose of a volume style.
Keep Exploring
If you loved the lifted look here, the sleek top knot ideas take the same high placement and push it into polished, ballerina territory, while the ballerina bun tutorials walk you through the technique step by step. There is a whole world of updos beyond the ponytail, and your hair already has everything it needs.
—