# How to Do a Messy Bun in 60 Seconds (2026)
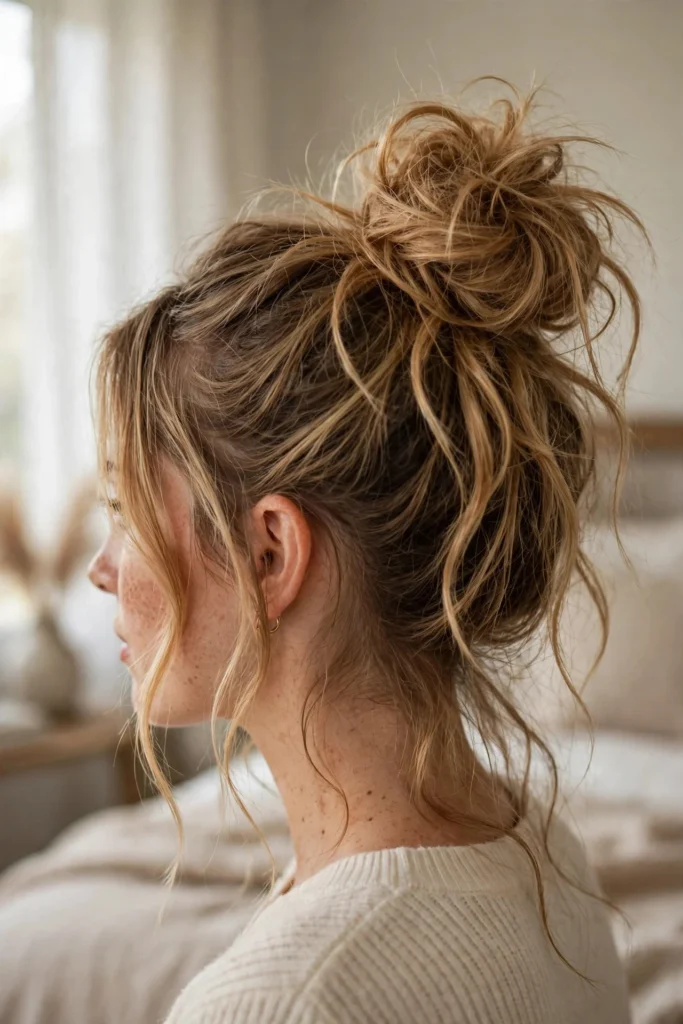
The messy bun gets its reputation for being carefree, but most of us have stood in front of a mirror for ten minutes making something look “effortless.” Here is the truth: once you learn the right base technique, a good messy bun genuinely takes about a minute. The secret is speed over perfection and knowing which little tricks create texture fast.
Below are ten variations, each one timed to land at around sixty seconds once you have practiced it twice. Pick the one that fits your hair length and your morning, and get out the door.
1The Classic Twist-and-Pin Messy Bun
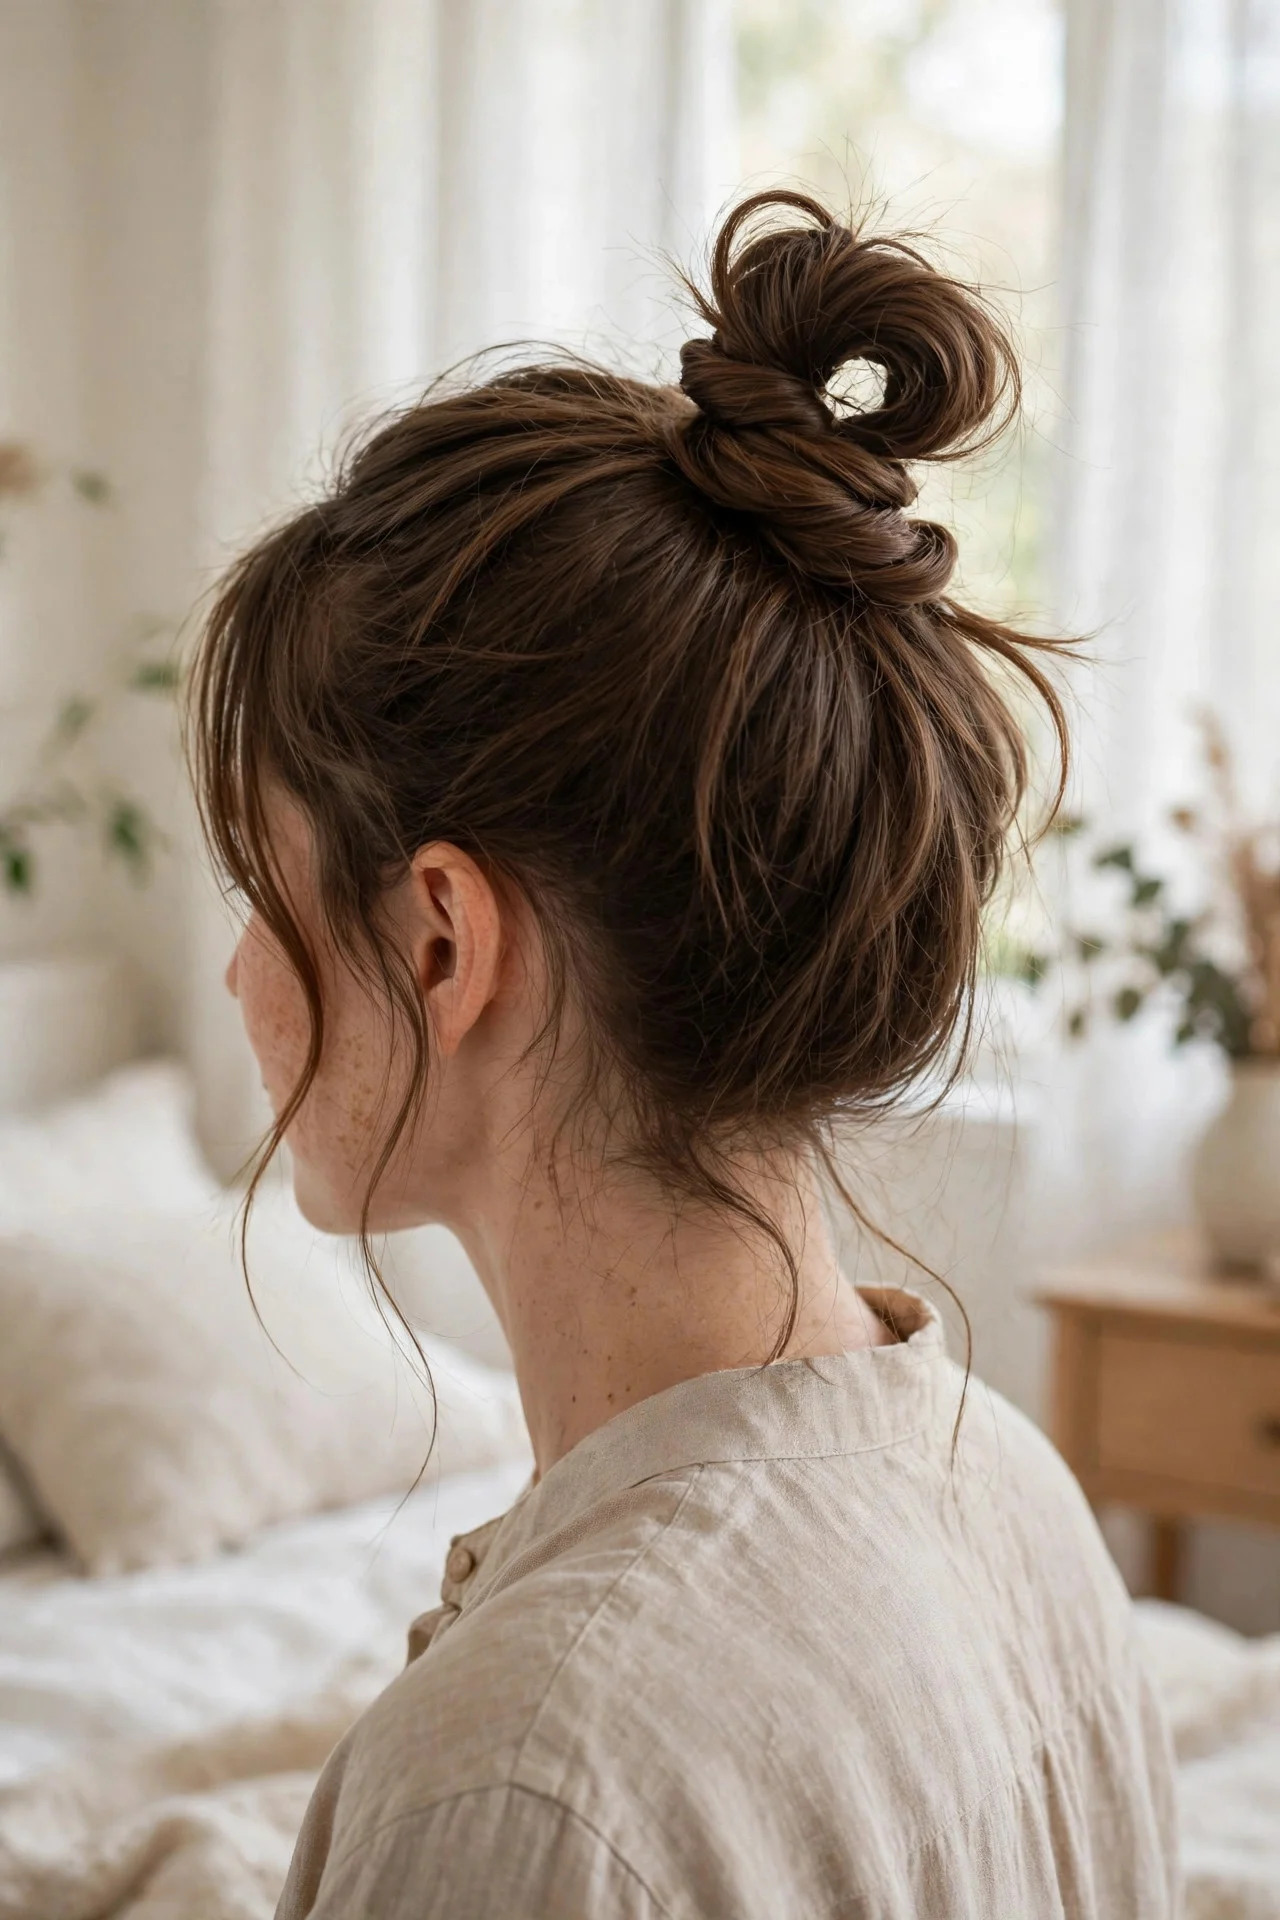
Gather all your hair into a high ponytail but stop before pulling the end through on the last loop of the elastic, so you get a looped bun with the tail sticking out. Twist the tail around the base of the loop, tuck the end under, and pin it with two or three bobby pins. Tug the bun gently at the sides to loosen it, then pull out two face-framing pieces. This works best on medium to long hair with some natural texture, and it takes about forty-five seconds once you know the motions. Fine straight hair may need a spritz of texturizing spray first or the loop slips. The honest drawback: on very clean hair it unravels by lunch, so second-day hair is your friend here.
2The Low Messy Bun
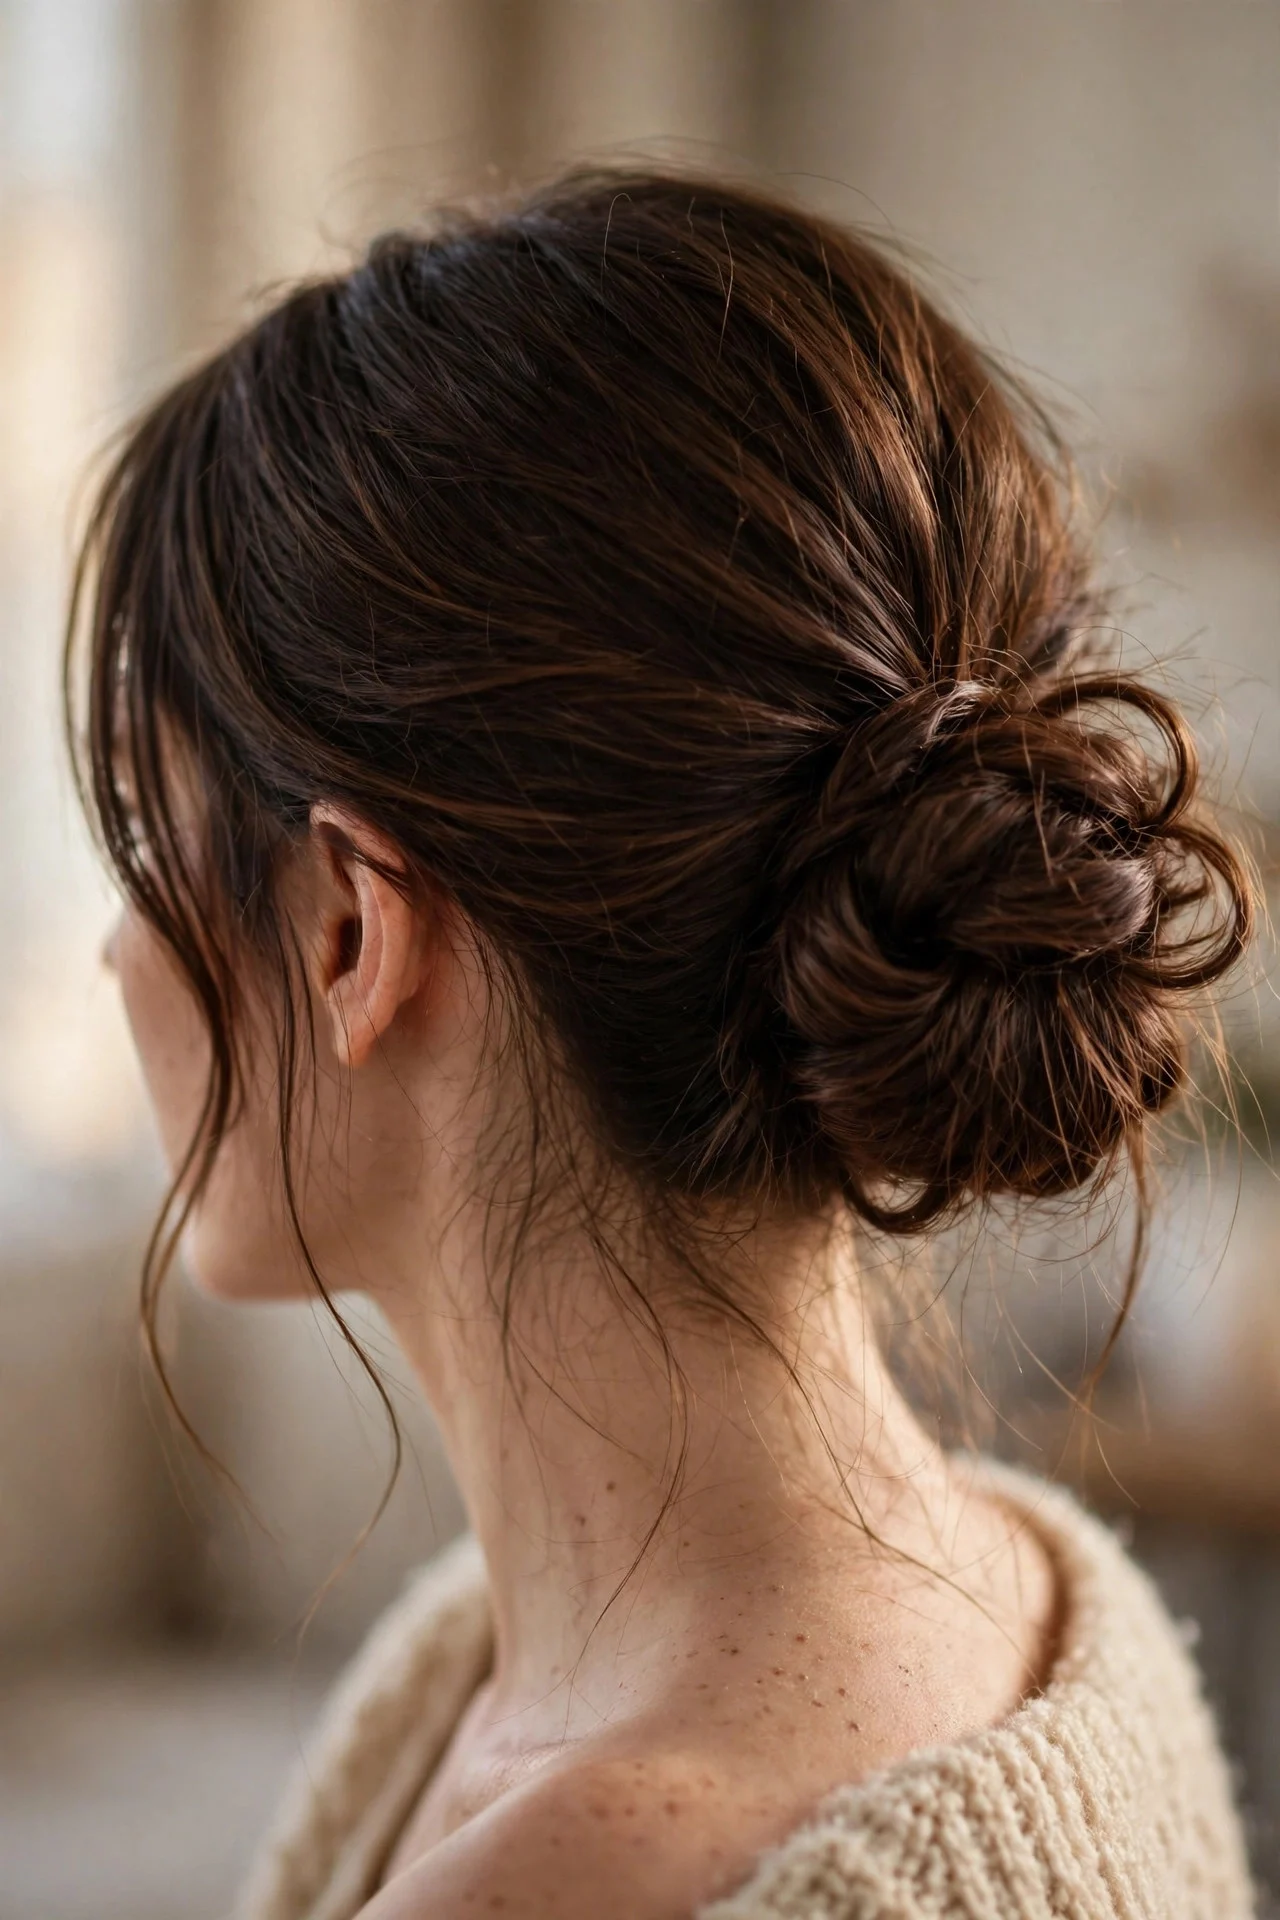
Flip your head upside down and gather hair into a loose low ponytail at the nape, securing it with an elastic. Twist the ponytail loosely, coil it around the base, and pin the end underneath with bobby pins. Gently pancake the coil with your fingers for width and let a few pieces fall at the nape. This one flatters round faces especially well because the low placement balances a fuller cheek line, and it suits shoulder-length to long hair. Skip the smoothing brush and use your hands so the finish stays soft. It holds well through a workday, but on heavy thick hair you may need a second elastic or the coil droops by mid-afternoon.
3The Top Knot With Face-Framing Pieces
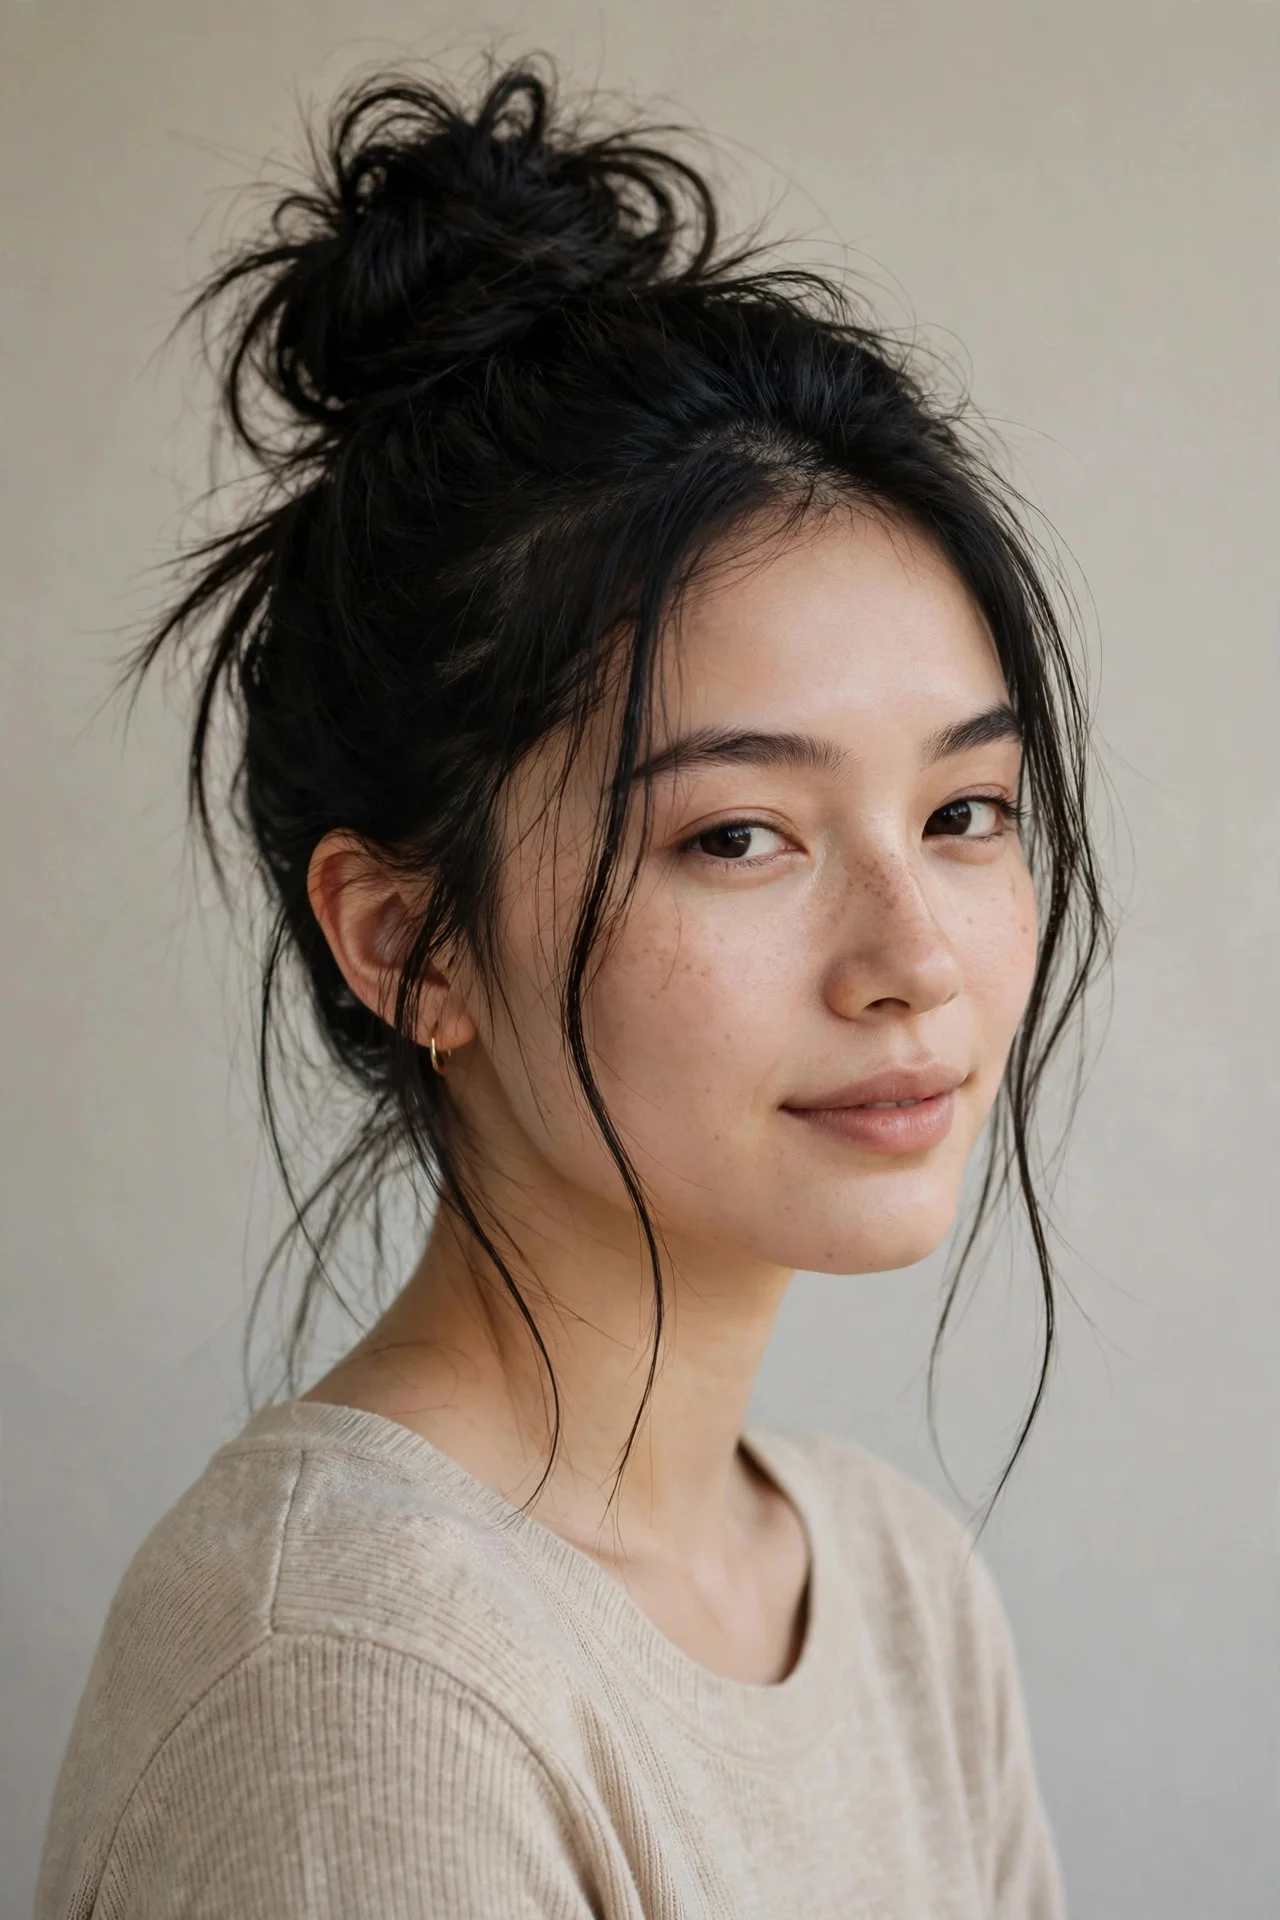
Pile all your hair straight up on the crown and secure it in a ponytail. Twist the length once or twice, wrap it around the base, and tuck the ends under with pins. Before you pin everything, pull out a slim strand on each side of your face and maybe one at the temple. Use your fingertips to rough up the bun surface and widen it so it looks intentionally messy rather than just rushed. This suits oval and heart faces and anyone with layers, since the short bits stick out naturally. The caveat: a very high top knot can pull on the hairline if it is too tight, so keep the base loose and let the messiness do the visual work instead of tension.
4The Double Twist Messy Bun
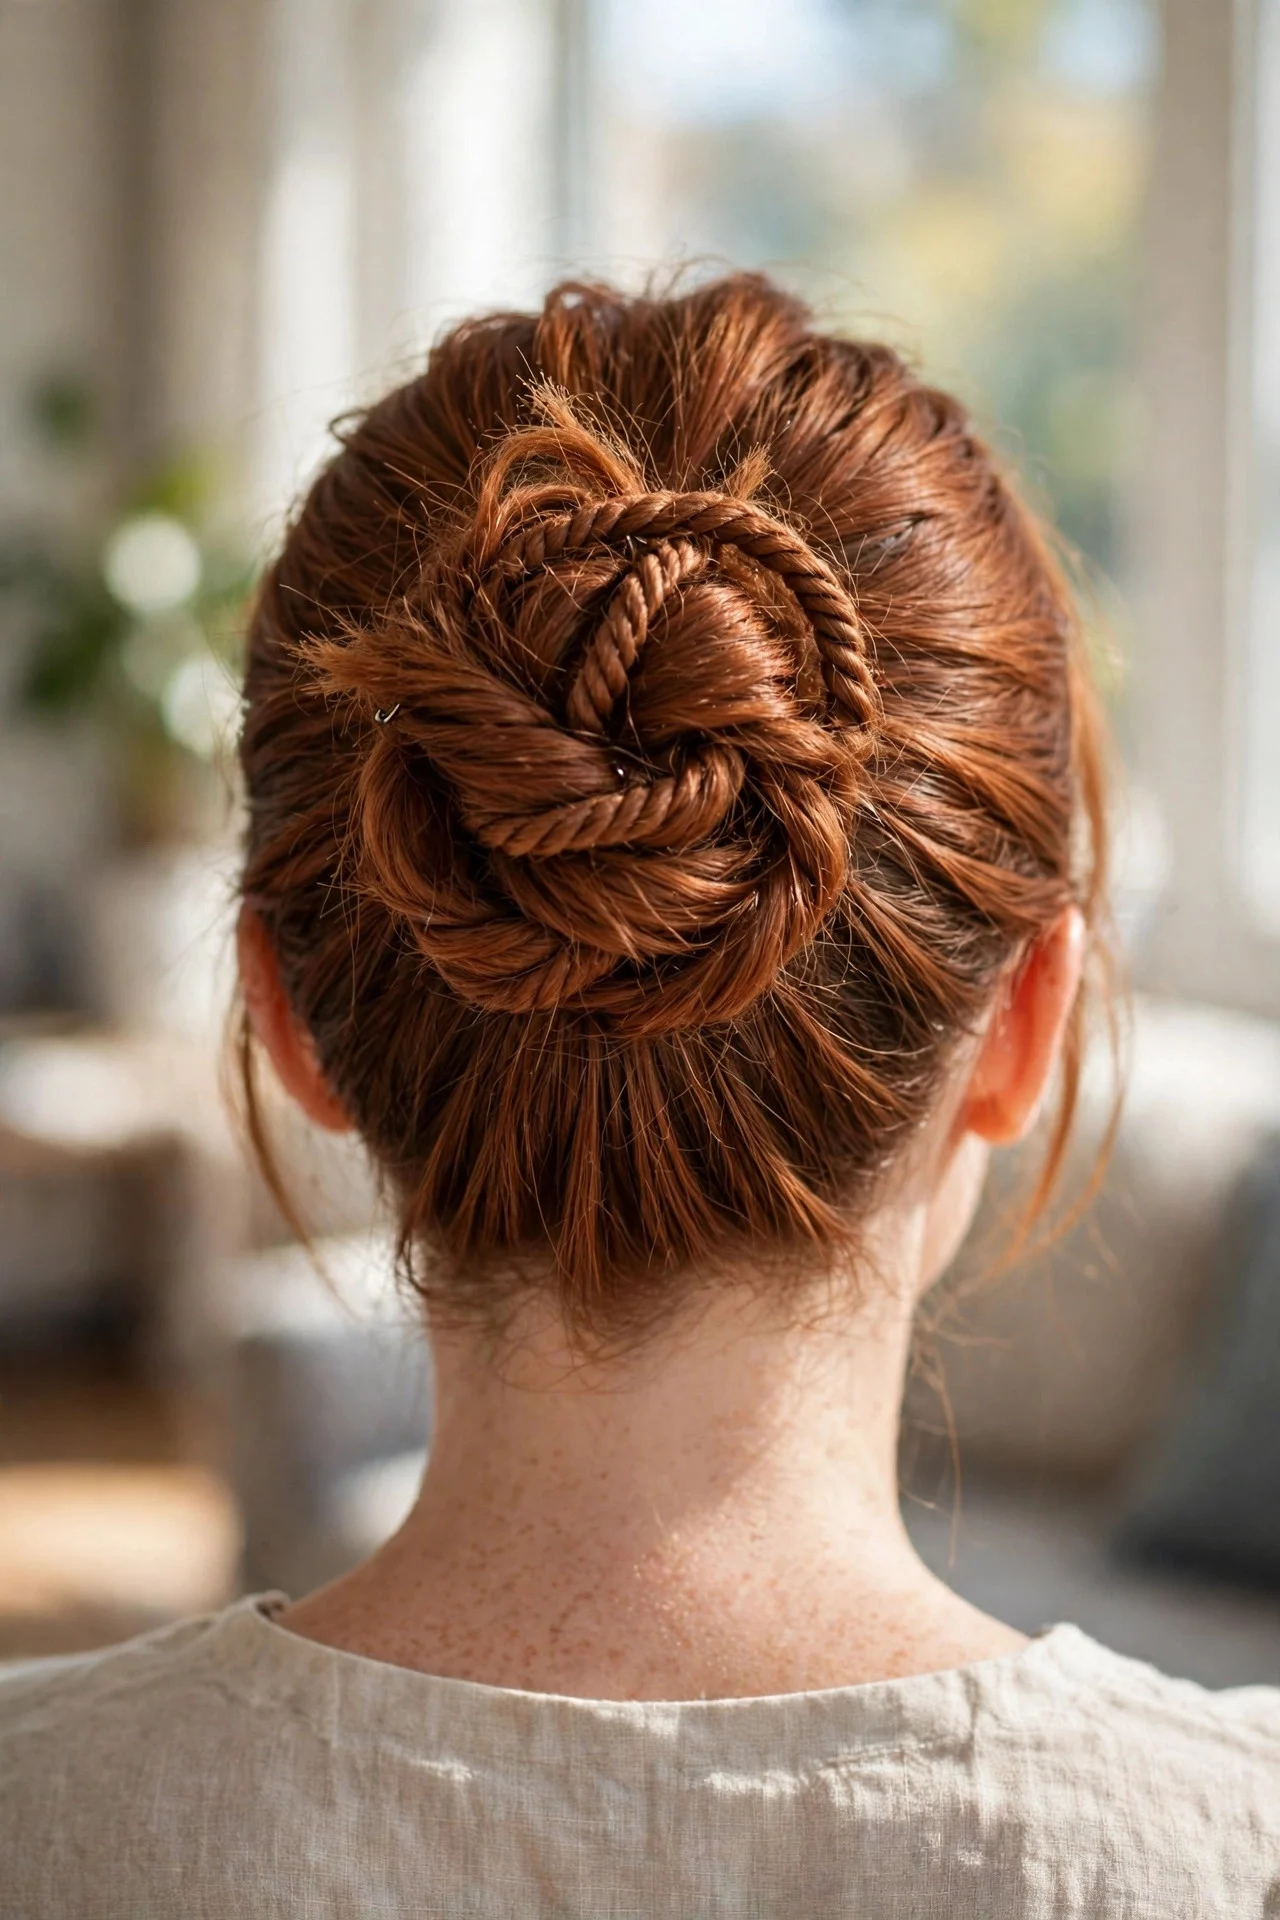
Split your ponytail into two sections, twist each section on itself, then twist the two twists around each other and coil the rope into a bun. Pin at the base and fluff it out. The double twist builds in texture, so this is a lifesaver for silky straight hair that usually refuses to look messy. It works on medium-length hair too, since the twists grip each other and need less length than a plain coil. The whole thing takes under a minute and holds noticeably better than a single coil. The tradeoff is that rope twists look a bit polished, so you have to actively rough up the surface and pull pieces loose, or the result reads more “ballerina” than “messy.”
5The Side Messy Bun
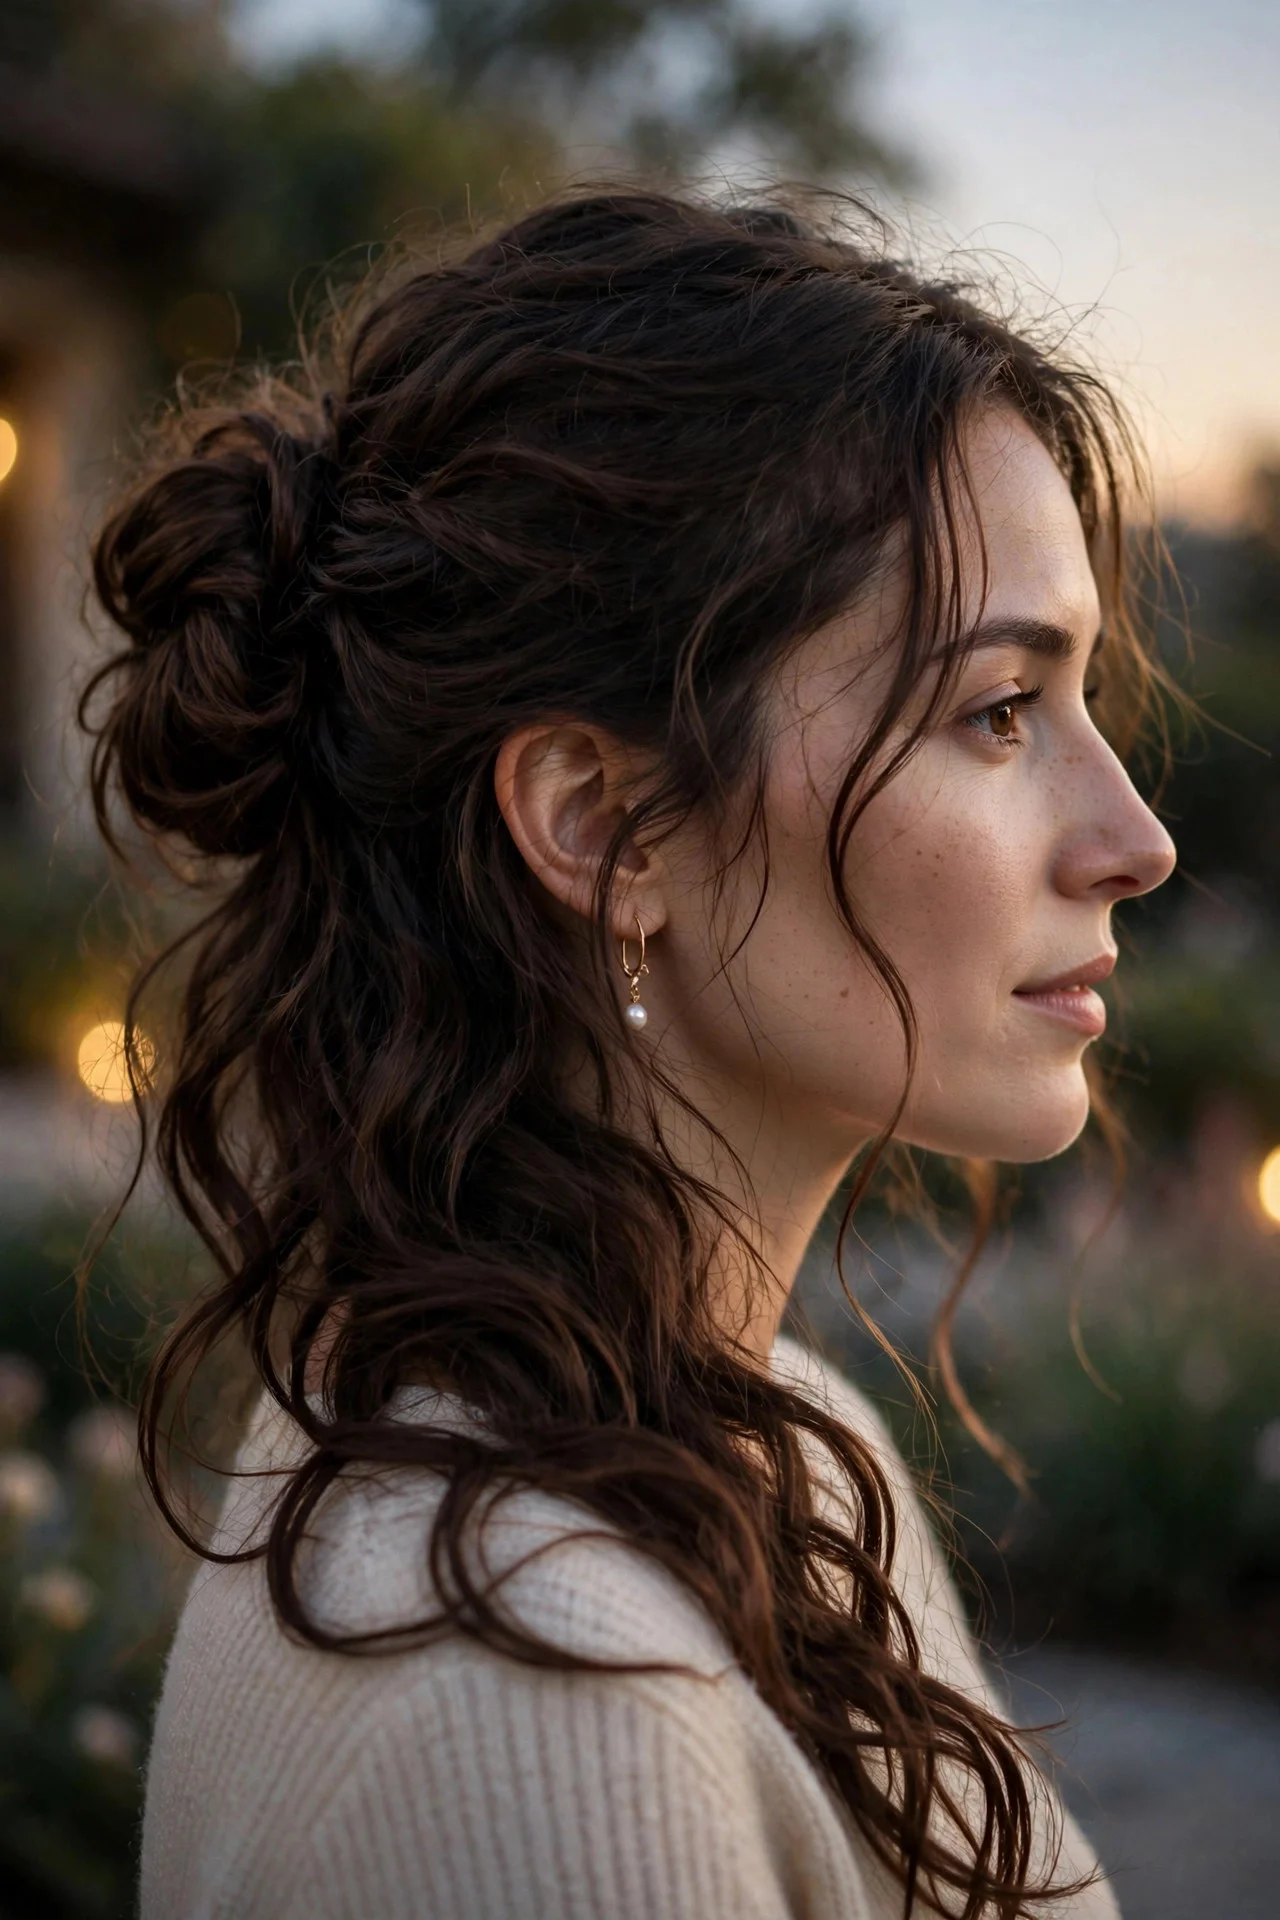
Sweep all your hair over one shoulder and gather it loosely just behind and above your ear. Secure with an elastic, then loop or twist the tail into a bun and pin it. Leave the opposite side of your neck bare and pull out a few wisps near the temple on the bun side. This style is lovely for evening plans because it photographs beautifully from the side and shows off earrings. It suits most face shapes and all hair lengths past the chin. One honest note: it sits off-center by design, so if your hair is very thick it can feel lopsided and slide, and a couple of extra pins on the underside fix that in seconds.
6The Sleek-Front Messy-Back Bun
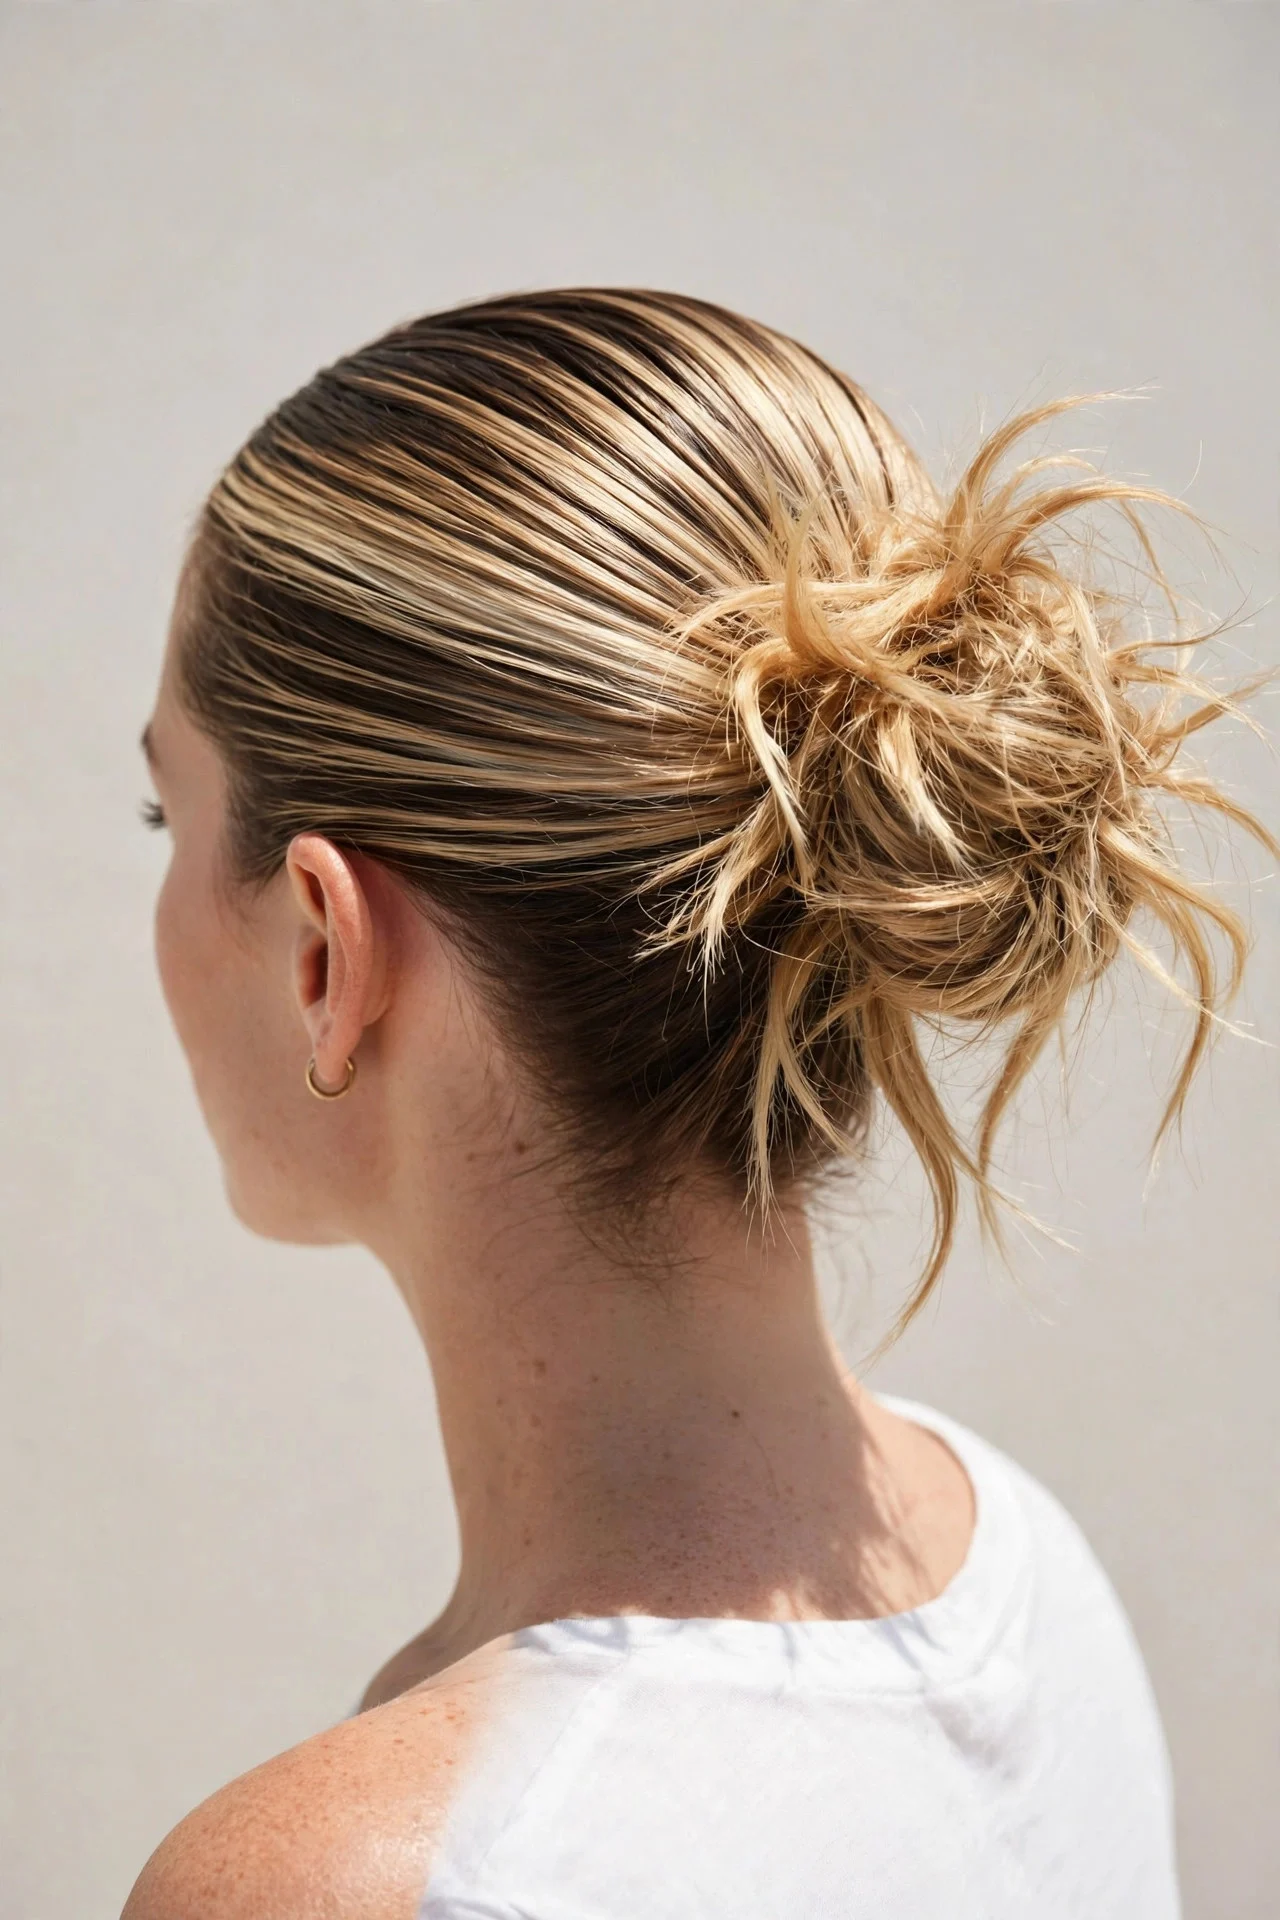
Brush the front of your hair smooth and sleek, pulling it into a mid-height ponytail. Tame flyaways with a small amount of gel or smoothing cream, then let the ponytail itself go wild: twist it loosely, pin it into a lopsided bun, and pull chunks out. This contrast style gives you the polished-hairline look of a slicked bun with the relaxed finish of a messy one, and it is a great pick for fine hair because the smooth top makes the bun look bigger by comparison. It takes about a minute and survives humidity better than most versions here. The drawback is the product commitment: once the gel sets, you cannot redo it without washing.
7The Braided-Base Messy Bun
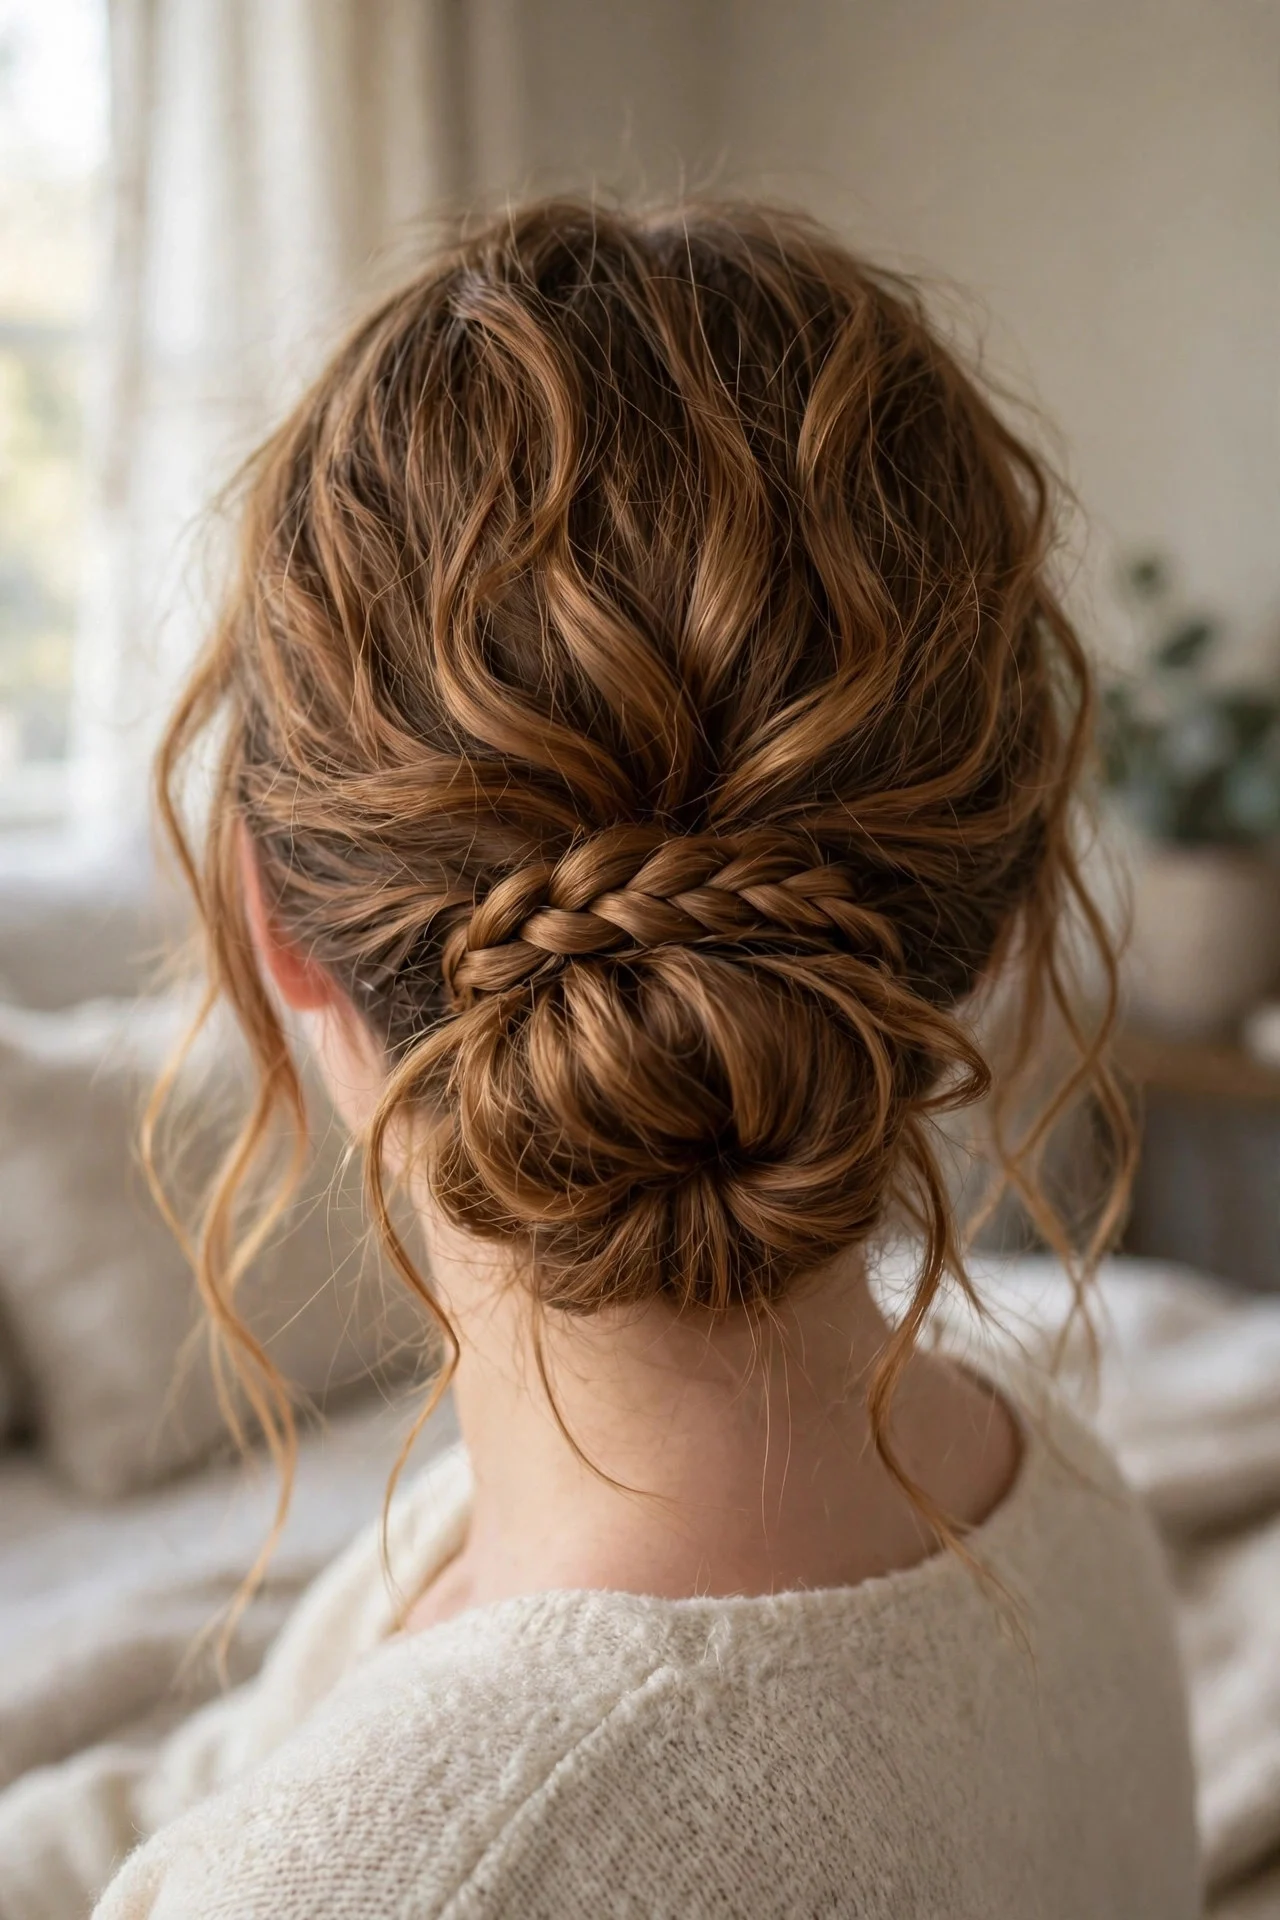
Before making your bun, braid a small three-strand braid from the nape or the front hairline, whatever section you grab first. Gather everything including the braid into a ponytail, then twist and pin into your usual messy bun. The braid adds built-in detail so the style looks deliberate even when you rush it, and it gives bobby pins something to grip, which helps the bun last. This suits medium to long hair and looks especially good on wavy or curly textures where the braid blends in. The catch: braiding adds about fifteen seconds, so practice the braid motion a few times or this one creeps past the sixty-second mark.
8The Bubble Ponytail Messy Bun
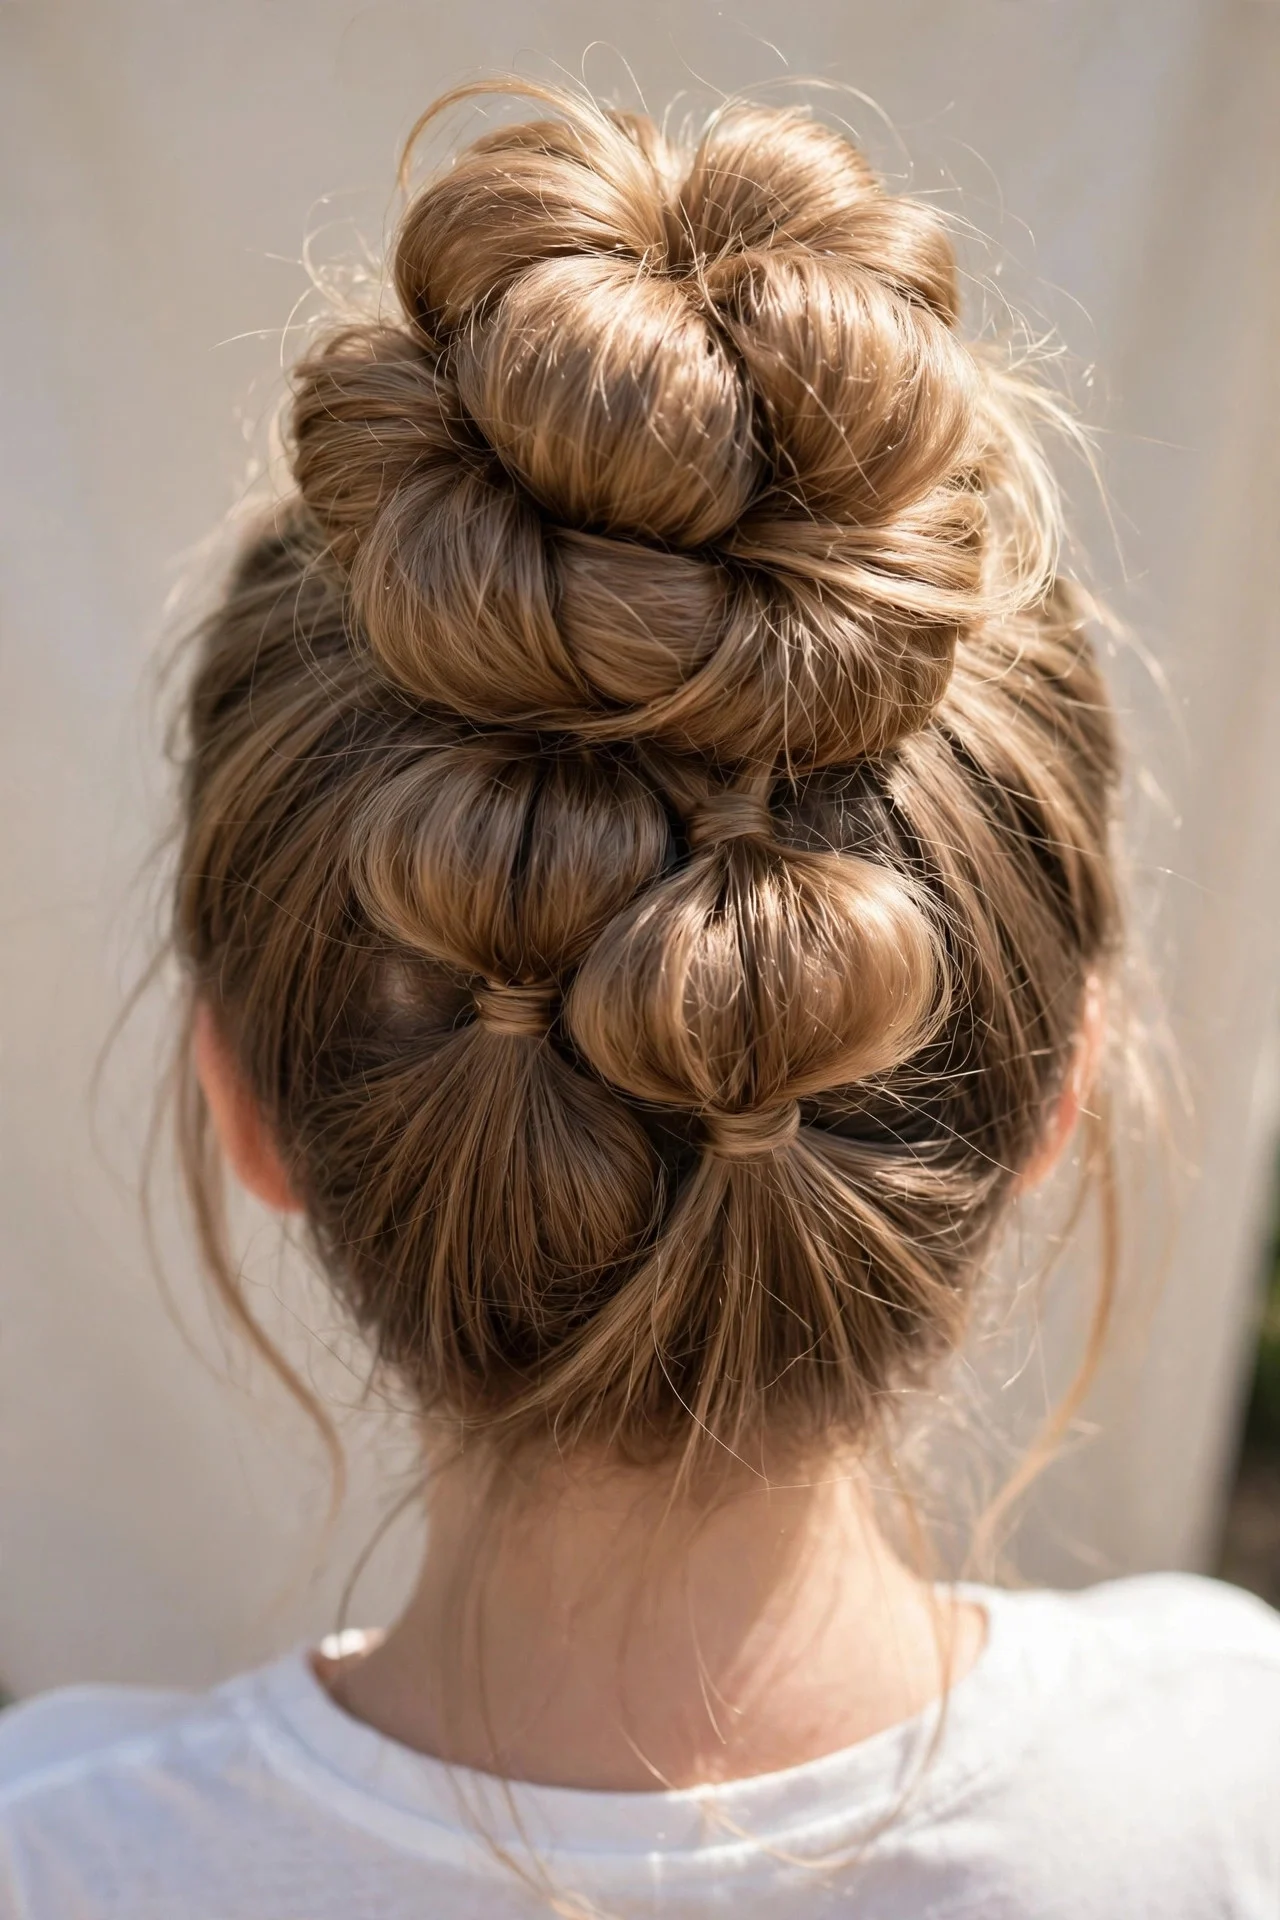
Make a high ponytail and add small elastics down the length every few inches, puffing each section out into bubbles. Then fold the whole bubbled tail upward and pin it into a bun shape at the base. The bubbles create instant volume and dimension, so this is the best option on this list for thin or fine hair that disappears in a regular bun. It takes about a minute and needs nothing but extra elastics. Clear or hair-colored mini elastics keep the look clean. The honest caveat: removing six tiny elastics at night is tedious, and pulling them out roughly can snap fine strands, so take them out slowly and gently.
9The Half-Up Messy Bun
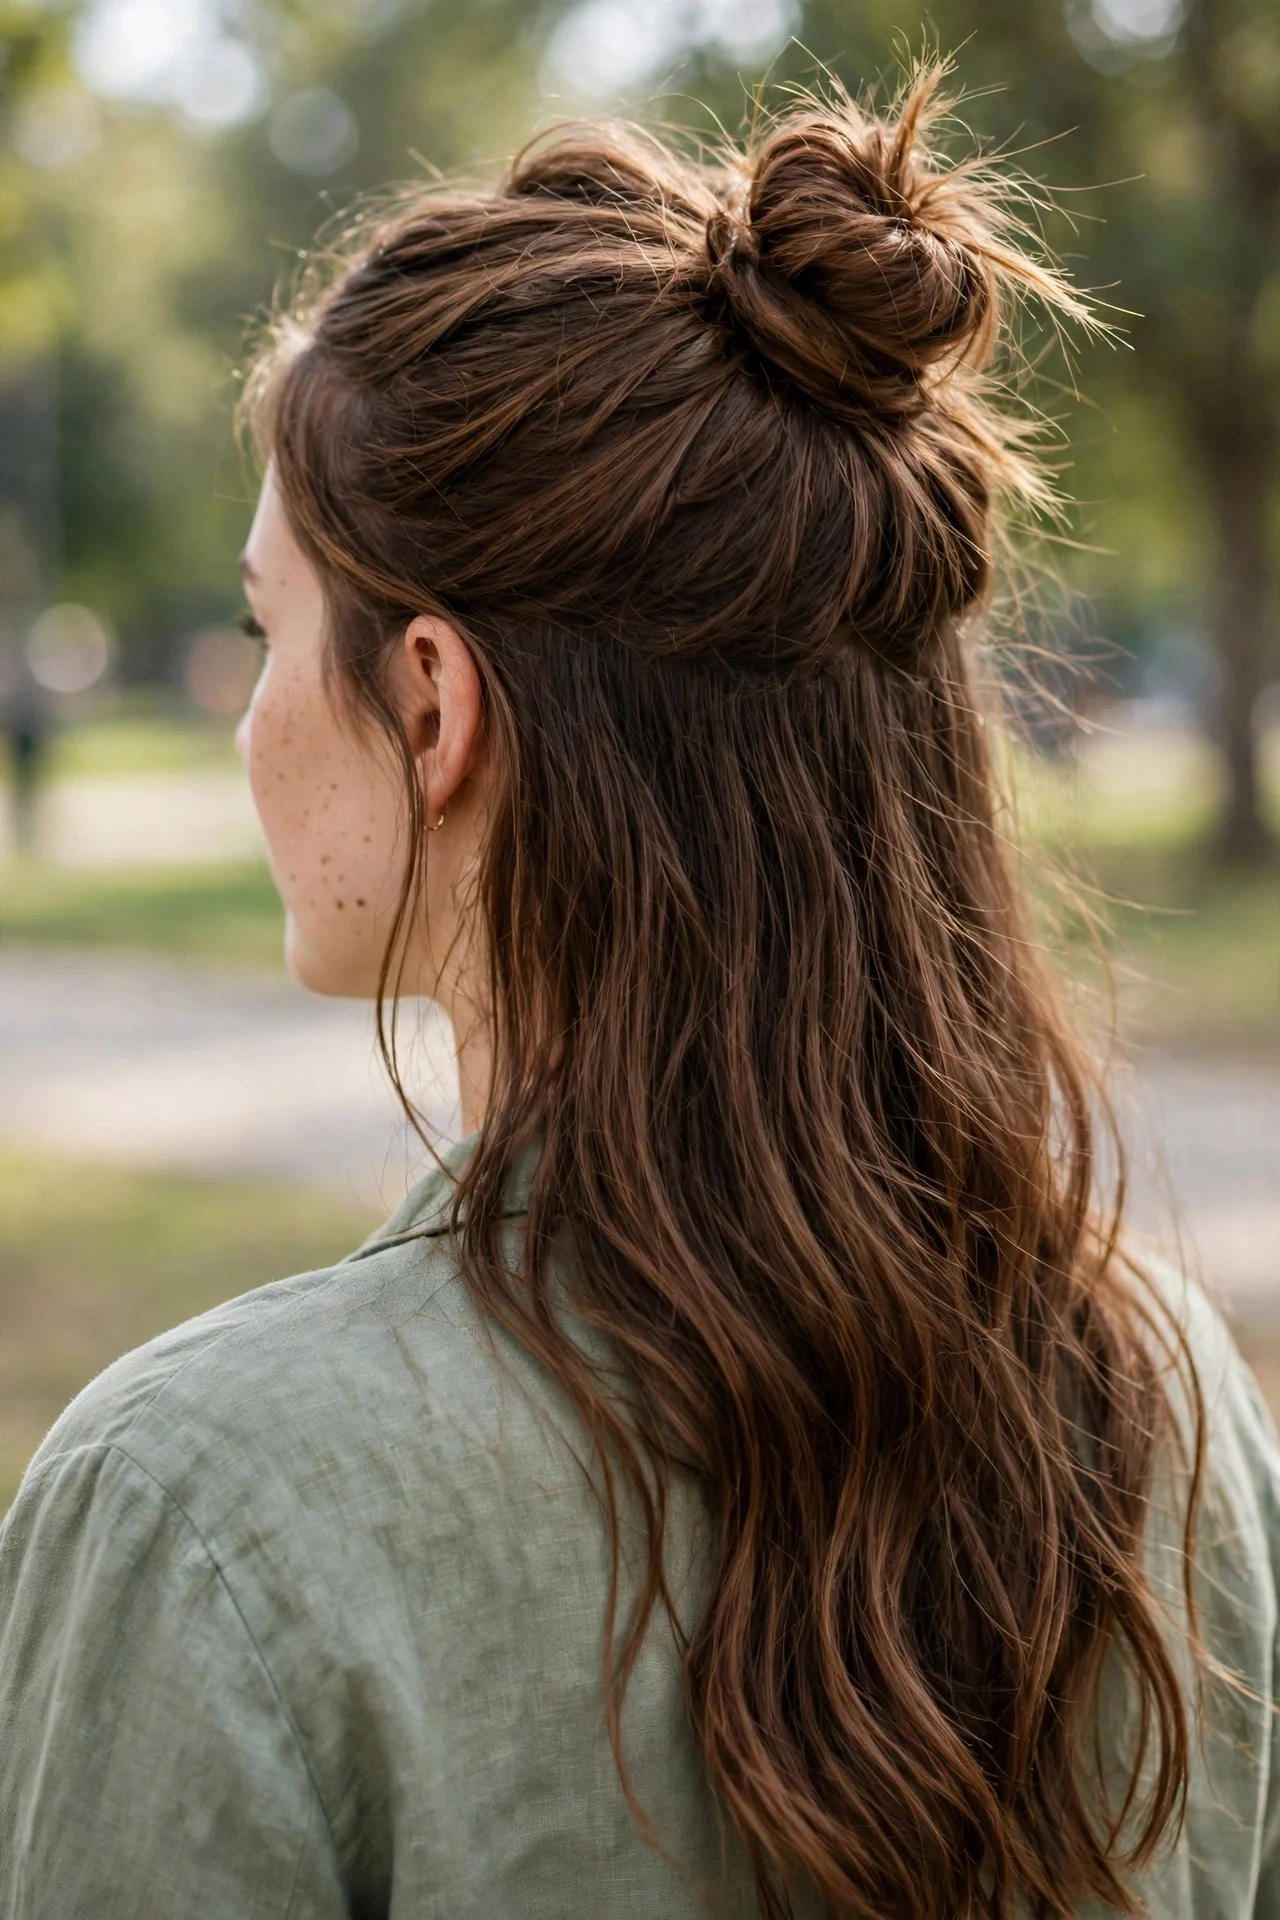
Take the top half of your hair from temple to temple and gather it into a ponytail at the crown, leaving the bottom half down. Loop the ponytail into a small bun and pin it, then tug it loose. The rest of your hair stays flowing, so you get the lifted, face-opening effect of an updo without committing to one. This works on chin-length hair and up, and it is especially flattering on round faces because of the crown height. It genuinely takes about thirty seconds, the fastest option here. The drawback is balance: if your bottom layer is heavy, the bun can look tiny, so backcomb the ponytail base lightly for proportion.
10The Sock-Free Volume Hack Bun
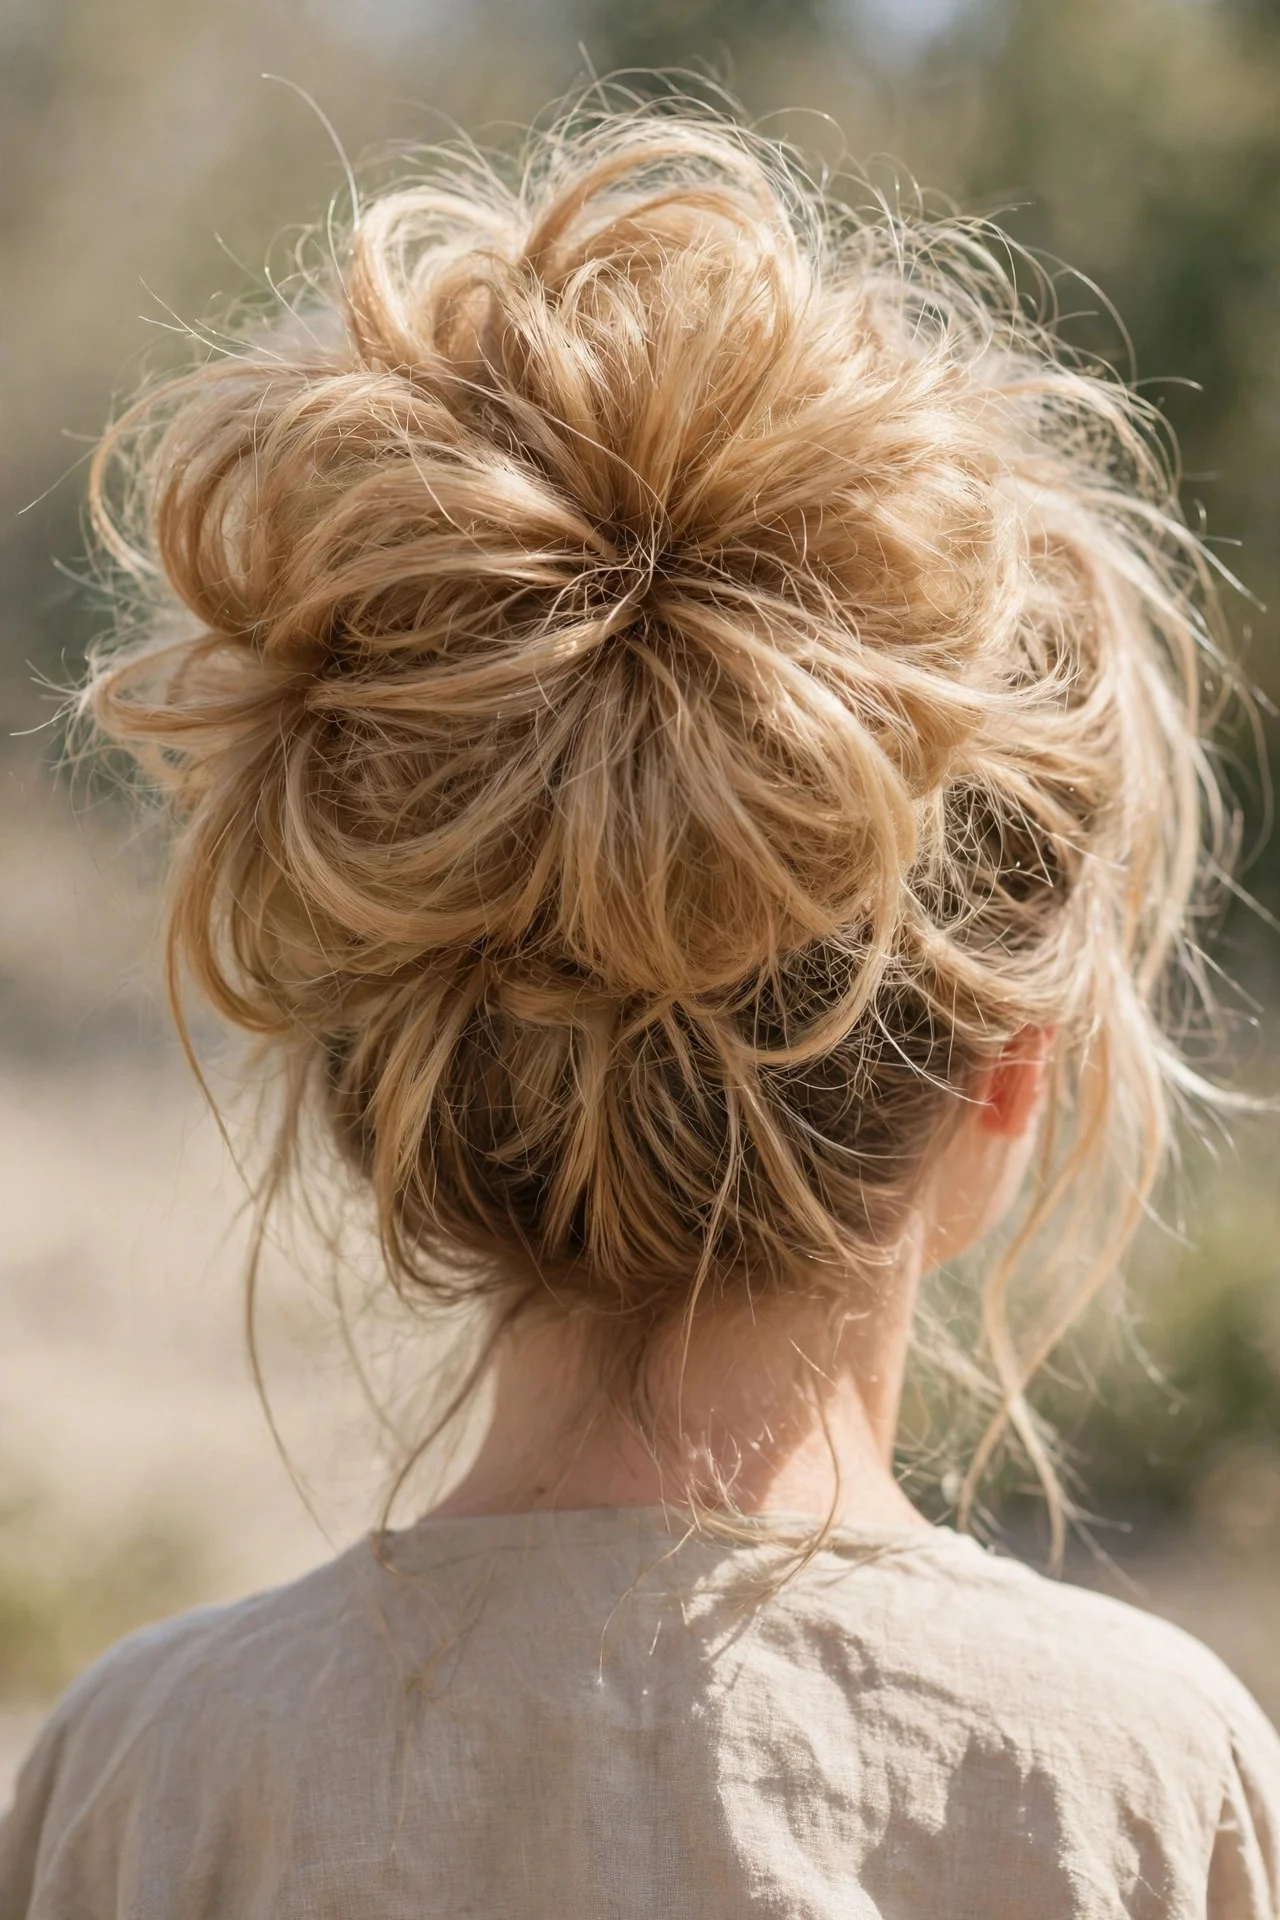
You do not need an actual sock donut for this. Make a ponytail, then backcomb the tail aggressively at the roots with a fine-tooth comb for ten seconds. Twist the teased hair loosely, coil it into a bun, and pin. The teasing creates a cushion of volume inside the bun, so the finished style looks twice as big as your actual hair. This is ideal for thin or fine hair and anyone whose buns always look small and sad. Maintenance is easy: a light mist of flexible hairspray locks the volume in. The real tradeoff is that frequent backcombing causes breakage over time, so save this one for days you want drama, not as your everyday bun.
How to Keep Your Messy Bun Looking Good All Day
Second-day hair is the best canvas because natural oils give grip that freshly washed hair lacks. If your hair is clean, a dry texturizing spray or a little dry shampoo at the roots recreates that grip in seconds. Keep three bobby pins and a spare elastic in your bag, since most midday bun failures are one slipped pin away from fixed. When you pin, push each bobby pin in against the direction the hair wants to fall so it locks instead of sliding. If pieces fall around your face, that is usually the style improving itself, so only repin what bothers you. At night, take everything out gently rather than pulling, and give your scalp a quick massage to release any tension from the day.
FAQs
How do I do a messy bun in 60 seconds on short hair?
Gather what you can at the crown, even if the nape pieces refuse to join, and secure with a small elastic. Pin the loose nape pieces up individually with bobby pins instead of forcing them in. Tug the bun wide for fullness and let the short ends stick out; on bob-length hair those ends are the texture. A mini claw clip can hold the whole thing if your elastic keeps slipping.
Why does my messy bun fall out so fast?
Clean, silky hair has nothing to grip, so pins slide out. Fix it with dry shampoo or texturizing spray before you start, and cross your bobby pins in X shapes over each other instead of placing them parallel. Also check that your base elastic is tight enough; a loose base means everything built on it shifts.
What is the difference between a messy bun and a top knot?
A top knot sits high and tight with a smooth finish, while a messy bun is defined by looseness, pulled-out pieces, and soft texture anywhere on the head. The messy bun is faster and more forgiving, and it hides unwashed hair better. If your “messy bun” looks too neat, pull more pieces loose until it relaxes.
Can I do a messy bun without bobby pins?
Yes, use the loop method: pull your ponytail only halfway through the elastic on the last pass so the tail end stays trapped under the loop, which anchors it. For extra hold, twist a second elastic over the whole bun. It will not survive a workout, but it holds fine for a casual day and takes about thirty seconds with zero pins.
How do I make my messy bun look intentional instead of sloppy?
Two details separate intentional from sloppy: a controlled silhouette and deliberate face-framing pieces. Keep the bun roughly centered where you placed it, widen it evenly rather than lopsided, and pull out symmetrical strands at the temples. Smooth the hairline lightly with your palms so the front looks groomed while the back stays relaxed.
Keep exploring
If the one-minute bun becomes your signature, there is a whole world of loose updos to play with next. Try these 15 Messy Bun Variations for Every Hair Length (2026) when you want a fresh shape for your exact length, or grab one of these 10 Quick Updos for Work for styles that survive a full office day. And if sleek is more your mood some mornings, these 12 Slicked-Back Bun Tutorials show the polished side of the same family.