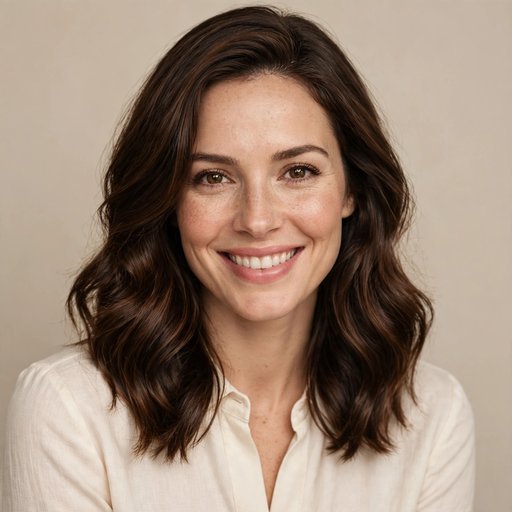
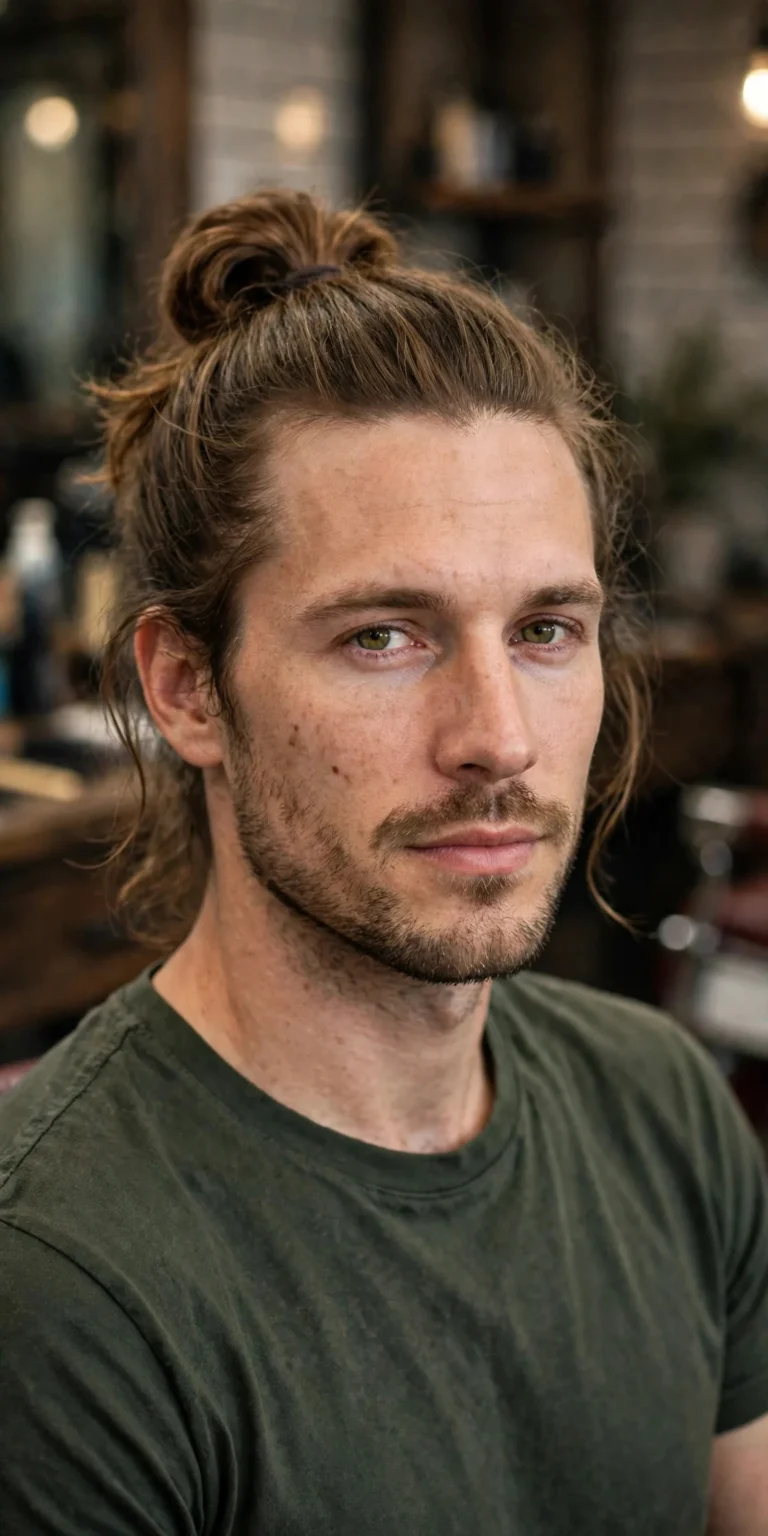
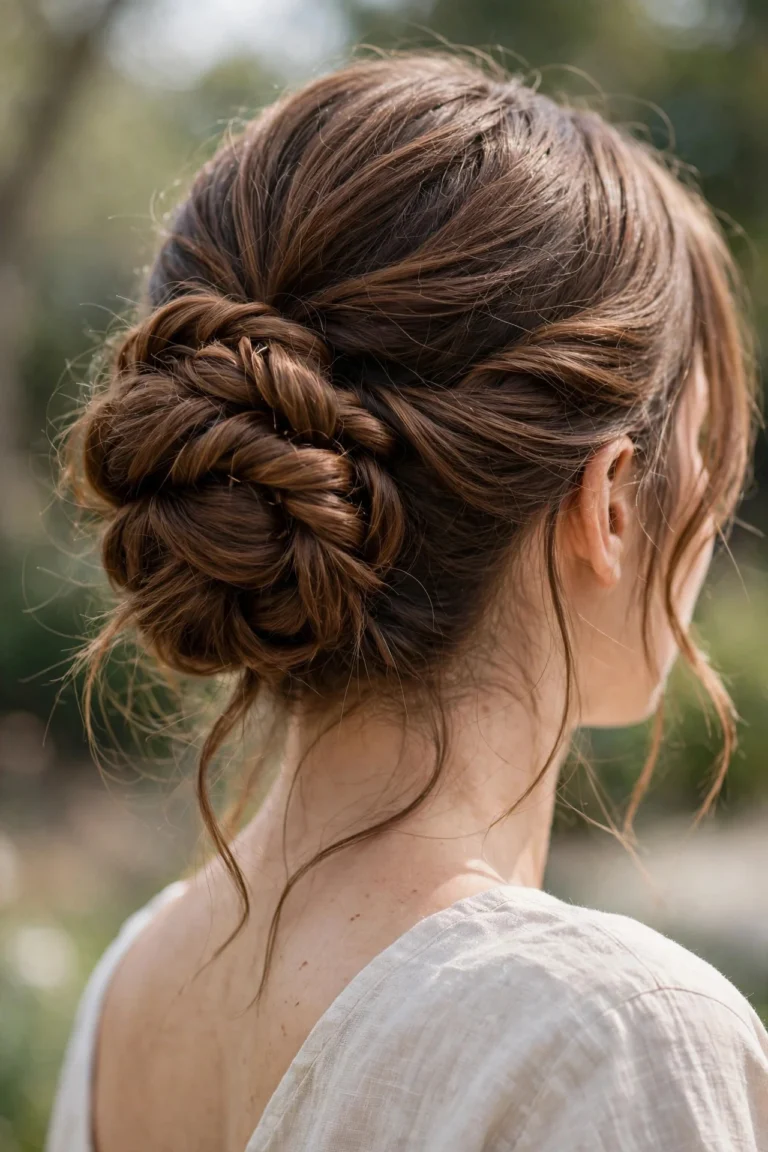
The messy bun survives bad hair days, gym sessions, and weddings alike. Quick and forgiving.
What makes it worth learning is the range. A messy bun on short hair is a different animal than one on waist-length waves. Here are fifteen versions for every length and texture, with honest notes on effort and upkeep.
1The Classic High Messy Bun
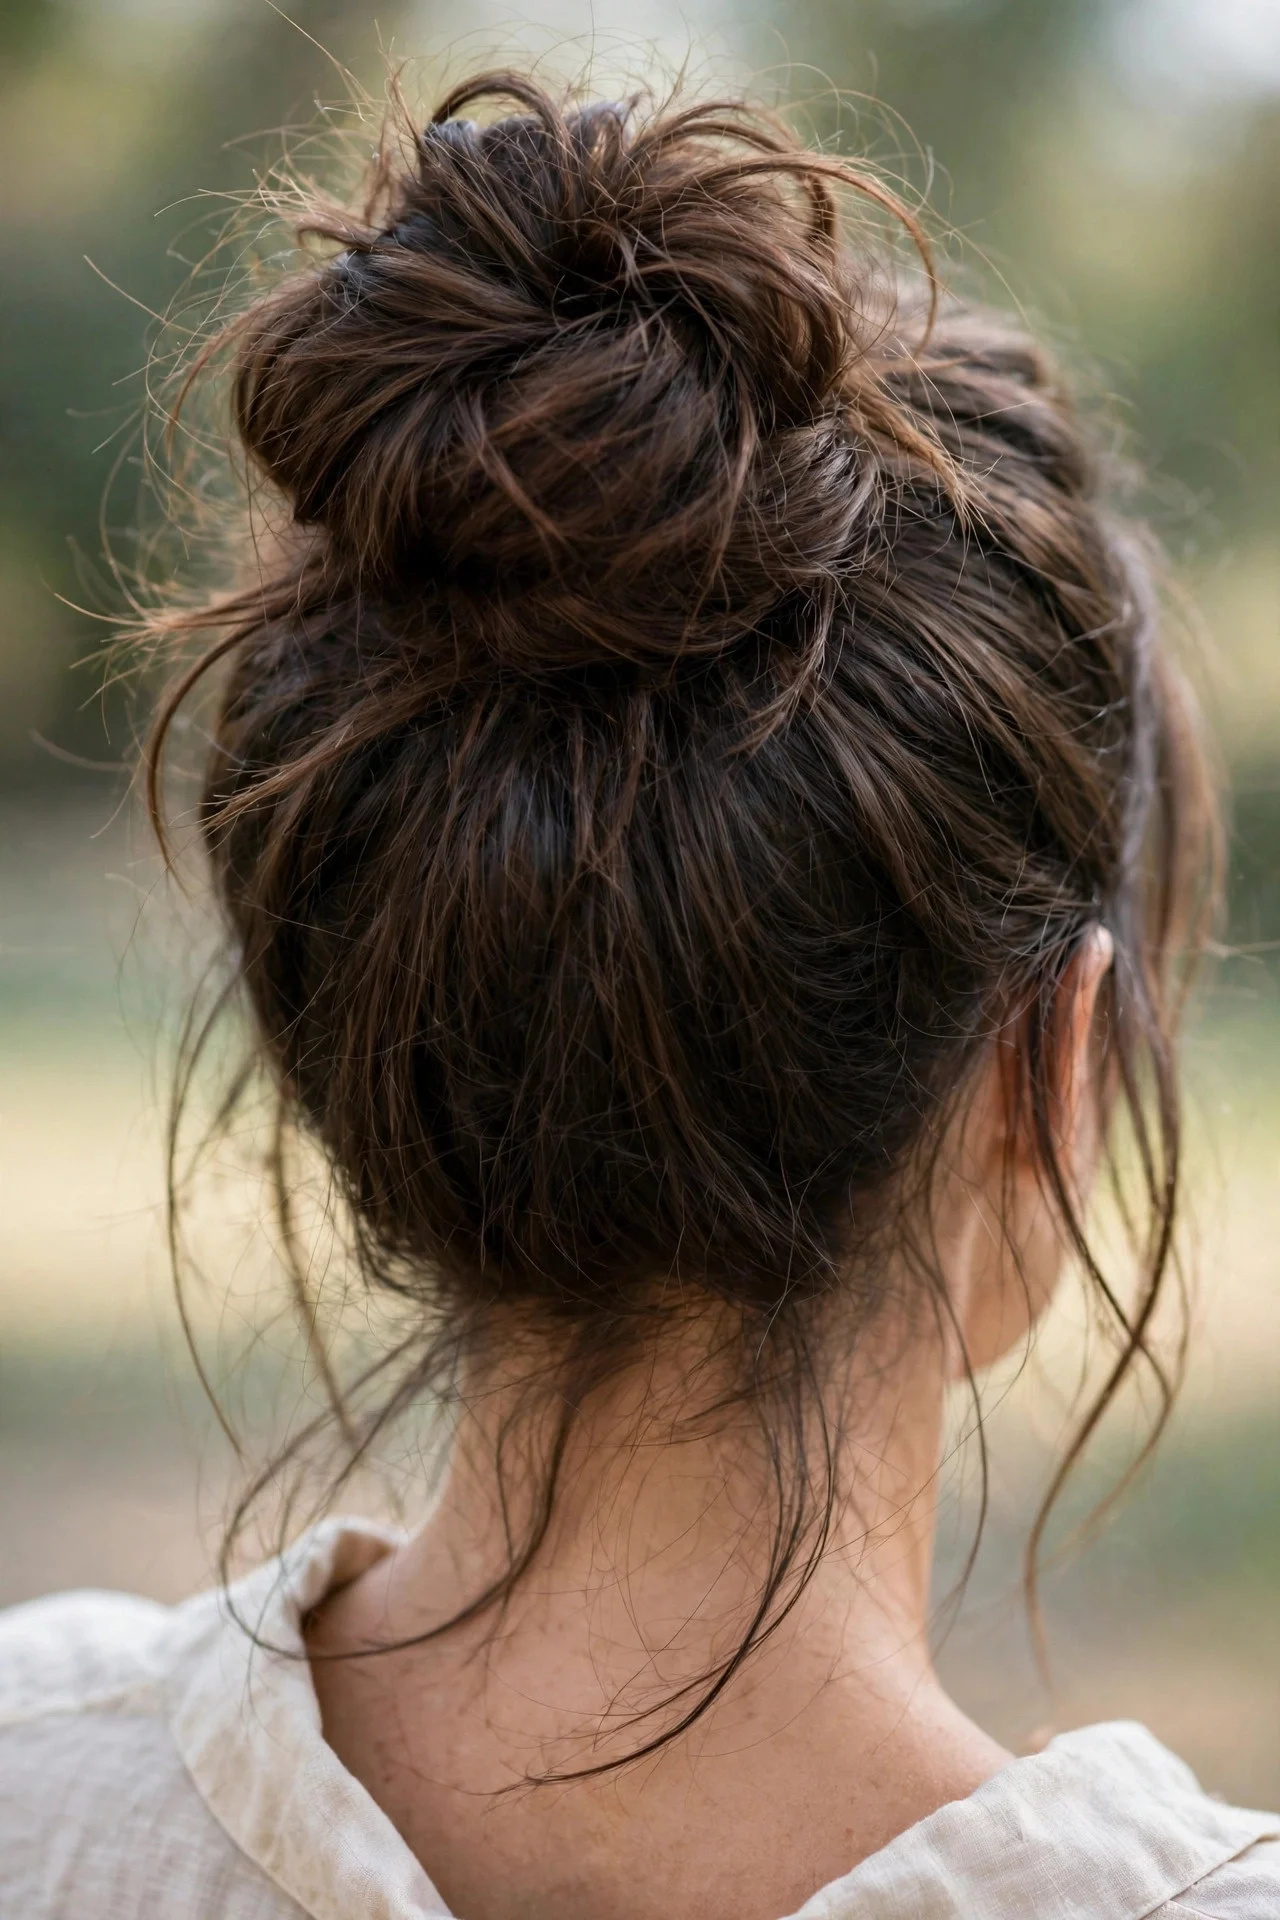
This is the one everyone pictures: a loose, airy knot high on the crown, tendrils falling soft and loose around the face. Flip your head upside down, gather into a ponytail, twist, wrap, and pin. Pull out face-framing pieces and tug at the sides for volume. It suits oval and heart-shaped faces, and works on medium to long hair with some natural texture. Second-day hair holds it better. Honest drawback: on fine hair it can look sparse without backcombing or dry shampoo at the roots, so keep both within reach.
2Low Chignon Messy Bun

A low, relaxed knot at the nape is the grown-up messy bun, and it photographs beautifully. Gather hair into a low ponytail, loop it through the elastic twice, then tuck and pin the ends around the base. Leave a few pieces loose near the ears. It flatters longer necklines and shows off earrings. Medium to long hair gets the best result here, especially hair with some natural wave. The drawback is that it loosens during the day, so carry two extra pins and expect to re-tuck the ends after a few hours.
3Half-Up Messy Bun
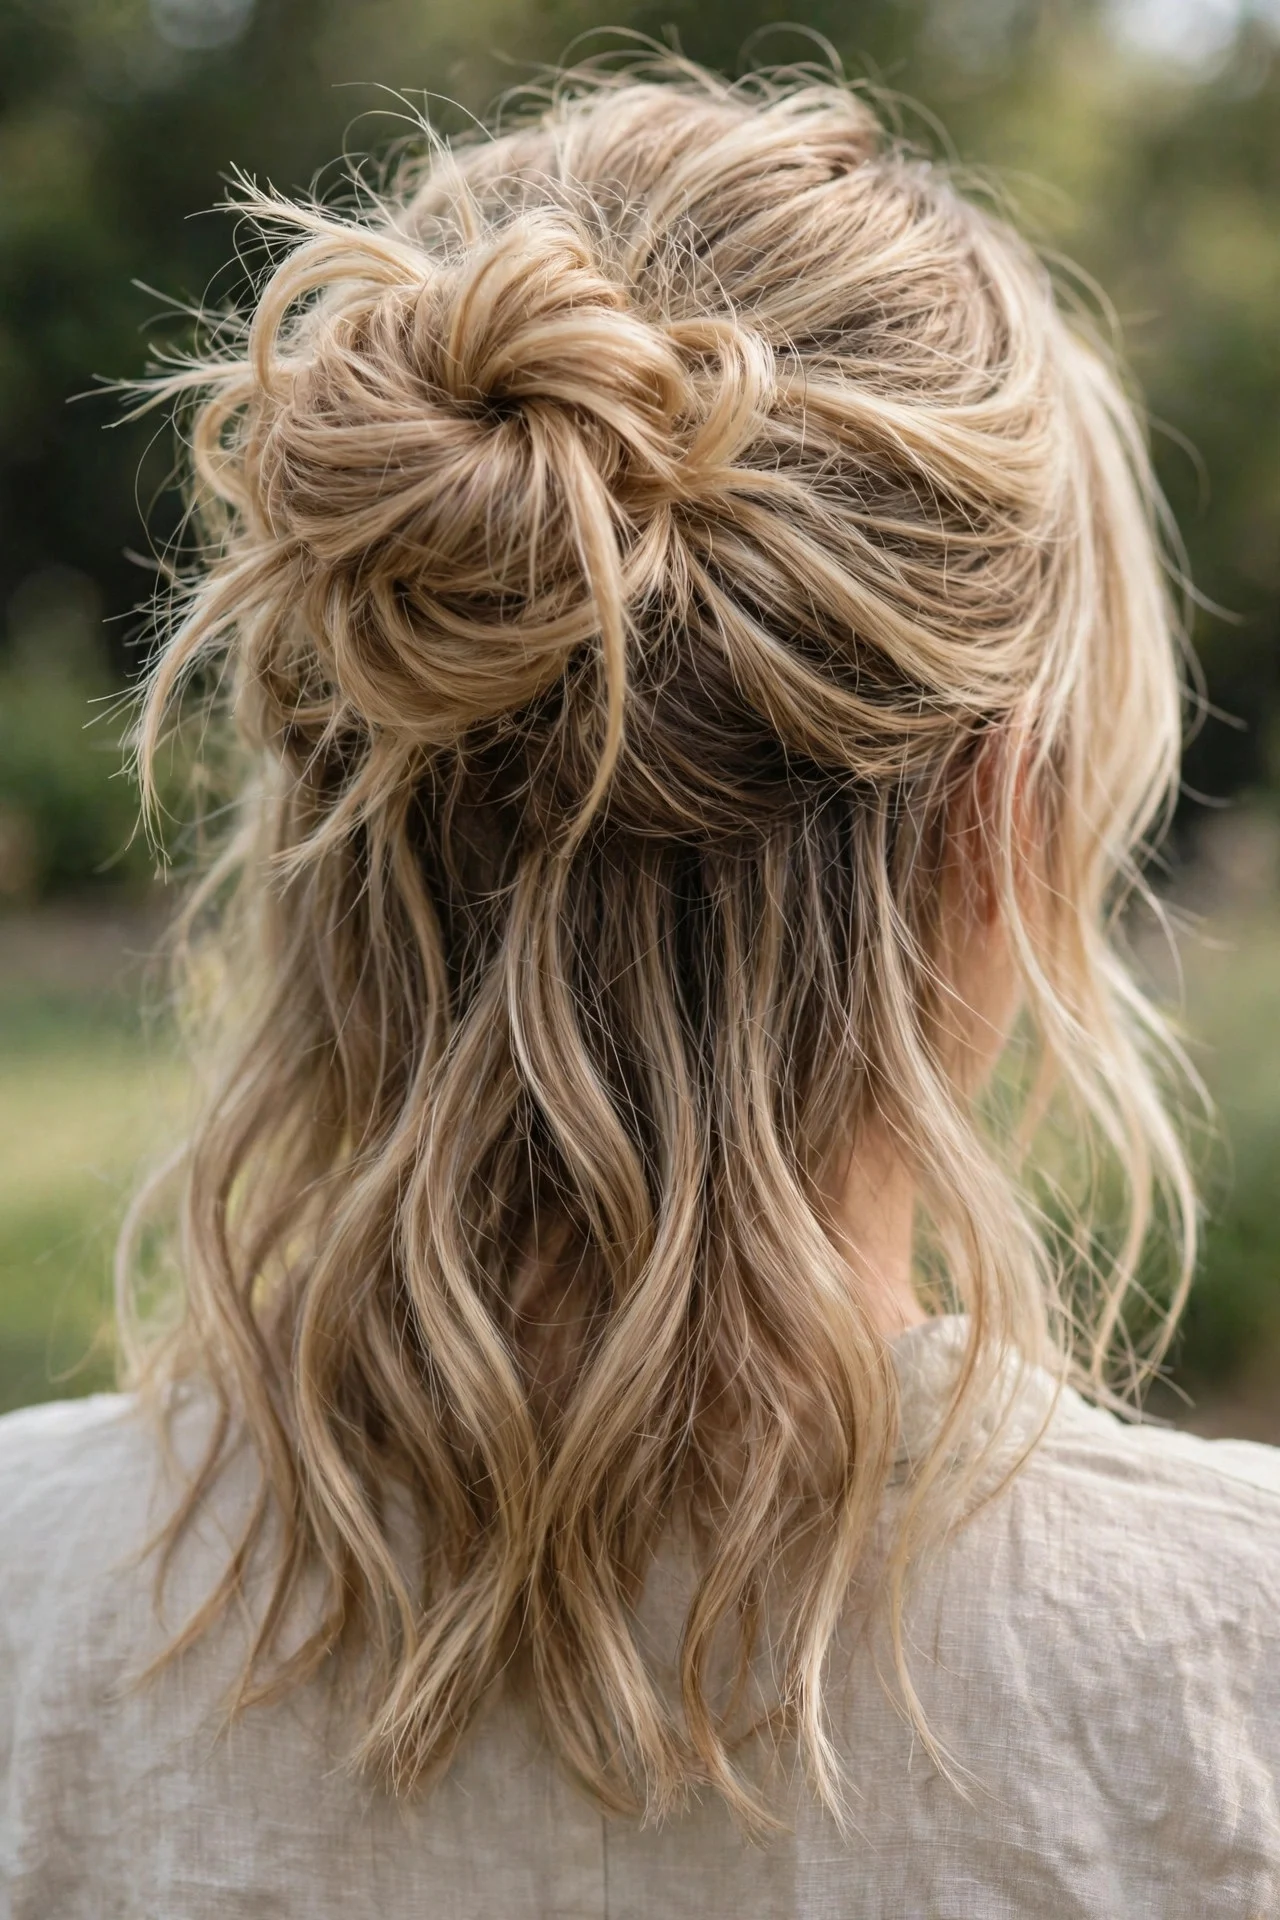
Perfect for anyone who wants the fun of a bun without the full updo commitment. Take the top half of your hair and twist it into a loose bun at the crown while the bottom half stays down. It suits thick hair well, since the bottom layer’s weight keeps things from looking top-heavy. Ask your stylist for soft layers around the face for movement. Upkeep is minimal, just smoothing serum on the lengths. The drawback: on very fine hair the top section can look thin, so backcomb lightly or add a clip-in.
4Short Hair Mini Messy Bun
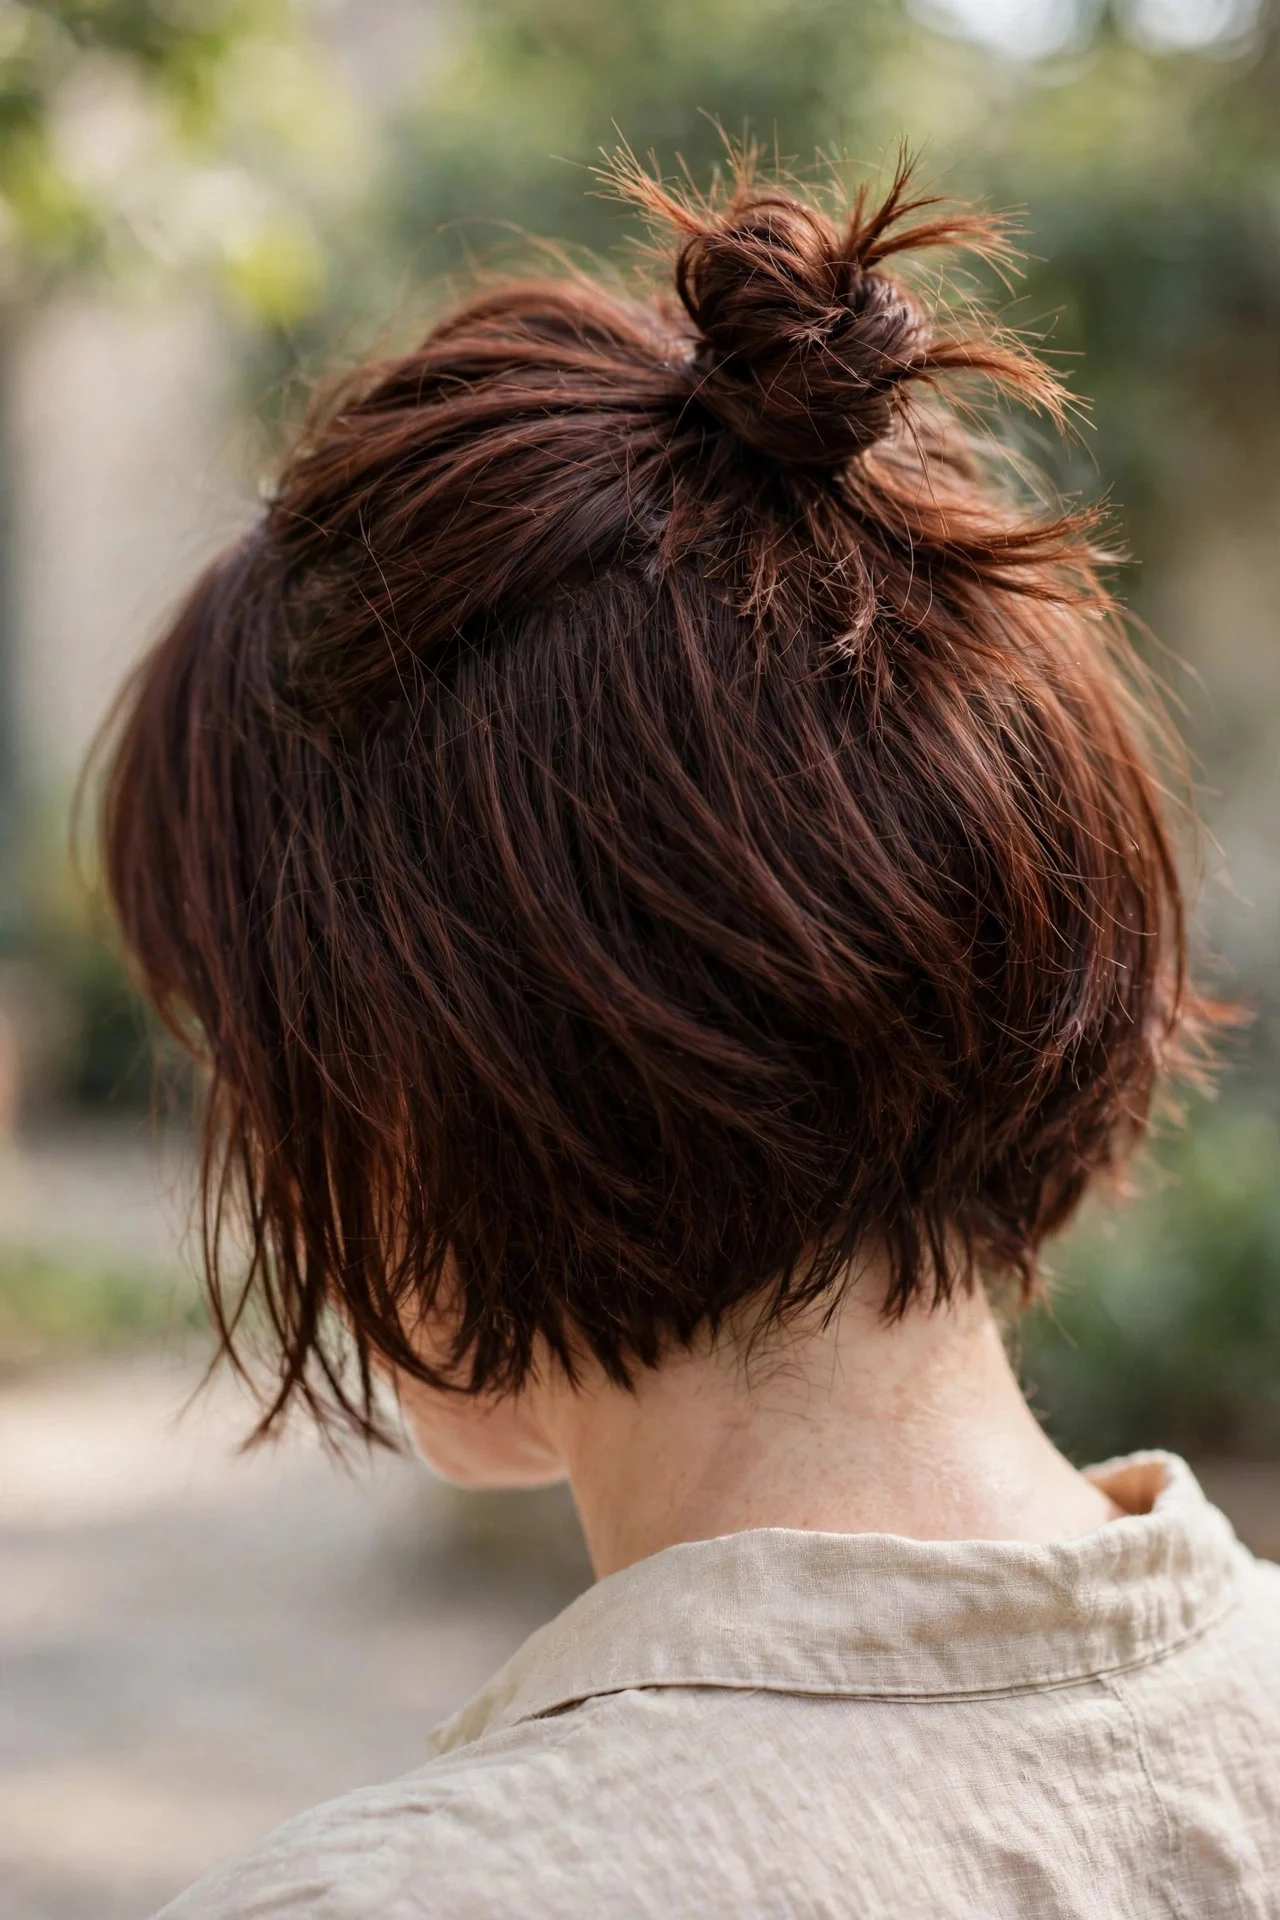
Short hair (bob length and shorter) can absolutely do a messy bun, it just looks different. Gather the top and sides into a small bun at the crown or slightly off-center, letting the nape hairs stay loose or pinning them. A small clear elastic and matte texture paste give the best hold on shorter layers. This suits round and square faces because the height on top lengthens the face. The drawback is that shorter layers slip out, so expect a lived-in effect within an hour and keep mini pins handy.
5Double Messy Space Buns

Two loose buns, one on each side of the crown, give a playful look that still works on adults when kept soft and undone. Part hair down the middle, make two high ponytails, twist each loosely, wrap, pin, and shape. Pull out face-framing strands and gently pancake the buns for fullness. Best on medium to long hair; fine hair benefits from dry shampoo first. They suit festival outfits and younger faces, and upkeep is simple enough. Drawback: even buns take practice, so check with a hand mirror the first few times.
6The Sock Bun Gone Messy
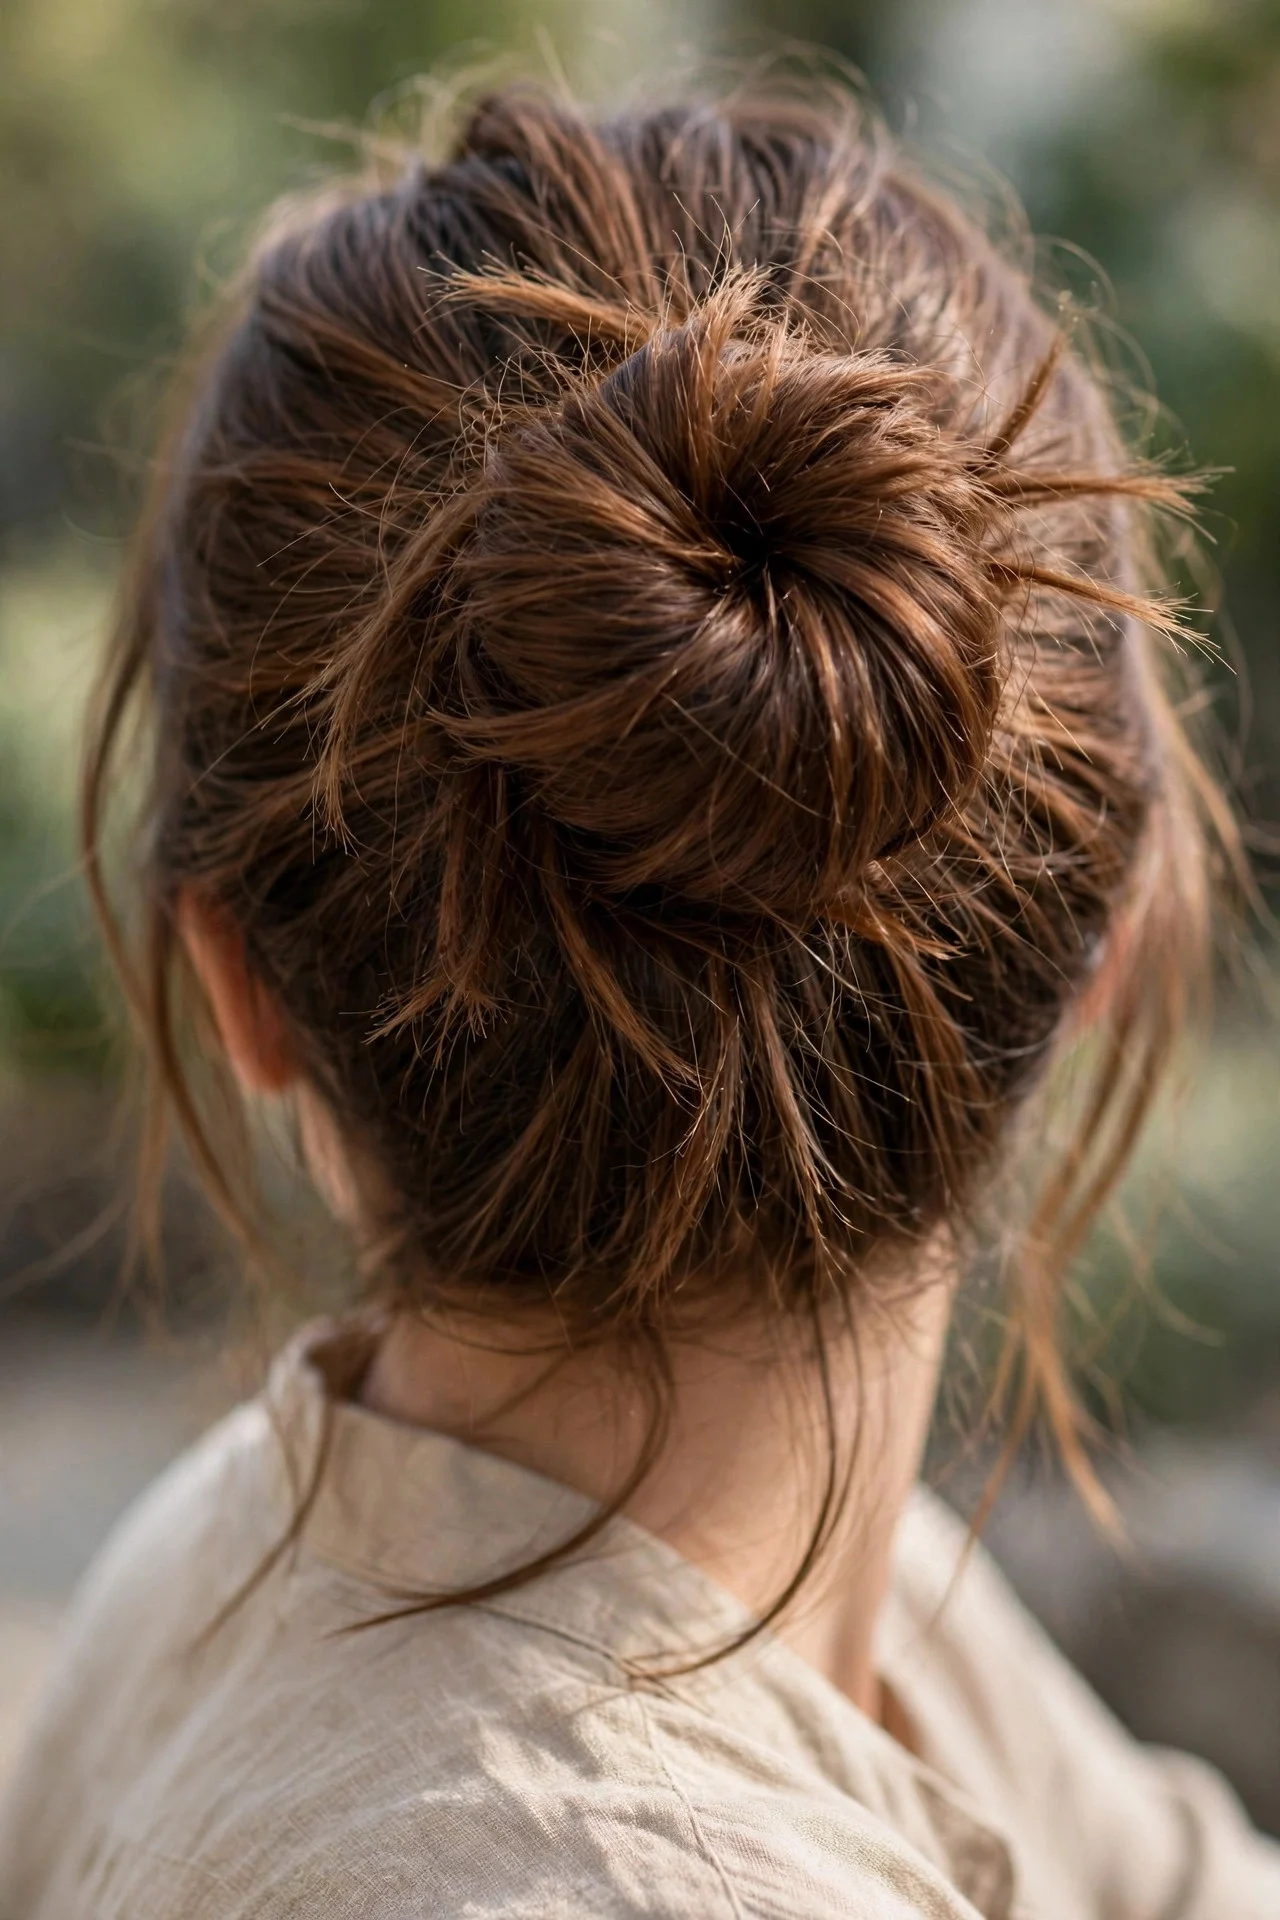
A sock bun form (or donut) sounds like it only makes neat buns, but leaving the ends free and pulling pieces out turns it into a full, textured messy version. Pull hair through the donut, spread the ends over it, secure with an elastic, then tug out strands all around. This is a lifesaver for fine or thin hair because the form adds volume you cannot fake, and it suits formal-ish settings. Drawback: it reads more done than truly messy, so rough it up aggressively and accept that some smoothness remains.
7Messy Bun with a Headband
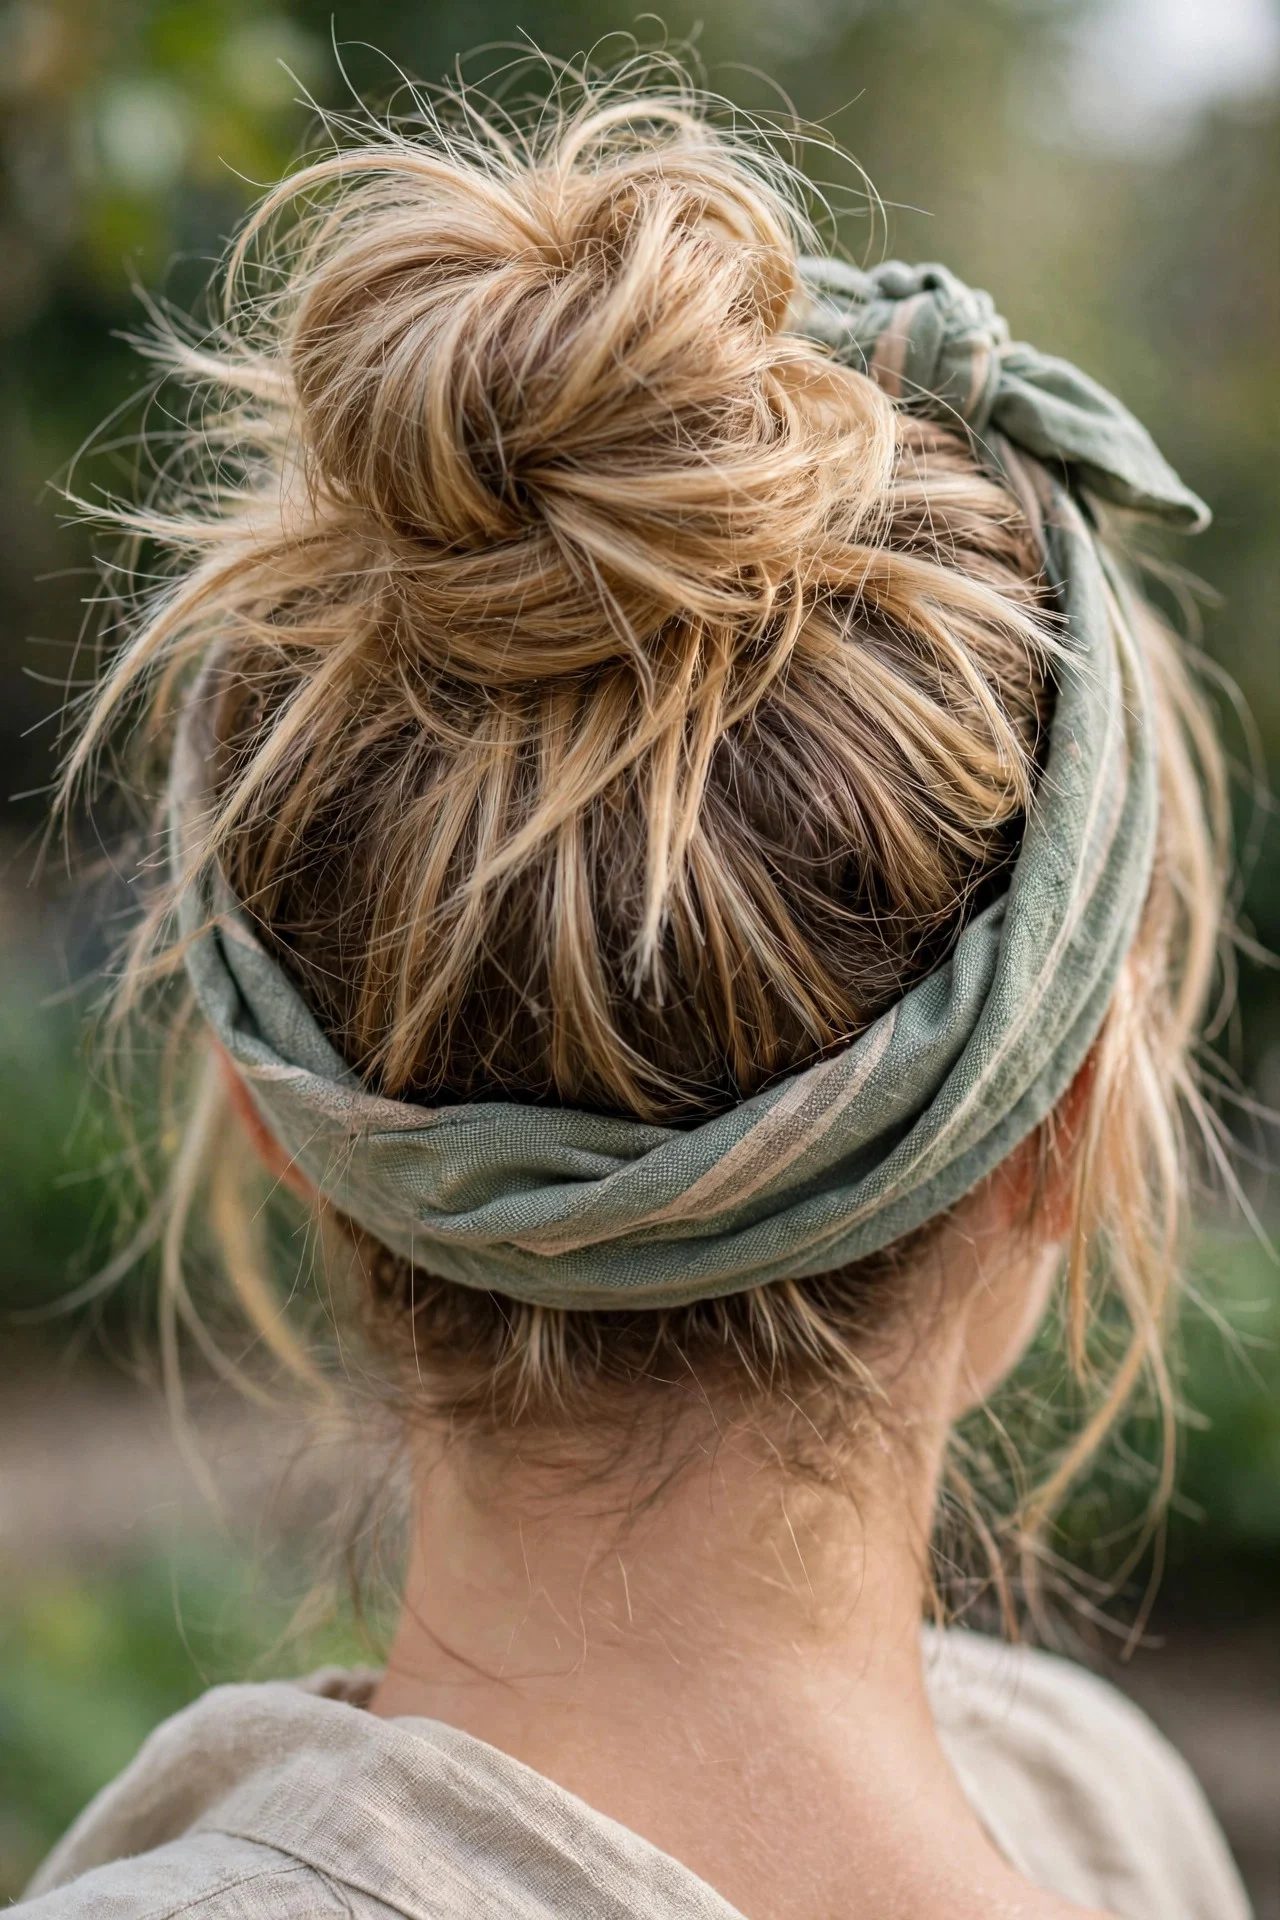
A headband, either a wide fabric one or a thin braid, instantly dresses up and refreshes a basic messy bun and hides unwashed roots at the hairline. Make your usual high or low bun, then slide the headband on about an inch behind the hairline and puff the front slightly. Works on every length from lob to long, and suits busy mornings and second-day hair. The drawback is that headbands slip on silky hair, so choose one with a velvet or silicone grip, or anchor it with pins behind the ears.
8Side-Swept Messy Bun
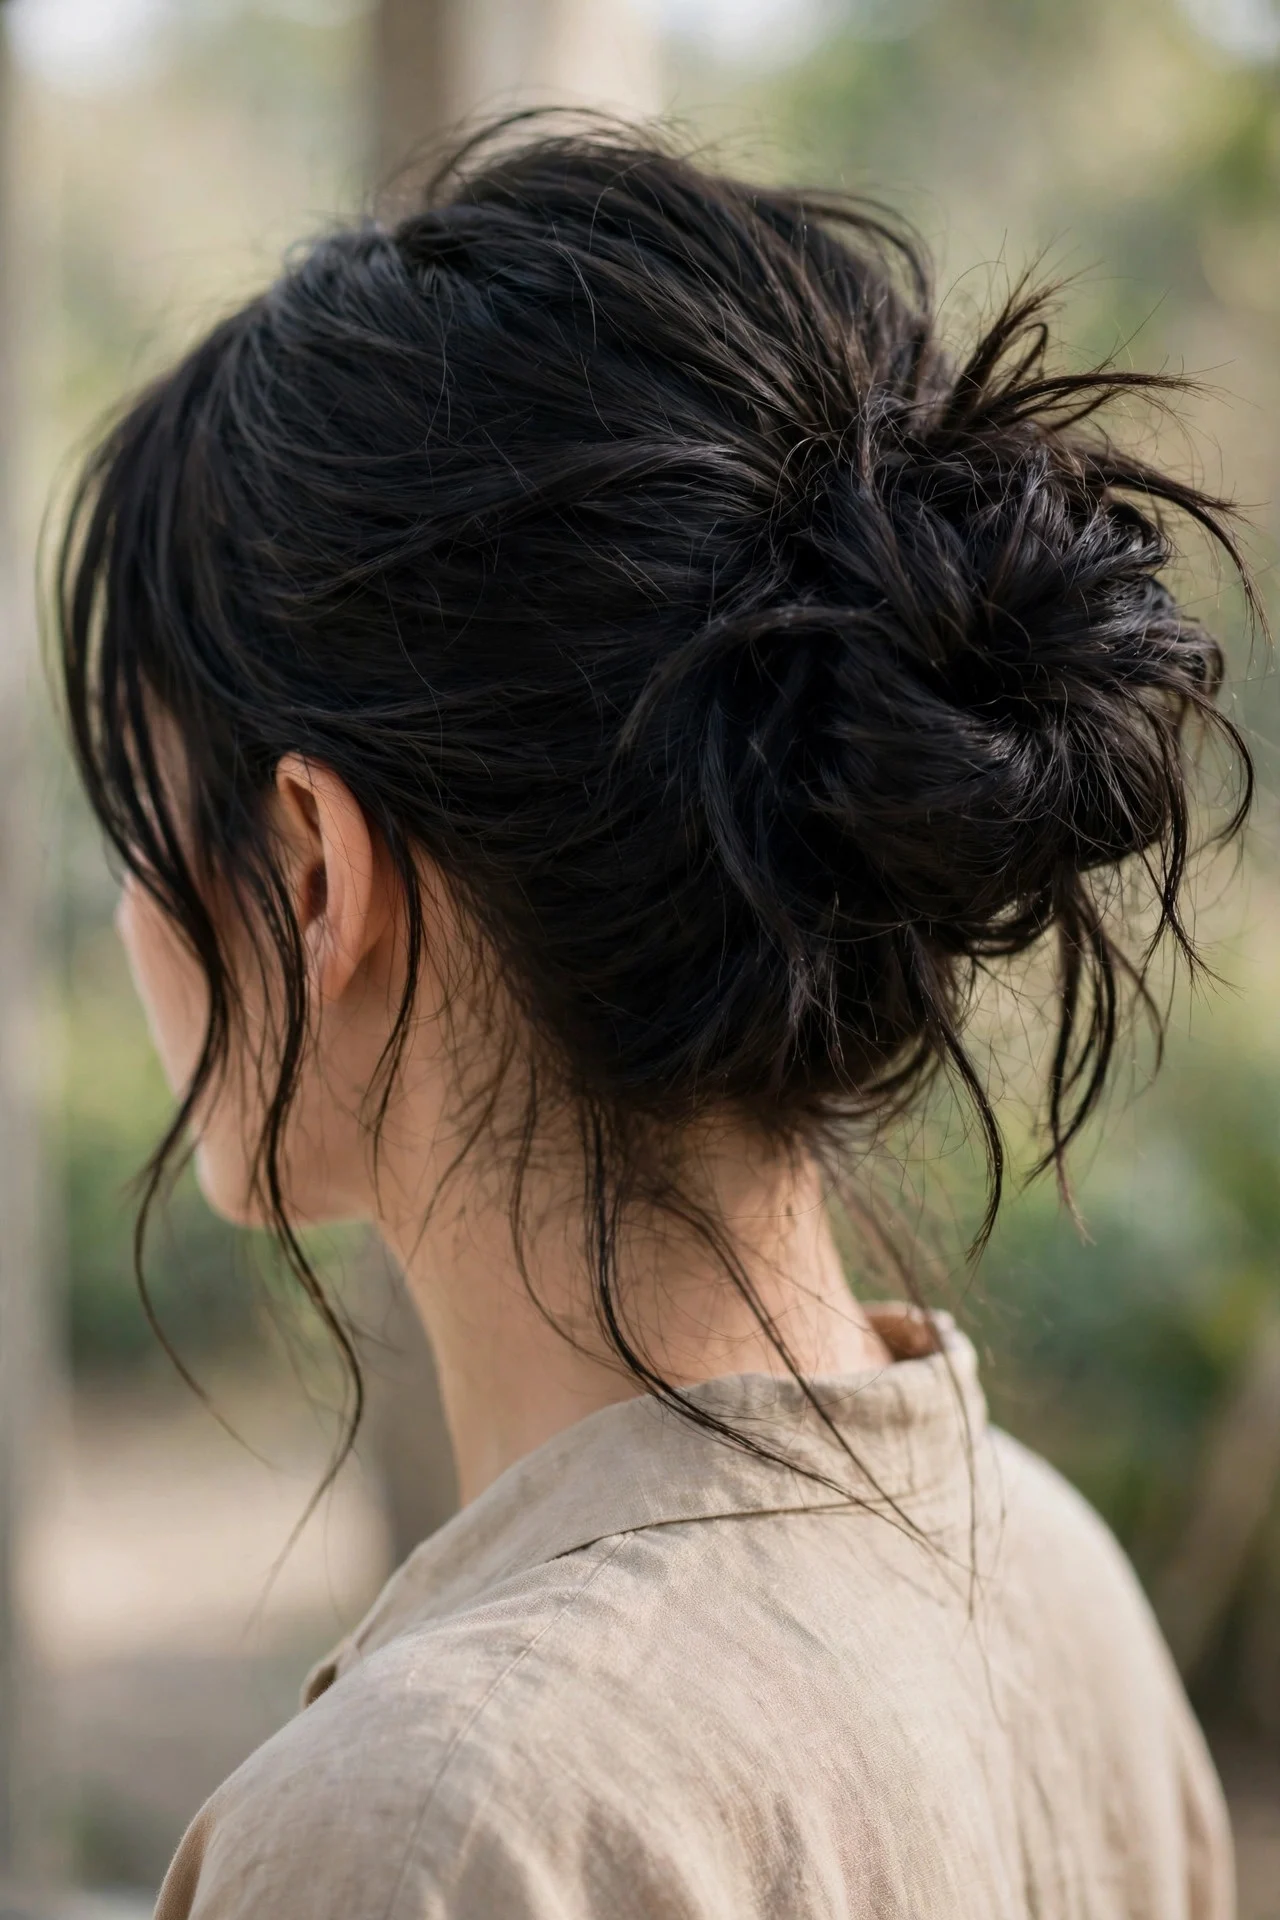
Instead of centering the bun, place it low behind one ear for a romantic, editorial look. Sweep all hair to one side, secure into a low ponytail behind the ear, twist loosely and pin into a soft knot, leaving the opposite side’s hairline pieces free. Lovely for weddings and evening events, and it flatters rounder faces because the asymmetry adds welcome structure and movement. Medium to long hair works best for this style, especially hair with some texture. Drawback: it can migrate toward center during the day, so anchor with crossed bobby pins.
9The Braided Messy Bun
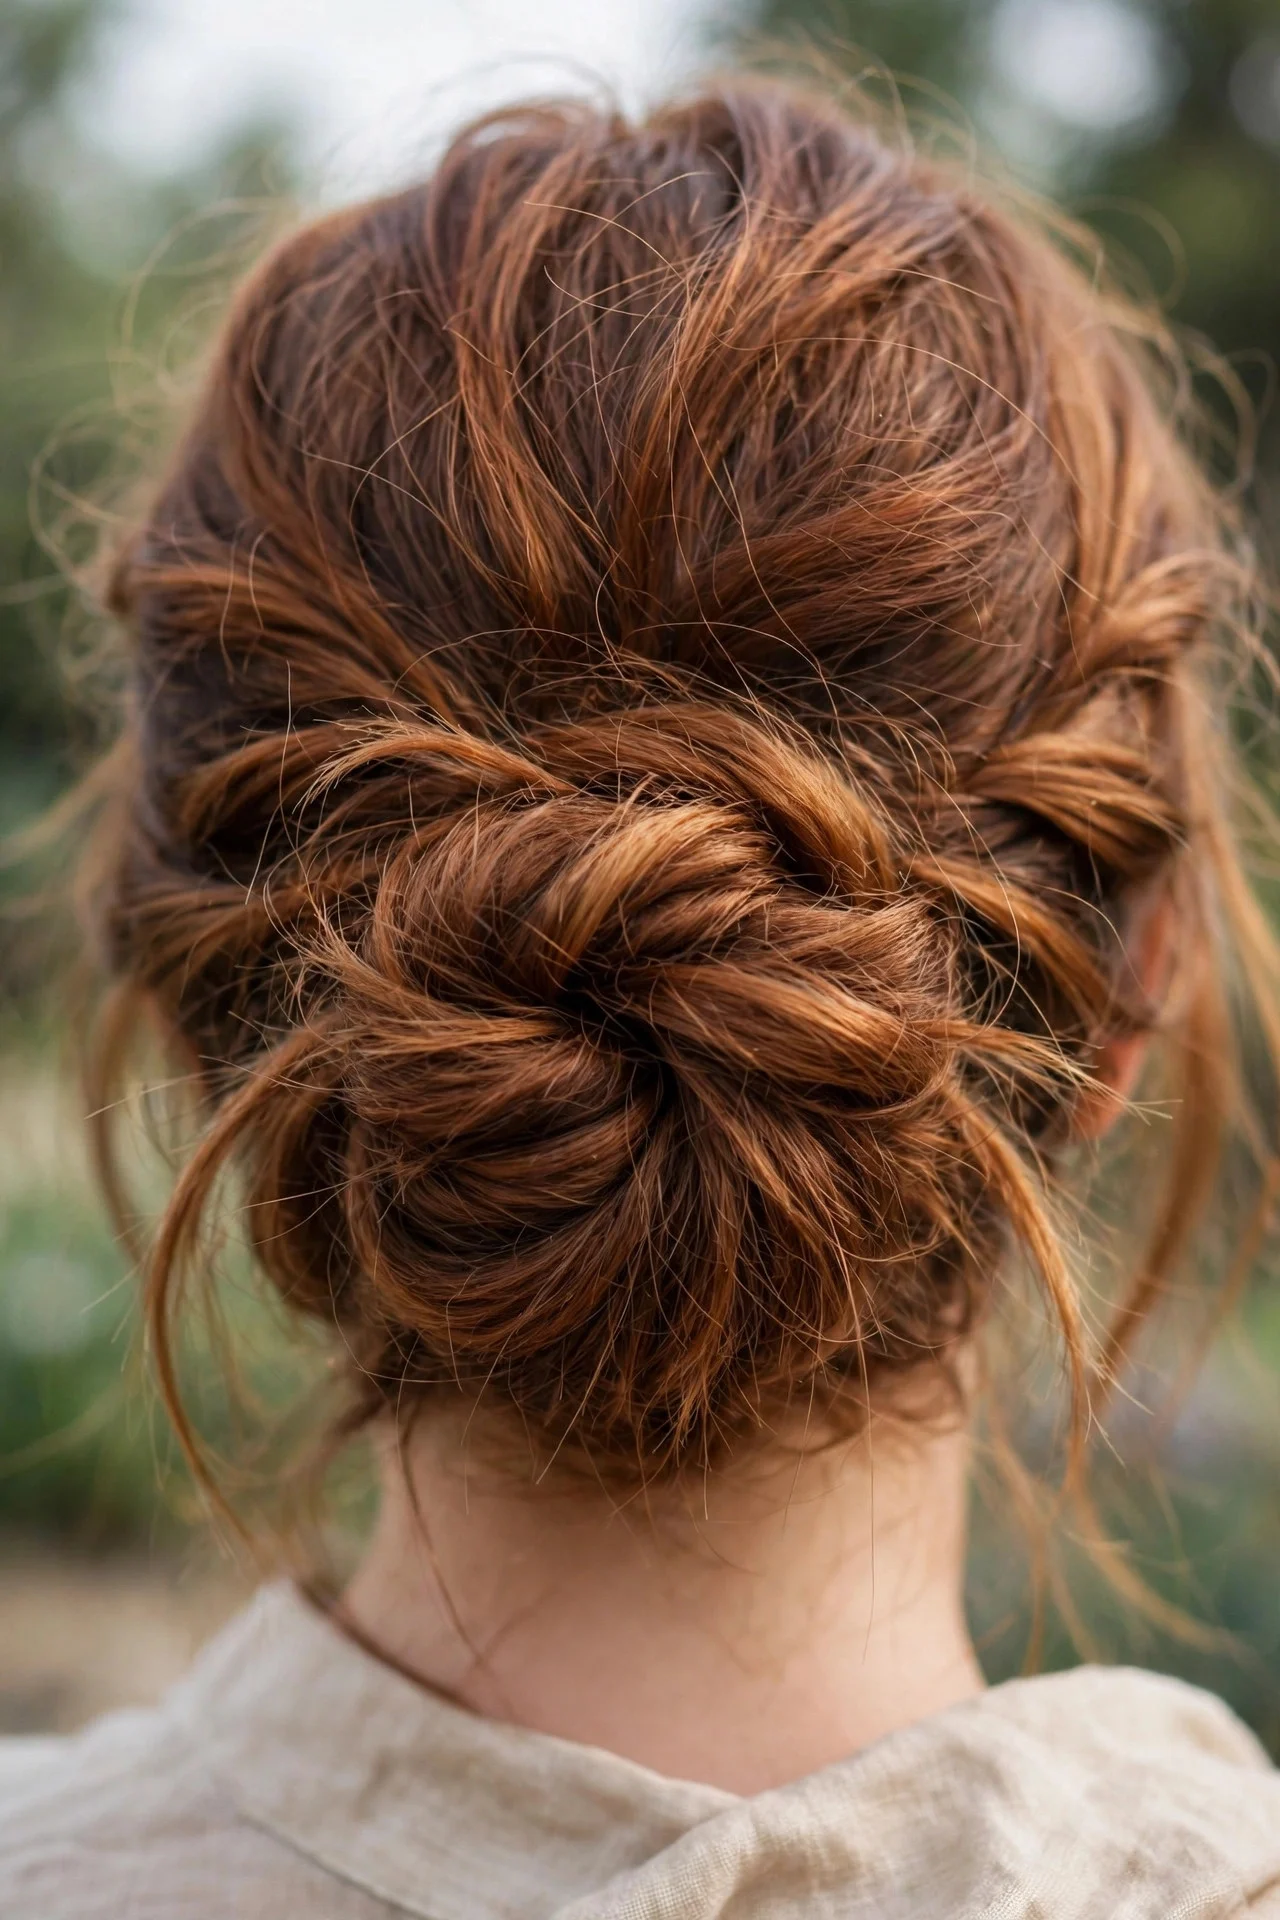
Adding a braid before the bun gives texture and keeps layers in place, which makes this ideal for layered cuts. Make a loose three-strand braid from the ponytail, then wrap it into a bun, pulling out pieces for softness. Or braid one side from temple to crown and gather everything into the bun. It suits thick, layered, or frizzy hair. Drawback: it takes extra minutes and some braiding skill, and if the braid is too tight the style reads polished instead of messy, so keep it loose from the start.
10Pineapple Messy Bun

Borrowed from curly hair routines, the pineapple bun piles everything loosely at the very top of the head, letting curls spill freely instead of being twisted down. Gather hair very loosely at the crown with a soft scrunchie or loose elastic and let the curls cascade. It suits curly, coily, and wavy textures perfectly and protects the curl pattern overnight. The added height flatters round faces nicely. Drawback: on straight or fine hair it collapses fast and looks like a floppy ponytail, so this one really belongs to textured hair types.
11Low Messy Bun with Face-Framing Layers

This version keeps the knot low and relaxed but leaves soft face-framing layers or curtain bangs loose in front. Gather the back into a low bun, secure it loosely, then pull out the front pieces and curl them lightly away from the face. Ask your stylist for long front layers to work with. It suits square and heart-shaped faces because the soft front pieces balance stronger features. Drawback: if your front layers are too short they will not stay put, so grow them past chin length or fake it with clip-ins.
12Twisted Crown Messy Bun
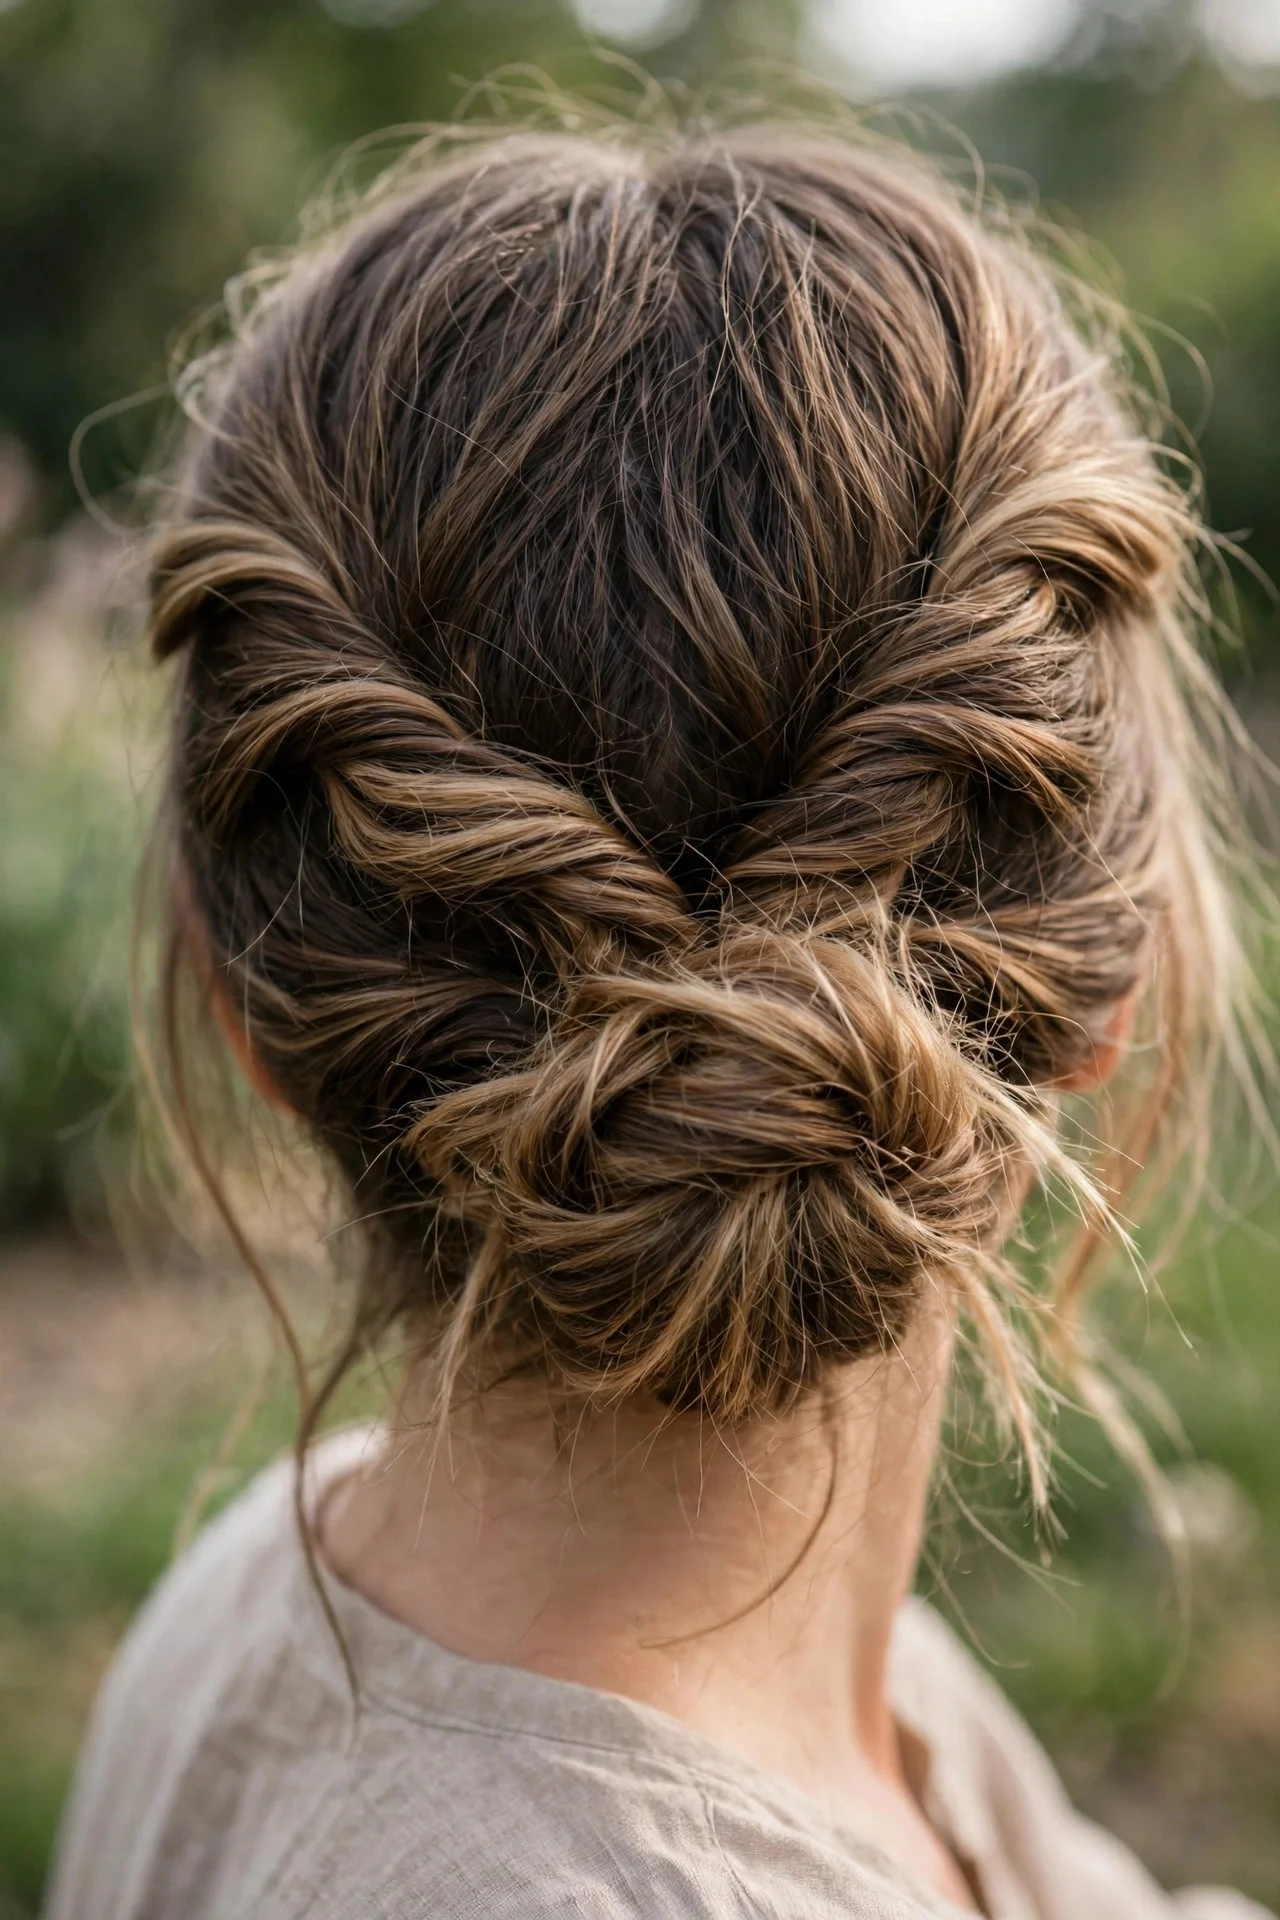
Instead of a ponytail base, twist two sections from each side of the head toward the back, then coil everything into a low bun. The twists add built-in texture that reads romantic without needing any braiding skill at all. It suits medium to long hair and works well on fine hair because the twists create the illusion of thickness. Great for date nights, garden parties, and outdoor events. Drawback: the twists can unravel on very silky hair, so use a light-hold texture spray before twisting and pin generously at the nape.
13The Bubble Messy Bun

For extra-long hair, the bubble bun turns length into an asset. Make a ponytail, add elastics every few inches down the length, and gently tug each section outward to create rounded bubbles, then coil it up or leave it hanging. For a true messy version, pancake each bubble aggressively and pull out strands. It suits thick, long hair and makes a statement at parties. Drawback: it uses a lot of elastics, takes ten minutes or more, and thin hair will not bubble convincingly, so this is really a thick-hair-only trick.
14Messy Bun with Scarves or Ribbons

Wrapping a silk scarf or ribbon around the base of the bun adds color, pattern, and hides a multitude of sins, including bobby pins and uneven sections. Make any messy bun, then tie the scarf around the base with the ends trailing or knotted into a bow. This works on every length and refreshes the same bun for a second day, suiting absolutely all face shapes. Drawback: scarves can feel bulky with very thick hair, and cheap satin ribbons slide, so choose real silk or cotton and tie it firmly.
15The 60-Second Messy Bun
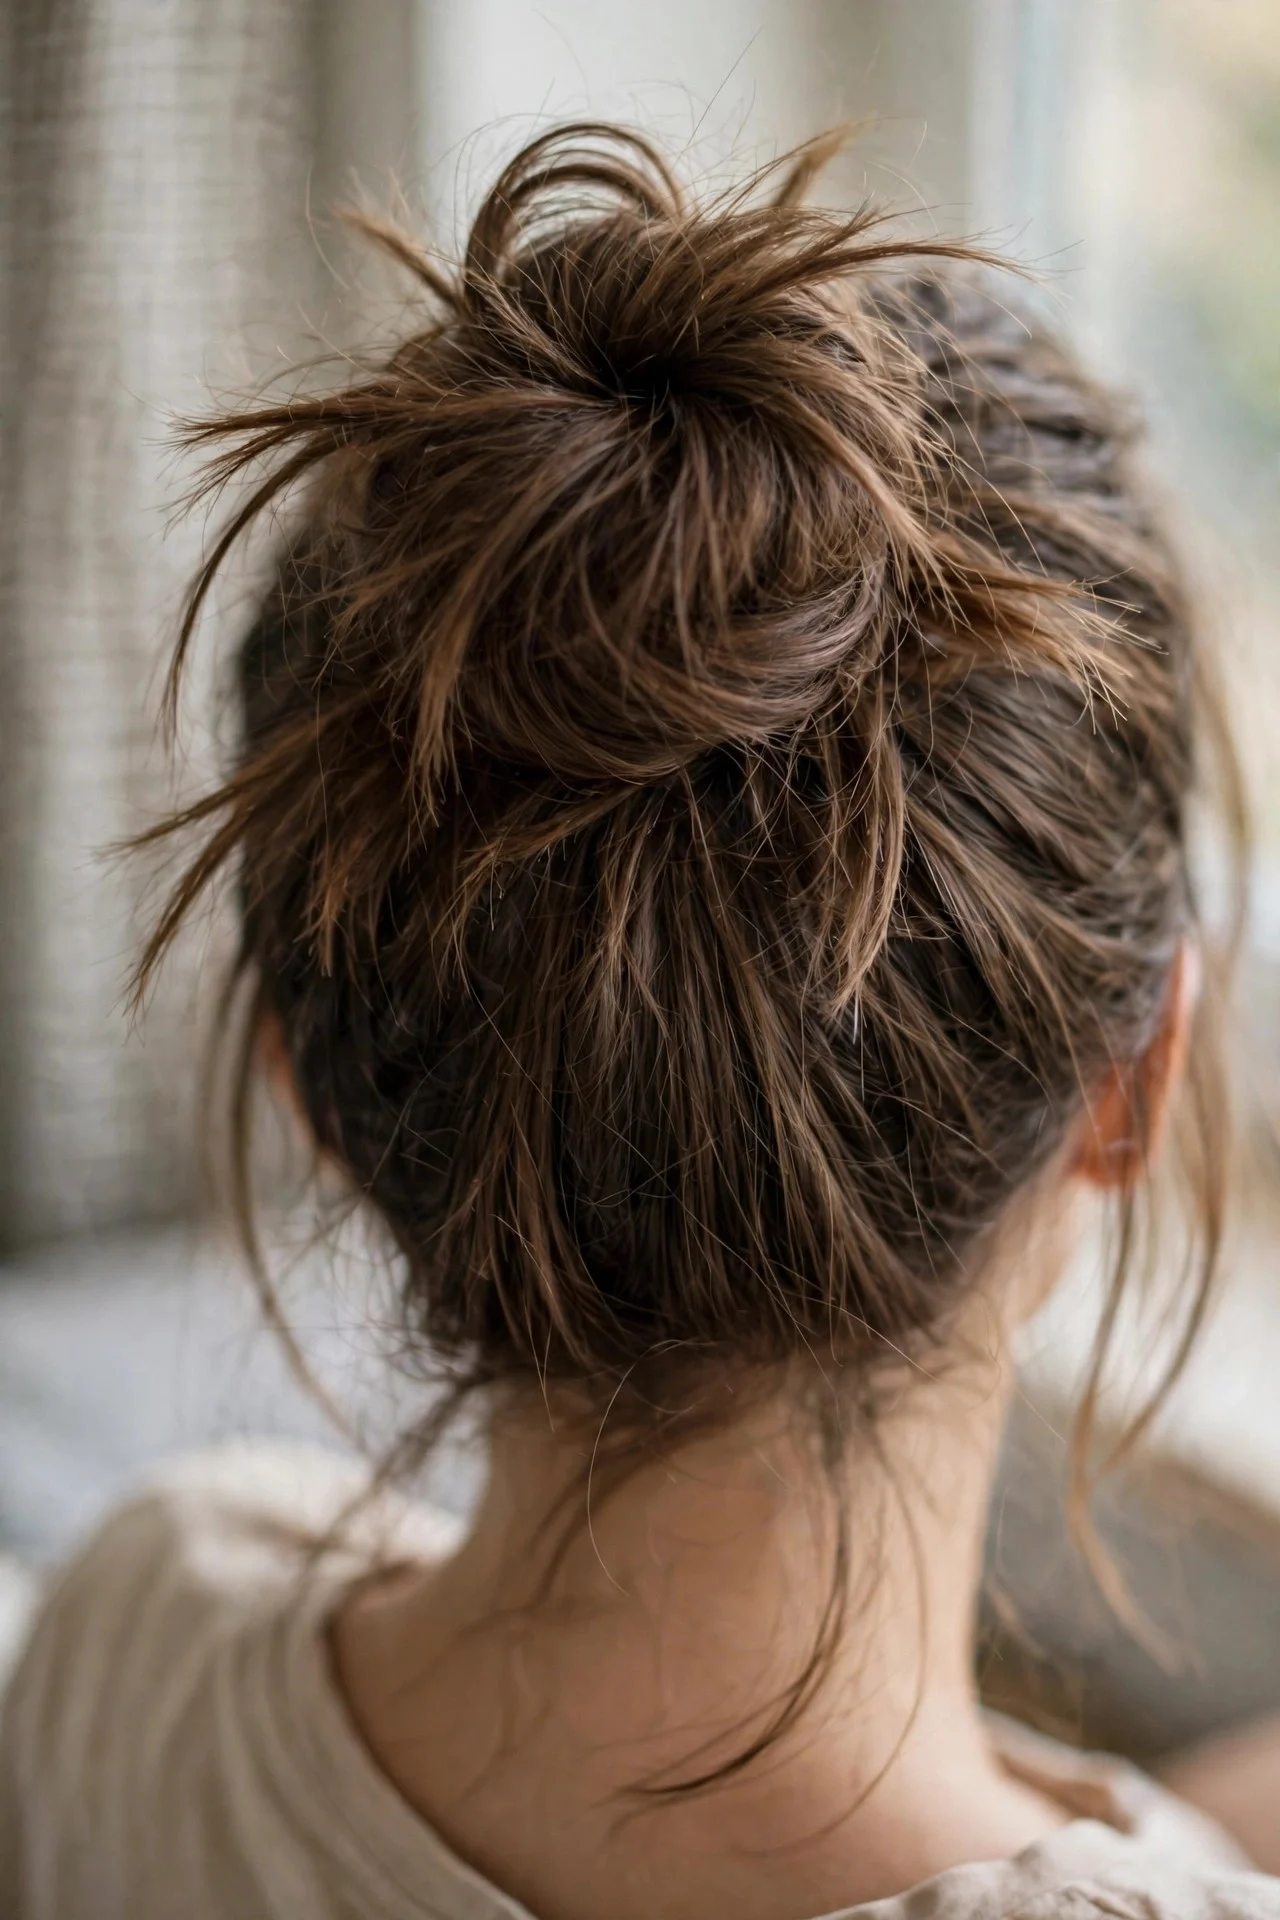
For the mornings when there is no time at all, this is the survival version. Gather hair into a high ponytail, twist it once, wrap it around the base loosely, and stab two bobby pins through it. Pull out a few pieces, done. It will not win awards, but it gets hair off your neck and looks intentionally undone. Suits every length from lob to long and every hair type. Drawback: it genuinely looks like a 60-second bun, so save it for errands, gym, and work-from-home days rather than events.
How to Make a Messy Bun Look Effortless, Not Sloppy
An effortless messy bun comes down to preparation, not perfection. Freshly washed, silky hair is the enemy of every bun here, so dry shampoo at the roots is step one. Second or third day hair is ideal; if yours is clean, texturizing spray gives it the same lived-in grip.
Placement matters more than technique. A bun at the crown reads youthful; one at the nape reads softer and more romantic. Decide before you pin, because repositioning usually means starting over.
Looseness is the point, but it must be controlled. After securing the bun, tug small sections outward at the crown and sides, then pull out a few face-framing pieces. Three to five loose pieces is the sweet spot; more looks unfinished.
Pin placement keeps it alive all day. Cross two bobby pins in an X wherever the bun meets the scalp, since crossed pins grip far better than parallel ones. For thick hair, add U-shaped hairpins, which hold weight without sliding. Carry two spares; every messy bun relaxes, and a ten-second re-tuck at lunch keeps it looking intentional. For very long hair, twist the base into a firmer knot first, then loosen only the outer layer for the messy finish.
Frequently Asked Questions
What is the easiest messy bun variation for beginners?
The classic high messy bun is the best starting point. You only need one elastic and a few pins, and since the style is supposed to look undone, mistakes blend right in. Flip your head upside down, gather a loose ponytail, twist, wrap, pin, then pull out a few pieces. Two practice runs and you are done in three minutes.
How do I make a messy bun stay in all day?
Start with textured hair (dry shampoo on clean hair), secure the base ponytail very firmly with a strong elastic, and pin in crossed X shapes rather than parallel ones. For thick or heavy hair, add U-shaped hairpins for extra support. A light mist of flexible-hold hairspray over the finished bun helps, and two spare pins let you re-tuck anything that loosens by afternoon.
Can short hair do a messy bun?
Yes, hair at bob length or even a long pixie can make a small messy bun. Gather the top and sides into a mini bun at the crown, leaving the nape loose. A small clear elastic and matte texture paste give the best grip on shorter layers. Expect some pieces to slip out, which is part of the look, and keep mini pins handy.
Which messy bun variation works best for thin hair?
The sock bun gone messy is the top pick for fine or thin hair, because the donut form adds volume you cannot create with pinning alone. The twisted crown bun is another good option, since the twists create the illusion of thickness. Prep both with dry shampoo and a light backcomb at the crown. Skip the bubble bun, which needs real density.
How do I stop my messy bun from looking sloppy?
Keep the base secure and smooth, then loosen only the outer layers, leaving three to five face-framing pieces instead of letting half your hair fall out. Smooth the crown with a boar bristle brush and curl the front pieces lightly so it reads intentional. Match the effort to the occasion: quick and loose for errands, properly polished for evening events.
Keep exploring: if you loved playing with bun shapes, the 12 easy pammy updo tutorials break down soft updos step by step, the 10 infinity bun hairstyles offer a sleeker twisted alternative, and the braided space buns guide for 2026 covers that double-bun energy with braids woven in.