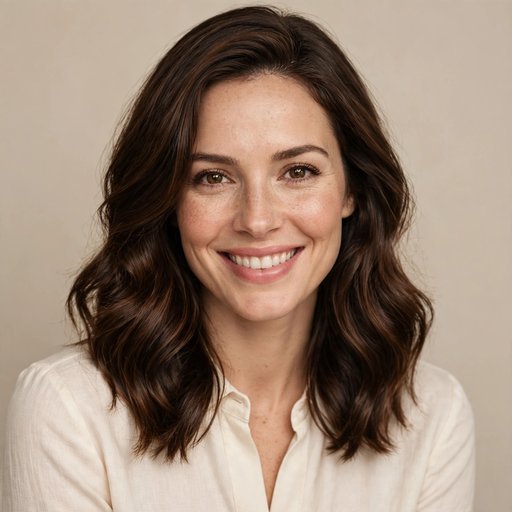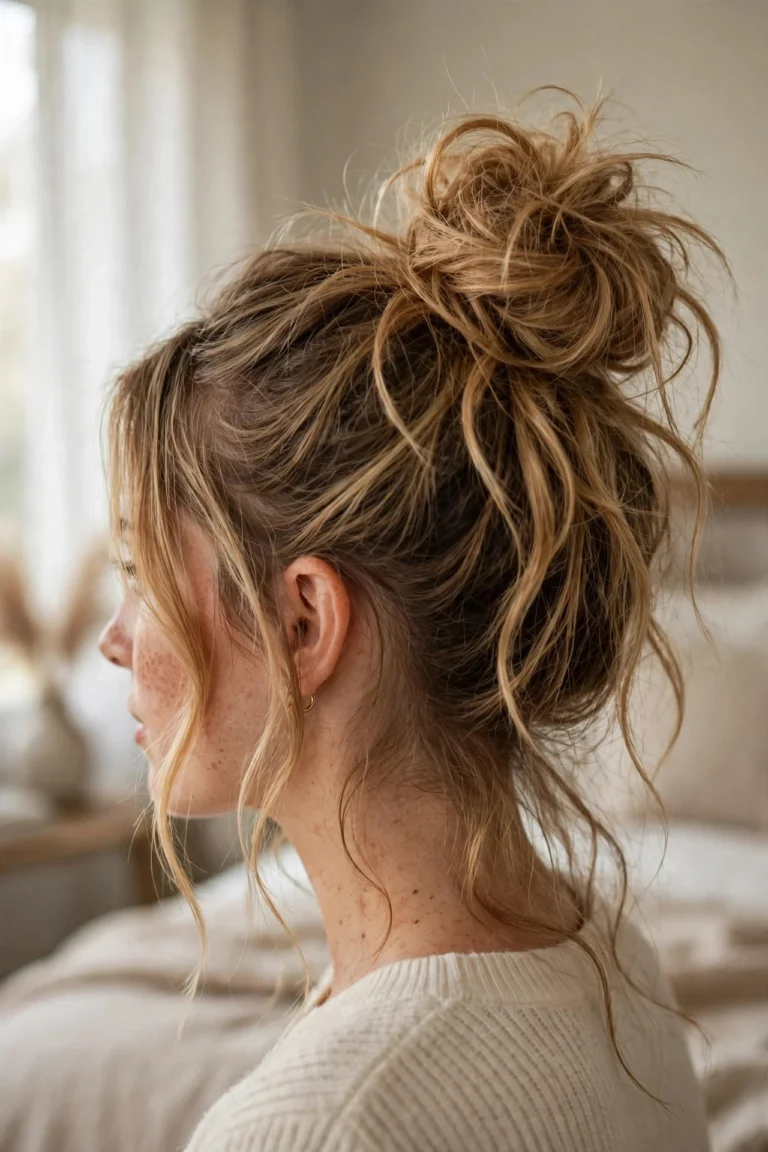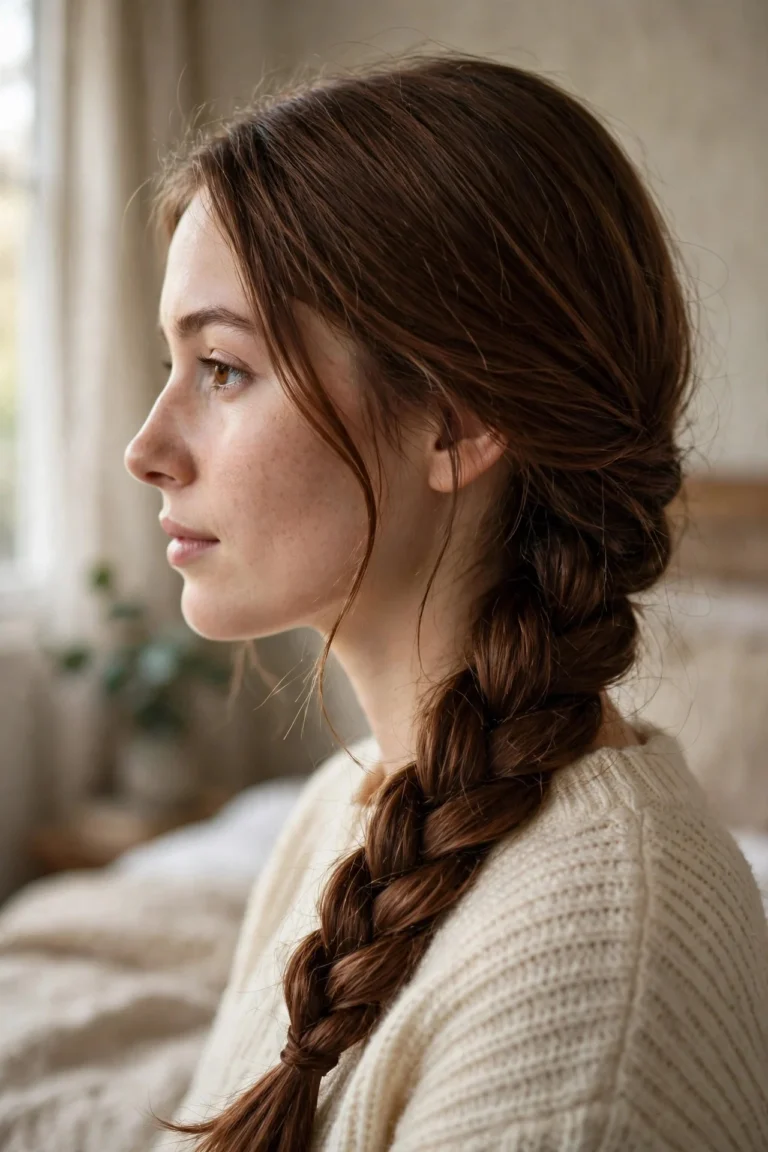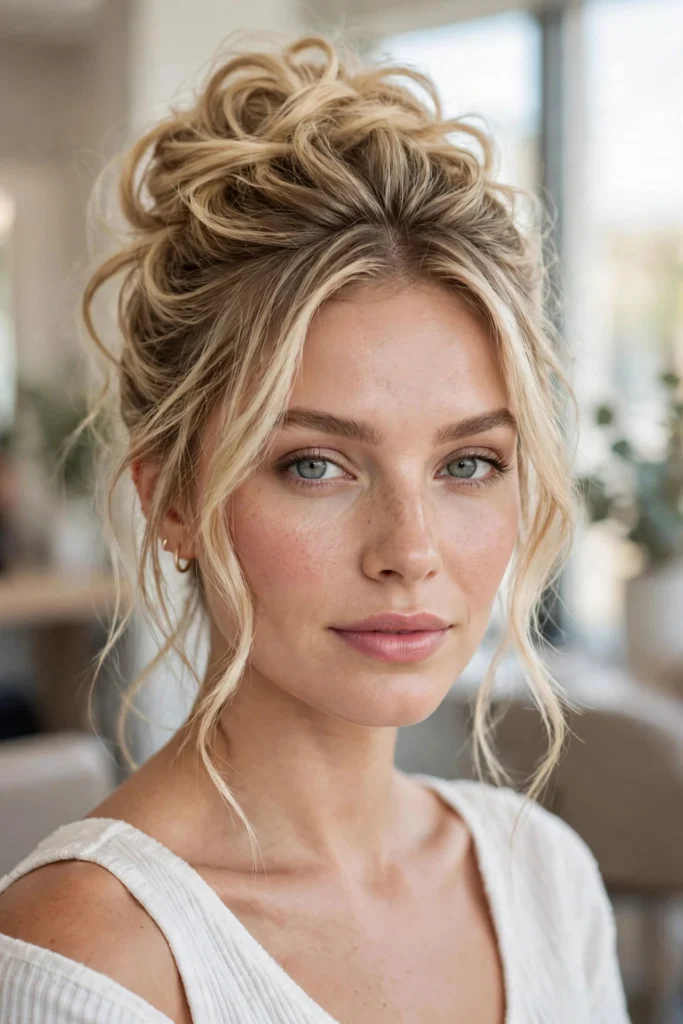
The Pammy updo is the hairstyle that refuses to leave our feeds, and honestly, we get it. Inspired by Pamela Anderson’s iconic 90s updos, this look is all about undone elegance: a soft, lofty bun or twist with wispy face-framing pieces that make it look like you barely tried. It works for brunch, date night, and even formal events. These twelve tutorials walk you through every version, from five-minute morning styles to red-carpet takes your stylist can recreate.
1The Classic Messy Pammy Bun

This is the version that started it all. Gather your hair into a high, loose bun, leaving the front sections free so they fall softly around your cheeks. The key is not to smooth anything down. At the salon, ask for a loose, textured topknot with deliberately wispy face-framing layers, worn with a few strands pulled loose at the nape. It suits oval, round, and heart-shaped faces best, since the soft pieces balance sharp angles and add length visually. Maintenance is delightfully low: this style actually looks better on second-day hair, and a spritz of texturizing spray keeps it in place. The drawback is that very fine hair may slip out of the bun by evening, so keep a few bobby pins handy.
2Low Pammy Twist for Evenings

If high buns feel too casual for your plans, this lower version brings the glam. Sweep your hair into a loose twist at the nape of your neck, securing it with pins while keeping the crown lifted and airy. Ask for a low chignon with a Pammy finish. This style flatters long necks and works beautifully on thicker hair, since the twist has enough weight to hold its shape. The trade-off is that it takes more pins than it looks like it should, and if your hair is very silky, the twist may loosen over several hours. Apply a light-hold hairspray before pinning rather than blasting it afterward.
3Half-Up Pammy Updo

Not ready to commit your whole head? The half-up version gives you the signature face-framing softness while keeping length down your back. Pull the top half into a loose mini bun or knot, then curl the loose front pieces away from your face. Ask your stylist for a half-up style with a tousled crown knot and curtain-style face framers. It suits just about everyone, but it is especially kind to fine hair, since the down portion adds fullness the style needs. Upkeep is minimal, though the bun section can flatten by midday on very straight hair, so a quick tease at the roots in the morning makes a difference. One downside: on humid days, the loose bottom half can frizz, so keep a small smoothing serum in your bag.
4Pammy Updo With Curtain Bangs

Curtain bangs were practically made for this trend. If you already have them, your Pammy updo is halfway done. Pin the rest of your hair up loosely and let your bangs fall naturally, curving them slightly outward with a round brush or a quick pass of a flat iron. At the salon, ask for the updo styled around your existing curtain bangs, with the back kept intentionally undone. This combination suits round and square faces especially well, because the bangs break up width and draw attention to the eyes. Maintenance means keeping those bangs trimmed every three to four weeks, a small recurring cost. The drawback is that bangs need restyling most mornings, and on rainy days they can separate and look stringy.
5Braided Pammy Bun
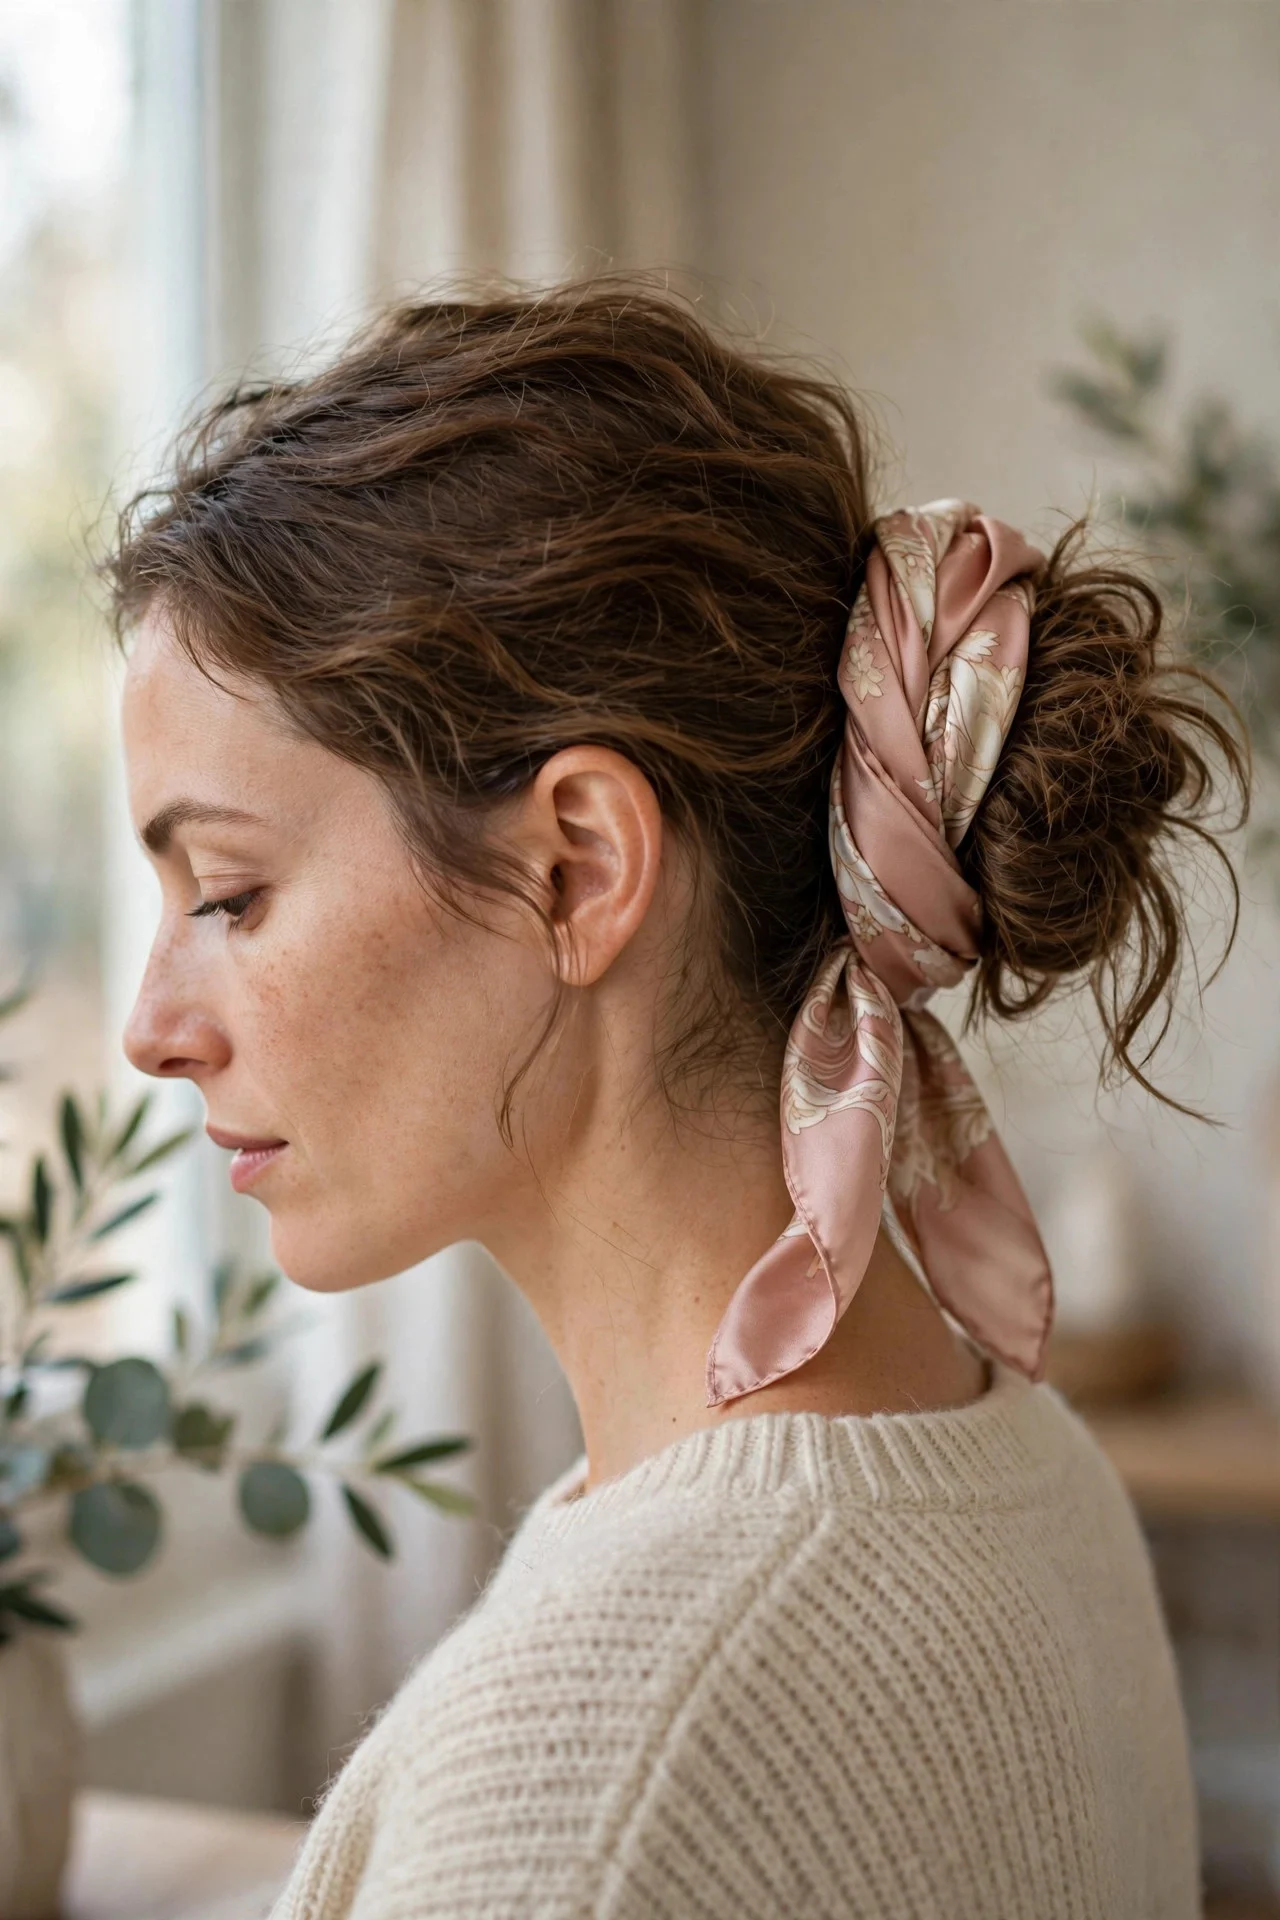
For days when a plain bun feels too simple, weaving in a braid adds texture without losing the undone vibe. Do one loose French or Dutch braid from the front hairline back toward the crown, then gather everything into the signature messy bun. Request a loose crown braid feeding into a textured bun, kept puffy rather than tight. It suits medium to thick hair best, since the braid needs some density to look intentional. The style holds impressively well, often lasting a full day. The downside is time: the braid adds ten minutes to your routine, and if you are new to braiding, the learning curve is real. Keep it genuinely loose or your scalp will complain by evening.
6Sleek-Front Pammy Updo

This is the polished cousin of the classic look. Smooth the top and sides back neatly with a light gel or pomade, then let the bun itself stay soft and textured, with just two or three fine face-framing pieces. Ask your stylist for a sleek-crown updo with a tousled bun and minimal tendrils. It suits professional settings and formal events, and it is a great pick for straight, fine hair that will not cooperate with the messier versions. The drawback is product build-up: gels and pomades need proper washing out, and using too much leaves roots looking greasy rather than sleek. It also shows every imperfection in your part line, so take an extra minute to get that straight.
7Pammy Ponytail Updo Hybrid
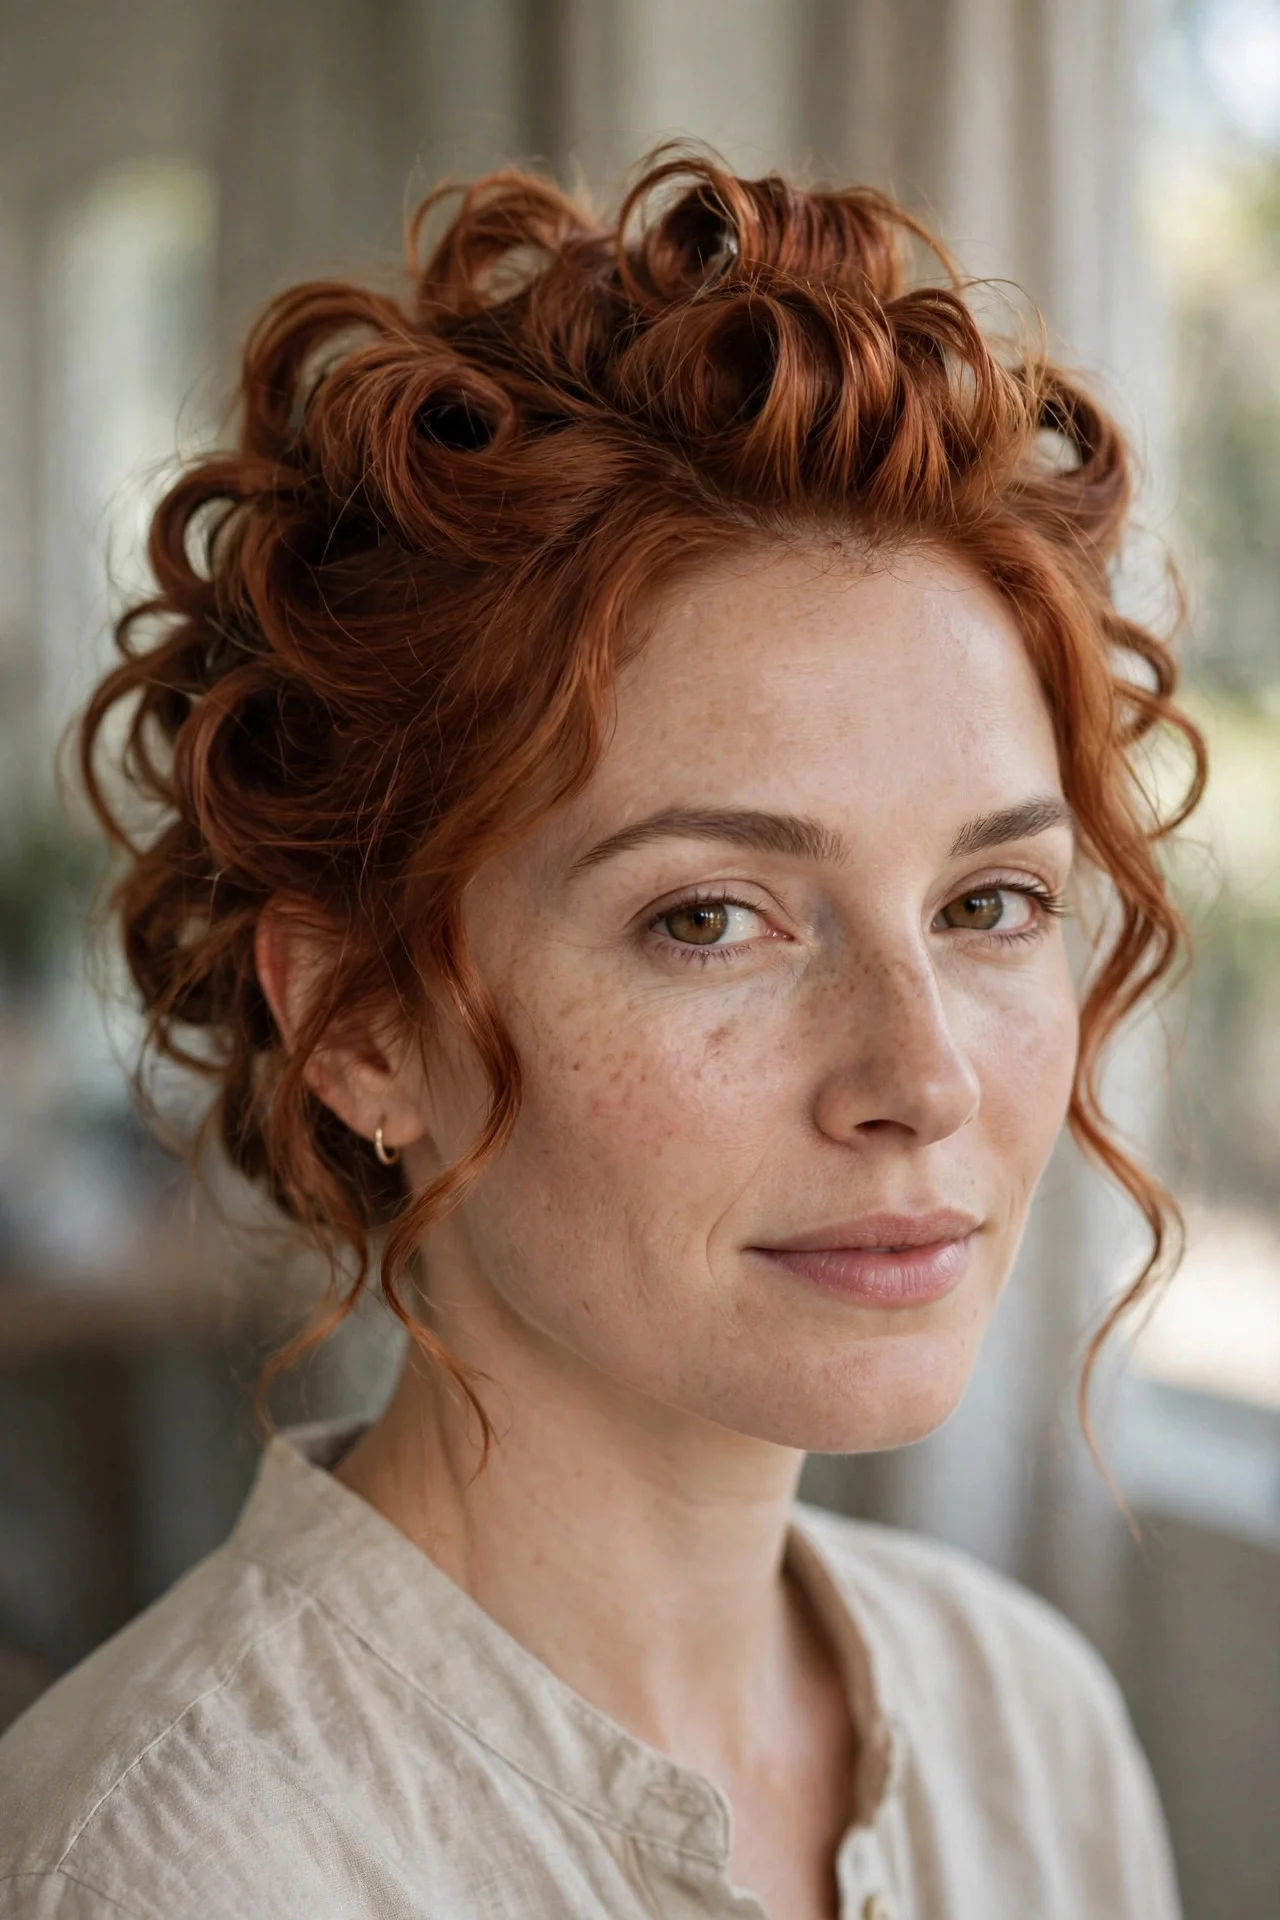
Somewhere between a ponytail and a bun lives this fun hybrid. Pull your hair into a high ponytail, then loop and pin sections of the tail into a loose, puffy bun shape, letting a few ends flick out. Tell your stylist you want a high pony wrapped into an undone bun with flicked ends. It suits active days and anyone who finds full buns too severe. The ponytail base makes it one of the most secure versions here, surviving commutes and dance floors alike. The downside is tension: a high, tight base can cause headaches by late afternoon, so anchor it firmly but not painfully. Very short layers may poke out of the pinned sections, which looks fine in a messy style but can cross into scruffy if you are not careful.
8Side-Swept Pammy Updo
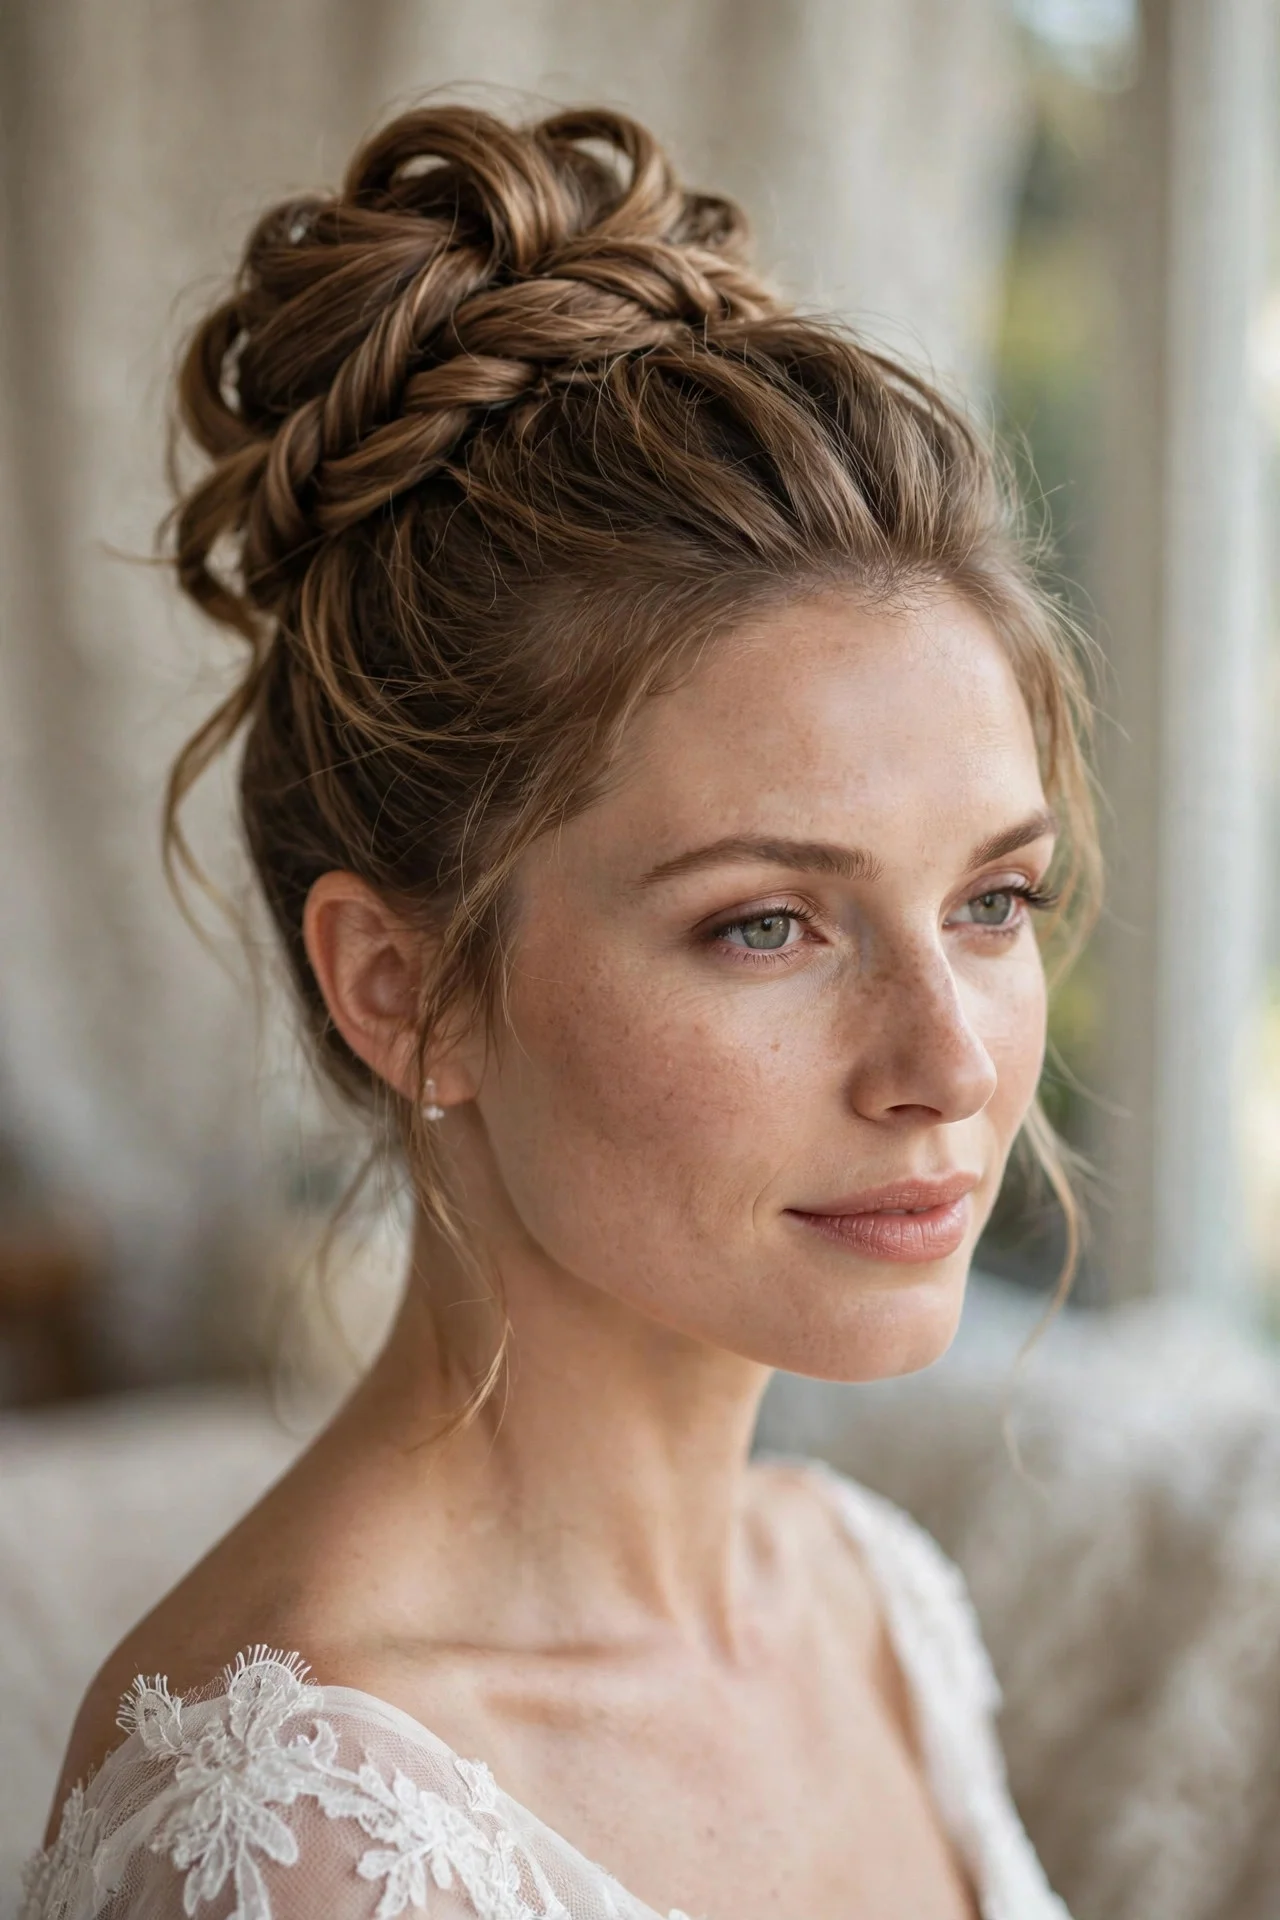
Shifting the bun off-center instantly makes the look feel more romantic. Sweep everything to one side, pin into a loose low bun behind the ear, and let longer face-framing pieces fall on the opposite side for balance. Ask for an asymmetrical low bun with soft, side-swept front pieces. This version photographs beautifully, since the asymmetry adds visual interest. It suits most face shapes, though very round faces should keep the side pieces long to avoid adding width. Maintenance is easy, but the asymmetry can drift toward the center as the day goes on, so check it in a mirror after a few hours. The other catch is that sleeping on it is out of the question; it is a one-wear style.
9Pammy Updo for Short Hair
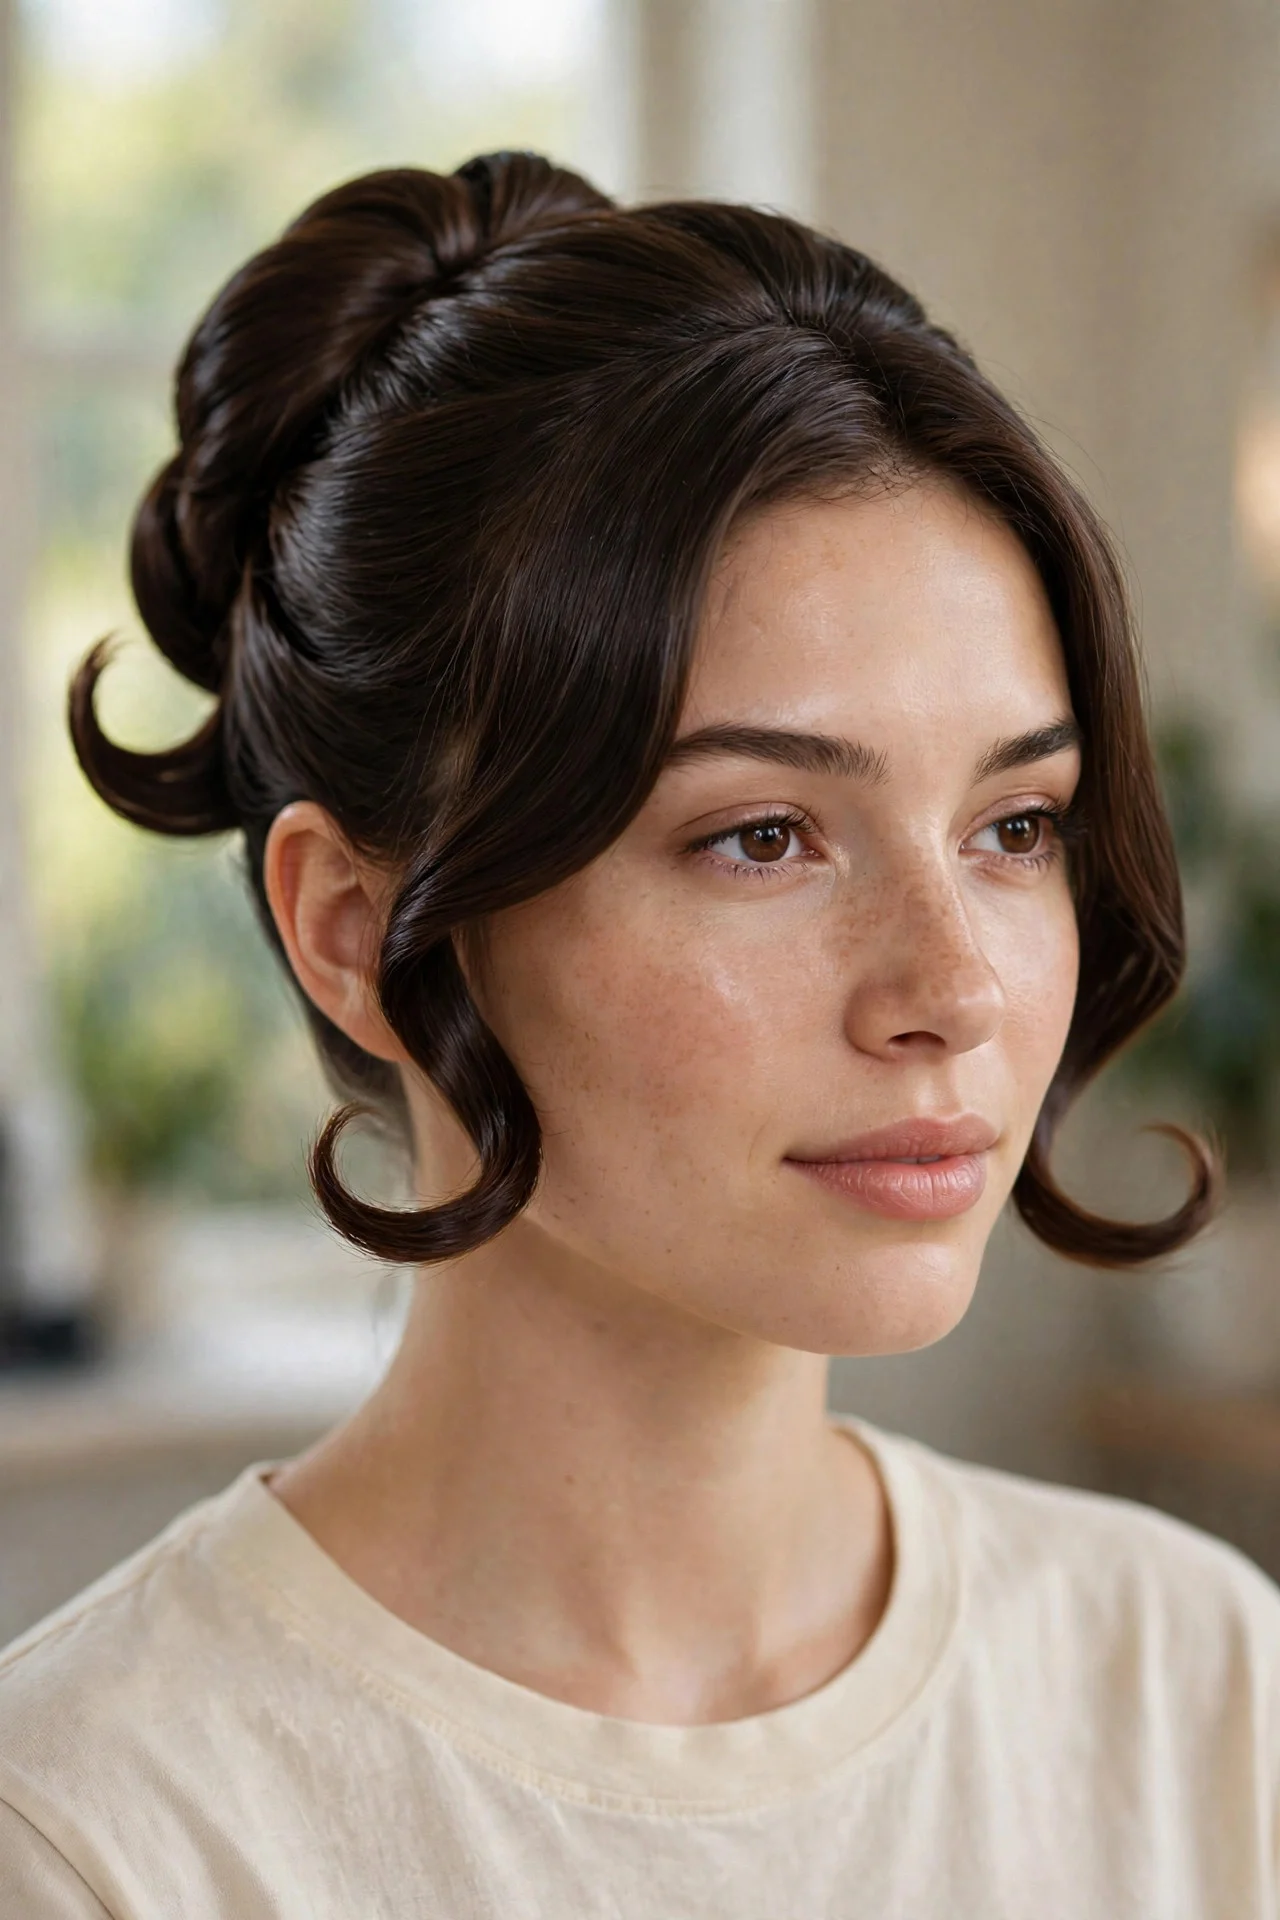
Short-haired girls, you are not excluded. If your hair hits the chin or shoulders, you can still get the Pammy effect with a mini version. Use a small claw clip or a handful of pins to gather the back loosely, leaving the front layers and shorter pieces to frame your face. At the salon, ask for a pinned-up style that works with your current length rather than extensions. It suits bobs and lobs perfectly and looks intentionally chic. The drawback is hold: short hair slips out of pins fast, so you will need more of them, plus a strong texturizing product for grip. It takes some trial and error to find which pieces to pin, so give yourself a practice run before the event.
10Textured Pammy Updo for Curly Hair
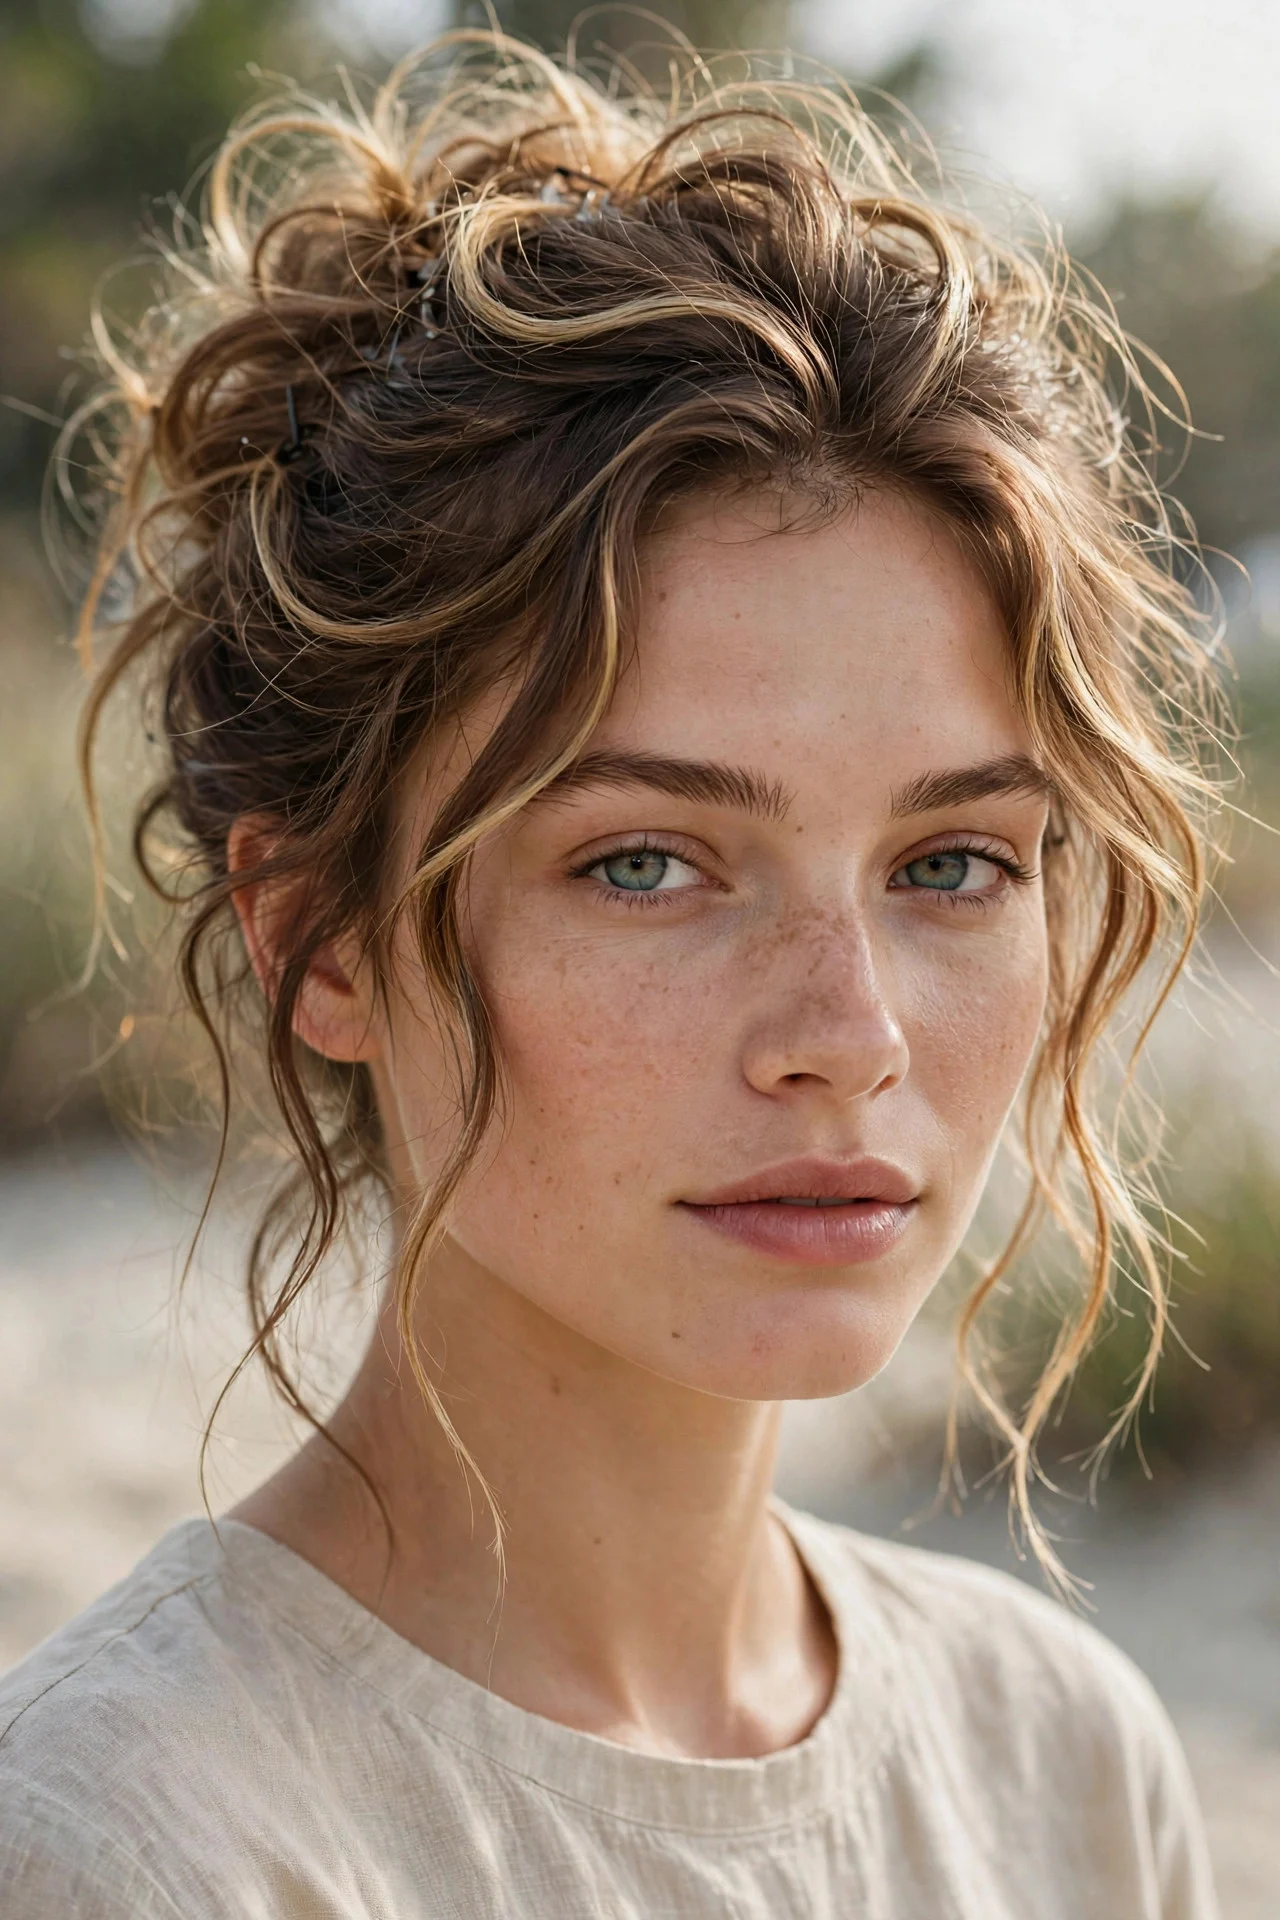
Curly hair might be the best candidate for this trend, because the texture does half the work. Gather your curls loosely at the crown or nape, pin in sections to build a soft shape, and let your natural curl pattern create the face-framing pieces. Tell your stylist you want a curly updo in the Pammy style, pinned to enhance volume rather than stretched smooth. It suits all curl types from waves to coils and looks full with almost no backcombing. The style depends on the updo being in good shape, so your wash-day routine matters more than usual. The drawback is shrinkage: the updo may look smaller than expected on tighter curl patterns, and over-manipulating curls while pinning can create frizz that a little curl cream on your fingertips will fix.
11Pammy Updo With Hair Accessories
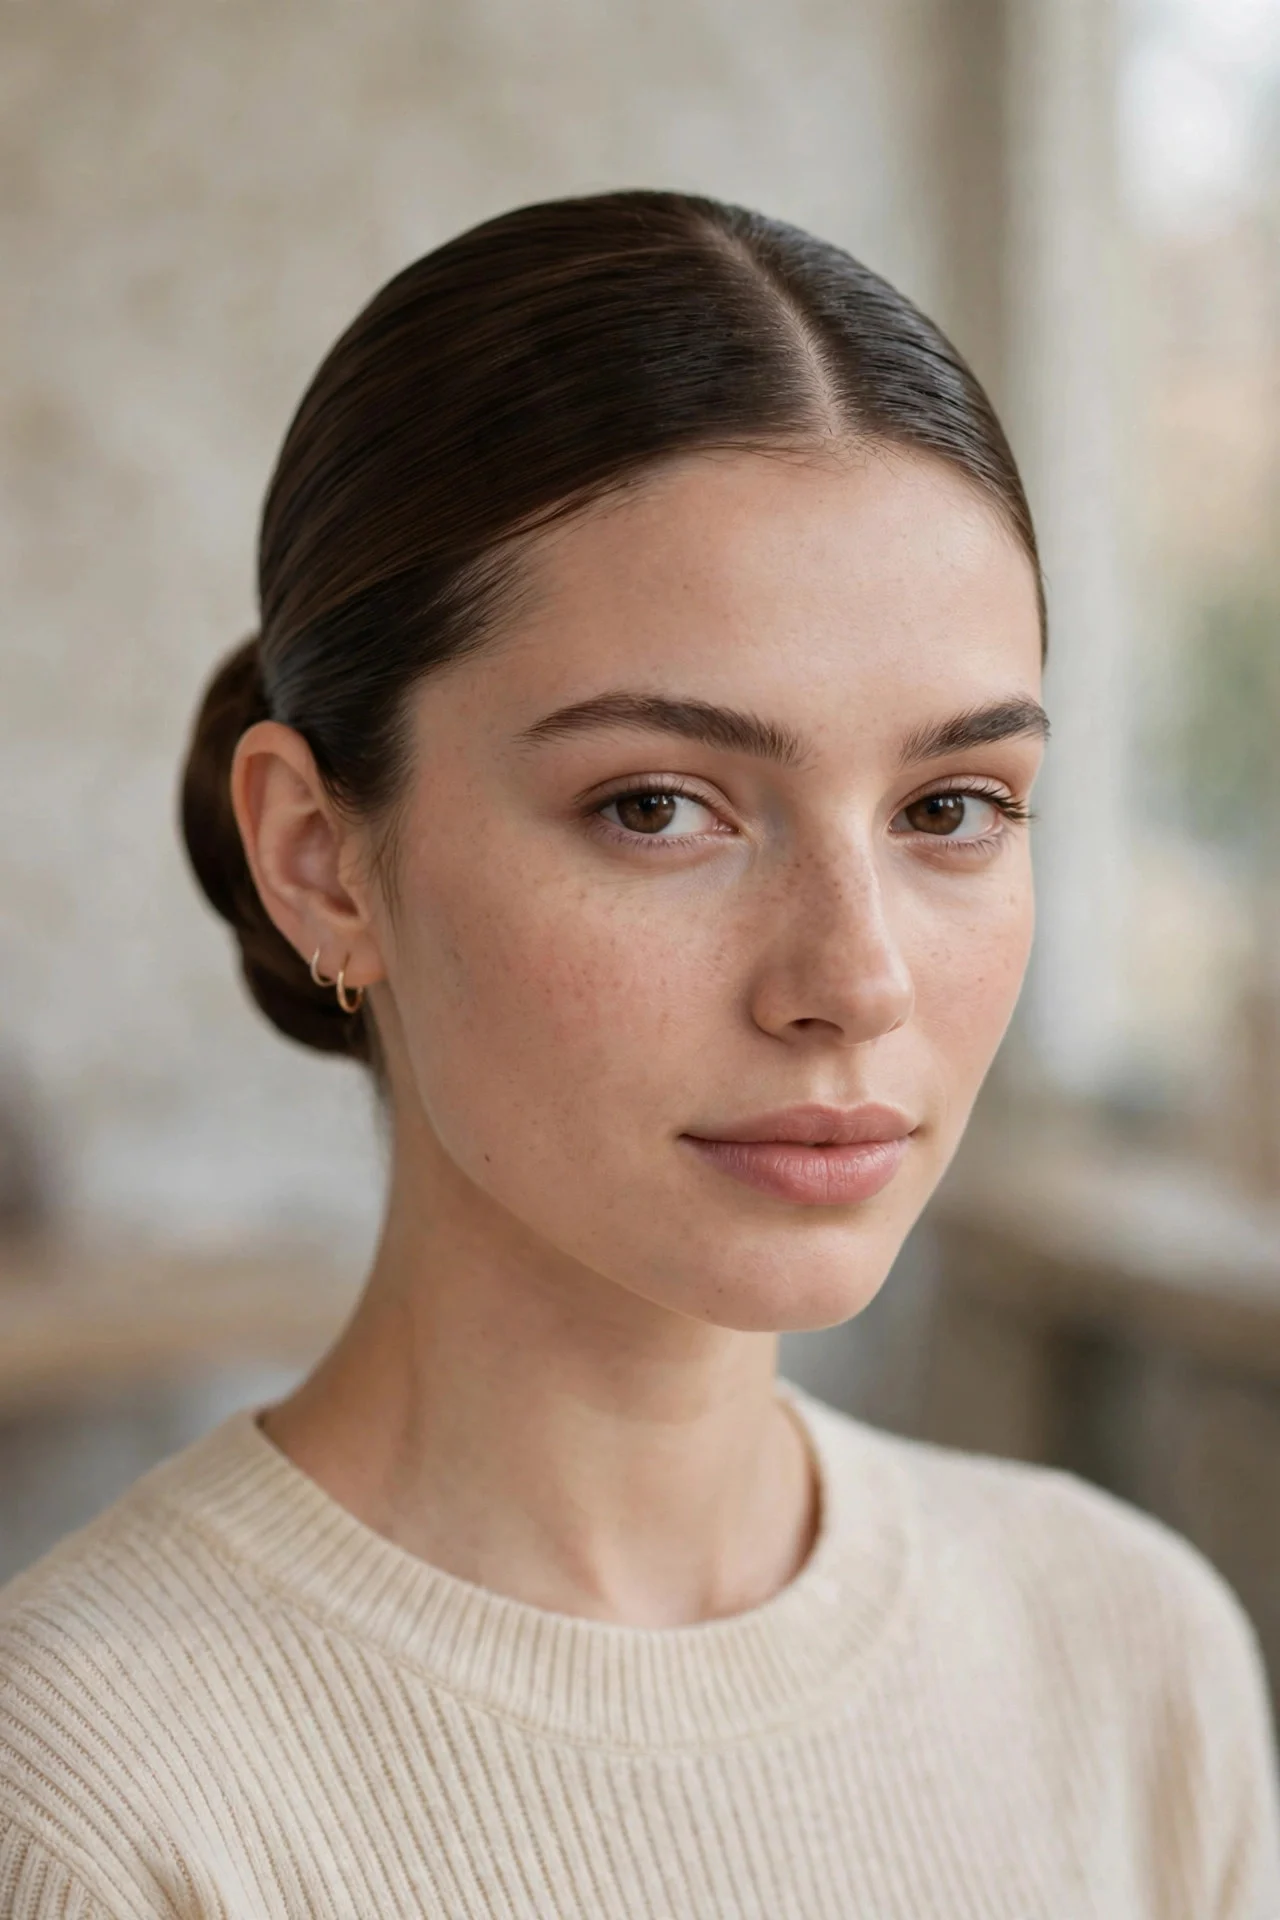
Once you have the base down, accessories take it from pretty to memorable. Slide in a few pearl pins, a slim gold cuff, or a small bow at the base of the bun, keeping everything else loose and soft. Ask your stylist to leave intentional gaps in the bun where a clip can sit. This version suits weddings, parties, and photoshoots, and it is the easiest way to make the style feel bridal. The accessories themselves are the main cost, though most are affordable and reusable. The downside is balance: too many accessories tip the look from effortless to overdone, so pick one statement piece or two small ones. Heavy clips can drag the bun down over several hours, so test the weight before committing for the evening.
12The Five-Minute Everyday Pammy

For real life, you need a version that takes minutes. Flip your head over, gather hair into a loose high ponytail, twist it into a quick bun, pin twice, pull out face-framing pieces, done. No salon visit needed, though you can ask your stylist to cut long, soft layers around your face to make this easier. It suits busy mornings and work-from-home days when you still want to look pulled together. The upkeep is zero beyond the two minutes it takes. The drawback is longevity: this version rarely survives past lunch without a re-pin, and on freshly washed hair it may not hold at all. Keep a mini claw clip in your bag as backup.
How to Style and Care for Your Pammy Updo
The Pammy updo lives or dies on texture, so start with hair that is not freshly washed. Day-old hair grips pins better and holds soft waves longer. Before styling, work a pea-sized amount of texturizing cream or mousse through the mid-lengths and ends. Curl only the face-framing pieces, and keep the curls loose. A one-inch iron, wrapped away from the face, gives the right soft bend.
When pinning, think less is more. Use bobby pins that match your hair color, slide them in against the direction of the twist, and cross two pins in an X wherever you need real hold. Finish with a flexible-hold hairspray from about ten inches away. A stiff helmet of spray kills the whole effect.
These updos are gentle on hair as long as you are not yanking pins out at night. Remove pins one at a time and detangle with a wide-tooth comb. A weekly deep-conditioning mask keeps ends from drying out, and a silk pillowcase reduces the friction that makes second-day restyling harder. Trim split ends regularly, since wispy face-framing pieces show damage fast.
Is the Pammy updo suitable for thin hair?
Yes, with the right prep. Fine hair takes the soft, wispy shape well, but it needs grip to stay put. Use a volumizing mousse on damp hair, add dry texturizing spray before pinning, and tease the crown lightly for fullness. Avoid heavy oils near the roots, since they make fine hair slippery and the bun will slide out.
How long does a Pammy updo take at the salon?
Most stylists can create one in fifteen to thirty minutes, depending on your hair length and which version you choose. The braided or accessorized versions take longer, closer to forty-five minutes. Because it is a styling service rather than a cut or color, the cost is usually modest, though prices vary by salon and city.
Can I do a Pammy updo on freshly washed hair?
It is harder but possible. Freshly washed hair is slippery and resists pins, so you will need extra texturizing product and probably more pins than usual. Many stylists recommend styling on second-day hair. If you must wash the same day, blow-dry with mousse for grip and let your hair cool completely before pinning.
What face shapes suit the Pammy updo best?
Nearly all of them, because the style is so adjustable. Round faces benefit from height at the crown and longer face-framing pieces. Square faces look softer with wispy tendrils around the jawline. If you have a longer face, keep the bun lower and wider rather than piled high.
How do I make my Pammy updo last all day?
Start with textured, day-old hair and apply products before pinning rather than after. Cross your bobby pins in X shapes at anchor points, and choose a flexible-hold spray over a stiff one. Avoid touching the style once it is set. For events, ask your stylist to anchor the base with a small clear elastic before pinning, which gives the whole structure something solid to hold onto.
Keep exploring: Soft Side Part Hairstyles, Hairstyles With Earring Chains, Curly Butterfly Cut Ideas