A sleek top knot is the kind of style that does all the talking without saying a word. It is clean, confident, and somehow works for both a Monday boardroom and a Saturday rooftop party. The trick is in the polish: smooth roots, a knot that sits exactly where you want it, and edges that behave all day.
Below are ten takes on the classic top knot, each with a slightly different mood. Some are sharp and architectural, others softer with a little movement. Every one includes how to style it yourself, who it flatters most, and the honest truth about the upkeep, so you can pick the version that fits your hair and your life.
1Classic Ballerina Top Knot
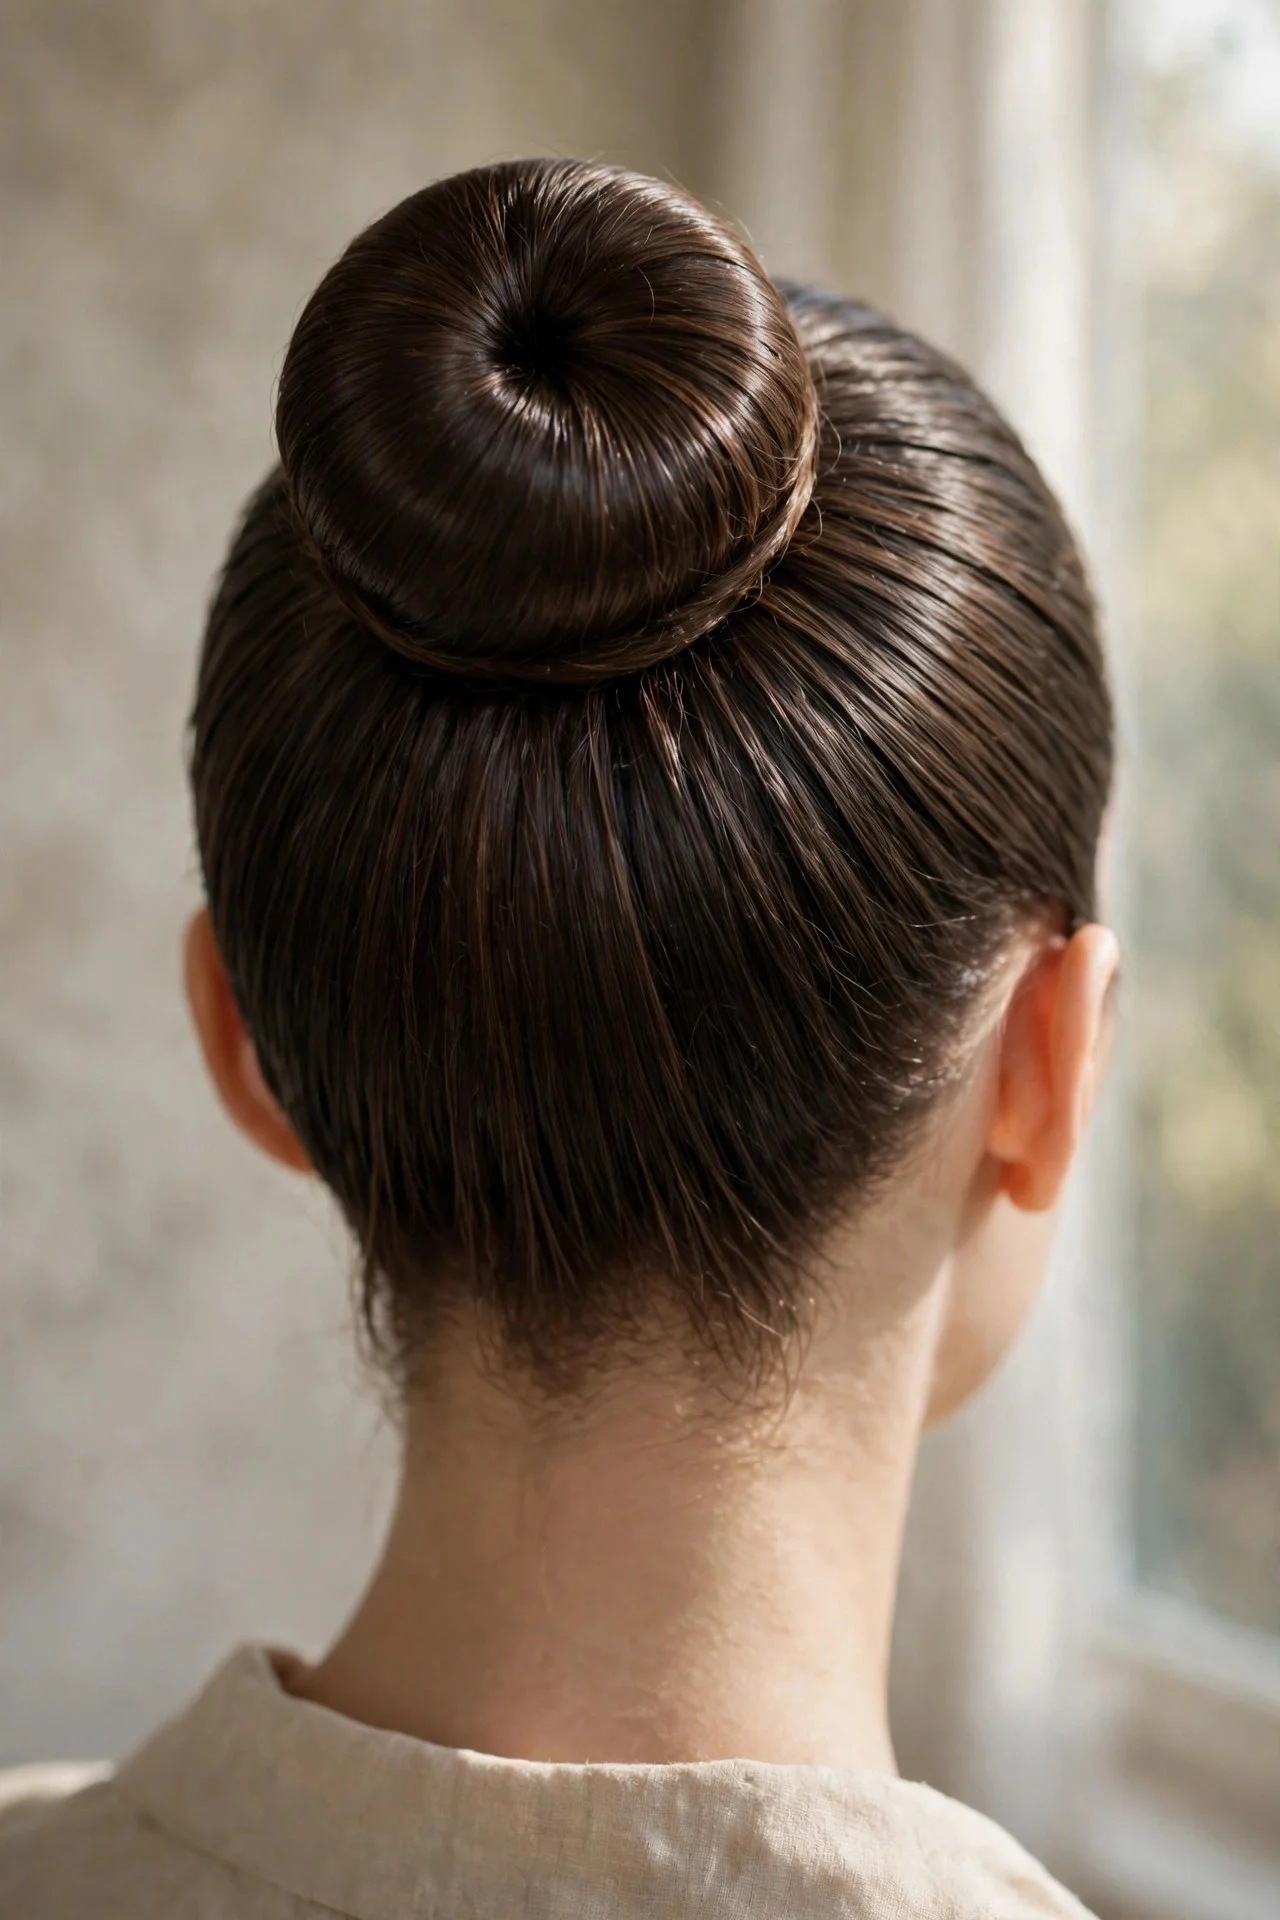
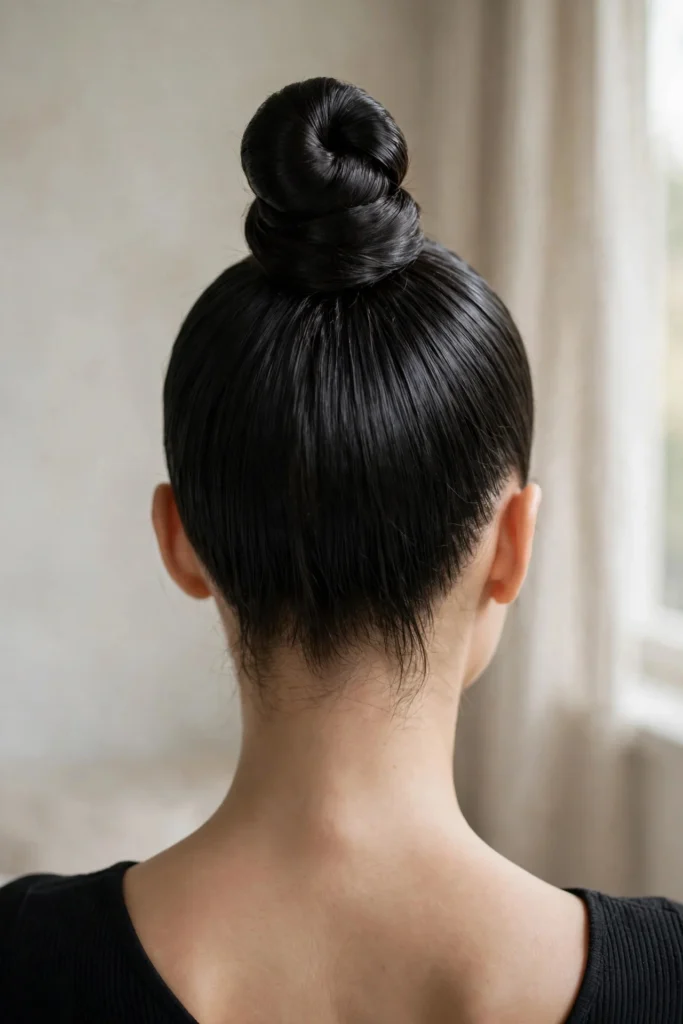
This is the blueprint everything else builds on: a high, rounded knot at the crown, every strand smoothed back into it. Brush day-old hair up into a tight high ponytail, twist the tail into a coil, and wrap it around its own base, pinning as you go. Finish with flexible-hold hairspray. It suits oval and heart-shaped faces, and the height adds length to rounder ones. For thick hair, split the tail in two and twist each section separately for a compact knot. It holds overnight under a silk scarf. The honest drawback is that the high ponytail base can strain fine hair and cause breakage worn daily, so alternate with looser styles.
2Glass Hair Slicked Top Knot
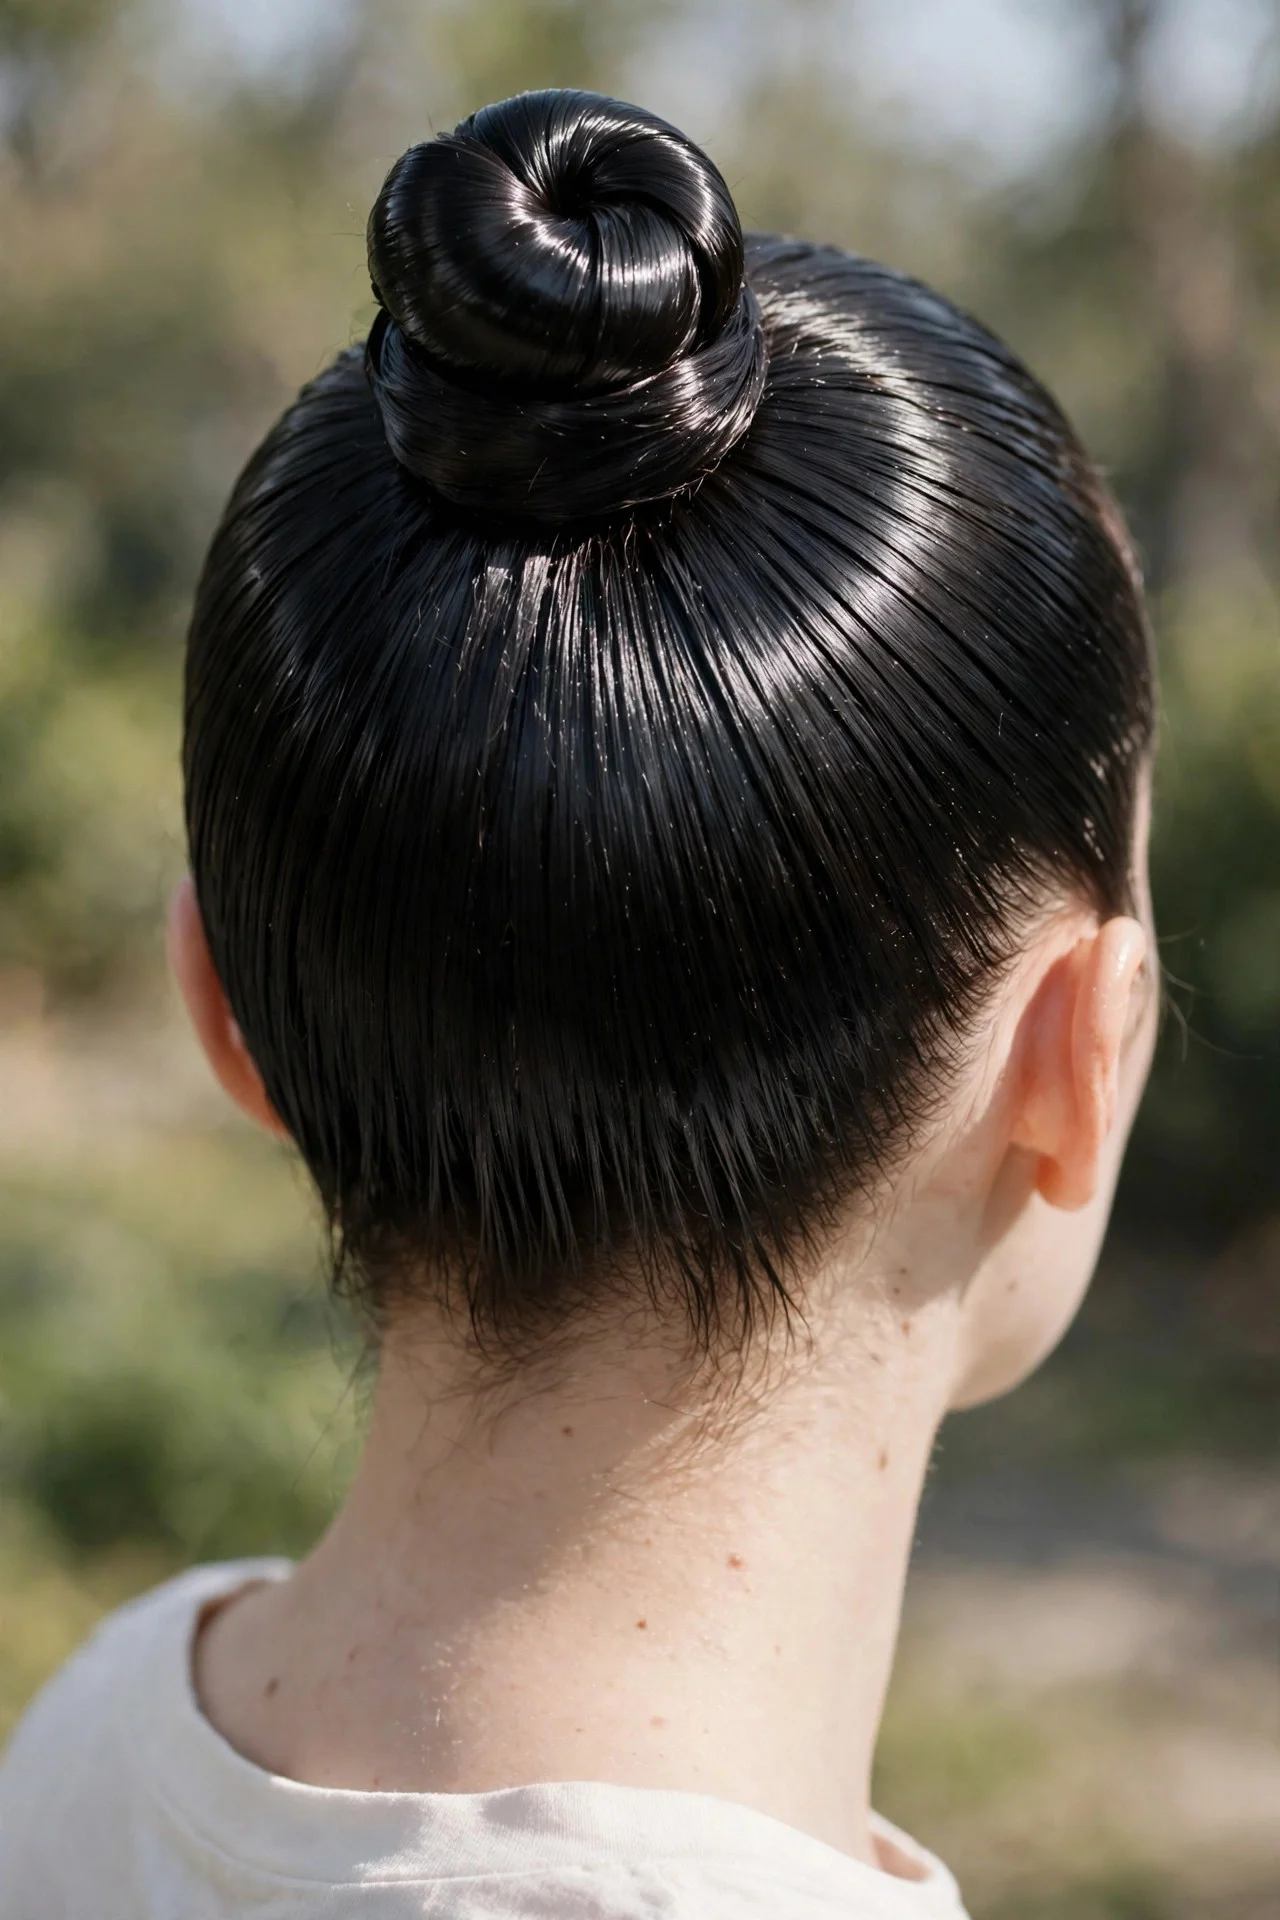
Glass hair meets the top knot in this ultra-glossy version where the head looks almost lacquered. Apply smoothing serum to damp hair, blow-dry with a paddle brush directing everything upward, and seal with light pomade before twisting the knot. A flat iron over the smoothed lengths adds a mirror finish. It loves naturally straight or relaxed hair and photographs beautifully. Medium and thick hair hold it best, since coarse strands show off the shine. Edge control along the hairline is essential, and the silky coil can slip, so pin discreetly inside the knot. The drawback: true glass shine takes a blowout plus hot tools, so this is a 30-minute style, not a 5-minute one.
3Wrapped Hair Tie Top Knot

This clever detail hides the elastic by wrapping a strand of hair around the base of the knot. Build the high ponytail as usual, but leave a small under-section of the tail out before twisting. Once pinned, wrap that leftover section around the base and tuck the end with a pin. It suits every face shape and gives a simple knot a finished, editorial feel. It works on medium to very long hair, and looks especially pretty on darker hair, where the wrap reads like a carved detail. It holds all workday with two pins. The drawback: short or layered hair may not leave enough length to wrap cleanly.
4Low-Slung Sleek Top Knot
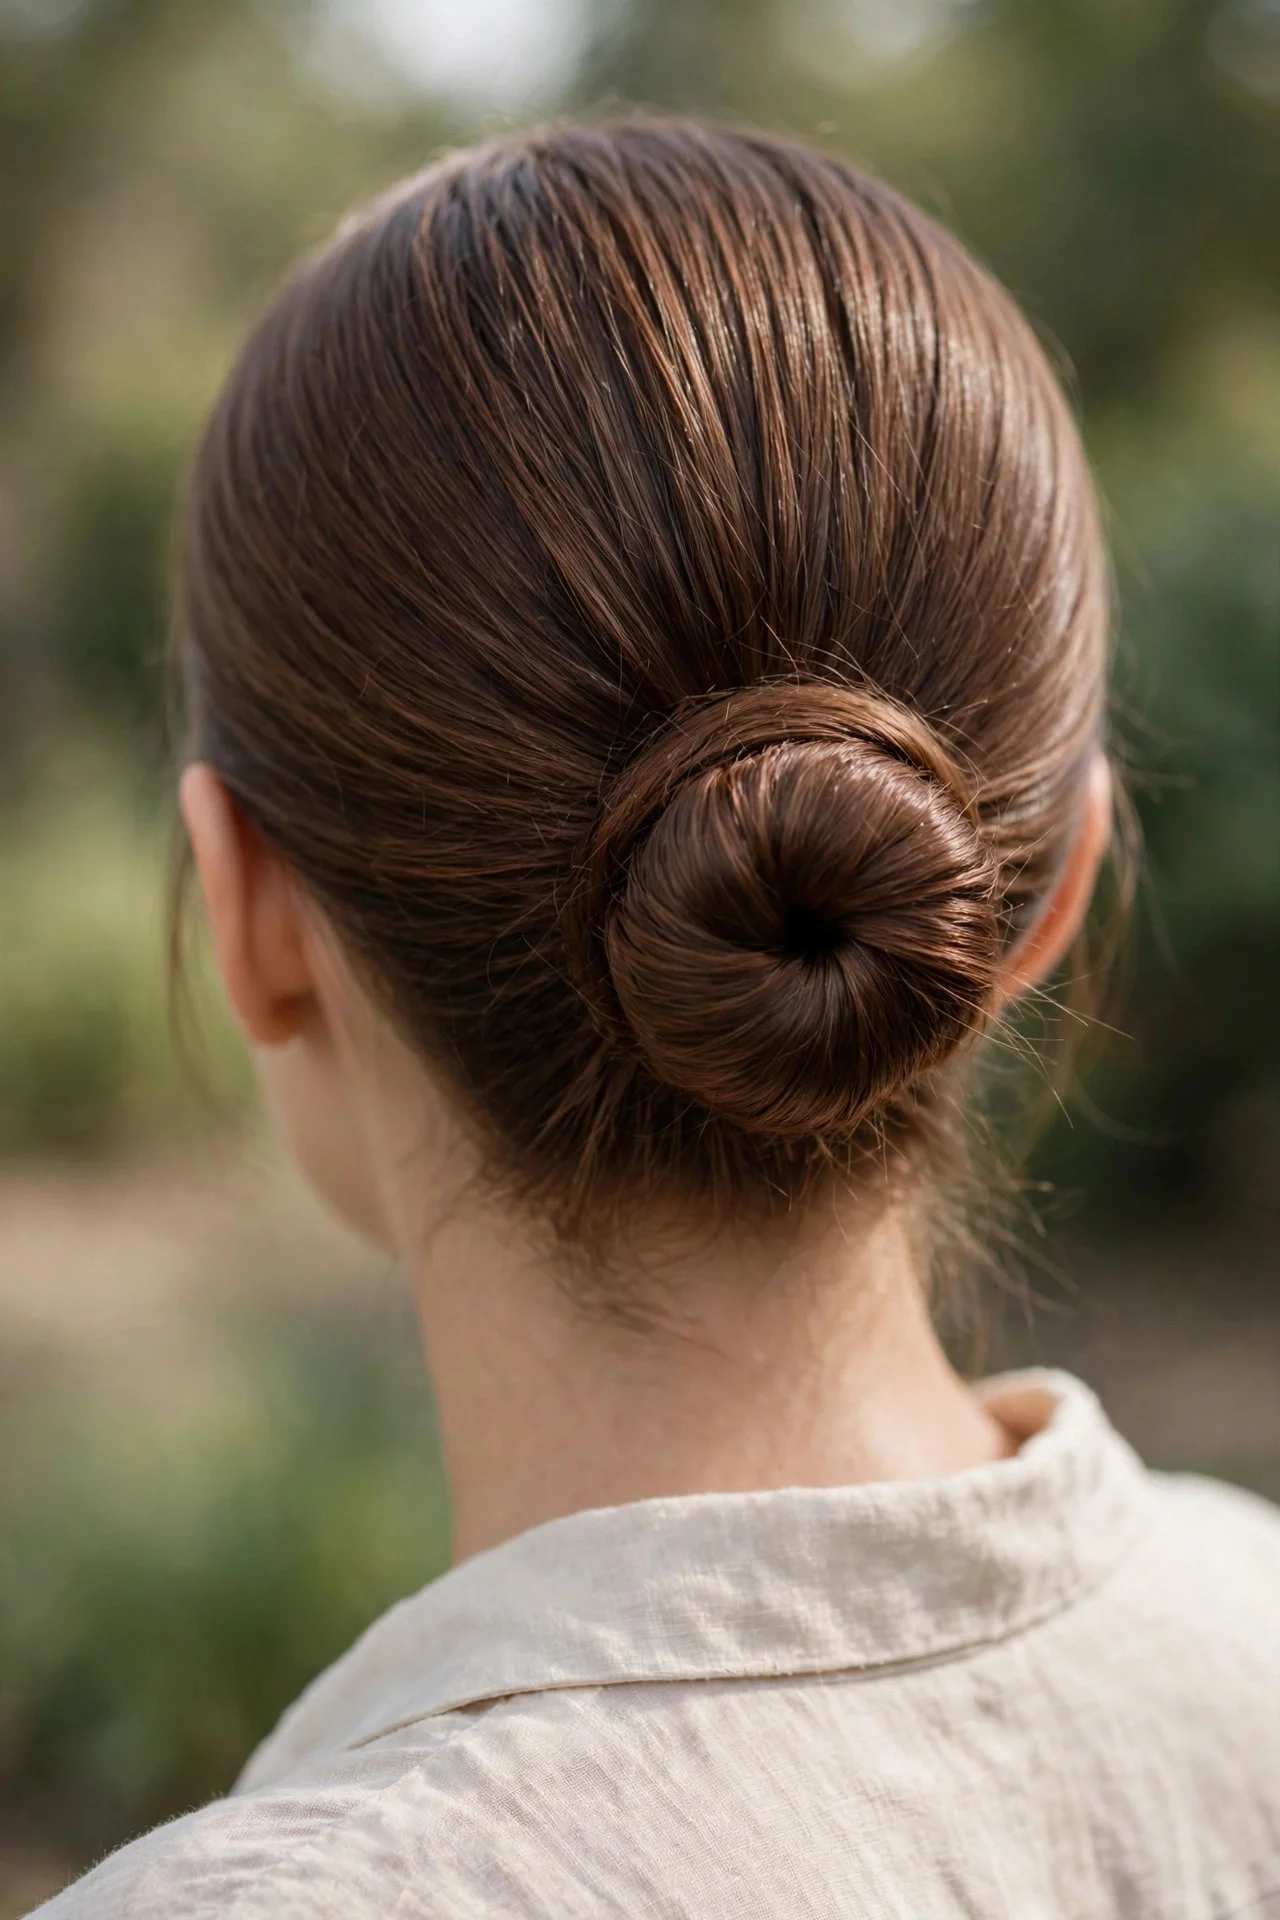
For a moodier take, place the knot at the nape or mid-head instead of the crown. Smooth the top back with a boar bristle brush and a dab of gel, gather at the back of the head, and form a neat, compact knot, sitting slightly off-center for a modern touch. It suits round and square faces because the lower placement softens angles, and pairs beautifully with statement earrings. It reads professional without looking severe and is gentler on hairlines than high styles. Maintenance is easy. The honest drawback: a low knot can look flat on fine hair, so backcomb the base or use a small donut for fullness.
5Wet-Look Sleek Top Knot
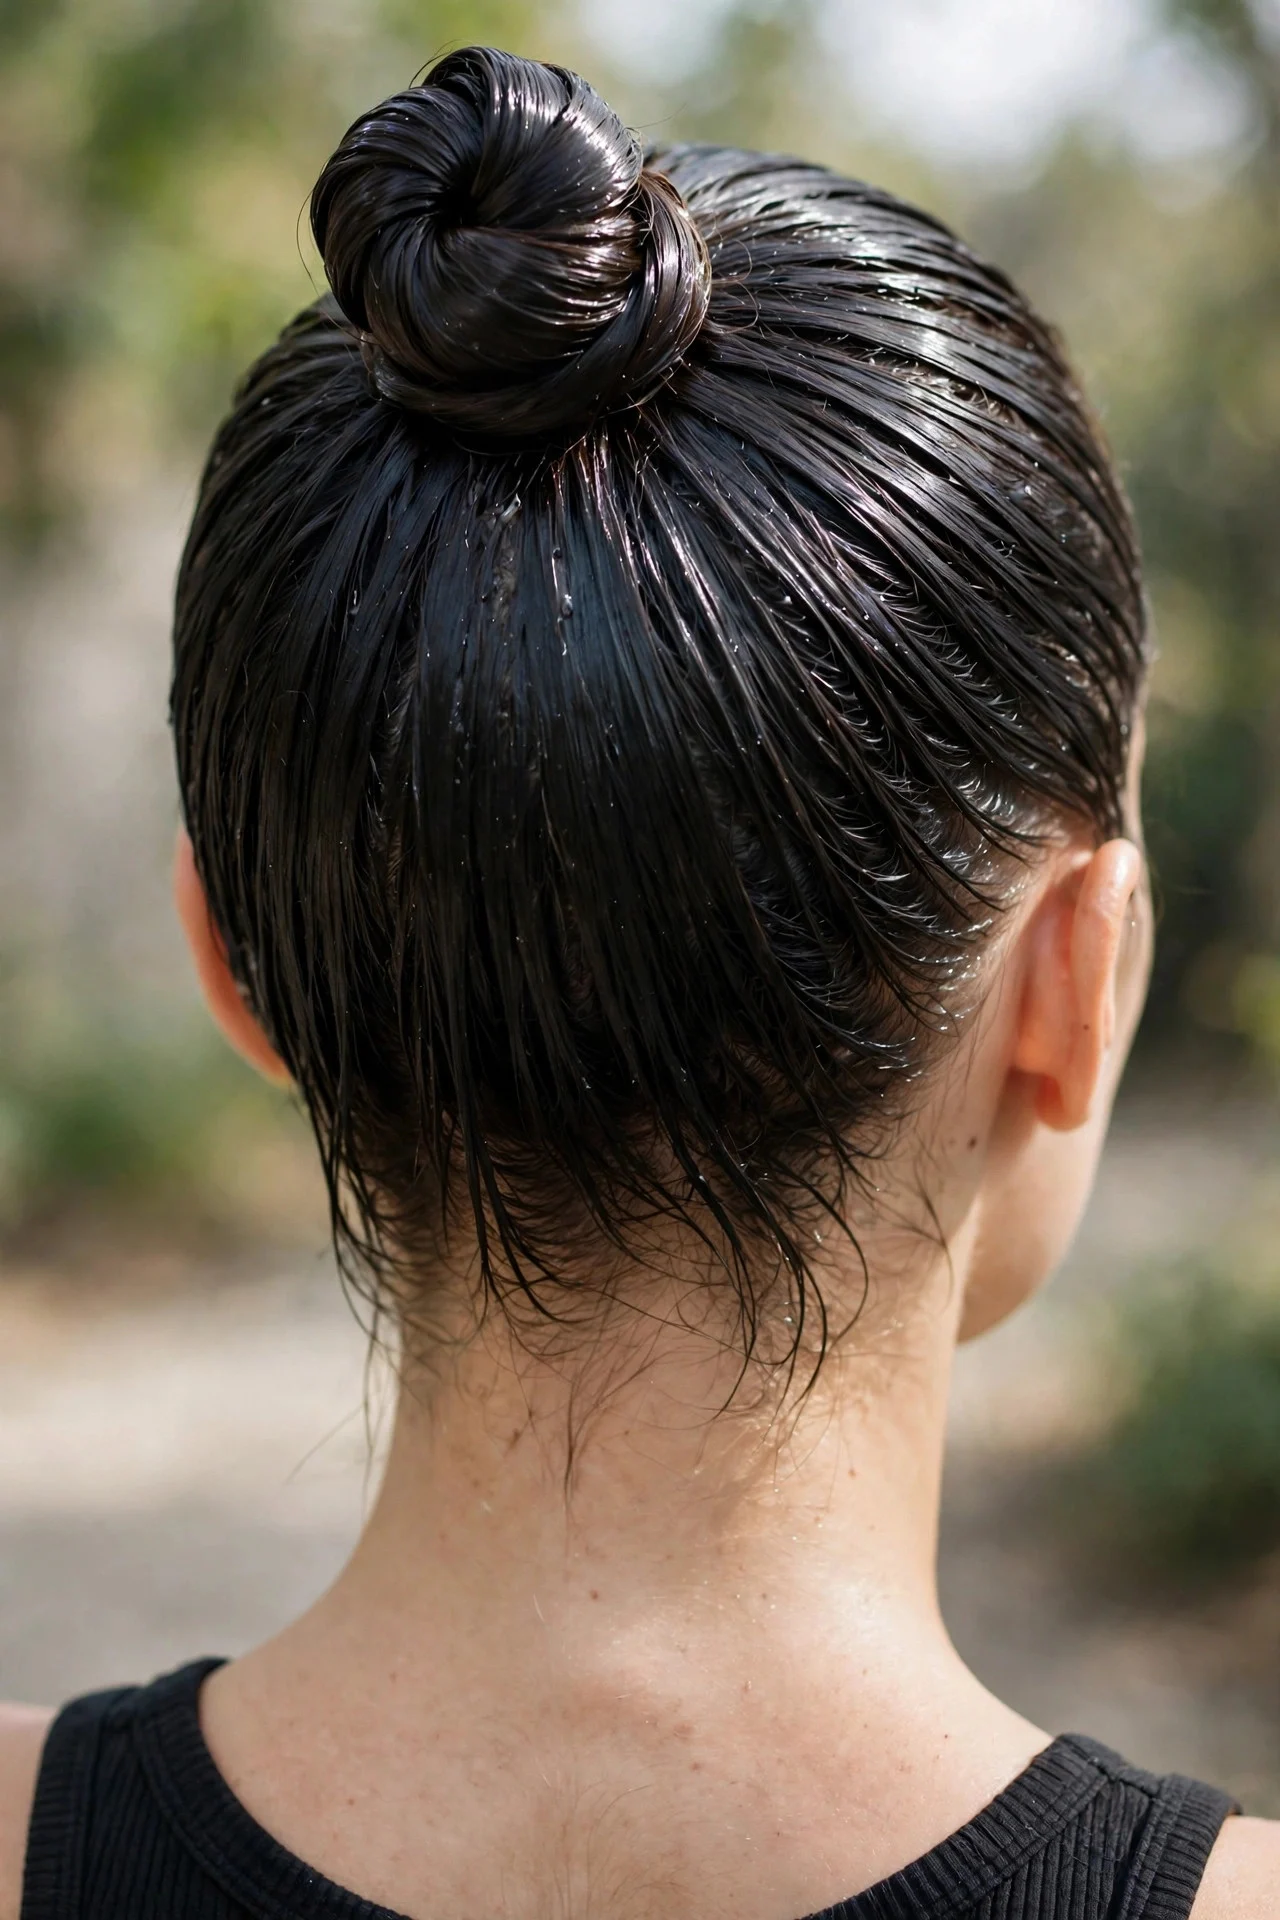
The wet-look top knot channels runway energy: hair swept back with high-shine product, like you just stepped out of the ocean. On damp hair, rake glossy gel or wet-look cream from roots to ends, brush into a high ponytail, twist the knot, and press flyaways flat with more product. A shine spray adds the final glassy layer. It suits evening looks, and is stunning on textured or wavy hair where the product defines the pattern. The hold is firm since the product doubles as hold. The drawback: the product load needs a full wash the same night, and in humidity it can tip from deliberate to just damp, so carry a mini gel.
6Textured Twist Top Knot
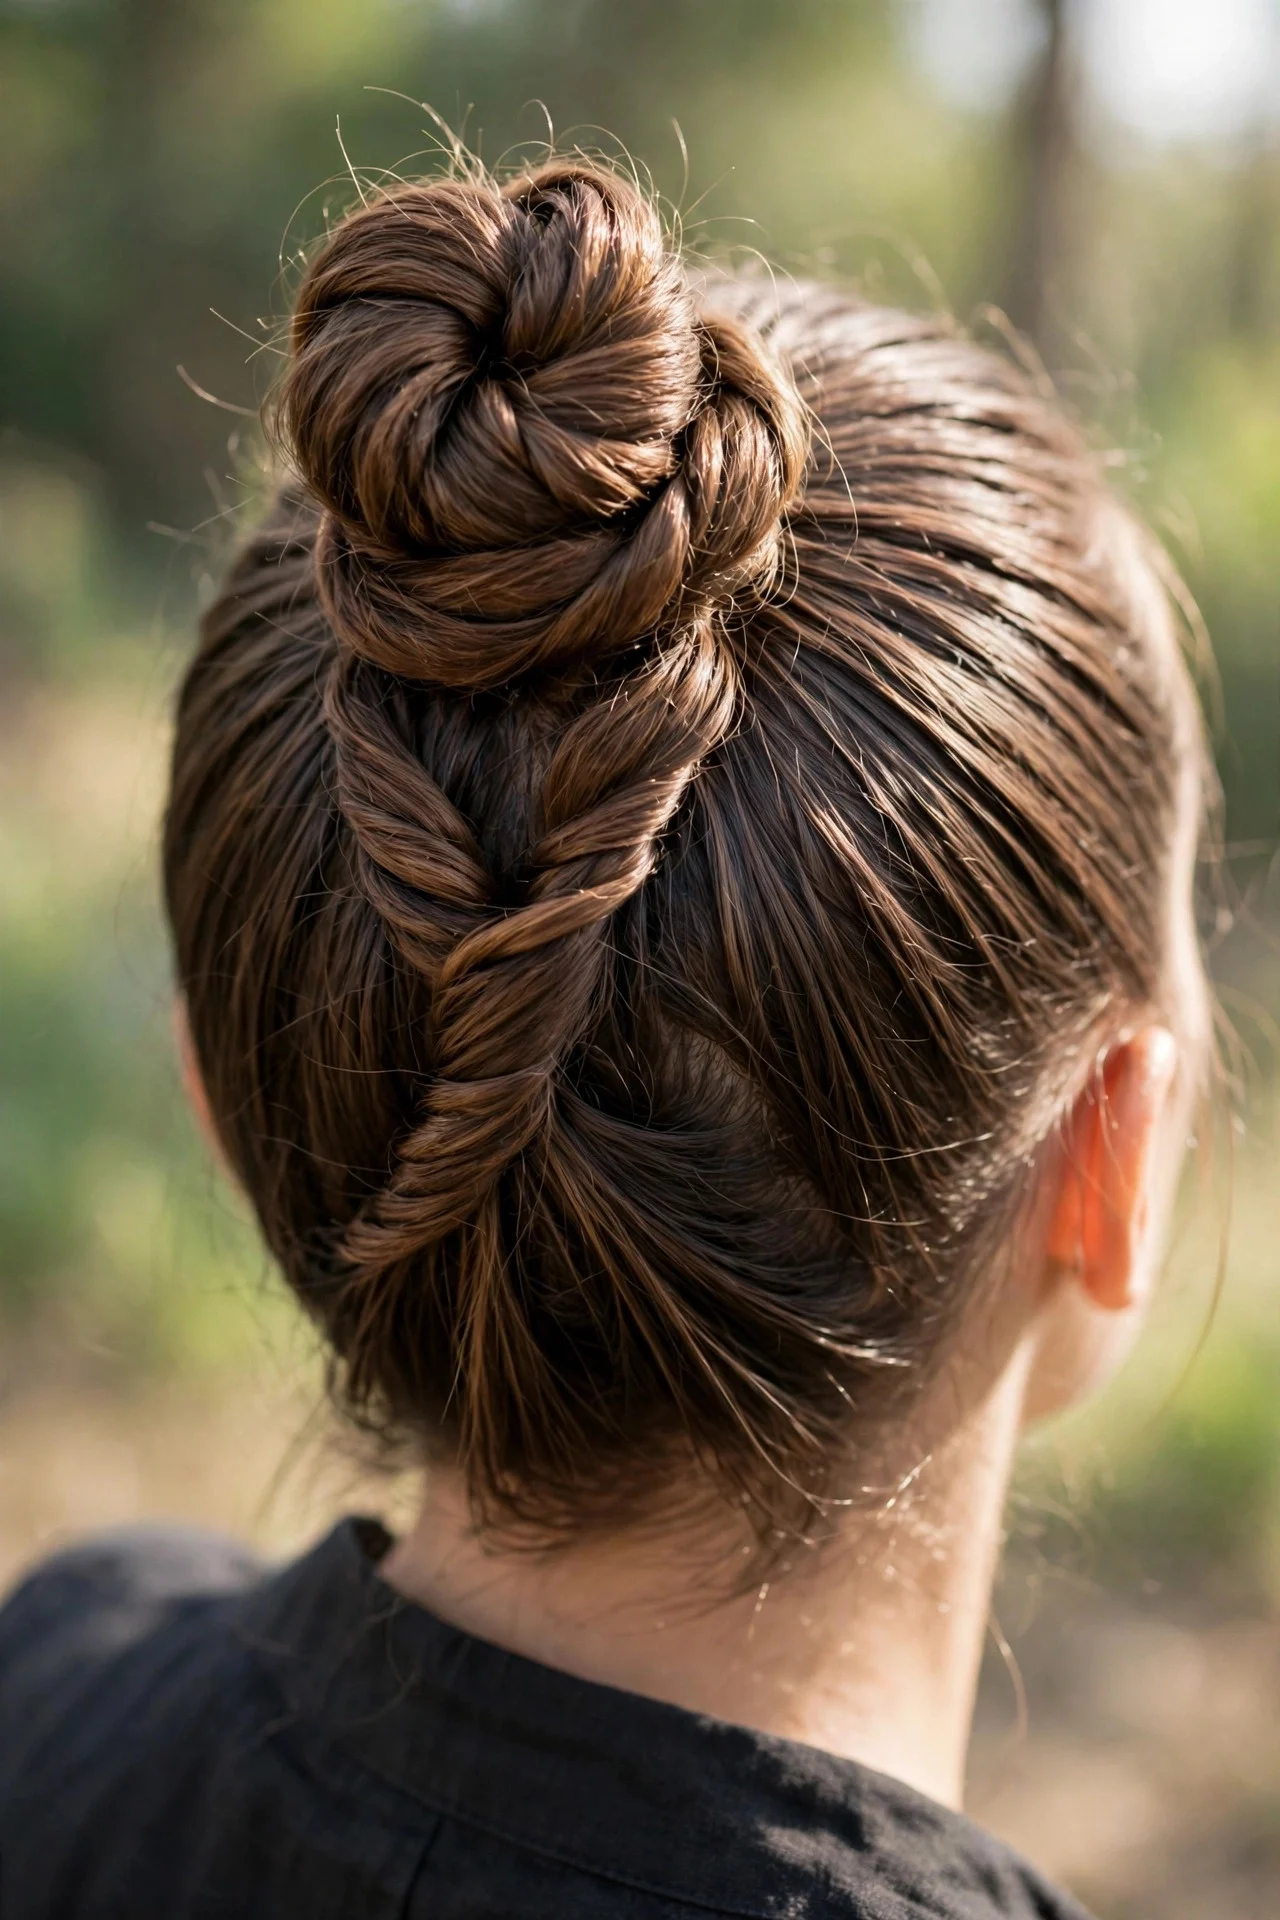
If perfectly polished feels too strict, keep the sleek head but let the knot itself have twisty texture. Smooth hair back into a high ponytail with gel, split the tail in two, twist each tightly, and coil them around each other before wrapping into the knot. The rope-like, dimensional knot looks intricate but takes minutes. It suits medium to long hair and adds visual volume, flattering fine hair that needs fullness. Oval and long faces benefit from the width. It stays put because twisted hair grips itself. The honest drawback: the textured knot can loosen at the outer end, so tuck the tips firmly and add one more pin than you think you need.
7Sleek Top Knot with Face-Framing Pieces
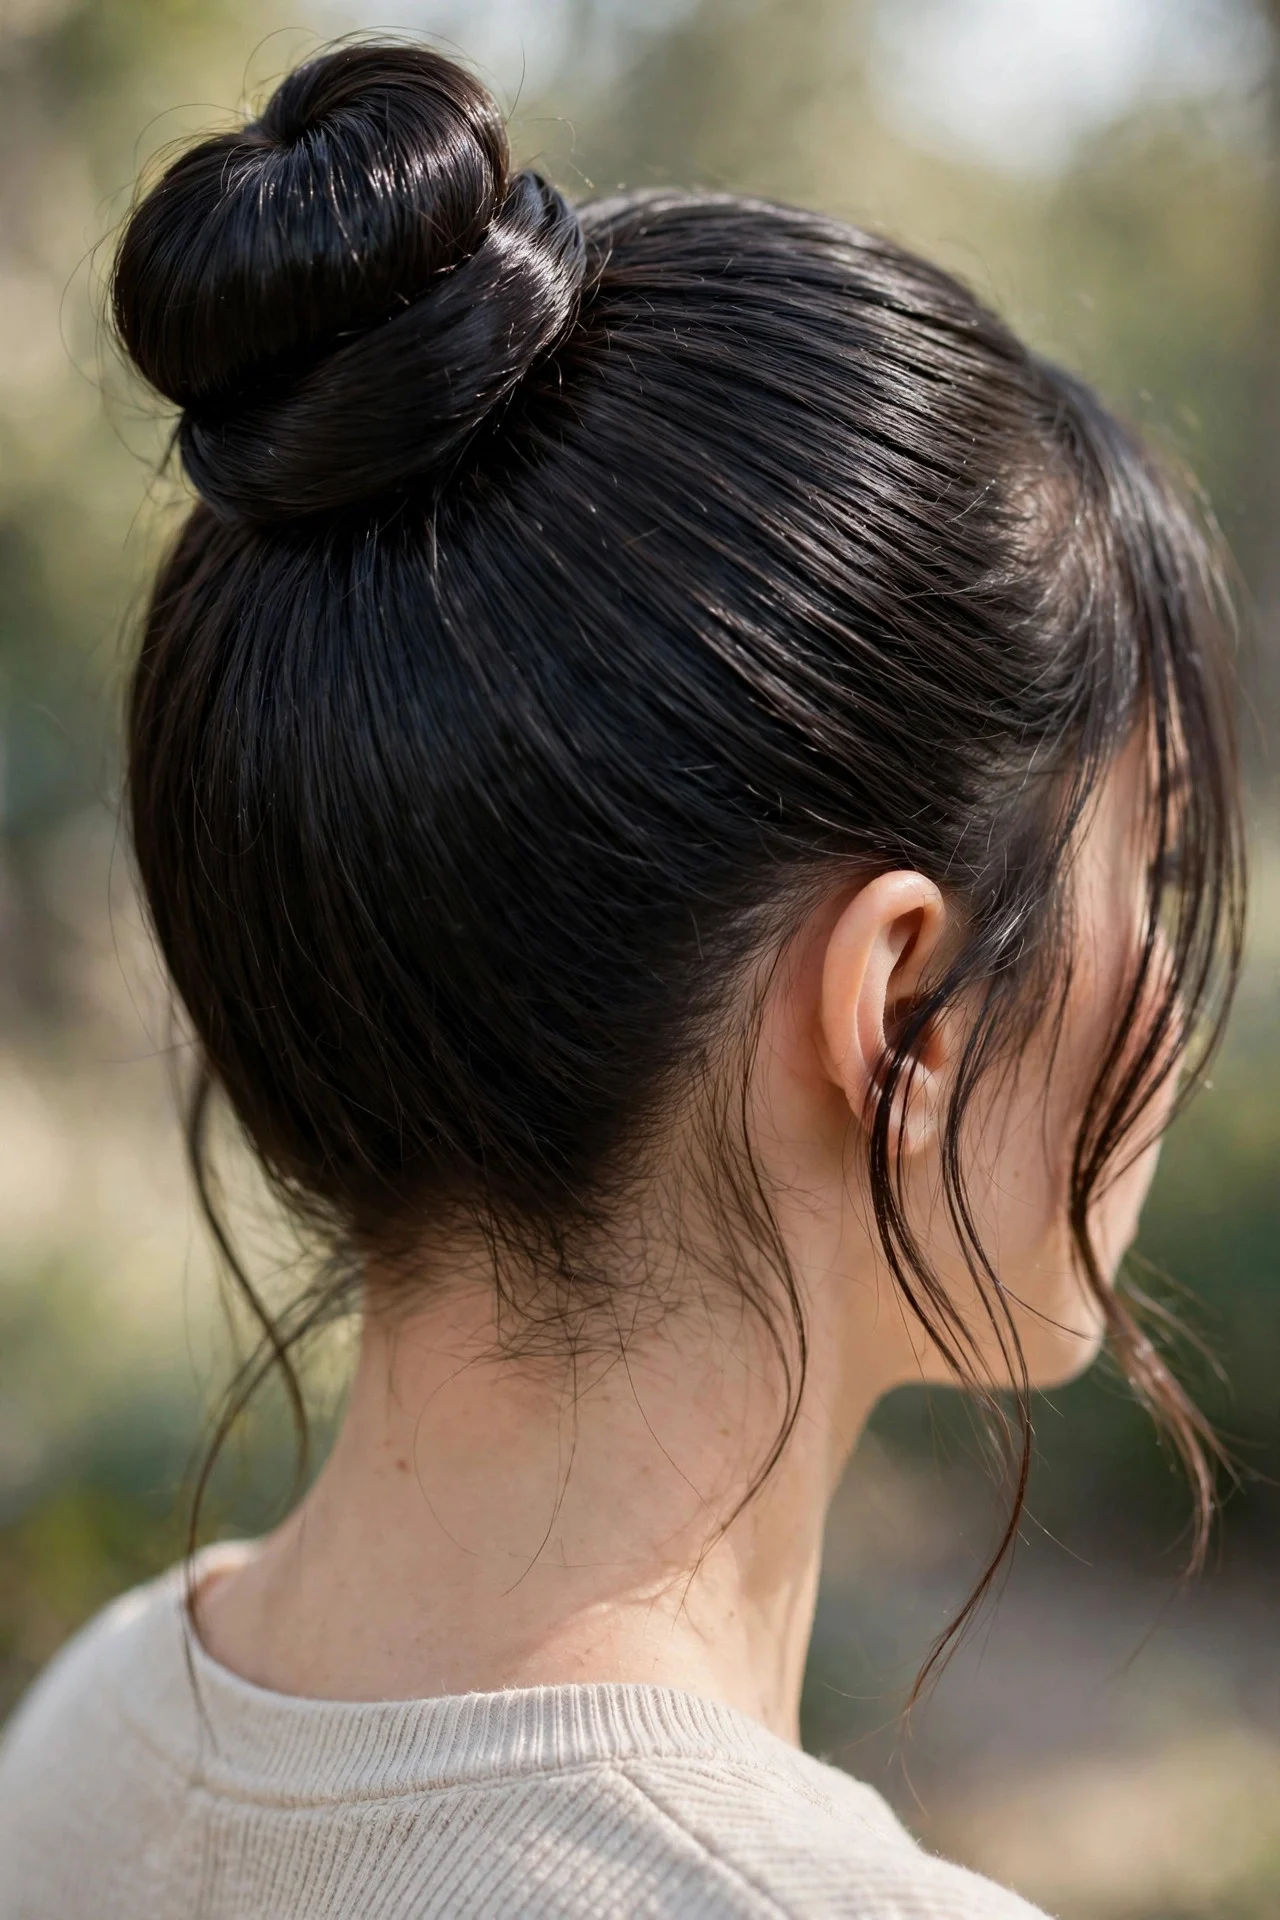
Two soft pieces around the face keep a sleek knot from feeling severe, and this is the most wearable of the ten. Build the knot with everything smoothed back, then pull out a thin section on each side of the parting, or leave them out before gathering the hair. Lightly wave the pieces with a small iron or let them fall naturally. This suits nearly everyone, and is especially kind to square and oblong faces, where the soft pieces break up the jawline. It transitions from office to dinner without a restyle. Upkeep is minimal. The drawback: the loose sections frizz first in humidity, so a dab of anti-frizz serum on them is essential on warm days.
8Middle-Part Sleek Top Knot
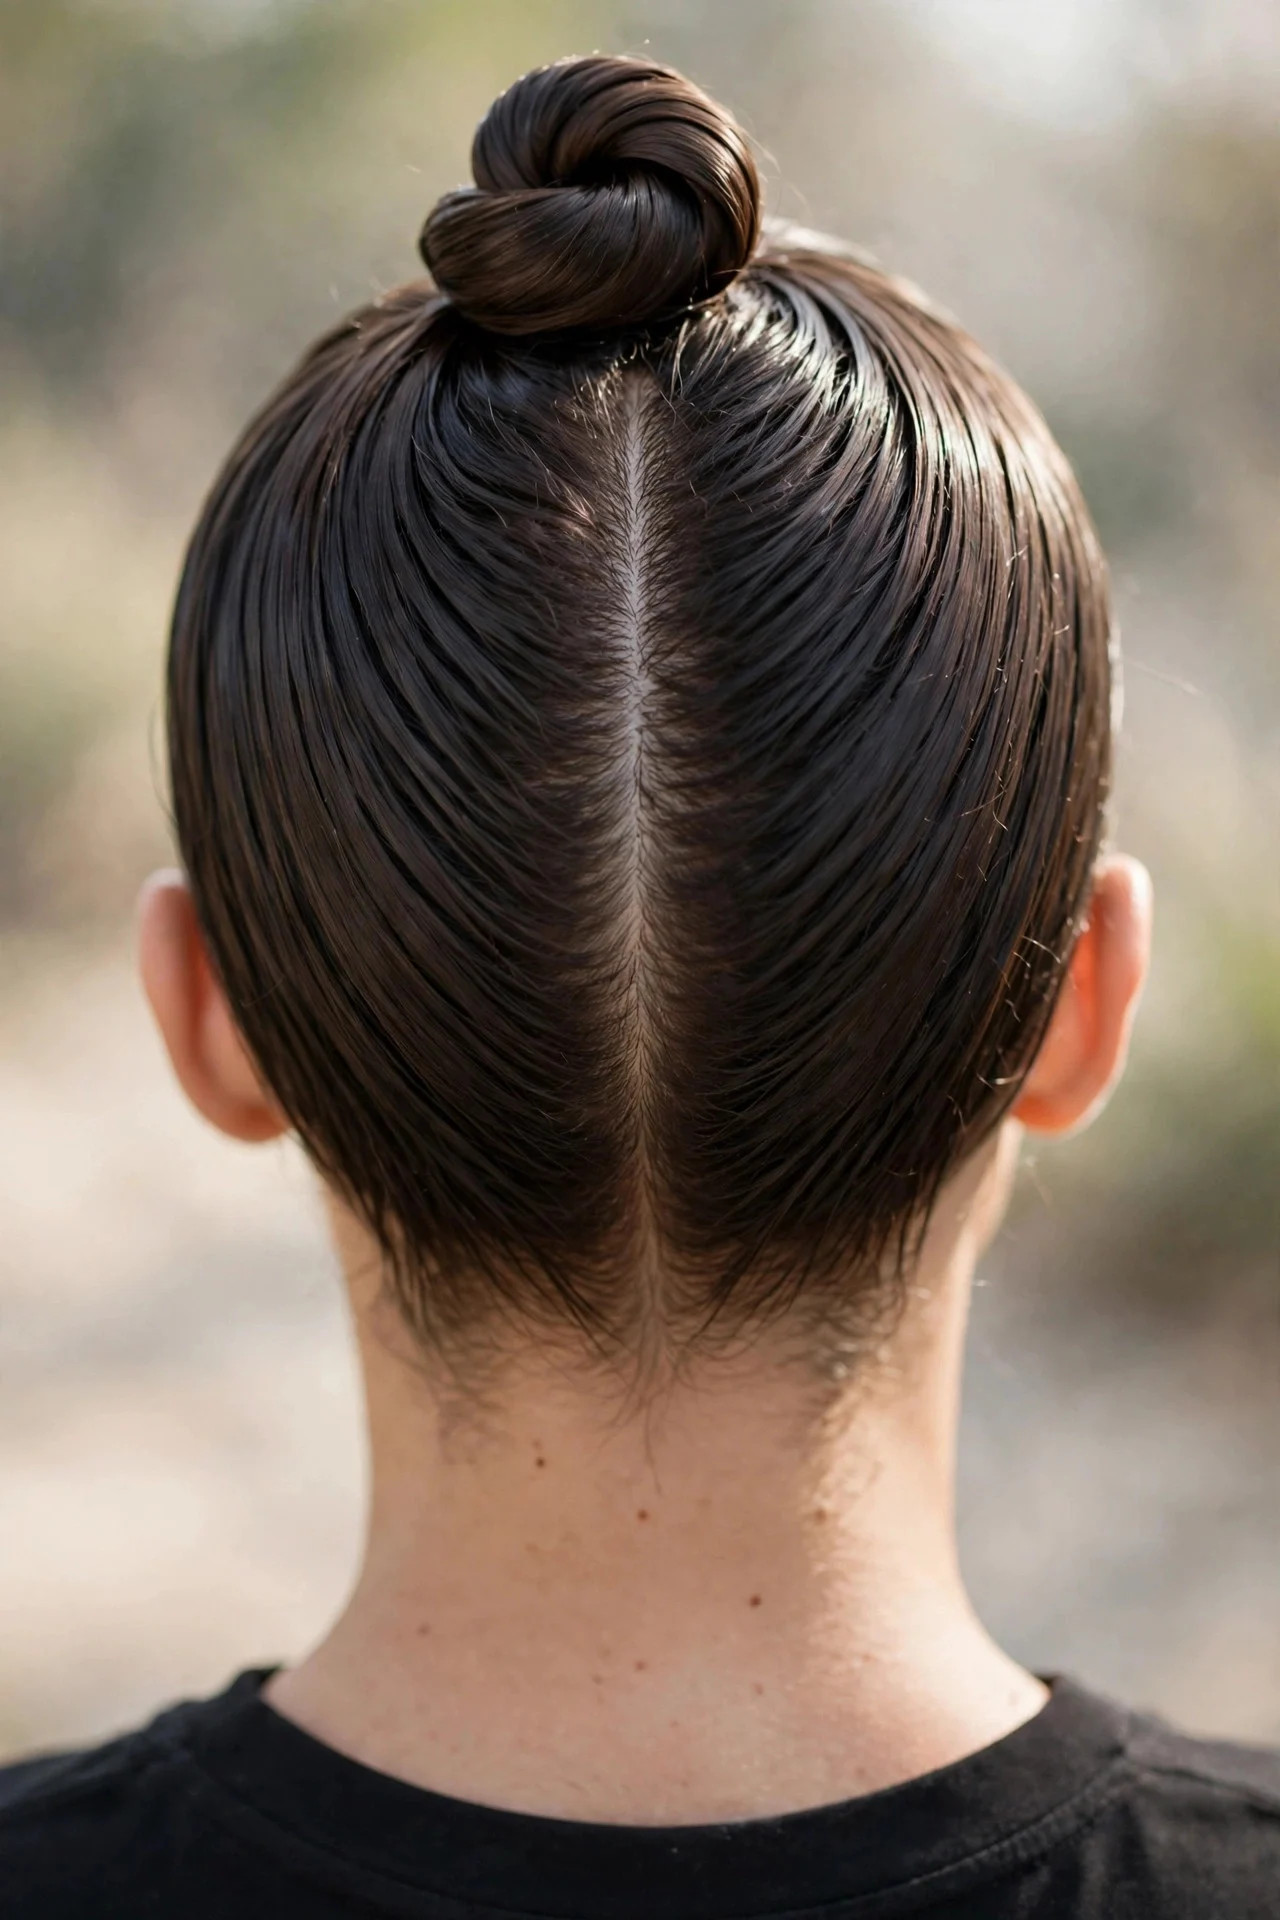
Starting from a crisp center parting gives this top knot a balanced, symmetrical frame. Comb the part in while hair is damp, smooth both sides back with a paddle brush and smoothing cream, and gather at the crown. The parting line should stay visible and clean all the way back. This suits oval, round, and heart faces, and reads polished and intentional, like a red-carpet style. It works best on longer hair with minimal layering, since short layers pop out of the smooth sides. It holds well set with hairspray. The drawback: center partings highlight facial asymmetry, so if a middle part usually bothers you, this magnified version will too.
9Braided-Base Sleek Top Knot

A slim braid running into the knot adds craft to the sleek base without losing polish. Smooth the hair back, then either braid a small section at the nape into the ponytail base, or twist the knot from a braided tail for extra texture. The hidden under-braid is the sleekest and adds a lovely reveal from behind. It suits long hair best and looks wonderful on textured hair. Oval and heart faces carry it well. The knot holds securely since braided hair has natural grip. The drawback is time: even a small braid adds ten minutes, and keeping the rest smooth while braiding takes practice, so try it on a relaxed morning first.
10Oversized Statement Top Knot

This is the top knot turned up to maximum: a large, sculptural knot sitting high and proud. Backcomb the ponytail tail for volume, then wrap it around a hair donut or bun maker to build size, tucking and pinning the ends. Smooth the head back firmly so the contrast between the sleek base and the big knot is dramatic. It suits special occasions, and the height flatters round and heart faces. Long, thick hair achieves it naturally; finer hair leans on the donut. It stays up all evening with enough pins. The honest drawback is comfort: a large knot can feel heavy by day's end, and backcombing needs gentle detangling with a wide-tooth comb.
How to Get a Top Knot Glassy Smooth
The difference between a good top knot and a great one is almost entirely in the prep. Start with the smoothing step while your hair is damp: apply a quarter-sized amount of smoothing cream or lightweight serum through the lengths, then blow-dry with a paddle brush pulling every section upward toward where the knot will sit. Directing the airflow from roots to ends in the direction of the style trains the hair to lie flat and closes the cuticle, which is where shine comes from.
For the slicked base, the product stack matters. A pea-sized amount of edge control or a medium-hold gel applied to the hairline and the surface of the head keeps flyaways down far better than hairspray alone, which can leave a sticky film. Work in small sections with a boar bristle brush, brushing up and slightly back, then gather into a ponytail and secure with a snag-free elastic. If you have new growth, baby hairs, or frizz-prone texture, a toothbrush with a tiny bit of edge control is the precision tool that tames them without disturbing the rest.
When wrapping the knot, smoothness continues to matter. Keep tension even as you twist so the coil looks uniform, and pin from underneath so no hardware shows. Finish the whole head with a flexible-hold hairspray misted from about ten inches away, then press the surface gently with your palms or the back of the brush to flatten any last lift. For humidity-prone days, add a light anti-humidity spray as the final step. With this routine, a sleek top knot will stay crisp for twelve hours and still look intentional the next morning.
Frequently Asked Questions
Will a sleek top knot work on curly or coily hair?
Yes, and it can look stunning, because texture gives the knot natural fullness. Start on stretched hair for the sleekest result: blow-dry on low heat with tension, or flat iron the roots and lengths first. Use a strong-hold gel on damp hair and brush thoroughly with a boar bristle brush to smooth the hairline. The knot itself can be twisted from natural texture, which holds better than silky hair. Protect the style overnight with a satin scarf and it will last two to three days with edge touch-ups.
How do I stop my top knot from sliding down during the day?
Sliding usually comes from a loose ponytail base, not the knot itself. Secure the ponytail with two elastics, or pin the elastic to the head through the base. Backcomb the base of the tail before wrapping, since the texture gives the coil something to grip. Cross pins in an X through the knot and into the base rather than sliding them along the surface. A light dusting of texturizing powder at the roots before gathering also adds grip, especially on freshly washed hair.
Is wearing a top knot every day bad for my hair?
Daily tight top knots can cause tension breakage around the hairline and crown, especially on fine or fragile hair. The risk depends on tightness: a drum-tight knot every day is much harsher than a comfortably snug one. Vary the position between high, mid, and low knots to distribute tension, loosen the base slightly, and use fabric-covered elastics without metal. Give your hair rest days with loose styles, and keep the hairline conditioned, since edges take the most stress.
What face shapes look best with a sleek top knot?
Almost every face shape can wear one with small adjustments. Height on top lengthens round faces, so place the knot high. A low or side-placed knot softens square jawlines. Face-framing pieces flatter oblong and square faces by breaking up long lines, and oval faces can wear any placement. If you have a prominent forehead, keep the front slightly softened rather than pulled bone-tight. A middle-part version draws attention to symmetry, so choose your parting accordingly.
How long does a sleek top knot take to style?
A basic sleek top knot takes five to ten minutes once you know the routine: brush up, secure, twist, pin, spray. Versions needing a full blowout or flat ironing, like the glass hair version, take twenty to thirty minutes. Braided-base and oversized versions add another ten to fifteen minutes. With practice the everyday version becomes a true two-minute style, which is exactly why it is such a reliable staple.
Keep exploring: once you have the sleek top knot down, the infinity bun offers another elegant twisted updo with a sculptural feel, braided space buns bring a playful edge if you want texture and personality, and a sleek straight bob shows how that same glassy finish works on shorter hair.