The ballerina bun never really leaves the spotlight, and for good reason. It is clean, elegant, and far more forgiving than it looks once you know the small techniques that separate a lumpy bun from a smooth, dancer-perfect one. Whether your hair is thick, fine, long, or barely shoulder length, there is a version here for you.
Each tutorial below walks through the actual steps: what to prep with, where to pin, how to hide the ends, and how to make it last. Grab your brush, some pins, and a bun donut if you have one, then pick the style that matches your hair and your patience level.
1The Classic Slicked-Back Ballerina Bun
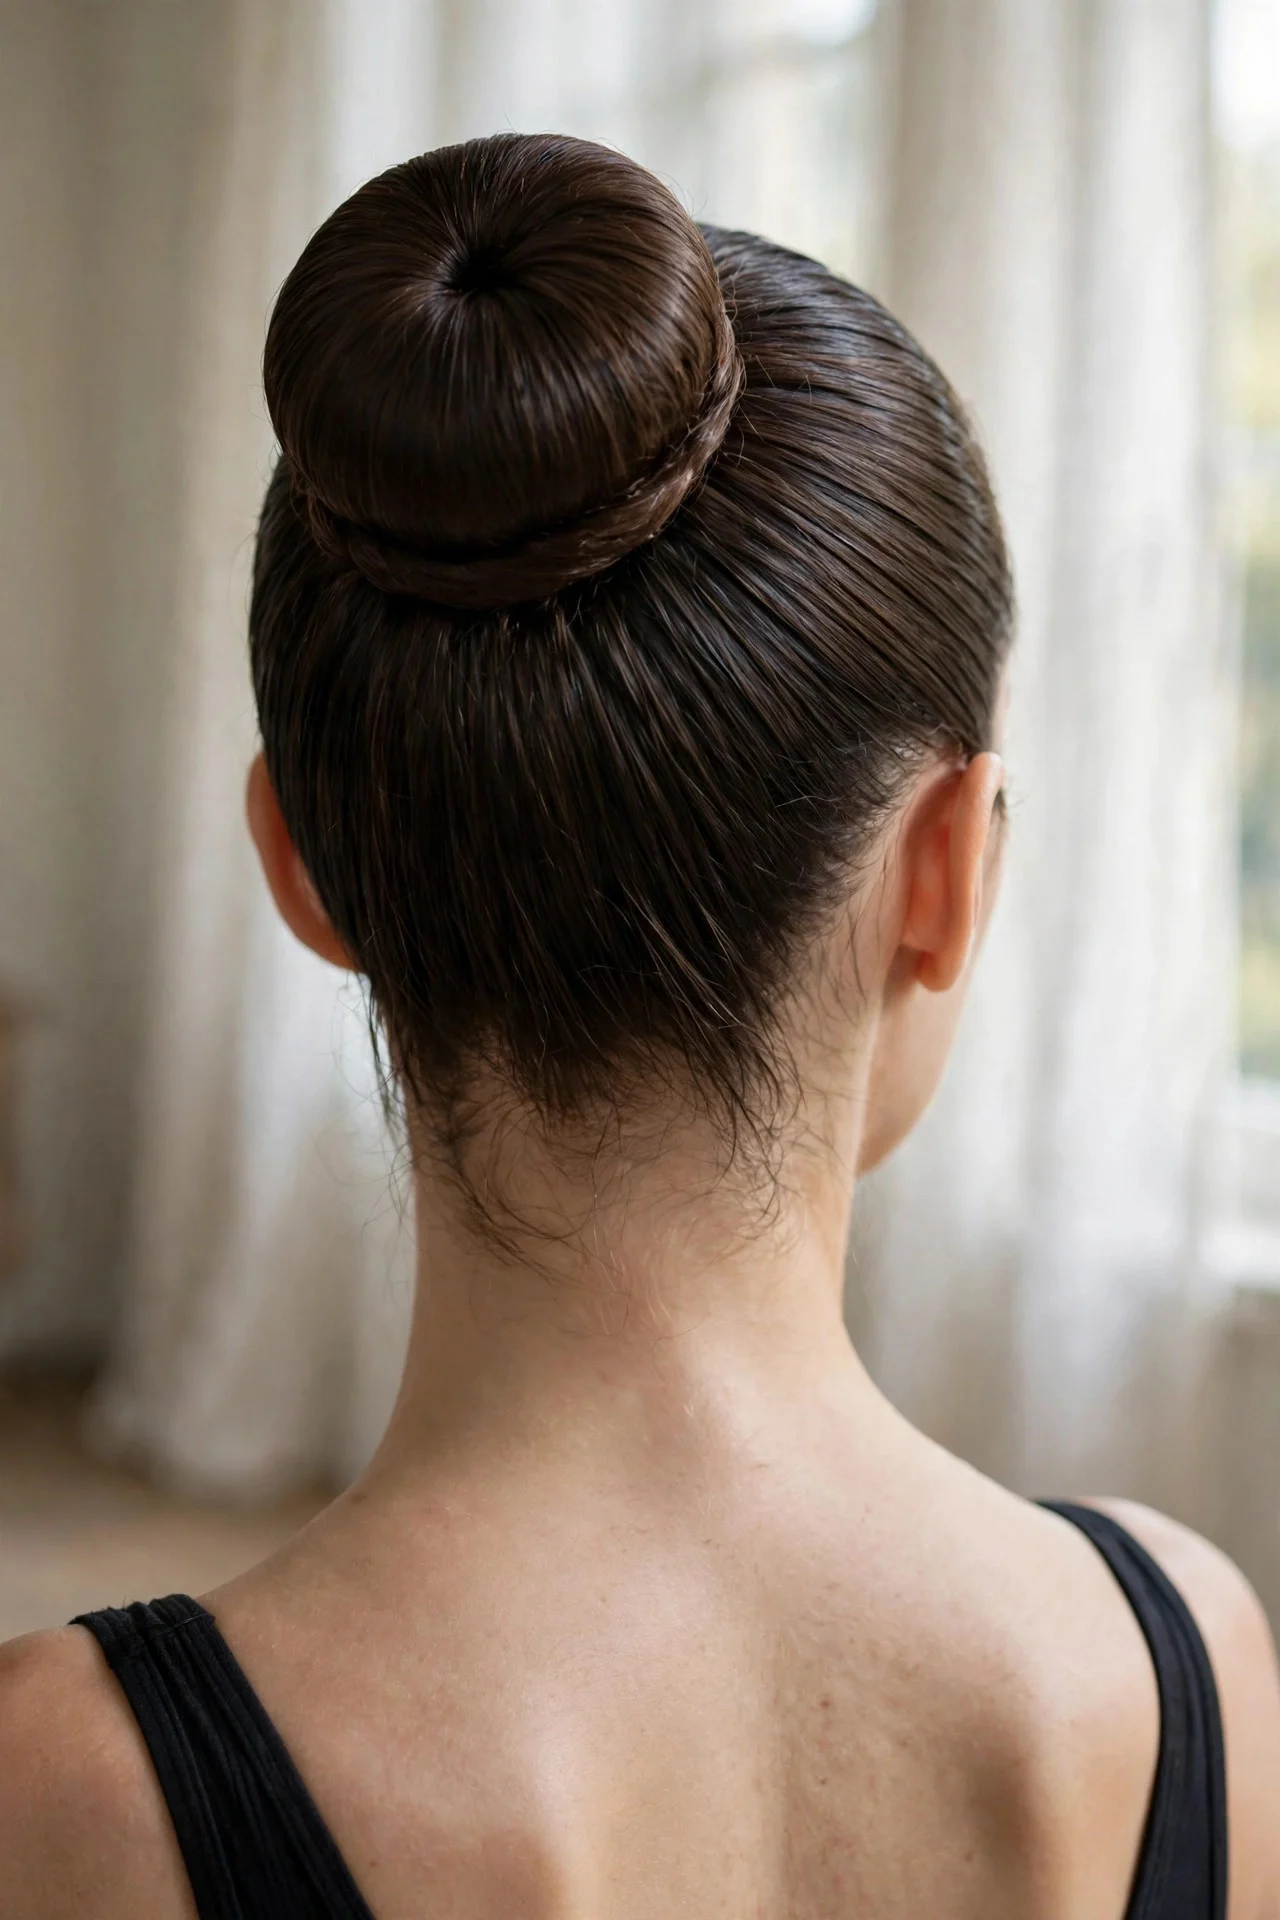
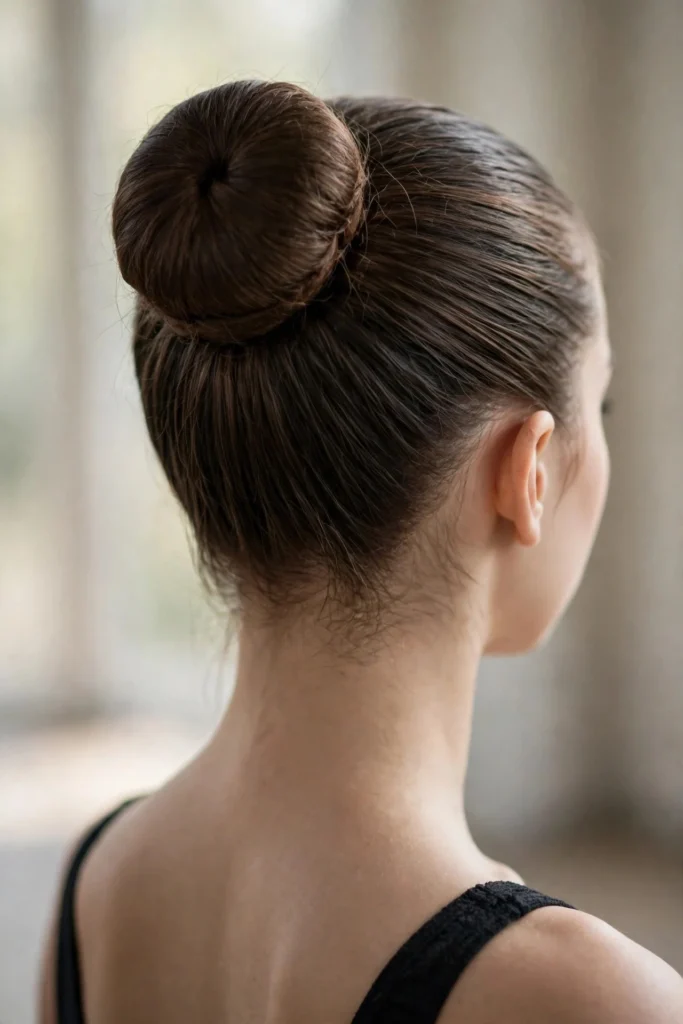
This is the one most people picture: hair pulled high and smooth into a perfectly round bun at the crown. Start with slightly damp hair, work a quarter-sized amount of smoothing gel from roots to mid-lengths, and brush everything into a tight high ponytail secured with two elastics.
Pull the ponytail through a bun donut, spread the hair evenly over the form, and tuck the ends underneath, pinning with U-pins pushed inward toward the elastic. This suits oval and heart-shaped faces best because it lifts everything upward. Finish with strong-hold hairspray. The honest drawback is tension: worn too tight every day, it can stress the hairline, so give your edges rest days between wears.
2The Sock Bun Method
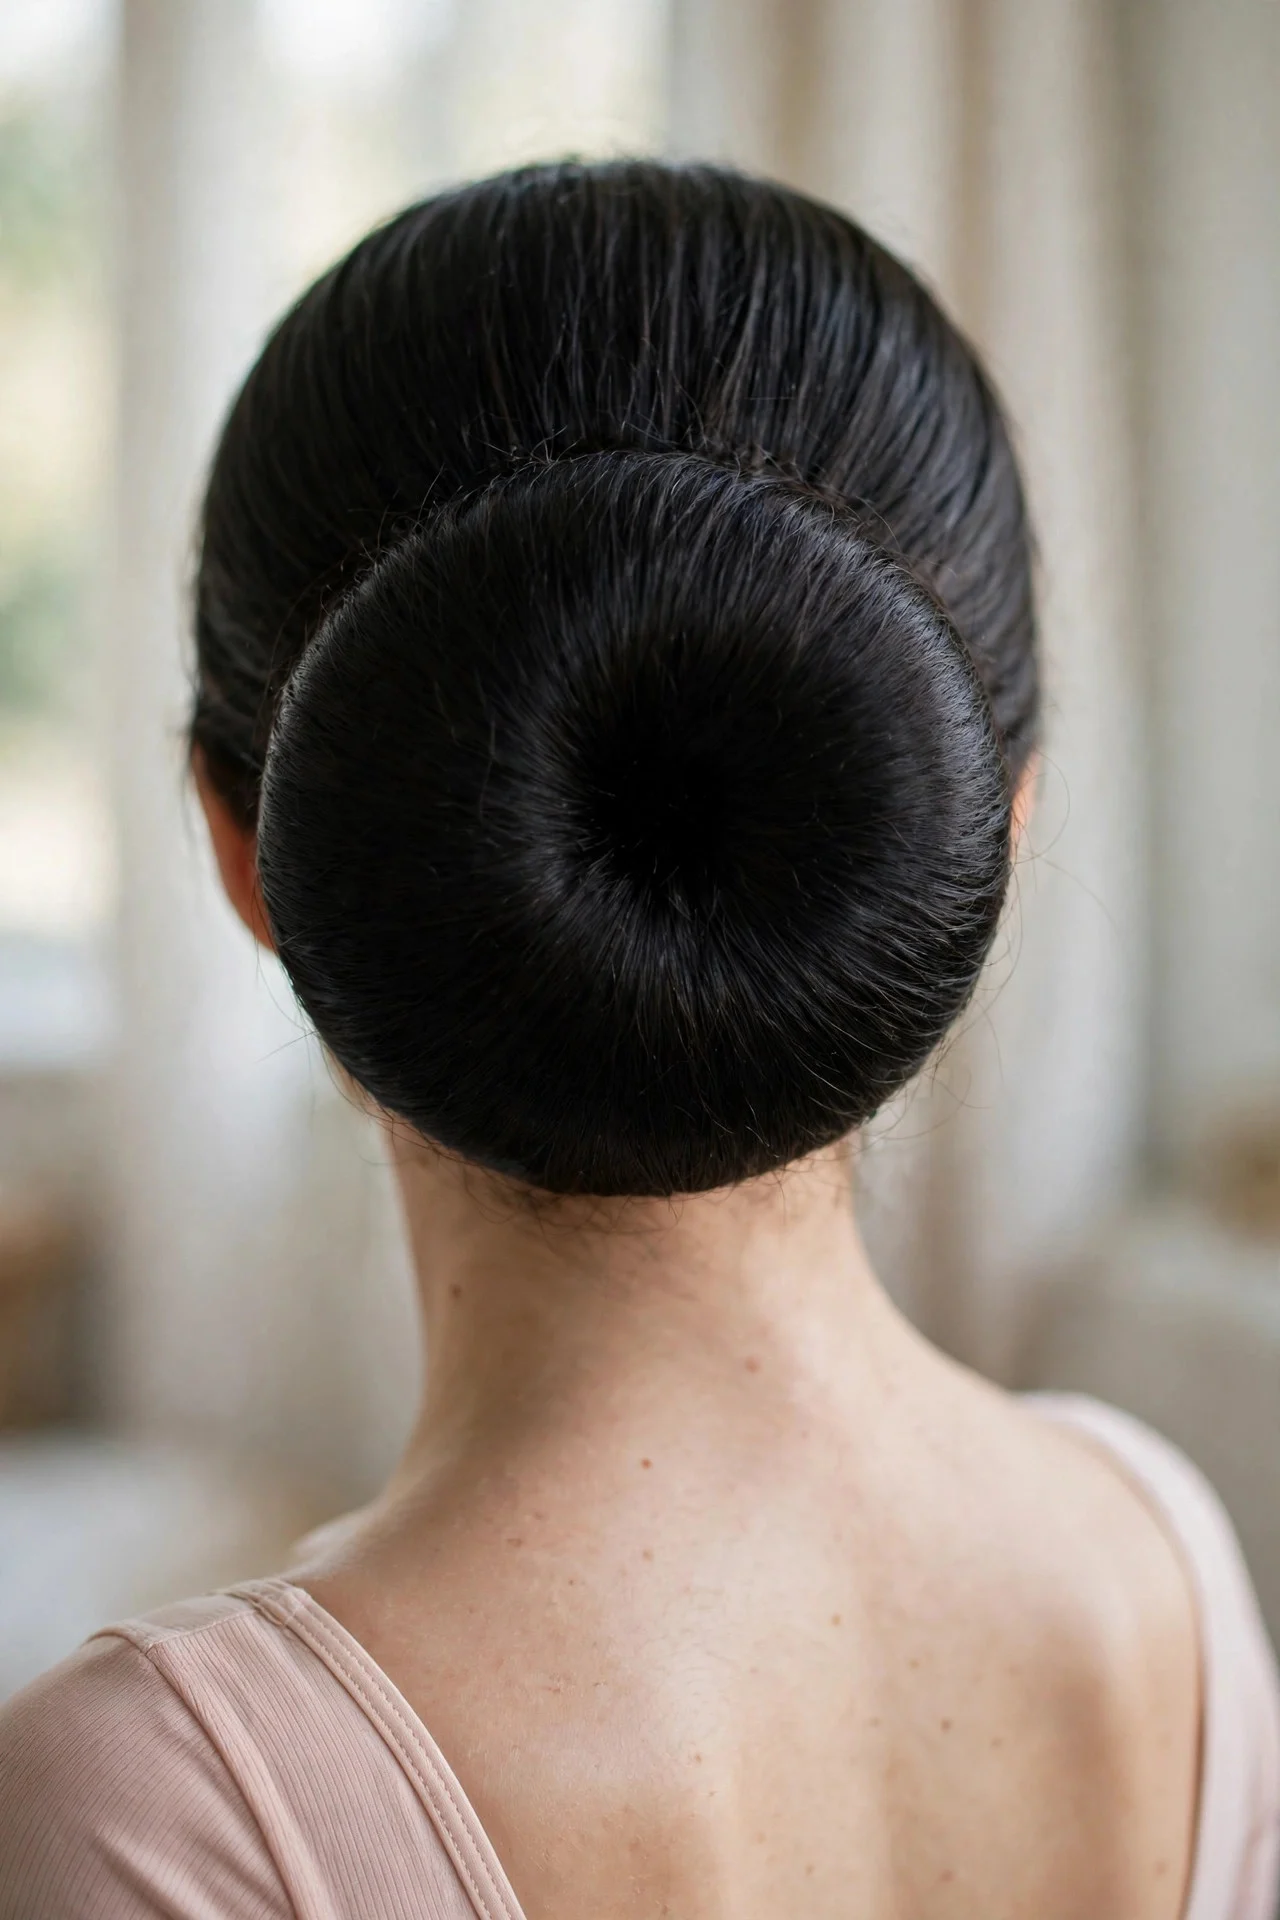
No donut on hand? An old sock does the same job. Cut the toe off a clean tube sock and roll it into a ring. Pull hair into a high ponytail, thread it through the ring, spread the hair over it, and secure with a thin elastic at the base. Tuck loose ends under and pin flat.
The fabric gives hair something to grip, so this works beautifully on day-two hair and creates a impressively large, round bun even on medium lengths. Smooth a pea-sized amount of pomade over the finished bun to flatten flyaways. The drawback is bulk: the sock ring can make the bun noticeably bigger than a foam donut, which reads a little dramatic for the office.
3The Soft Romantic Ballerina Bun
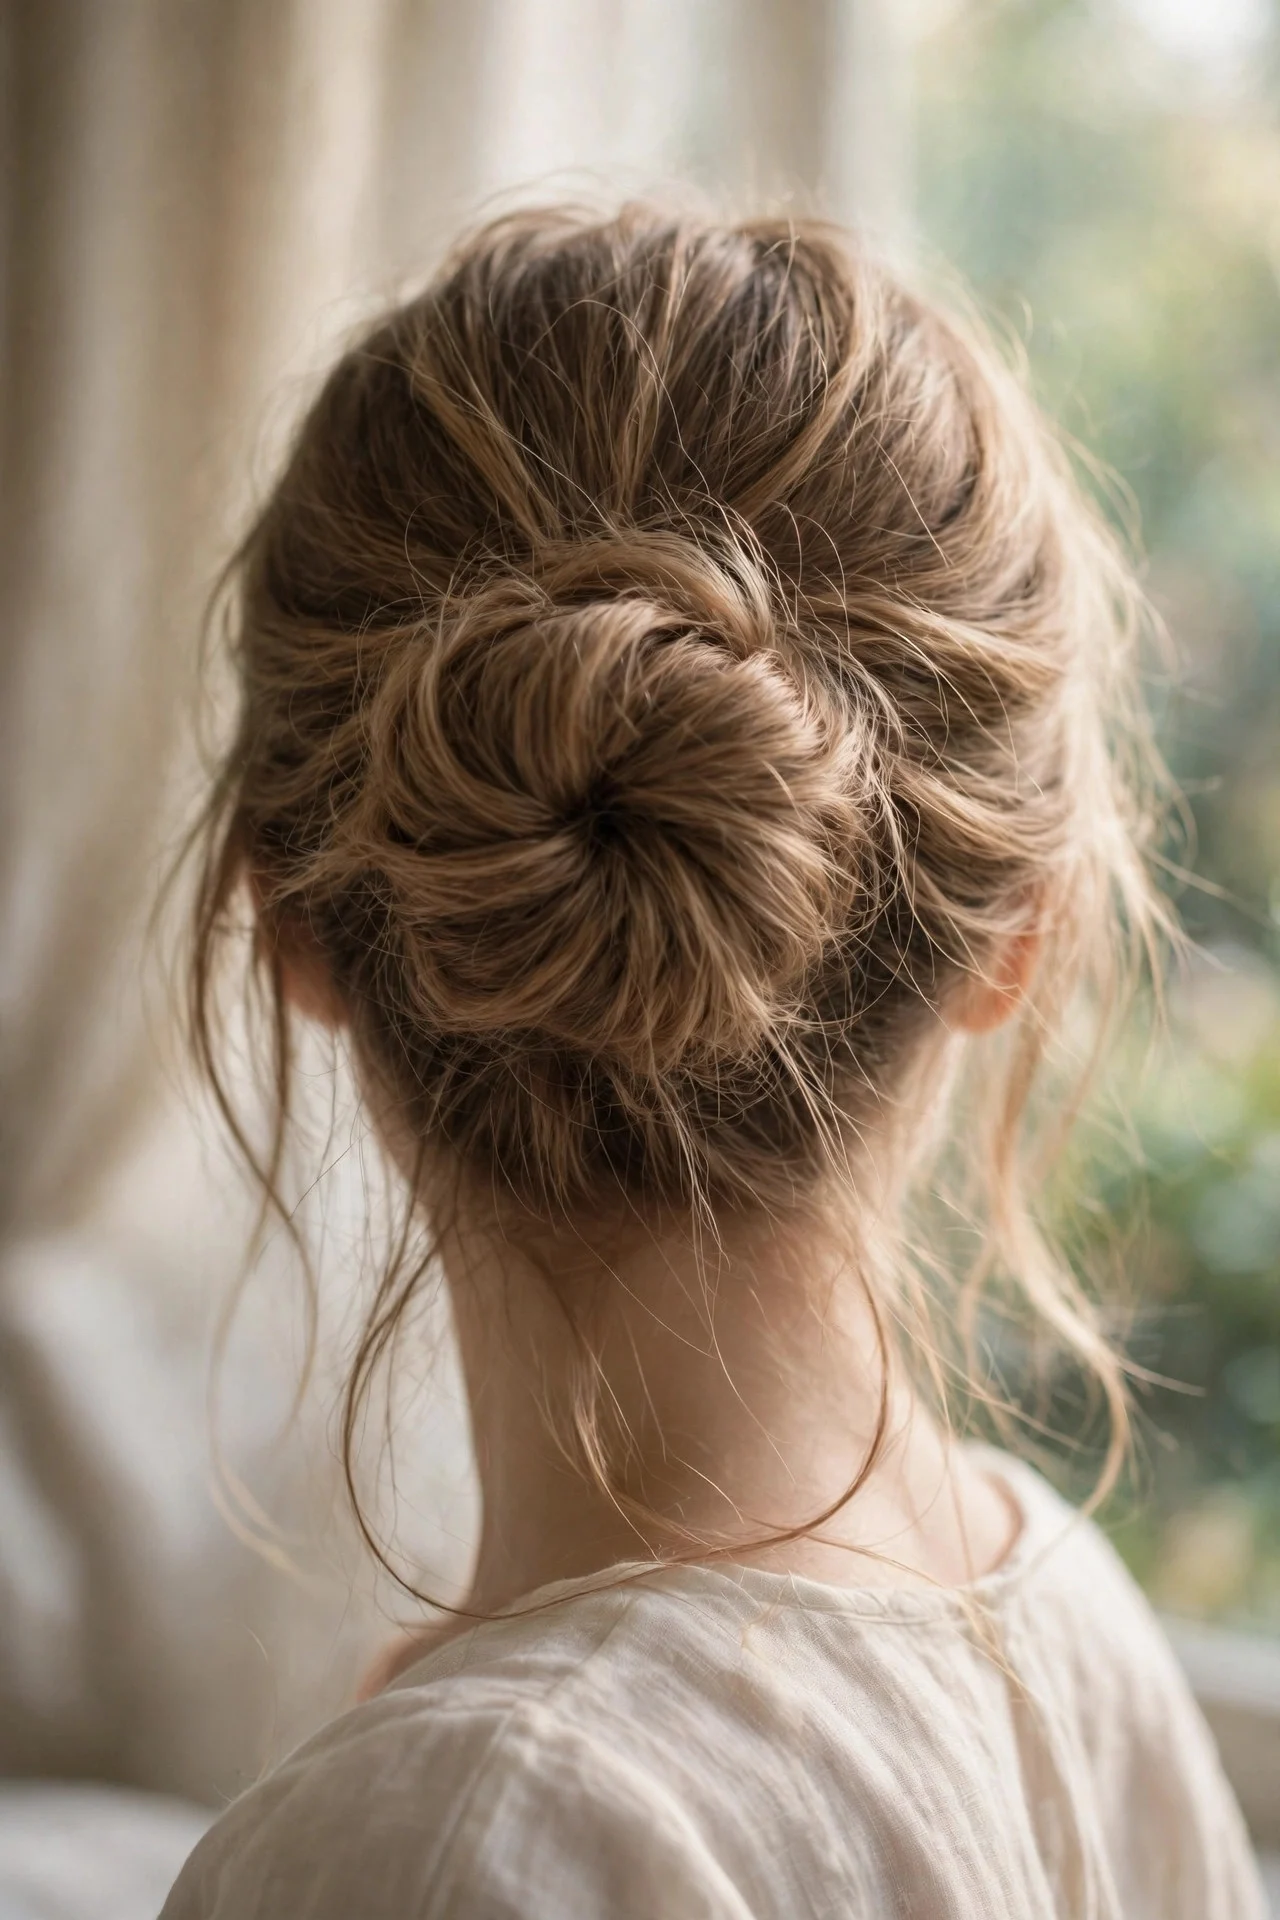
For a less severe take, keep the round shape but relax everything around it. Part hair down the center or side, leave out two face-framing pieces, and gather the rest into a mid-height ponytail with light cream instead of gel. Loop the ponytail into a loose bun, pinning the ends tucked casually.
Curl the face-framing pieces with a 1-inch iron and let them fall naturally. This flatters round and square faces because the soft pieces break up the symmetry. Use flexible-hold spray so the style keeps some movement. Drawback: the looser structure needs a touch-up after about four hours, so carry extra pins. It photographs beautifully, which is why it is a wedding-morning favorite.
4The Sleek Low Ballerina Bun
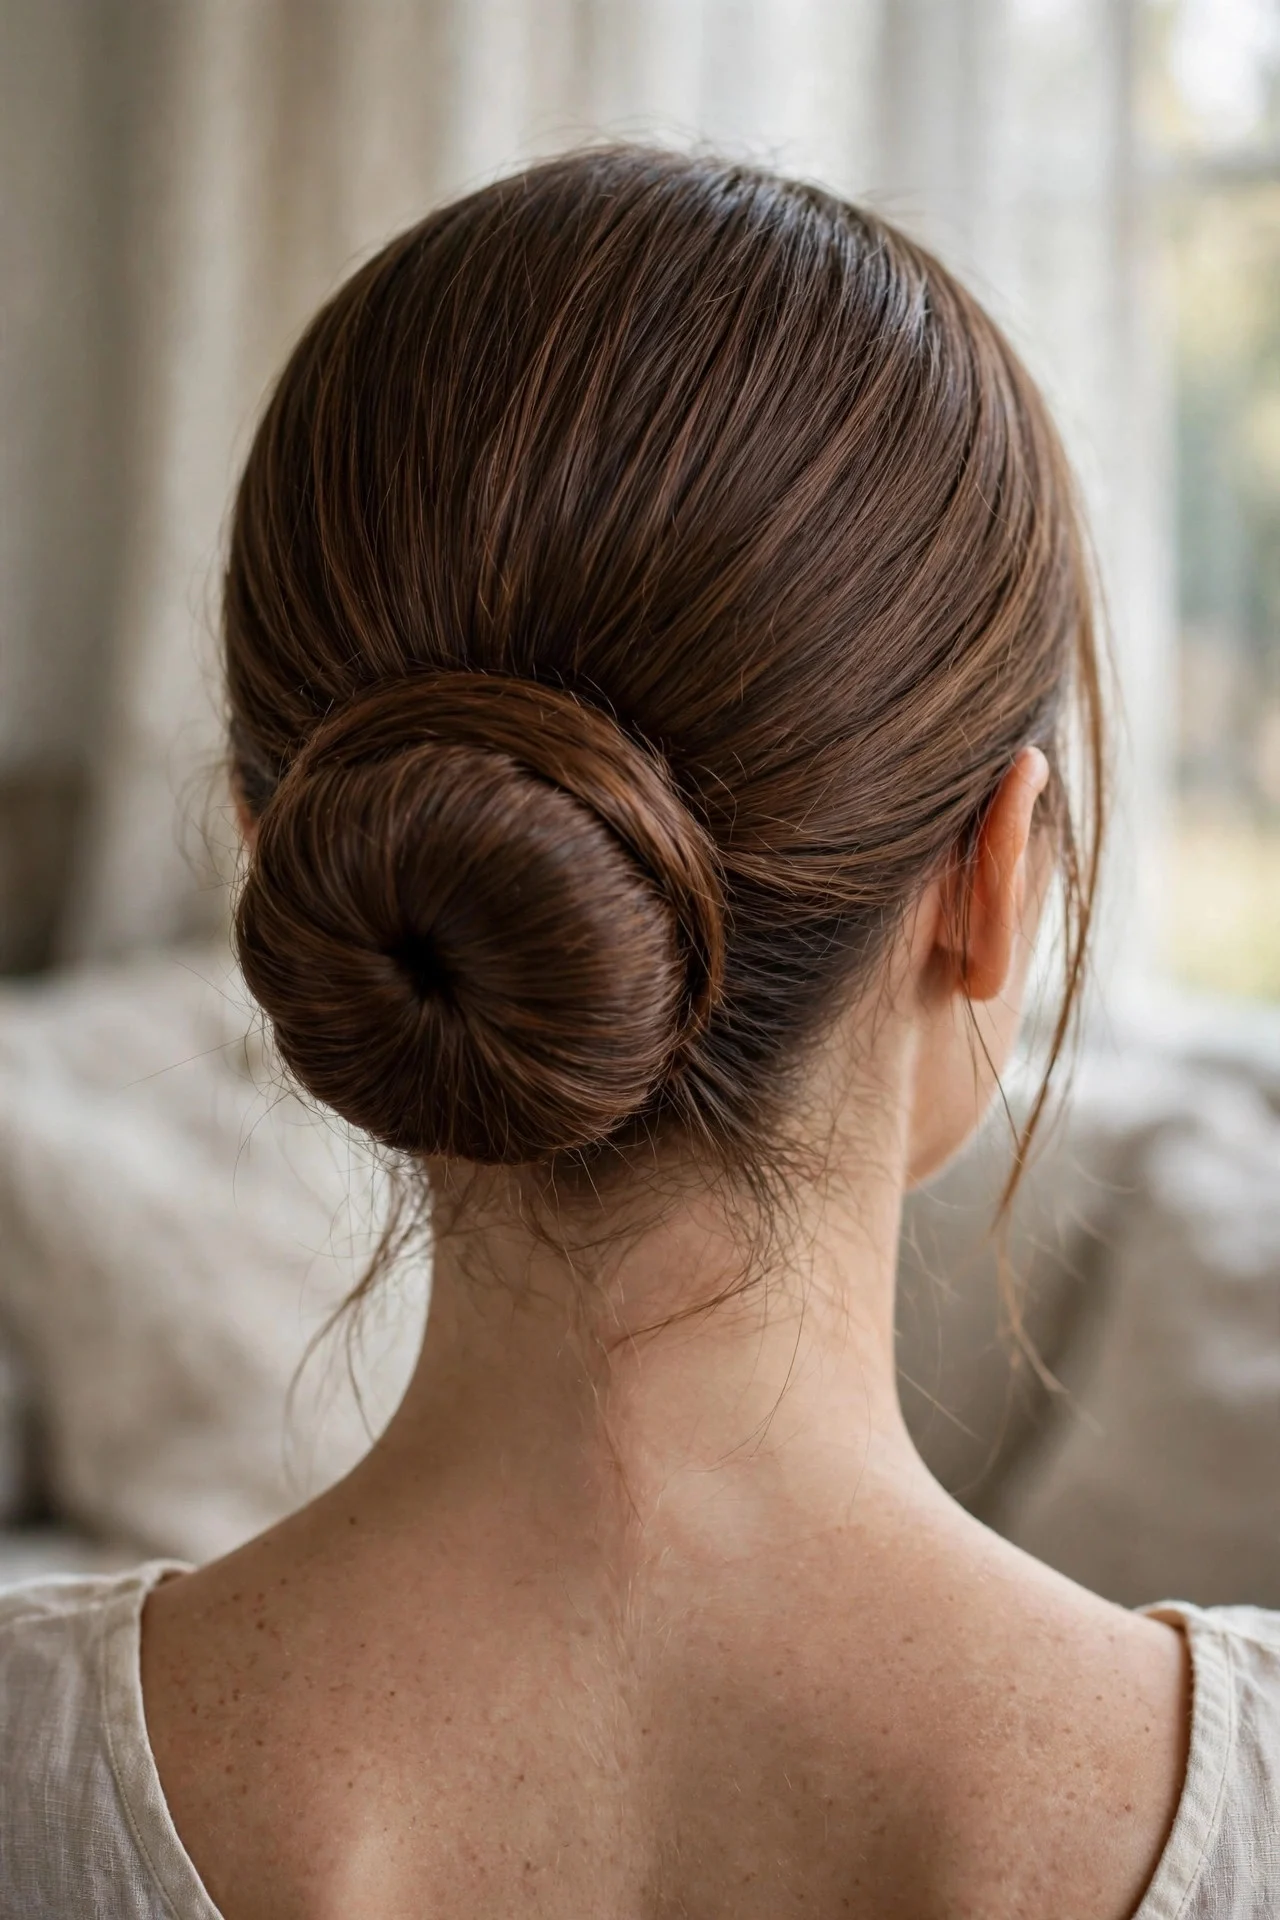
The low version is pure elegance at the nape. Part deeply on one side, smooth hair into a low ponytail with a paddle brush and gel for a glassy finish, then twist the ponytail tightly and coil it flat against the head. Pin in a circle around the coil and flatten the top slightly with your palm so it sits like a polished disc.
This suits long faces and fine hair, since the low placement adds width at the back of the head. It lasts all day because gravity works with you. The drawback is visibility: the bun reads smaller from the front, so if you want drama, this quiet version might underwhelm.
5The Braided Base Ballerina Bun

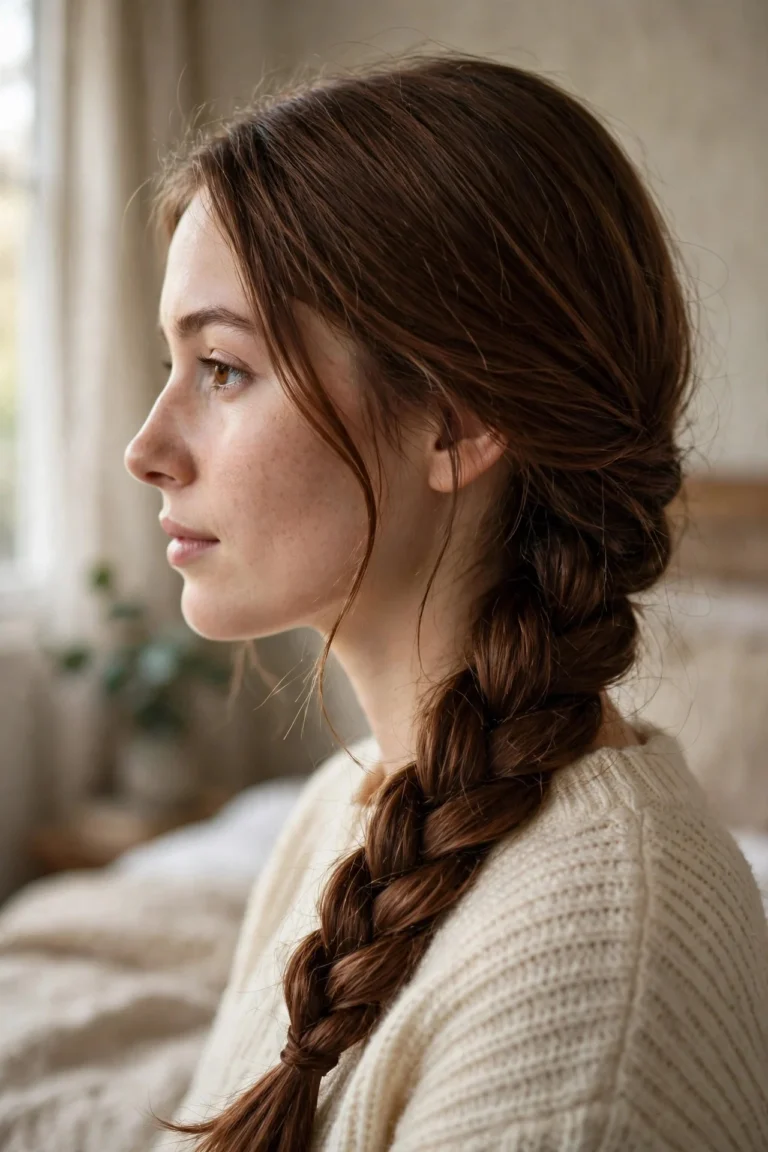
Braid before you bun for extra texture and grip. Make a high ponytail, braid the full length into a simple three-strand braid, and secure with a tiny clear elastic. Coil the braid around the ponytail base, tucking the end underneath and pinning as you go.
The braided rope gives the bun visible detail and holds better on slippery, freshly washed hair than a plain twist. It suits thick hair especially well, since the braid eats up length that would otherwise be hard to tuck. Mist with shine spray so each ridge catches the light. Drawback: on very long hair the coil gets heavy by evening, and the method takes about ten minutes instead of five.
6The Donut Bun With a Side Part
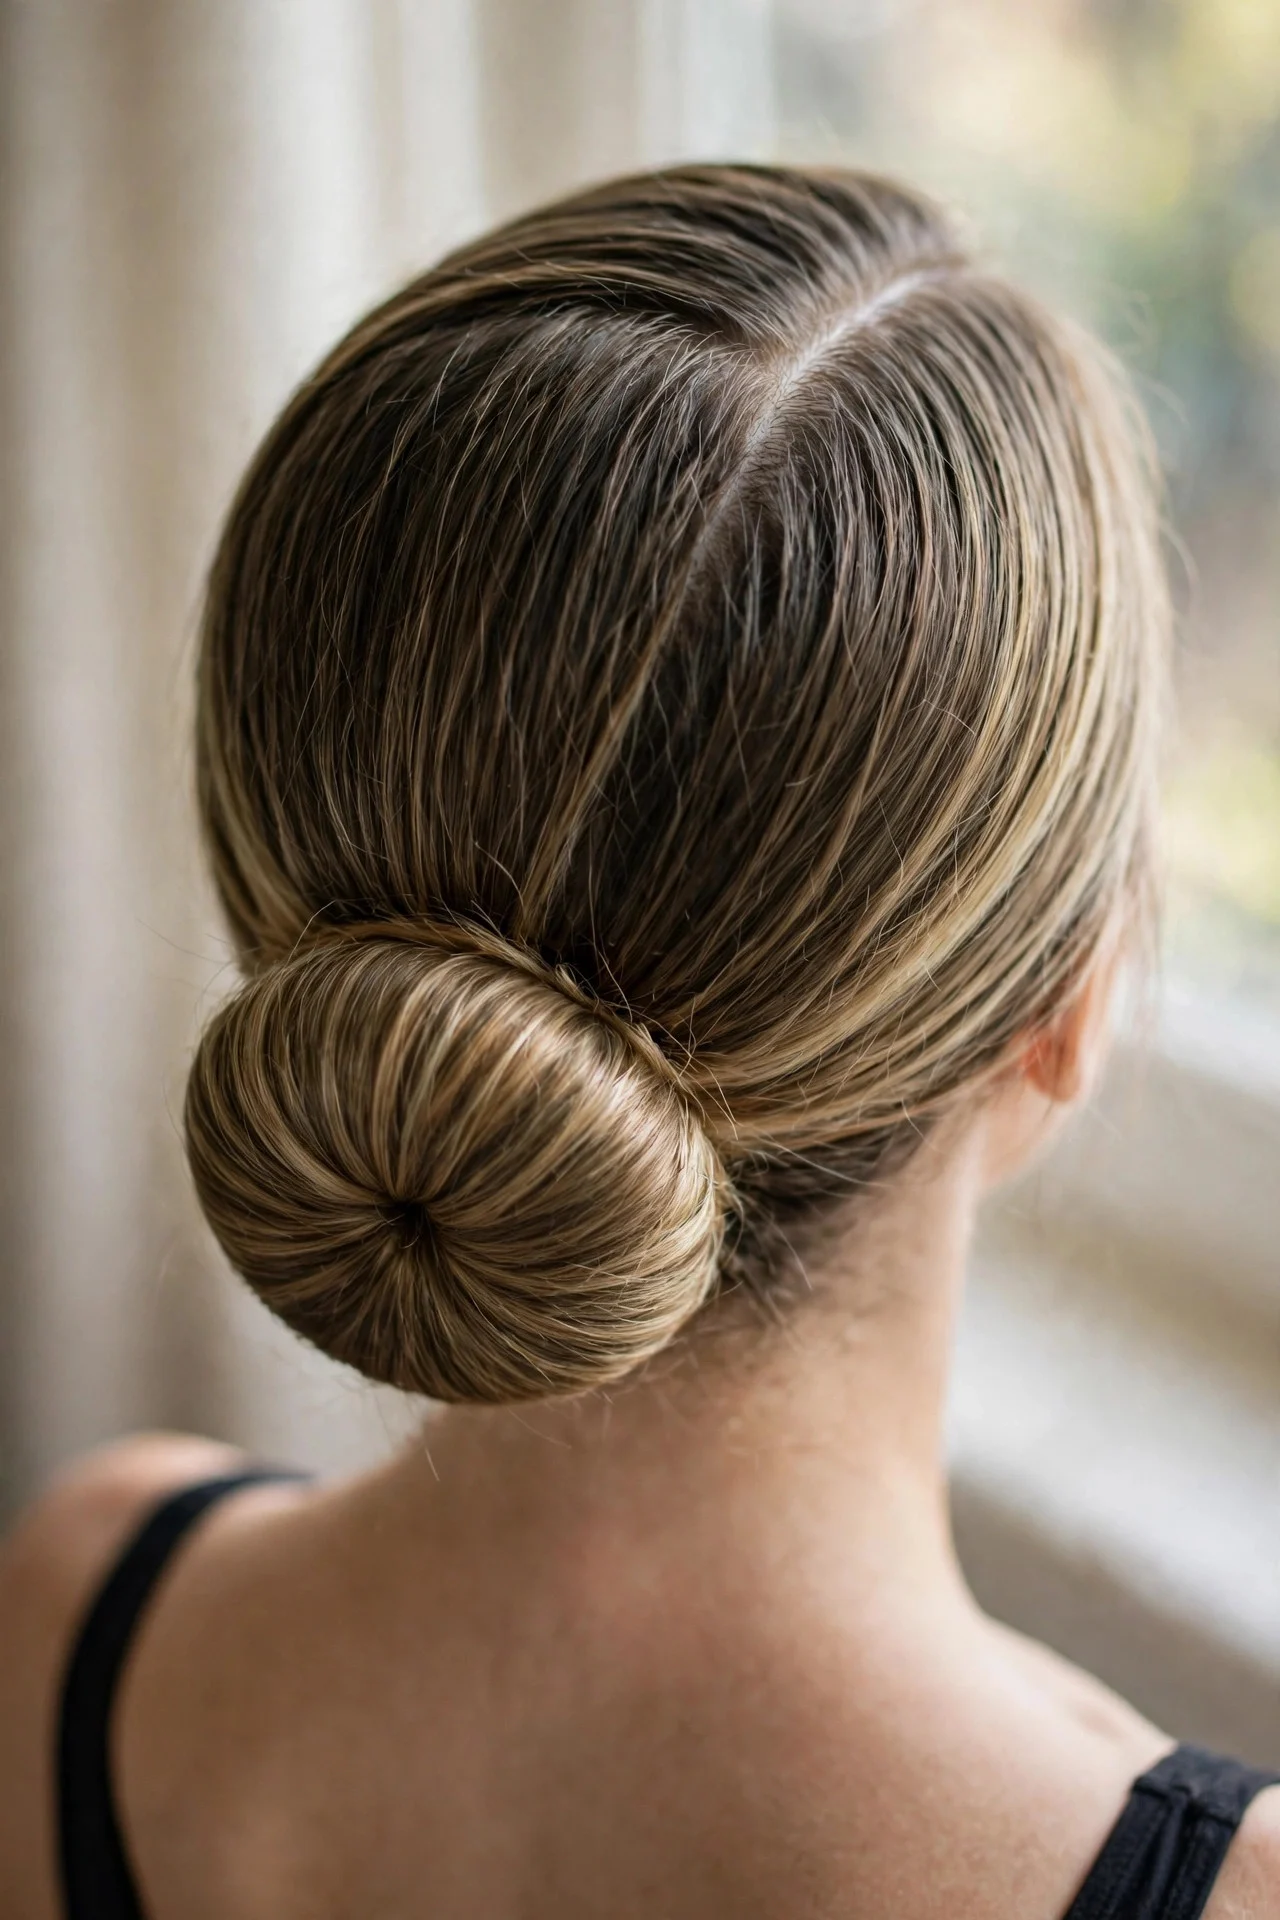
A small change with a big effect: part on the side instead of brushing straight back. Use a rat-tail comb for a clean part, apply smoothing serum at the roots, and gather into a high ponytail angled slightly toward the back of the crown. Place the donut, spread the hair, secure with an elastic, then wrap and pin the remaining ends around the base.
The side part softens the hairline and gives the style an editorial feel. It flatters wide foreheads and strong jawlines by creating diagonal lines, and stylists use it most for photoshoots because it looks intentional from every angle. Drawback: the part can drift if you have cowlicks, so set it with a clip while hair is damp.
7The Messy-Textured Ballerina Bun
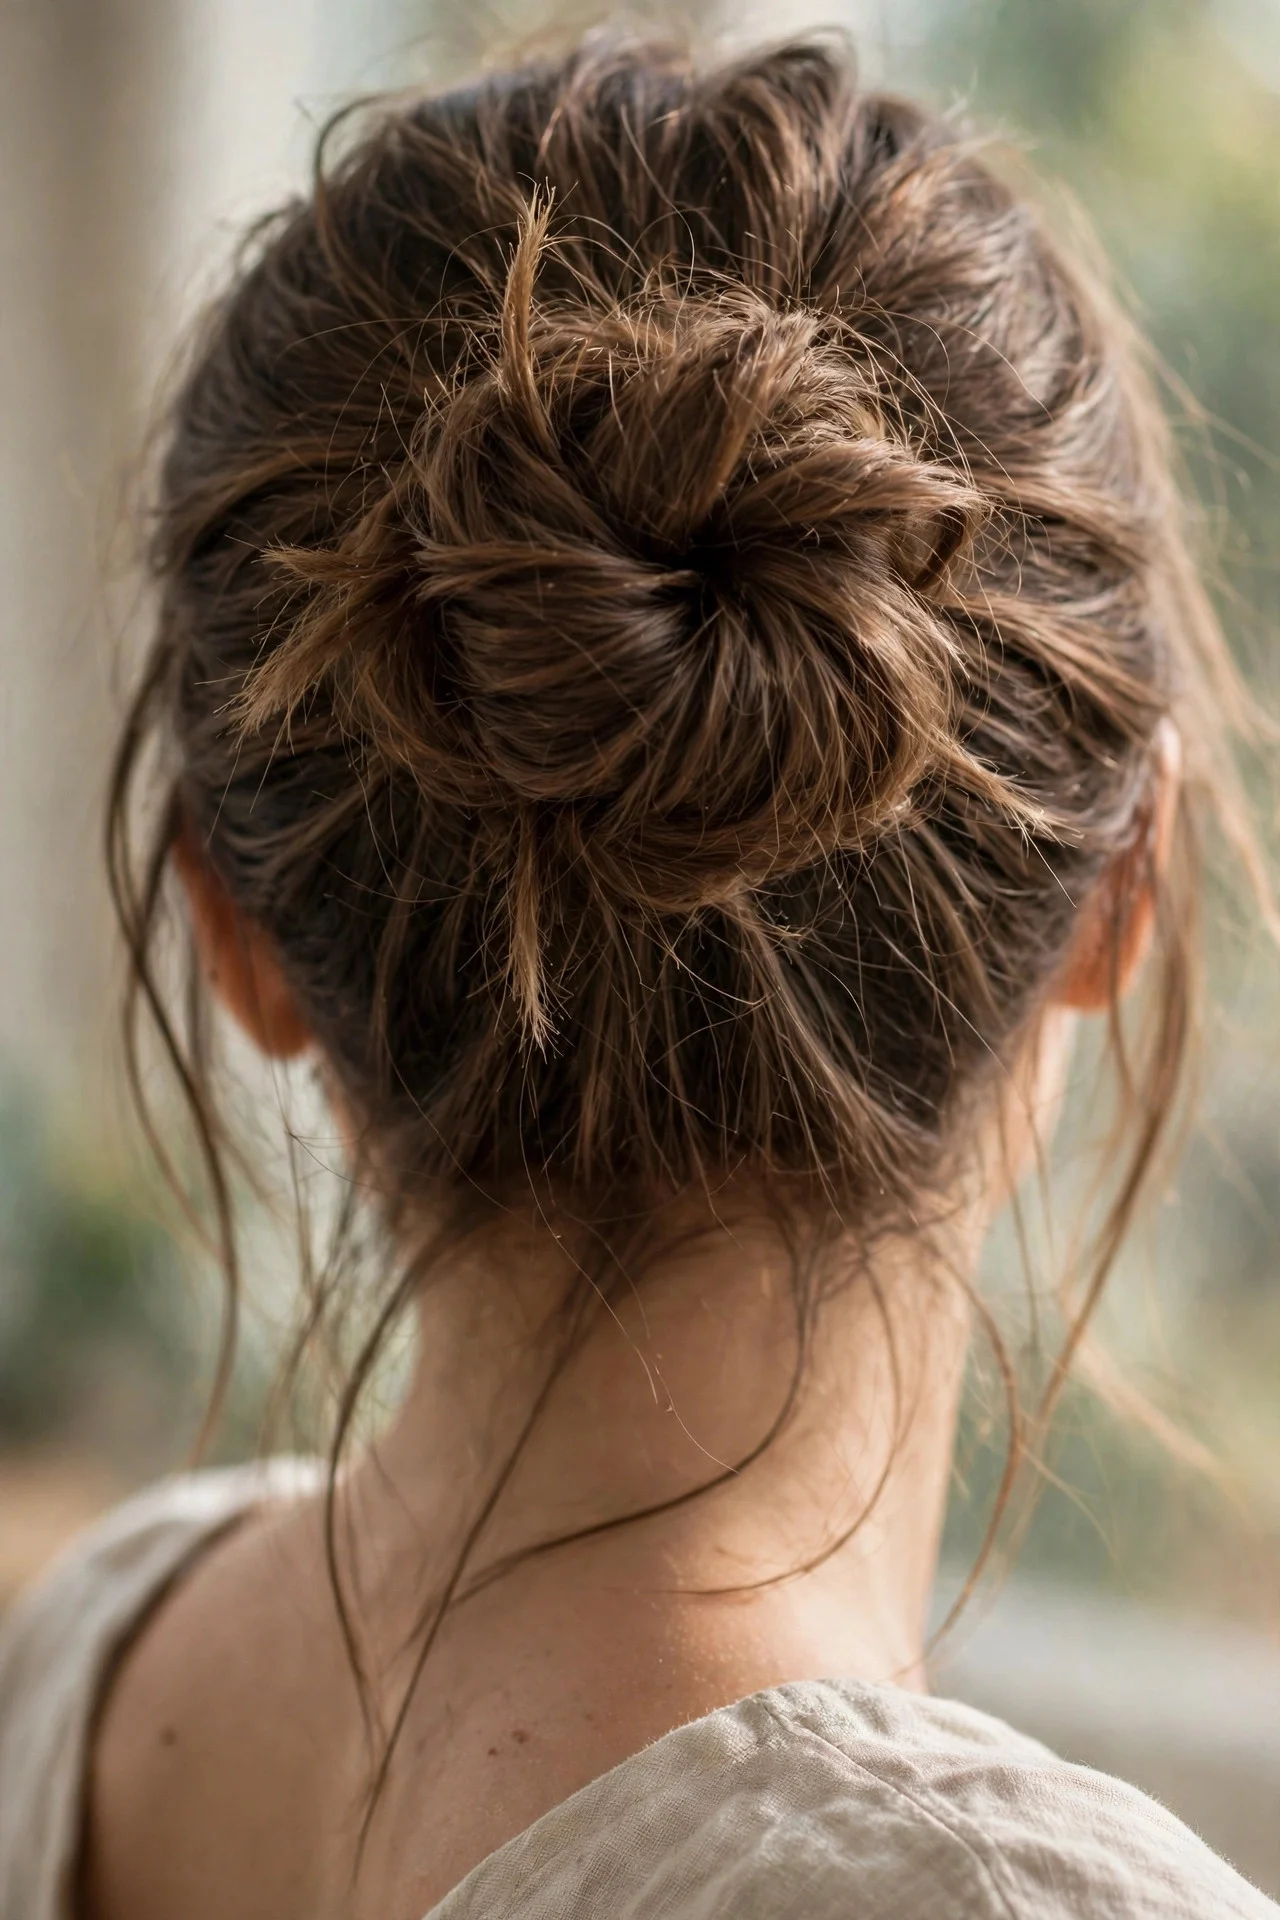
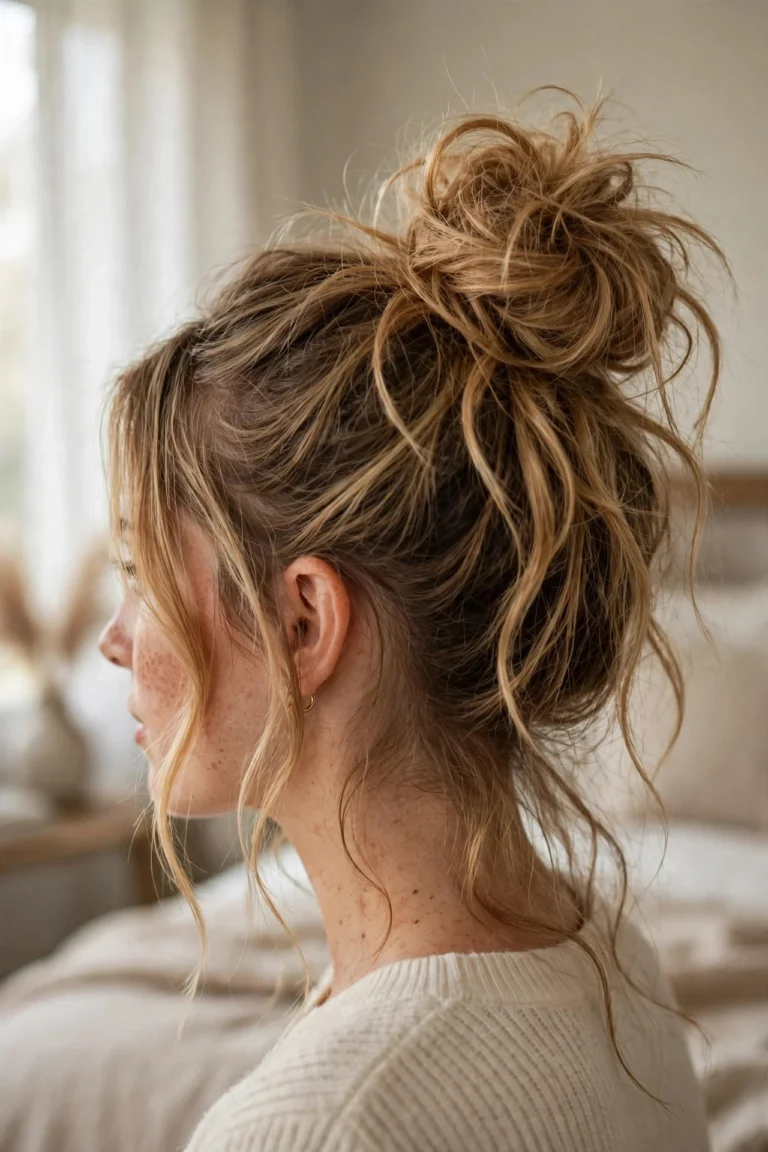
For the shape without the stiffness, rough-dry hair with texturizing spray, tease the crown lightly, and gather into a high ponytail. Backcomb the ponytail for volume, loop it into a bun, and pin loosely. Pull a few pieces out around the hairline and gently tug the bun wider.
This is the most forgiving of the ten: unevenness reads as intentional. It suits casual days and second-day hair, and dry shampoo at the roots beforehand adds grip. The honest drawback is longevity; by hour six the texture can collapse toward a regular messy bun, so it is better for half-days than all-day events.
8The Double-Wrapped Ballerina Bun
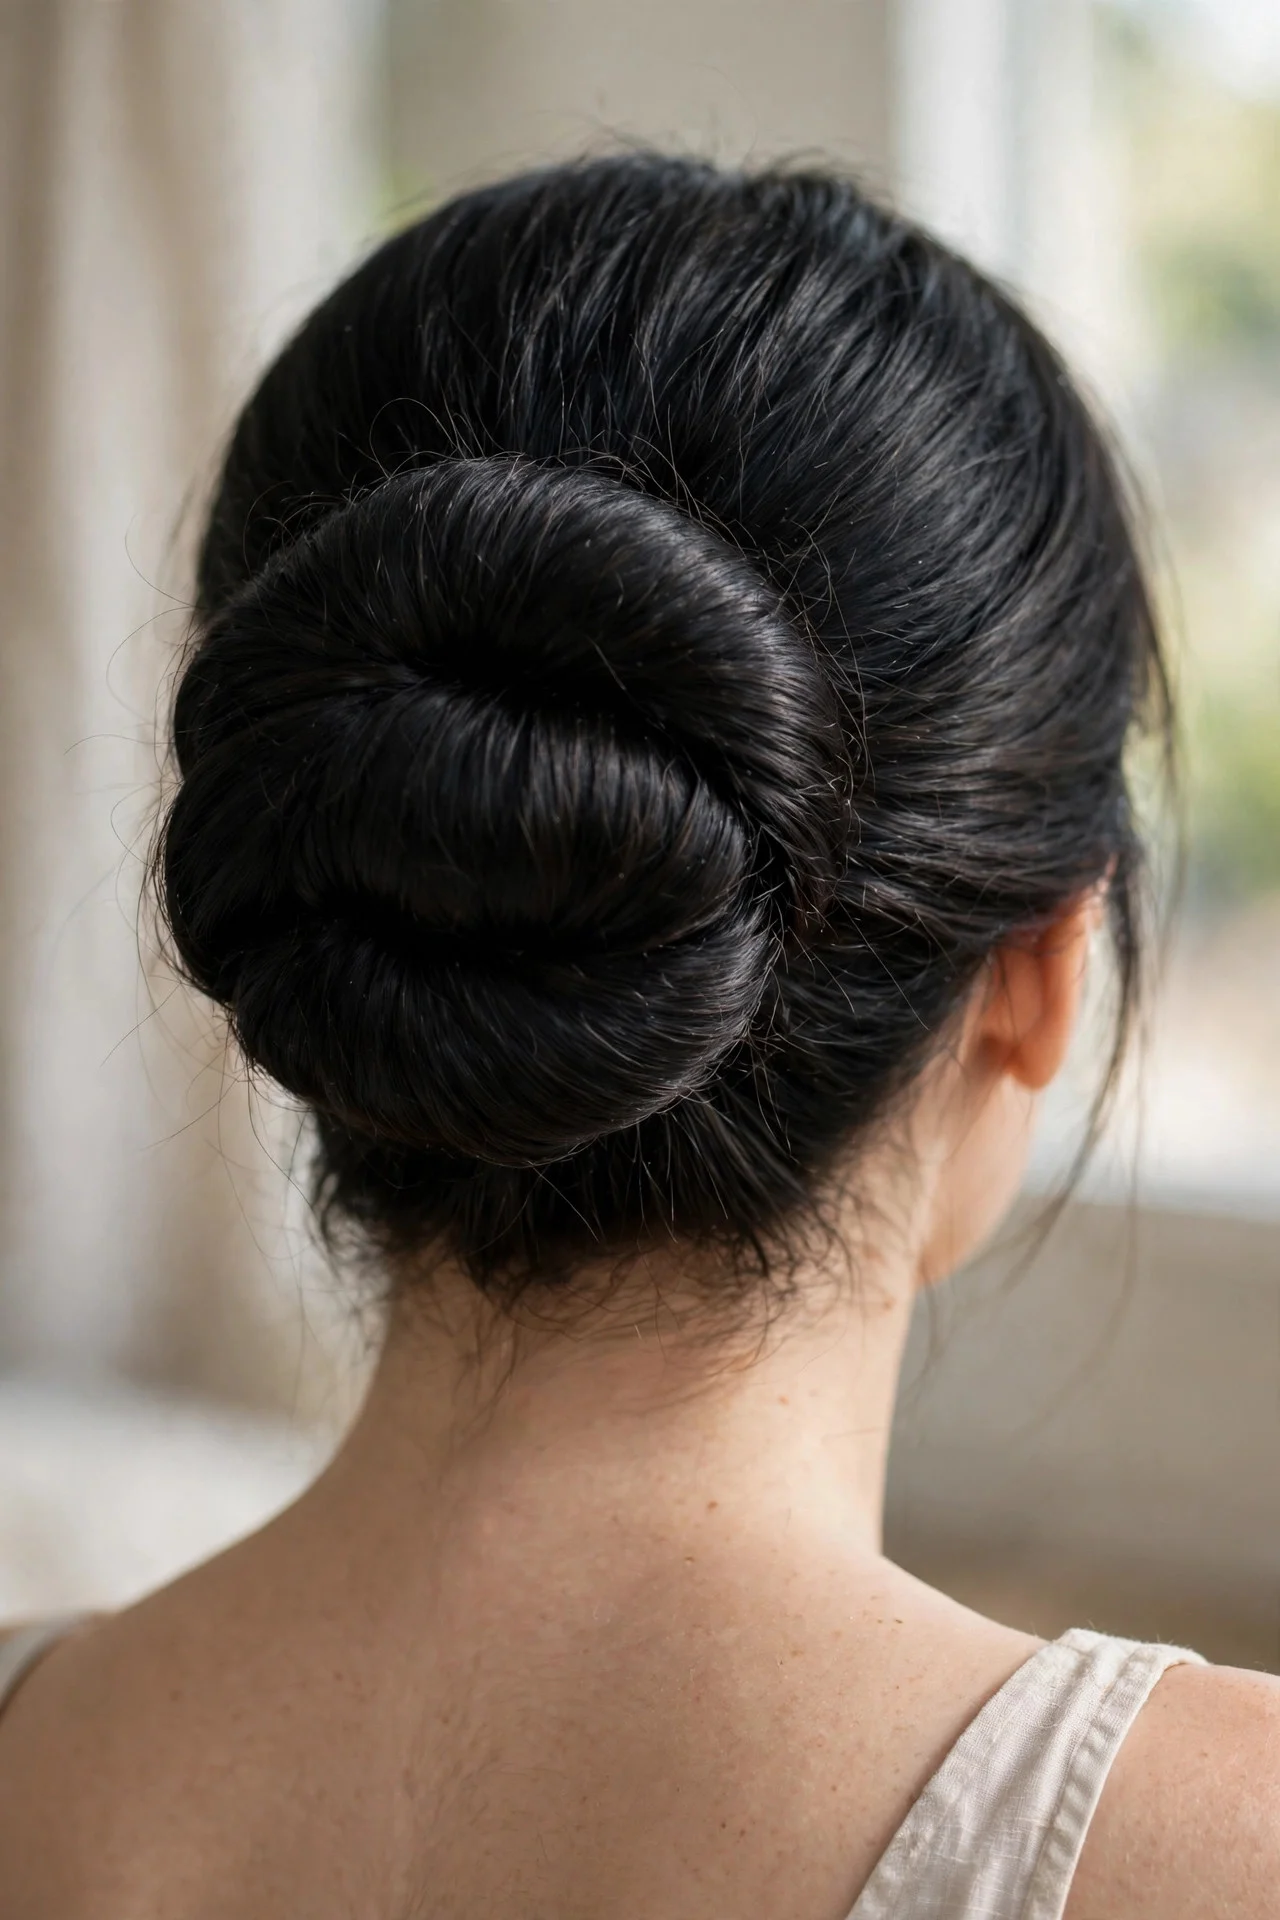
When one twist cannot contain very long hair, wrap twice. Secure a high ponytail and split it into two sections. Wrap the first around the base and pin it, then wrap the second over the first in the opposite direction, tucking its ends deep under the first wrap.
The opposing wraps lock each other in place, which is why this survives dancing and wind. It builds a bigger, more dimensional bun with no form needed, and suits thick, long hair best. A medium-hold gel on the ponytail before wrapping keeps the sections from separating. Drawback: it takes ten or more pins, and finding them all at the end of the night is its own small adventure.
9The Ballerina Bun for Short Hair
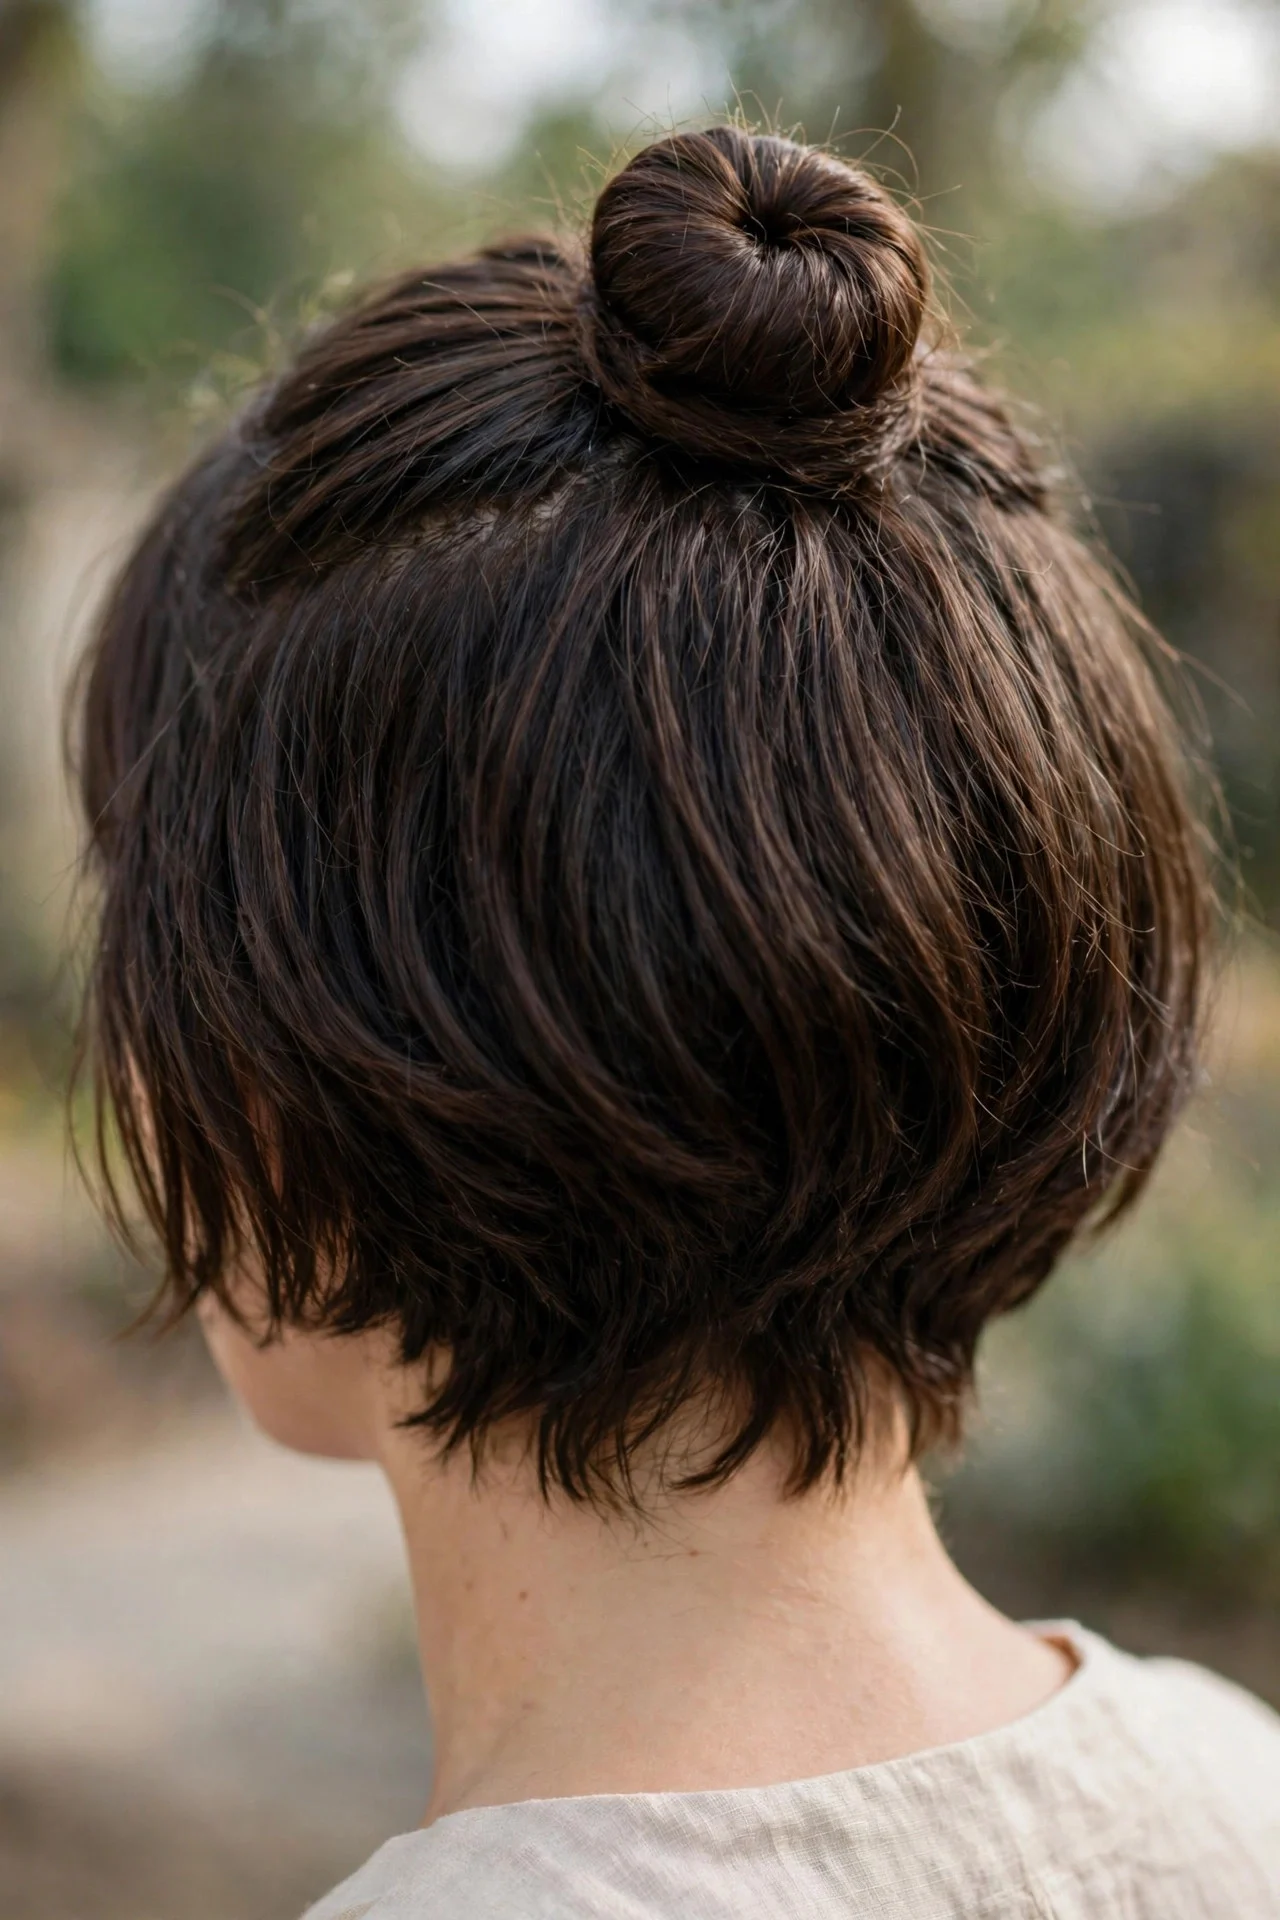
Shoulder-length and bob-length hair can do this with a little help. Add grip with dry shampoo, gather into the highest ponytail you can manage, and place a mini donut at the base. Spread the hair over it and pin the ends down around the ring; a matching donut pad adds fullness if needed.
From the front it reads just as round and polished, which makes it perfect for anyone growing out a cut who misses updos. Fine hair benefits too, since the form does the heavy lifting. Drawback: shorter nape pieces may escape, so keep edge control and mini pins on standby and accept a couple of touch-ups as part of the deal.
10The Glossy Wet-Look Ballerina Bun
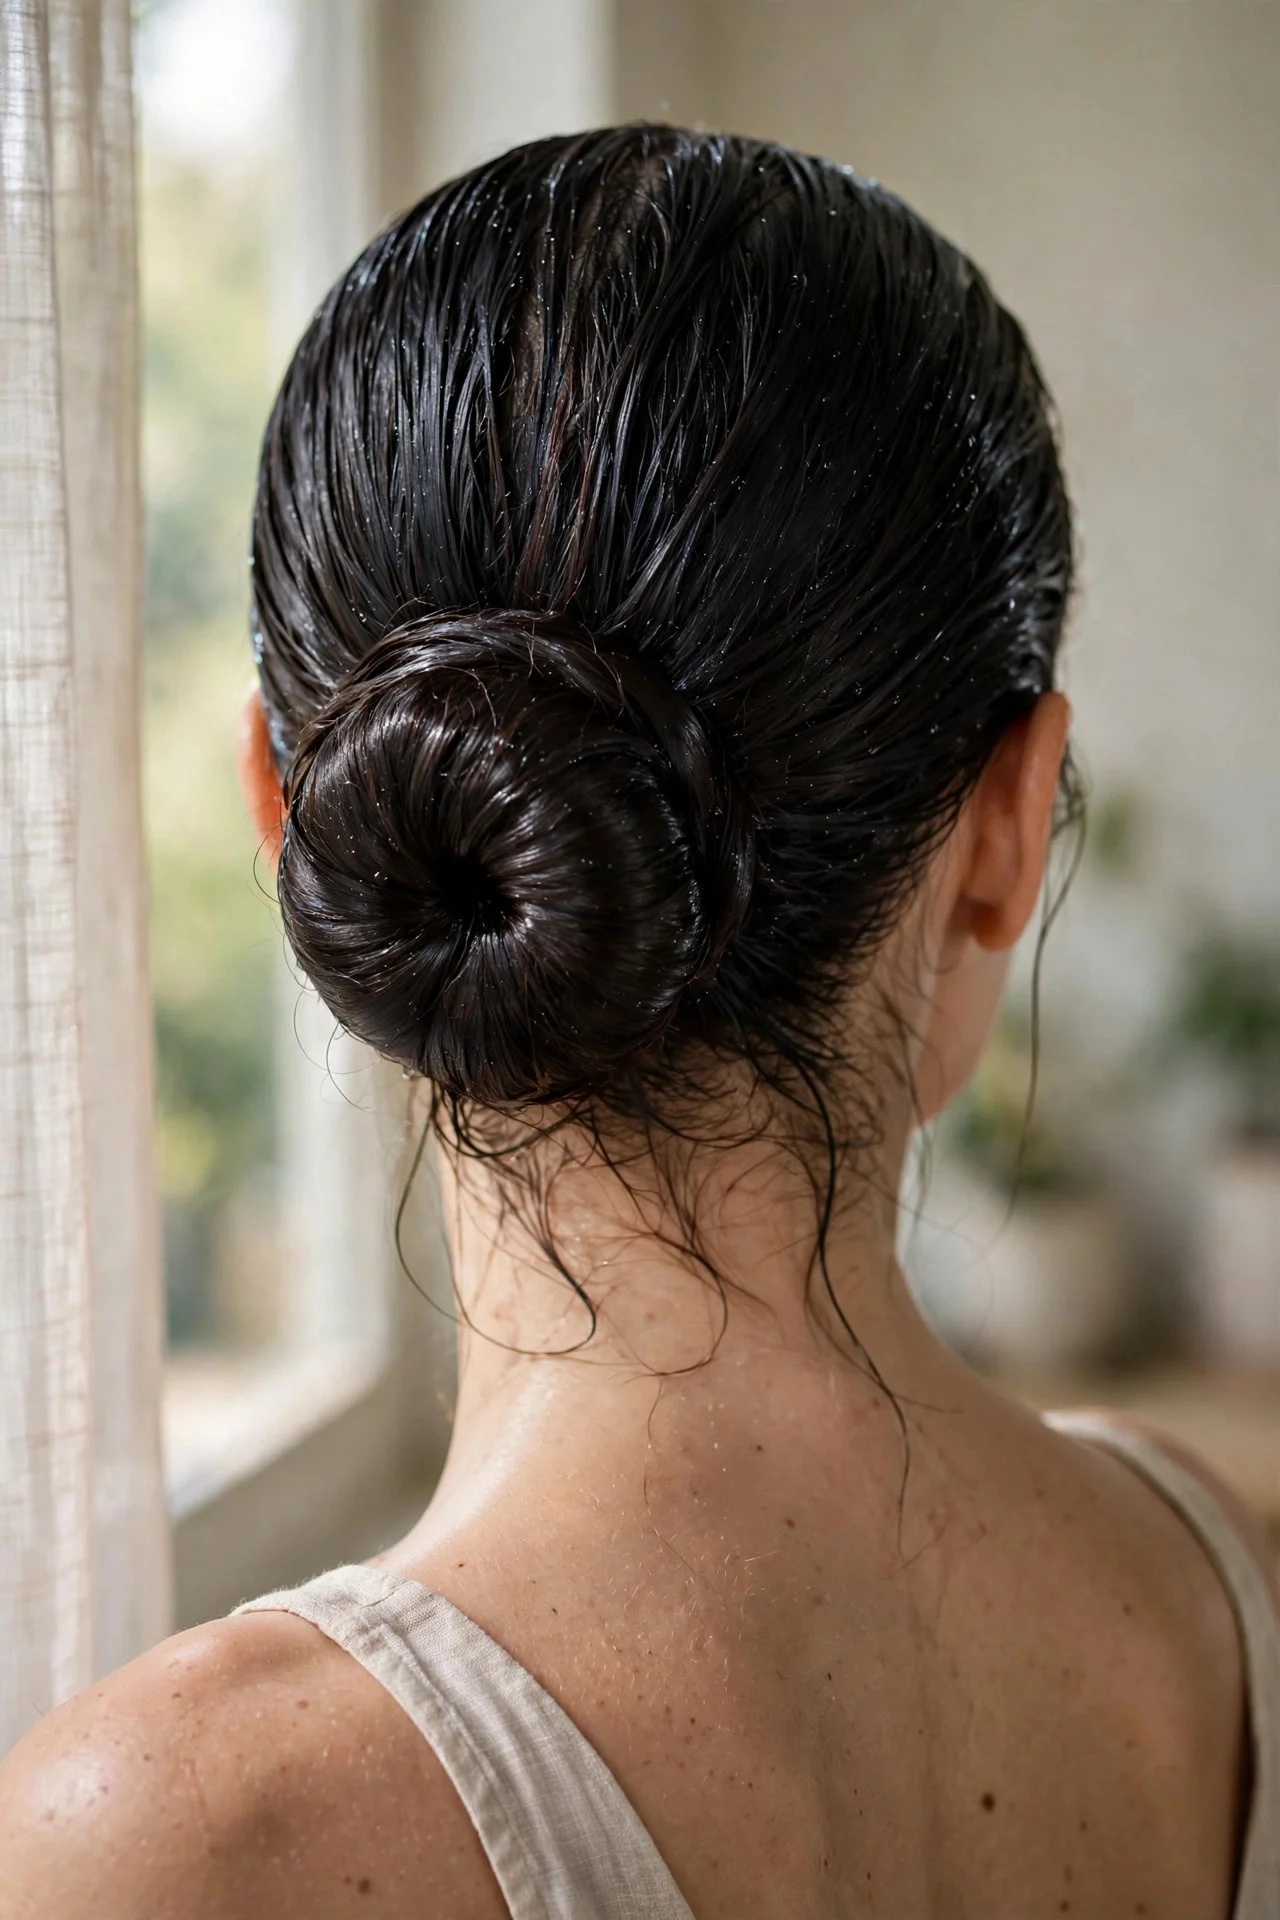
The red-carpet version: a classic bun with hair drenched in shine leading into it. On damp hair, work strong-hold gel mixed with a drop of hair oil from roots to the ponytail point, comb back with a fine-tooth comb until there is not a single bump, secure the ponytail, and form the bun with the donut method. Smooth a little more gel over the finished bun and set it with a cool shot from the dryer.
This suits evening events and photoshoots, and it is dramatic on dark hair, where the shine reads almost reflective. The drawback is the product load: it can take two shampoos to wash out completely, so save it for occasions worth the cleanup.
How to Get a Ballerina Bun Perfectly Round
Roundness comes down to three things: the form, the spread, and the pinning. The most common mistake is threading the ponytail through the donut and wrapping immediately. Instead, pull it through, then fan the hair out over the ring like a fountain so every section is covered evenly. Thin spots are what make a bun look lumpy from the side.
Secure the spread hair with a thin elastic right at the base of the ring before tucking anything; this keeps the hair from shifting. Divide the remaining ends into two or three sections, wrap each around the base in the same direction, and tuck the tips underneath, pinning flat.
Use U-shaped pins for the bun itself, pushing them in and angling inward toward the elastic so they catch the base. Work in a clock pattern, placing a pin at every hour mark, then check the silhouette from the side and back. A phone photo of the back of your head is the most honest check you have.
For the slicked finish, apply gel or cream to damp hair before brushing, not after the ponytail is up; brushing product through distributes it evenly and avoids a crunchy helmet look. Finish with hairspray held ten inches away in a sweeping motion rather than blasting one spot. With these habits, the bun becomes a five-minute routine.
Frequently Asked Questions
How do you keep a ballerina bun from falling out?
Start with hair that is not freshly washed, since a little natural texture gives pins something to grip. Use two elastics on the ponytail base for redundancy, pin with U-pins angled inward toward the elastic so they catch it, and seal everything with strong-hold hairspray. On very silky hair, a light mist of texturizing spray on the ponytail before forming the bun makes a noticeable difference in hold.
What is the difference between a ballerina bun and a regular bun?
A ballerina bun sits high on the crown, is deliberately round and smooth, and usually uses a form like a donut for perfect symmetry. A regular bun can sit anywhere on the head, in any shape, and is often looser and more casual. The ballerina version is a polished, structured style built for longevity and photographs, while a regular bun is more of an everyday toss-up when you just need hair off your neck.
Can you do a ballerina bun without a donut?
Yes. Cut the toe off a clean tube sock, roll it into a ring, and use it exactly like a foam donut: thread the ponytail through, spread the hair, and pin. You can also double-wrap the ponytail around its base and pin generously, which works best on thick or long hair. The donut simply makes perfect roundness easier to achieve, especially for beginners or anyone working with fine hair.
How long does a ballerina bun usually last?
A well-pinned ballerina bun lasts eight to twelve hours, which is why dancers and brides rely on it. The keys are a secure ponytail base, pins placed at angles that grip the elastic, and hairspray as a final seal. Looser, textured versions hold for closer to four to six hours before needing a touch-up, so match the method you choose to how long your day runs.
Is a ballerina bun bad for your hair?
Worn occasionally, it is perfectly fine. The risk comes from wearing it very tight every single day, which can stress the hairline and cause edge breakage over time. Vary your styles through the week, keep tension moderate instead of pulling everything back as hard as possible, and always use soft fabric elastics instead of thin rubber bands to minimize damage.
Keep exploring: if you loved the sculptural side of bun styling, the 10 infinity bun hairstyles collection shows another elegant twisted style with step-by-step guidance. For a playful double-bun look that still feels polished, check out braided space buns 2026. And if a special occasion is on the calendar, the 12 tiara hairstyles for weddings roundup pairs beautifully with the low sleek bun from tutorial four.