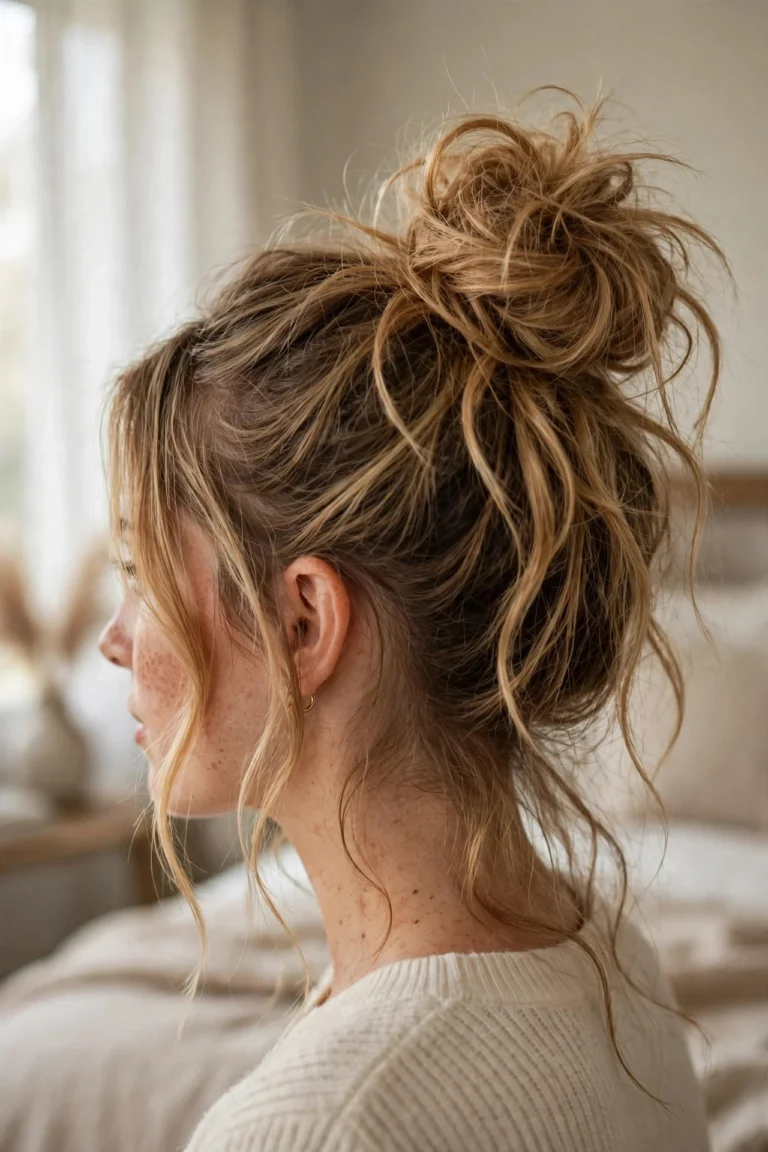
Side braids are the rare hairstyle that looks like effort without actually requiring any. Sweep your hair over one shoulder, work a braid down its length, and you walk out the door with something that reads polished from every angle. No parting anxiety, no worrying about the back of your head, because the whole style sits where you can see it in the mirror.
The best part is that side braids work with the hair you already have. Thin, thick, wavy, straight, second-day hair that has given up on volume. The braid adds texture and hides the rest. Here are ten ideas that stay firmly in easy territory.
1Classic Side Three-Strand Braid
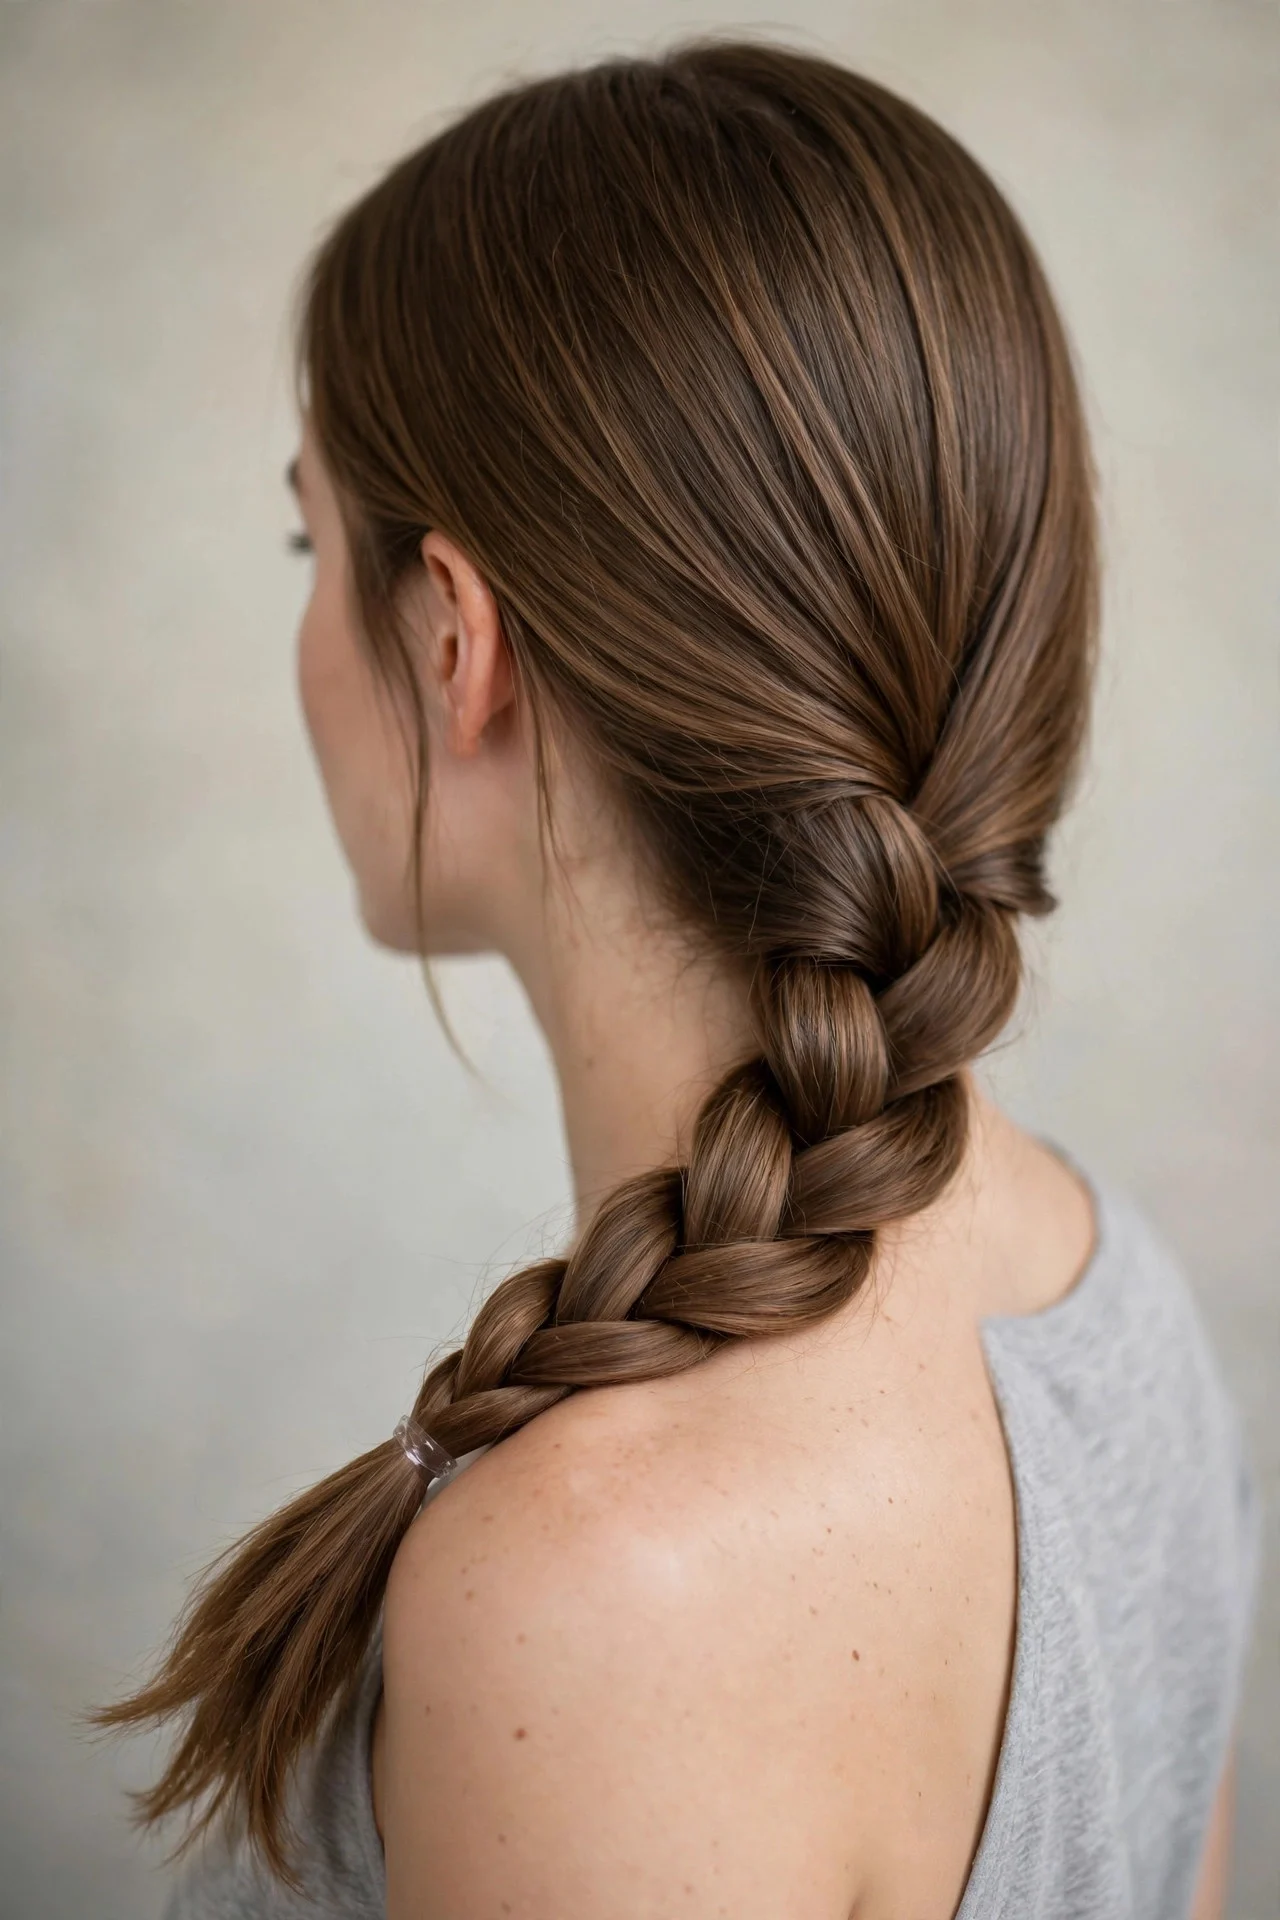
The original and still the best workhorse. Gather your hair over one shoulder, split into three sections, and braid straight down, tying off a few inches above the ends so the tail keeps some movement. Nothing to ask a stylist for; this is a two-minute home skill once your hands learn it. It suits everyone, but medium and long hair show it best because there is enough length for the braid to sit visibly on the shoulder. Maintenance is almost zero: a snag-free elastic and a drop of smoothing oil on the ends. The honest drawback is that on fine, freshly washed hair it slips loose by midday. A light dusting of texturizing spray at the roots before braiding fixes that.
2Side Fishtail Braid
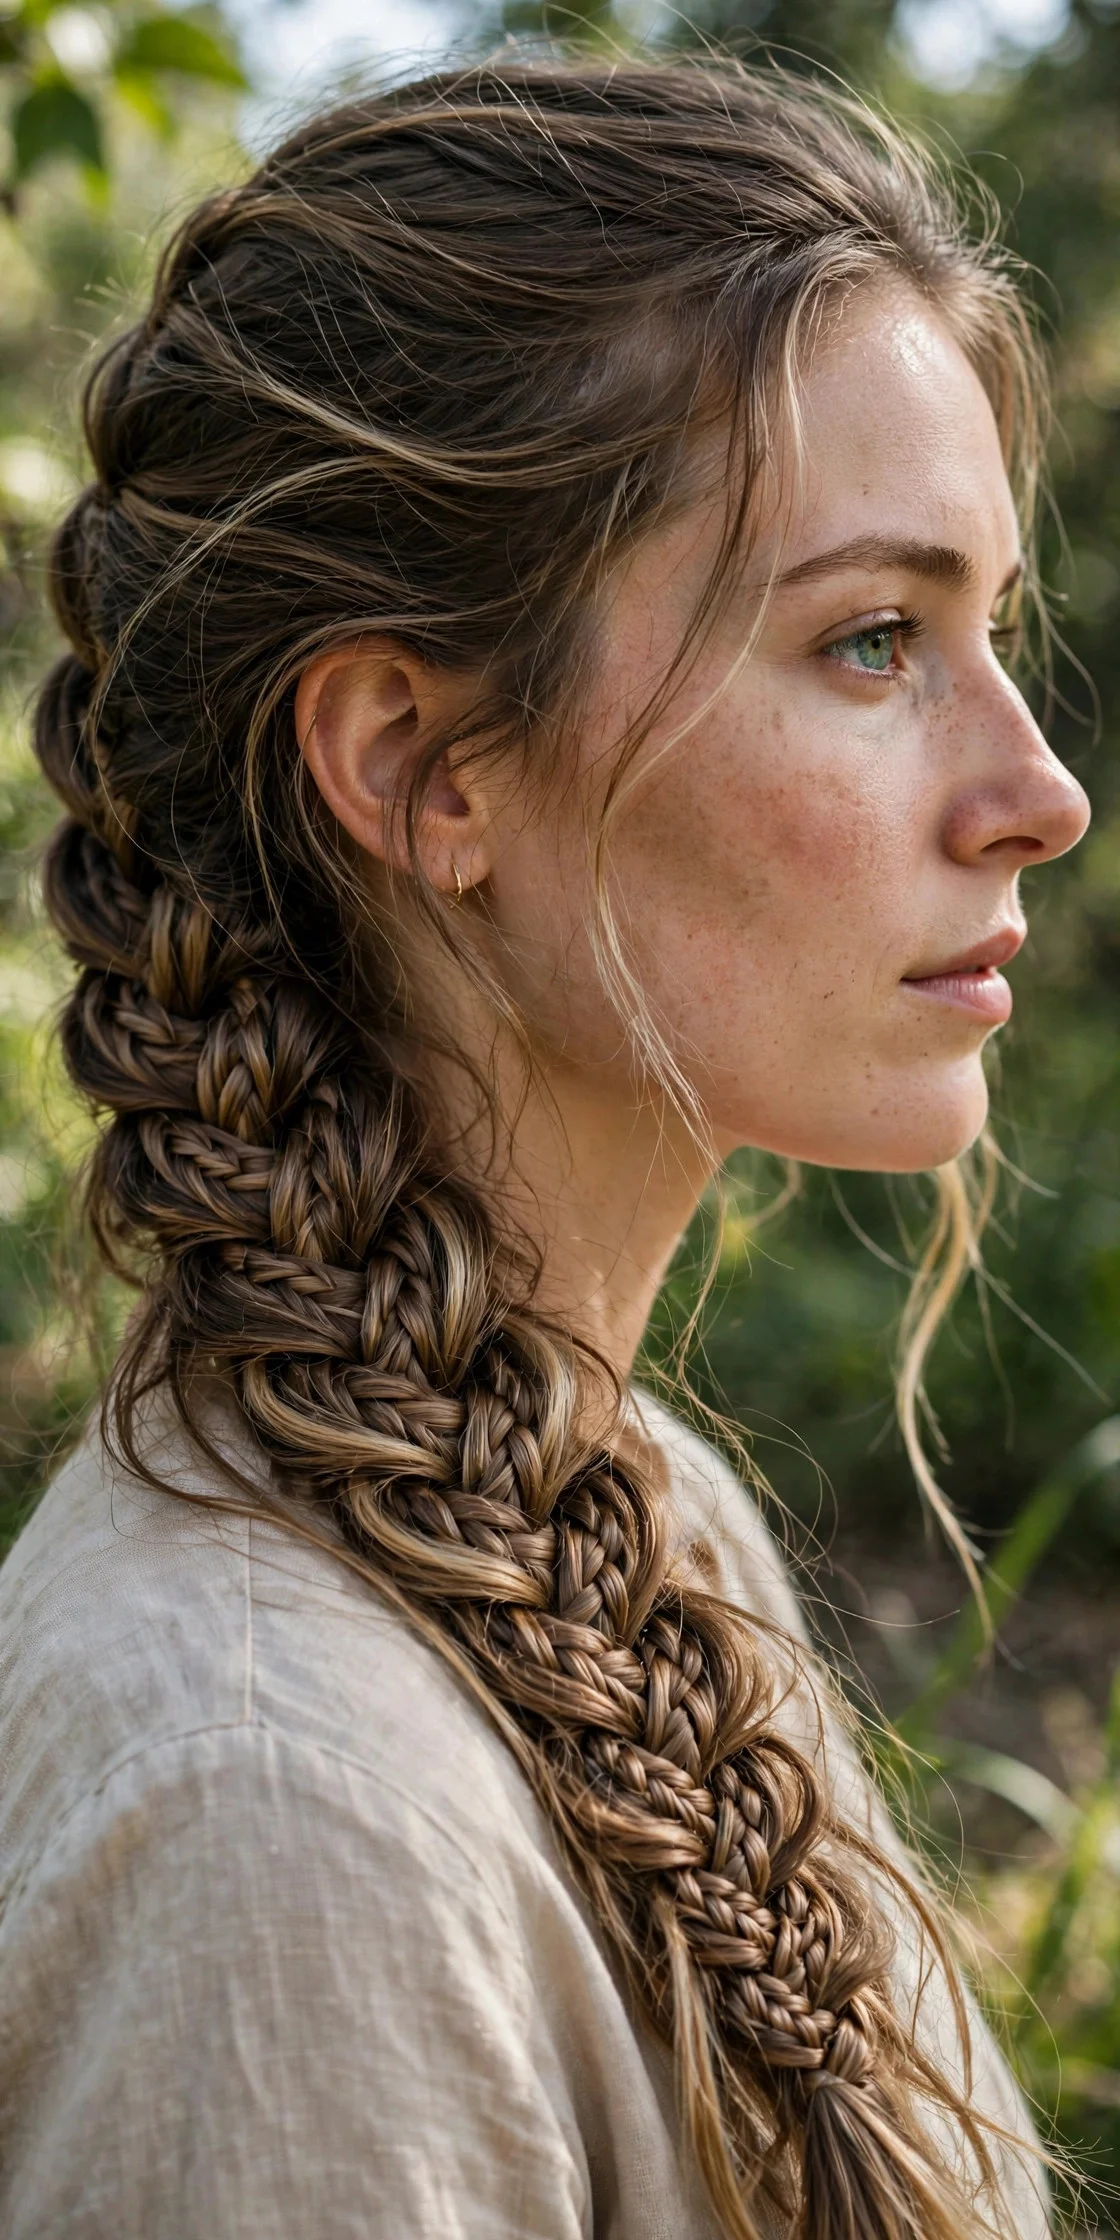
Fishtails look complicated, which is exactly why they are worth learning. Take a side-swept ponytail, divide it in half, and weave thin pieces from the outside of one half into the other, repeating down the length. It takes five minutes the first few tries and about two once it clicks. This one loves long hair; short hair does not have enough length for the pattern to show. Wavy or slightly textured hair grips best, so second-day hair is ideal. Upkeep is minimal because the weave holds itself together, though fine hair benefits from a pinch of texturizing powder. The real cost is the learning curve. Your arms will ache and the first attempt will look uneven. Push through; a fishtail side braid turns heads for about zero dollars.
3Loose Bohemian Side Braid

This is the deliberately imperfect one. Braid loosely over one shoulder with a basic three-strand or Dutch technique, then tug the edges of each section wider and pull a few face-framing pieces free. The goal is softness, not precision. It suits wavy and curly hair best because natural texture does the casual work for you, and it flatters rounder faces since the loose pieces break up the jawline. Daily maintenance is refreshingly low; you will redo it each morning, but it takes ninety seconds and looks better slightly messy anyway. The drawback is staying power. On silky straight hair this style can unravel by evening, so braid a touch tighter than feels natural and set it with a flexible-hold spray.
4Side Dutch Braid
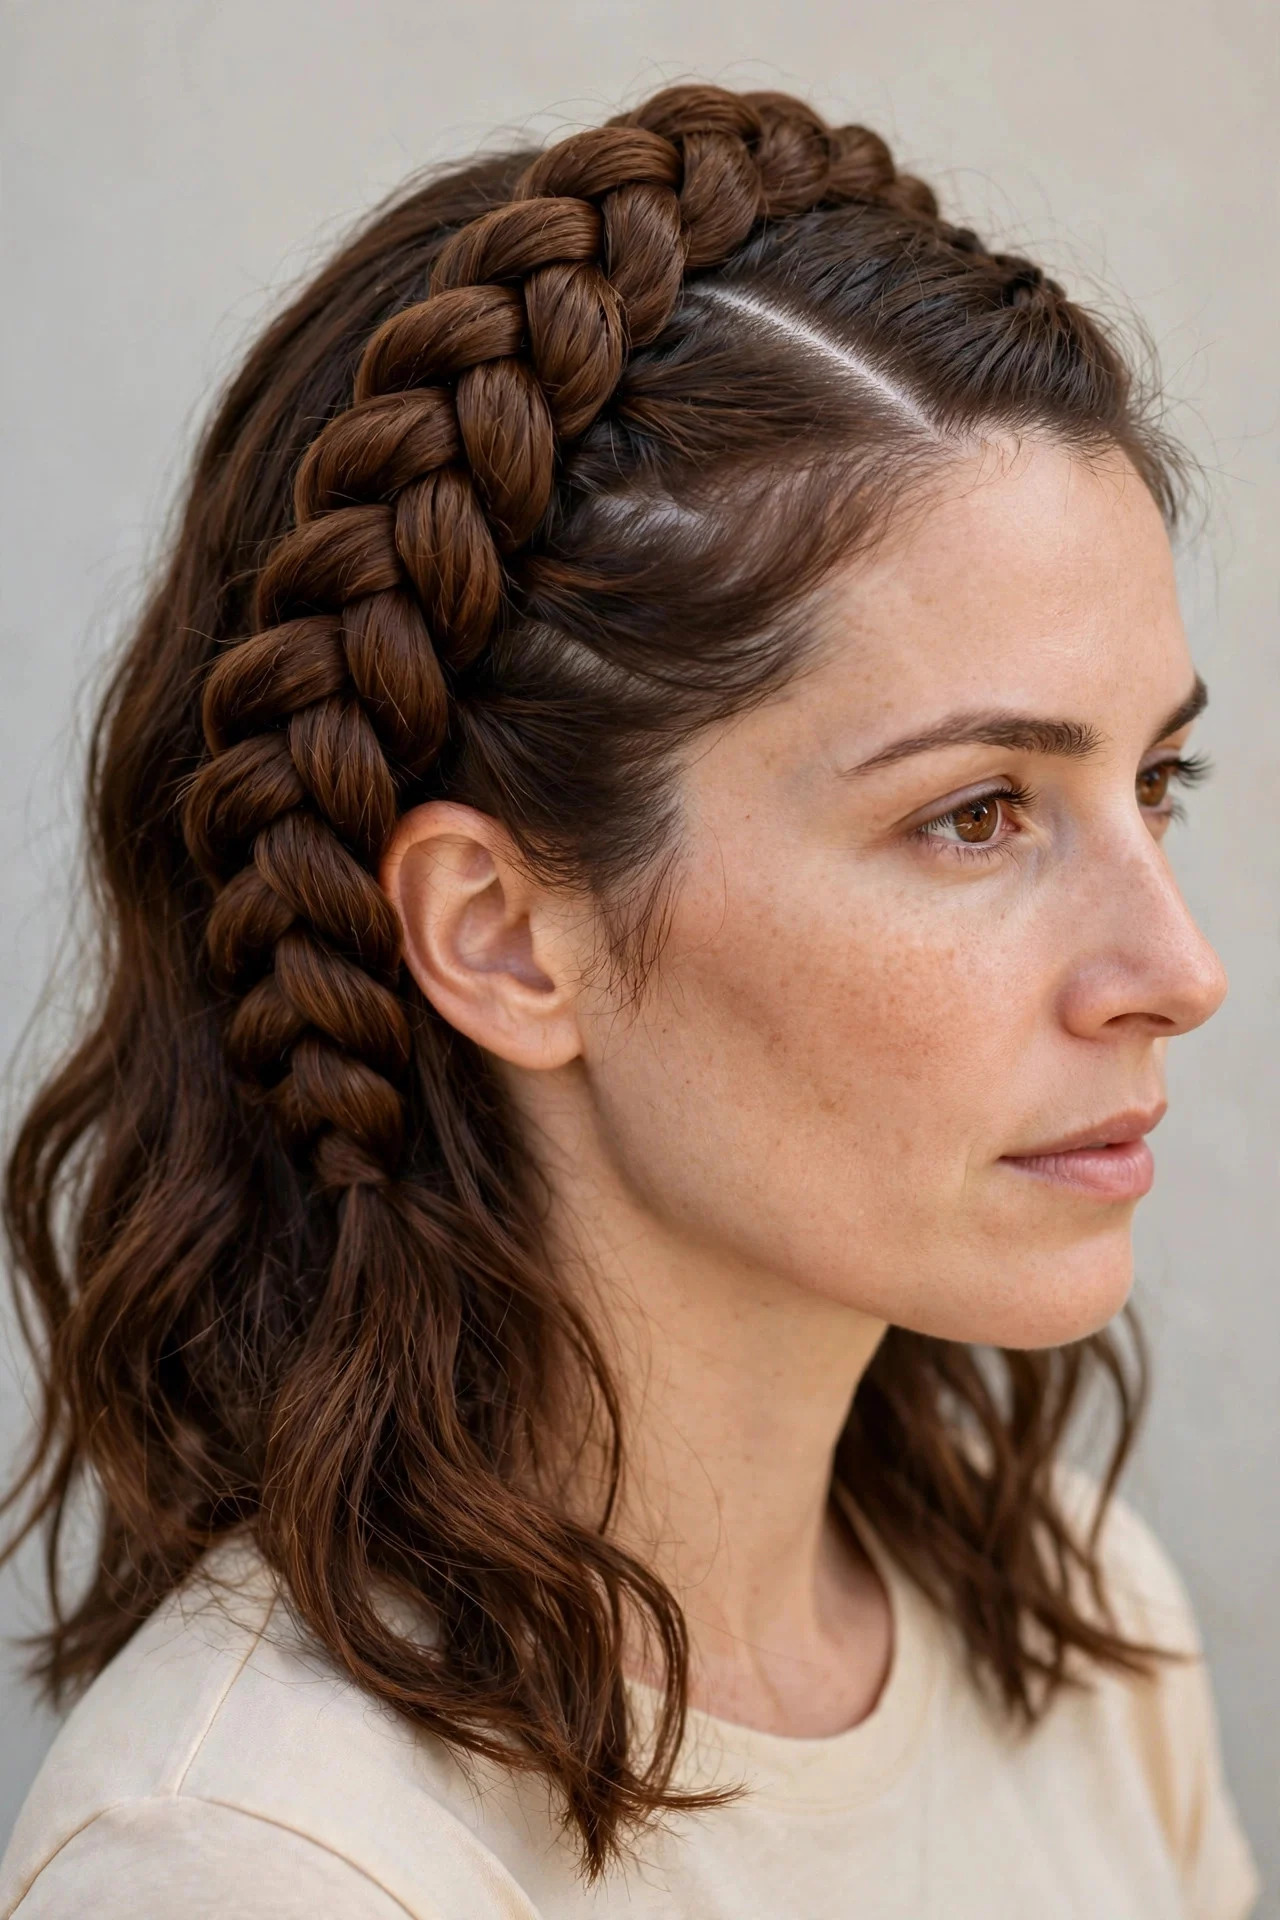
The Dutch braid crosses each section underneath instead of over the top, so the braid sits raised off the hair like a rope. On one side it looks bold and sculpted. Ask your stylist to show you the underhand crossing once; that one tweak is all you need. It suits medium to thick hair best because volume shows the raised braid off, and it flatters anyone after a sportier feel. Maintenance is low once you know the pattern: a clear elastic keeps it invisible and a pass of gel along the part controls flyaways. The drawback is tension. Pulled too tight at the scalp it can cause a headache by afternoon, so keep the top relaxed and tighten only the length.
5Waterfall Side Braid

A waterfall braid drapes along the side of your head, dropping one strand free at each step so a curtain of hair falls through the braid. Braid it from your part down toward the opposite shoulder, then finish the remaining hair in a loose three-strand braid over that side. This is a showpiece for long, wavy hair; the falling sections need length to read at all. Straight hair works if you add soft curls first. It suits formal occasions, weddings, anything where you want romance. The honest cost is upkeep. The dropped sections tangle by evening and the braid loosens, so expect to redo it daily and carry bobby pins. It also takes the longest here to learn, about a week of practice, but the payoff is real.
6Rope Twist Side Braid
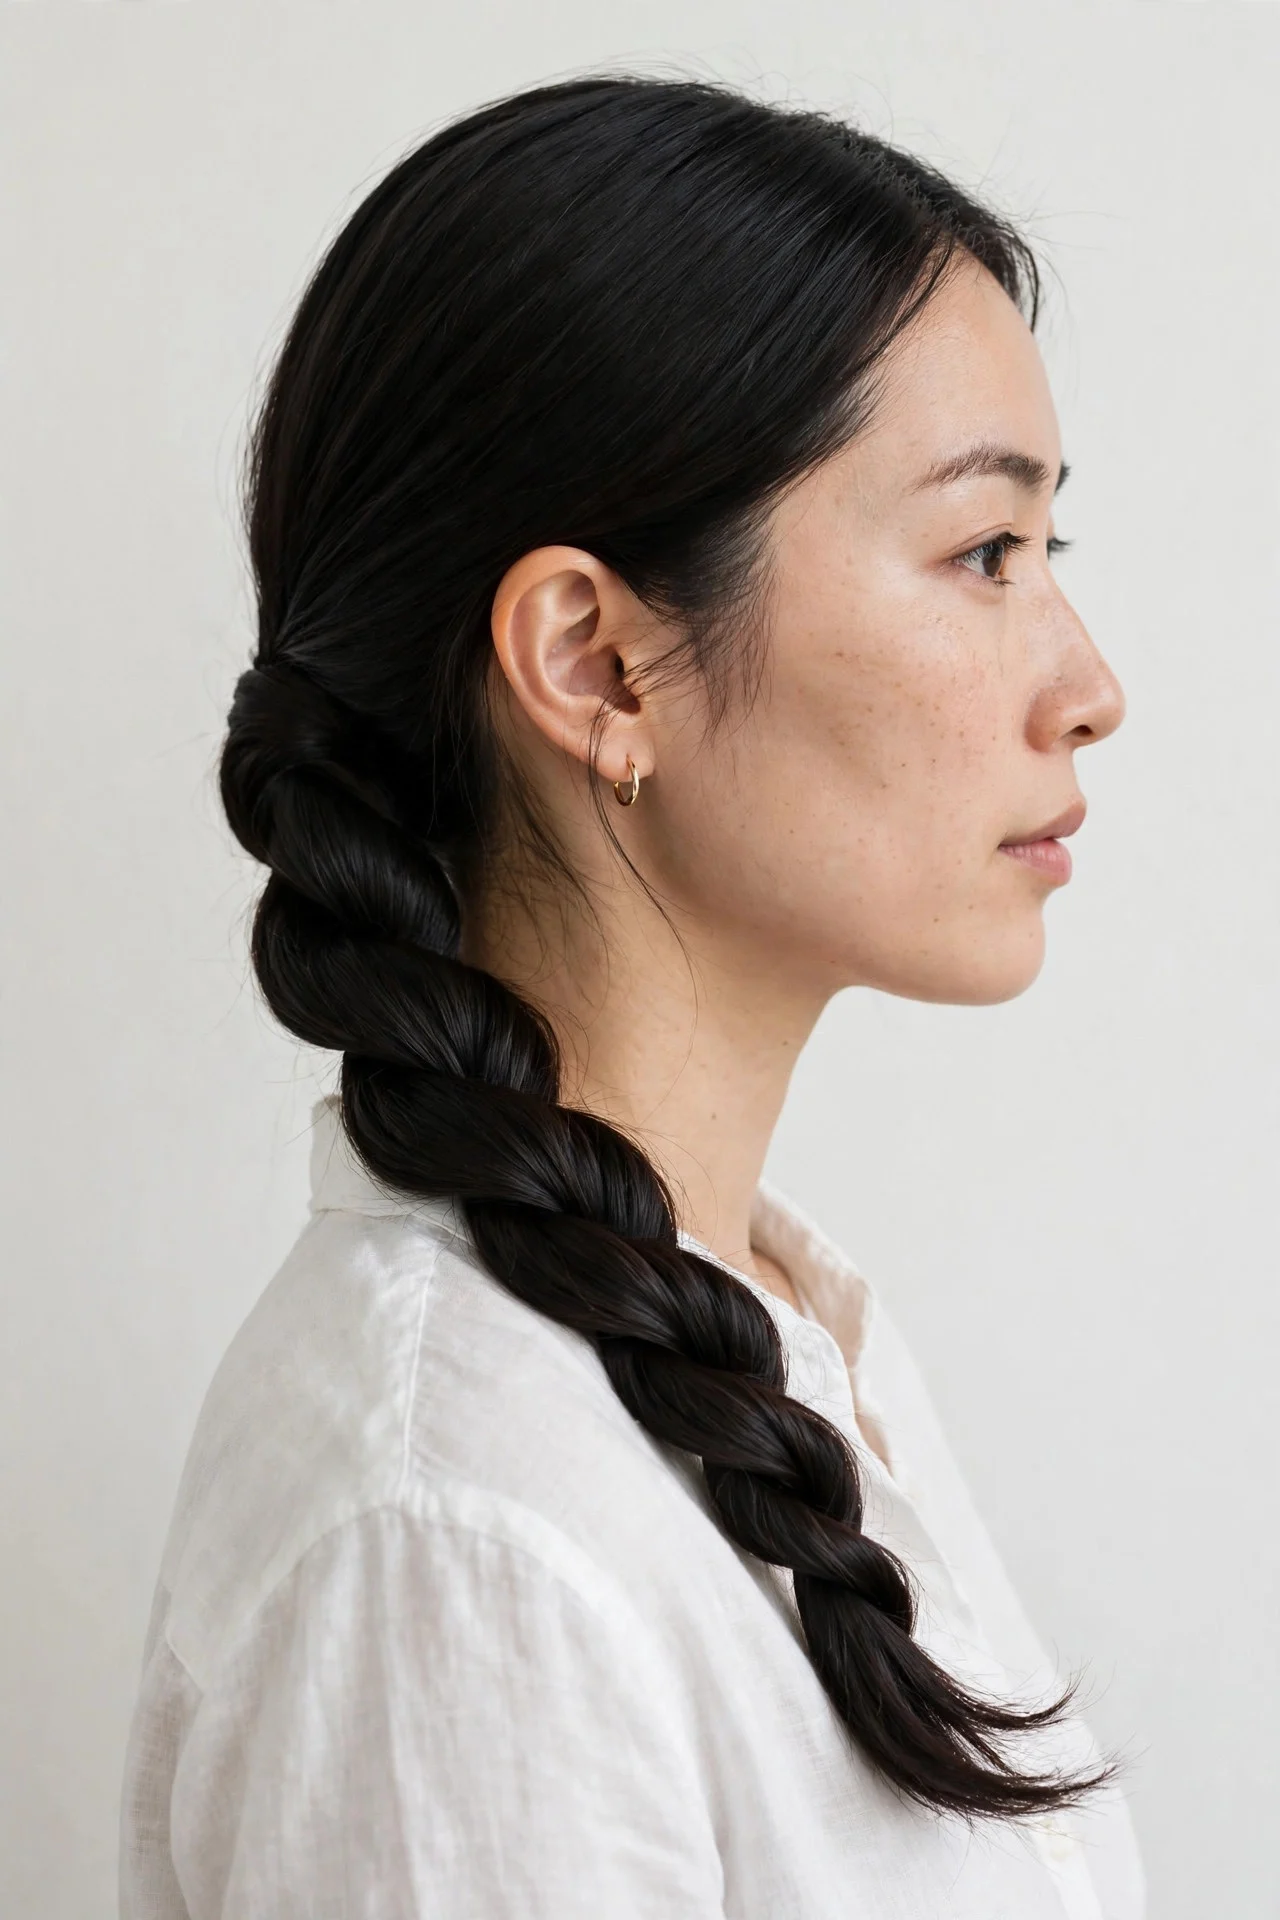
Two strands, twisted, and that is the whole style. Divide your side-swept hair into two equal sections, twist each one clockwise, then twist the two together counterclockwise so the counter-twist locks it in. Secure with an elastic; you are done in under two minutes. This is the best choice on the list for total beginners and for very straight hair, since twists hold better than braids on slippery texture. It suits short to medium lengths well because you need little length for two twists to read clearly. Upkeep is simple; refresh it in the morning and dab cream on the ends. The drawback is that it relaxes. By evening the twist loosens noticeably, so treat this as a daytime style rather than an all-night one.
7Side Braid Into a Low Bun
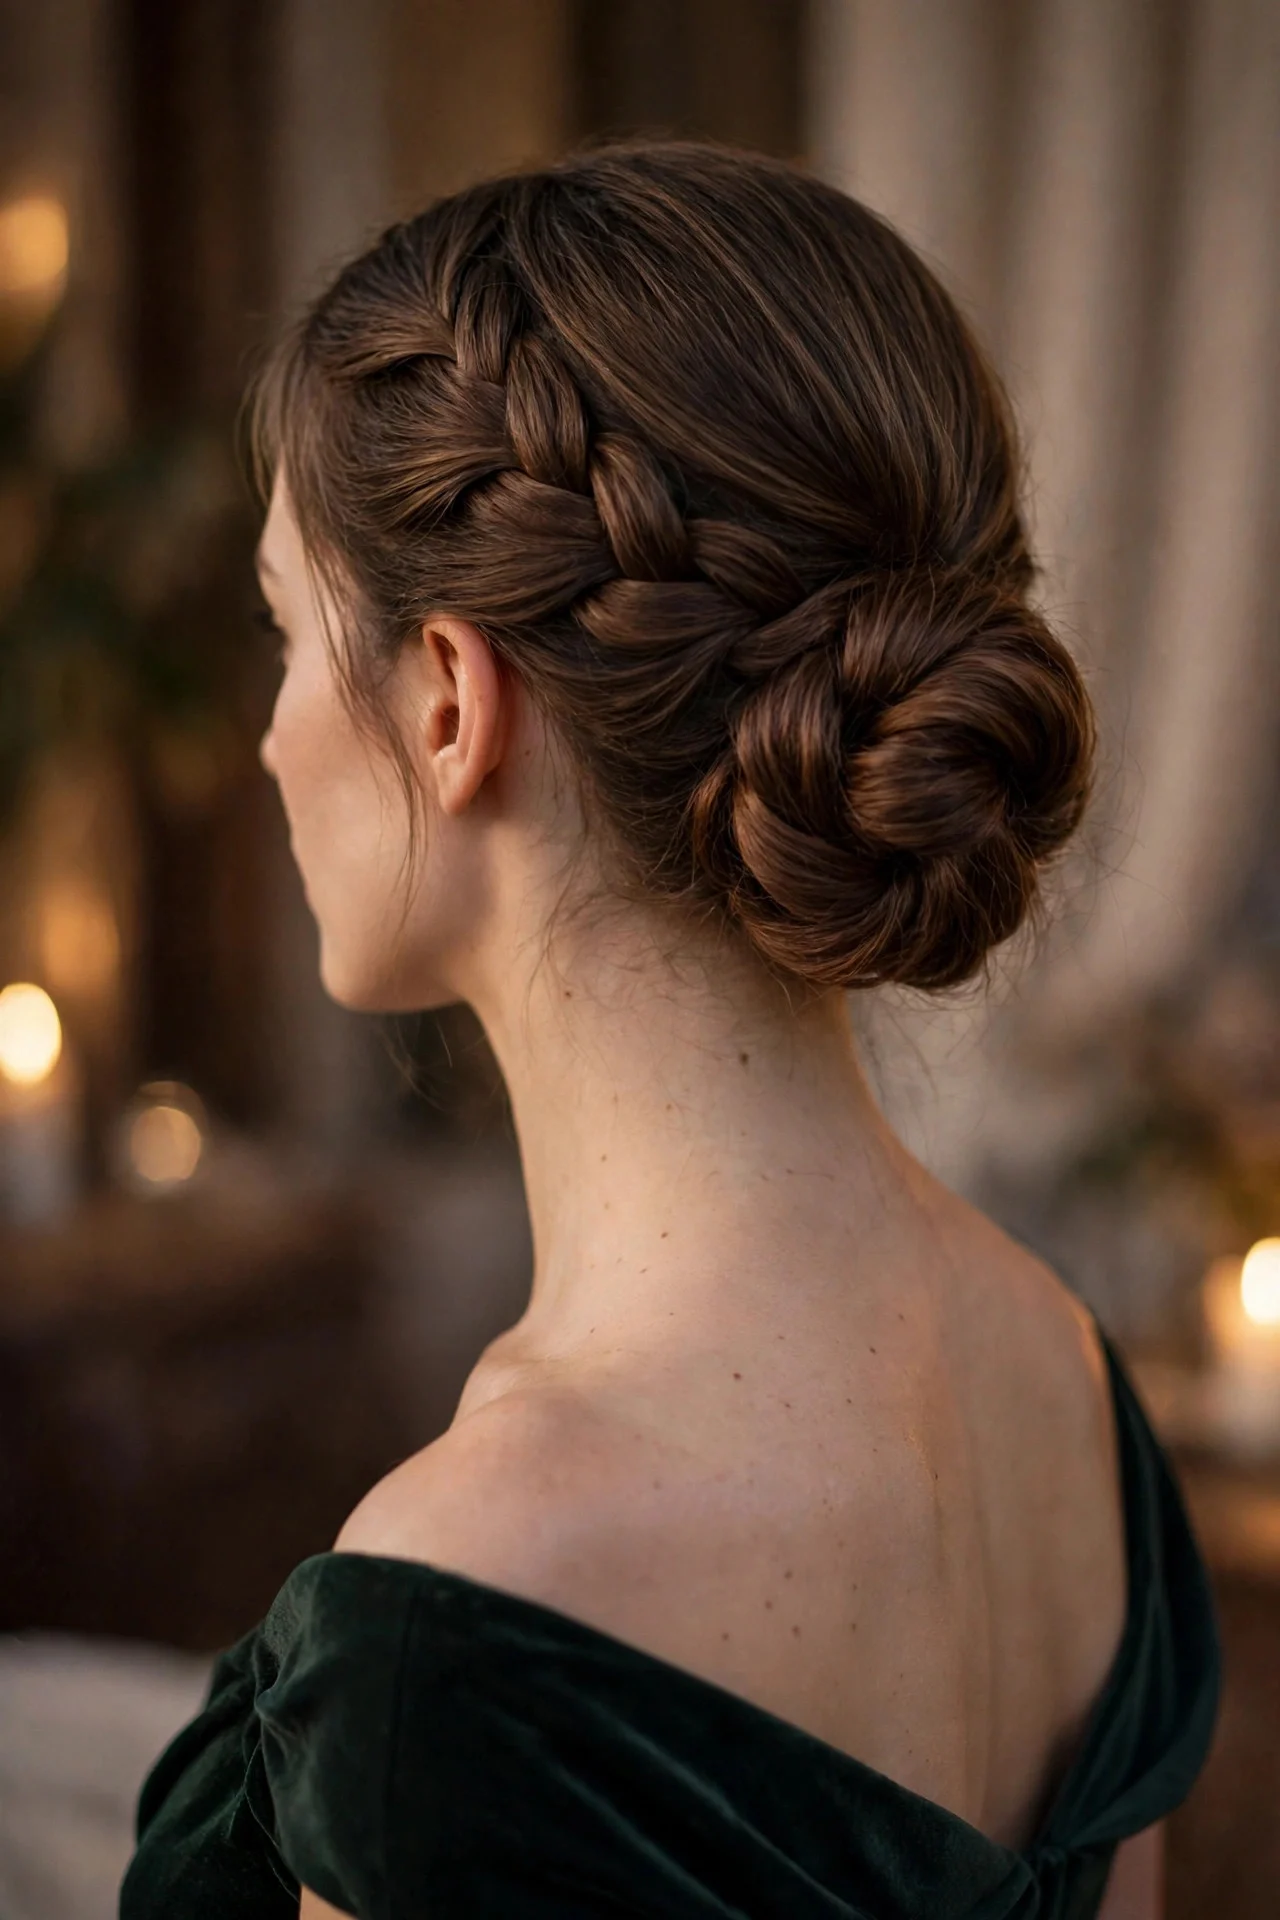
Braid a standard three-strand or Dutch braid over one shoulder, then coil the tail into a low bun right behind your ear and pin it. This is the side braid's grown-up cousin, elegant enough for work events with almost no extra time. Part on the opposite side so the braid sweeps across naturally. It suits medium to long hair and is one of the few updos that flatters glasses wearers because nothing fights the frames. You will use five to eight bobby pins for a full day of hold, plus a spritz of hairspray at the roots. The honest drawback is pin visibility on dark, fine hair, so match your pin color and tuck them into the braid's shadow. Placement also takes a few tries to get right.
8Side Braid With Face-Framing Curls

Start with soft curls through the mid-lengths and ends, then work a loose side braid into the hair, leaving several curled pieces out around the face and temples. The contrast between the structured braid and the loose curls is the entire point. This is the most romantic option here and suits anyone who wants their braid to look styled rather than thrown together. Longer hair shows it best, and it is lovely for bridesmaids or anyone heading to an event after work. The cost is time and heat. Expect ten to fifteen minutes of curling before you braid, and use heat protectant every time. The braid itself is quick; maintenance is mostly refreshing the front curls on day two, which takes about three minutes with a wand.
9Side Pull-Through Braid
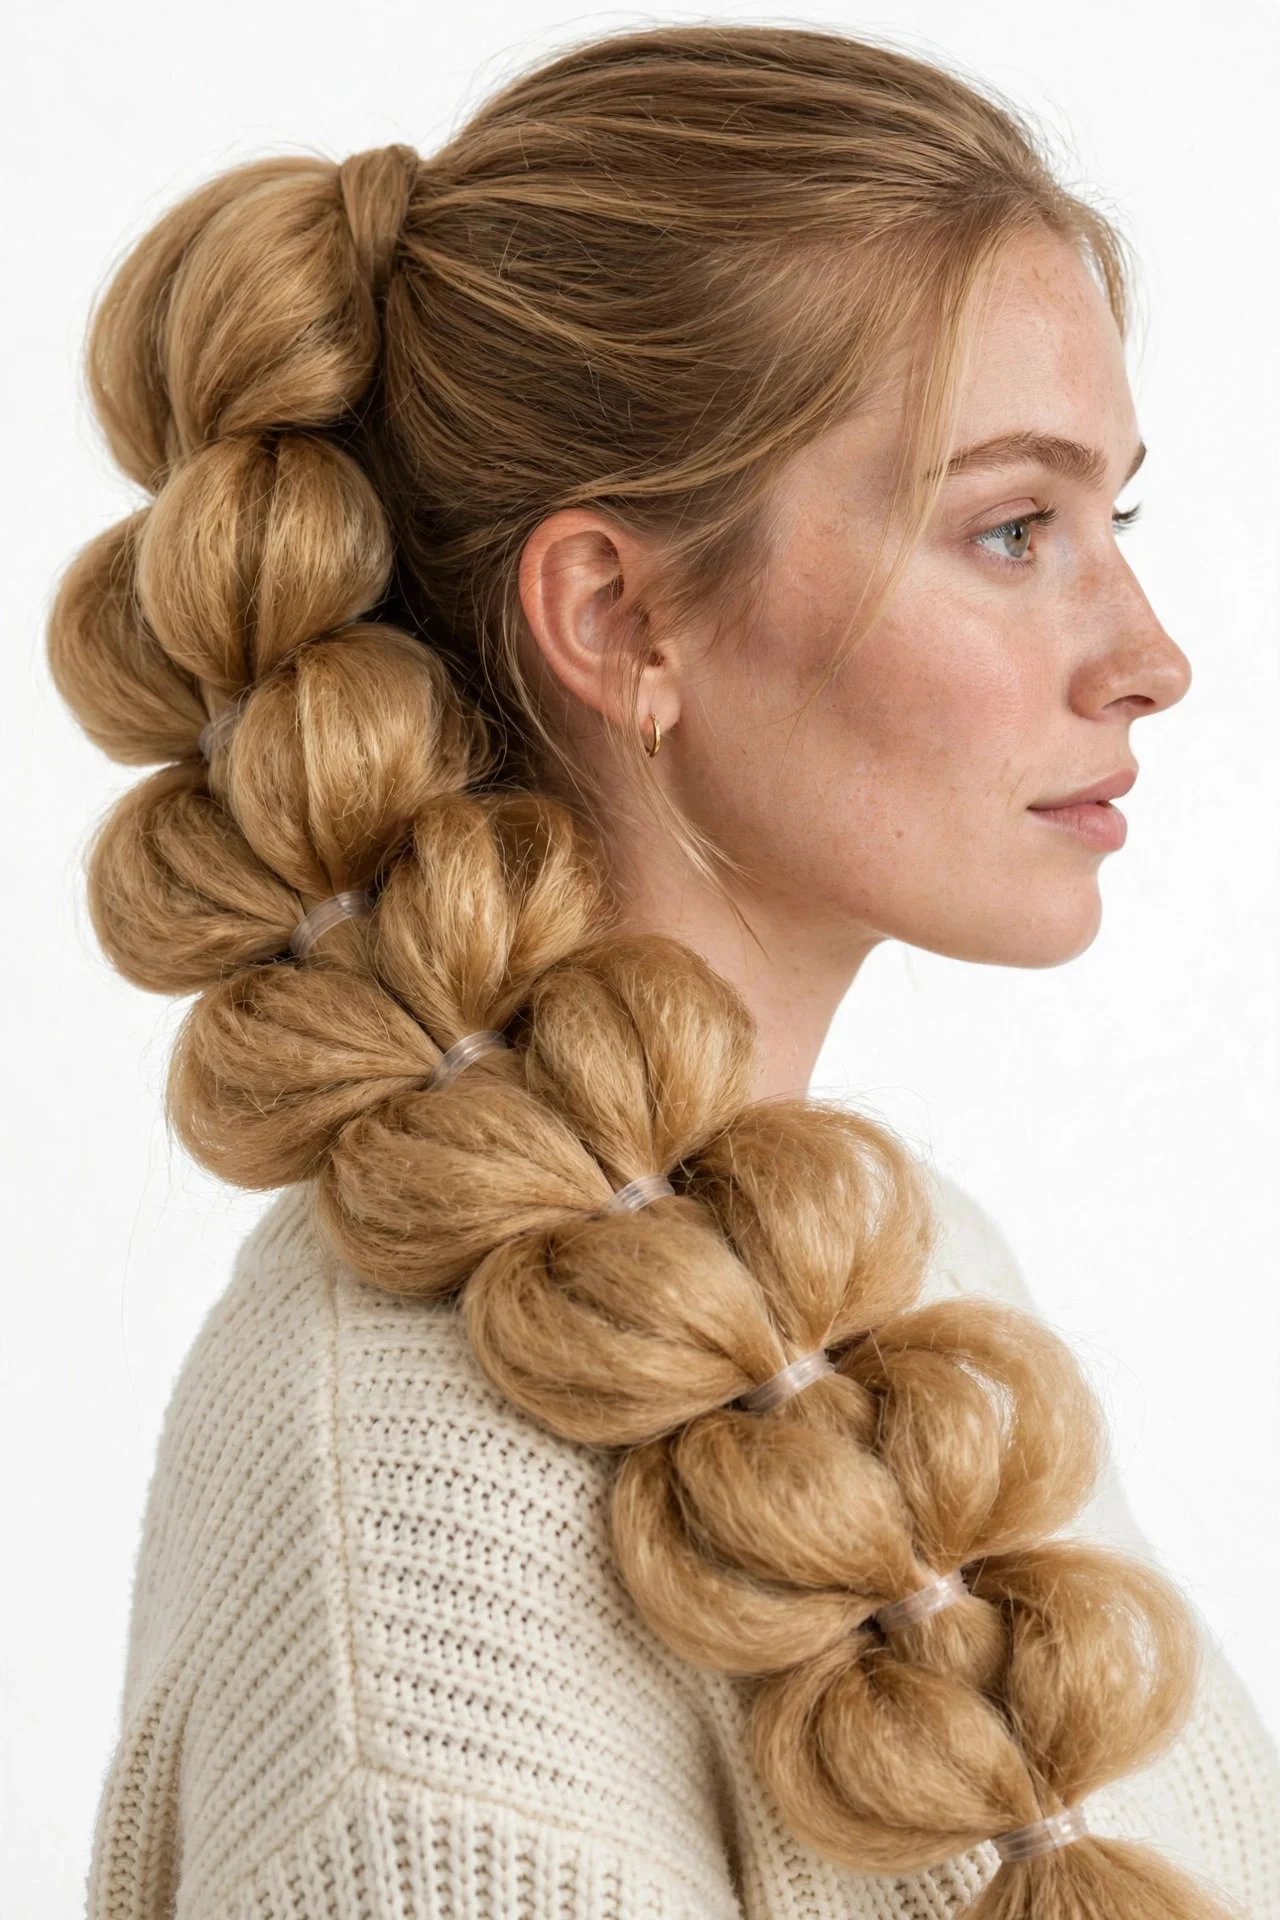
The pull-through looks like a thick Dutch braid but uses nothing but elastics. Make a side-swept ponytail, split it, pull the lower section through, add elastics every inch or so down the length, and gently pull the sections wide for that fat, inflated braid look. It is genuinely foolproof, perfect if three-strand braiding never clicked for you. Thick, heavy hair suits it best because the style adds bulk, yet it is a lifesaver for fine hair too since pulling the sections wide fakes volume. Upkeep is an elastic budget: six to ten small clear elastics per braid, and the puffed sections can collapse by evening. Not great for very humid days unless you set it firmly.
10Messy Side Braid With Ribbon

Tie a ribbon at the top of your side braid and weave it through as a fourth strand, or simply tie it in a bow where the braid meets the elastic. Suddenly a basic side braid looks intentional and a little bit French. Choose grosgrain or velvet in a color that picks up your outfit. This suits anyone with medium to long hair and second-day texture, and it adds maybe thirty seconds to your normal routine. The only real drawback is the ribbon slipping. Tie a tight double knot and tuck it under the elastic, or on windy days the bow works loose and you are left with a ribbon in your pocket.
Styling and Care Tips
Prep matters more than technique with side braids. Start with hair that has some grip: day-old hair beats freshly washed hair almost every time. If your hair is squeaky clean, work a pea-sized amount of texturizing paste or dry shampoo through the mid-lengths first so the braid does not loosen by lunchtime. And pick your accessories wisely. A side braid sits on one shoulder all day, so skip heavy earrings or chunky necklaces on that side; chains and braids tangle where they meet.
Keep the first inch of the braid relaxed. Pulling it drum-tight at the part causes breakage over time and a headache by afternoon. You can always tug the braid edges wider after tying off for that full, soft look without scalp tension. Use a seamless elastic rather than a metal-clasp one, because side braids move when you turn your head and metal clasps snag strands all day.
At night, do not sleep on a tight side braid. Loosen it completely or redo it as a very loose single braid over your pillow; tight braids cause breakage at the elastic and frizz along the part. For a second-day refresh, mist the braid lightly, smooth it with your palms, re-tug the edges, and add a touch of oil to the tail. Ninety seconds and it looks new again.
Frequently Asked Questions
How do I keep my side braid from falling out?
The main culprits are freshly washed hair and braiding too loosely at the start. Work on day-old hair or add texturizing spray before you begin, braid the first few crossings snugly while keeping the scalp comfortable, and finish with a clear elastic wrapped three times rather than twice. If layers keep escaping, cross small sections of the escaping layer into the braid as you go, or pin the top layer in place with one or two bobby pins at the braid's start.
Do side braids work on short hair?
They do, with realistic expectations. A chin-length bob can manage a small side braid along the hairline or a short rope twist pinned behind the ear, but you will not get a full braid draping over the shoulder. Shoulder-length hair is the practical minimum for most styles here, and the rope twist is the best bet for shorter lengths since it needs the least hair. If your hair is growing out and not quite there, clip-in extensions in a matching shade can add length for an event braid without any commitment.
Are side braids bad for your hair?
Not when done sensibly. The risk comes from daily tight braiding, which causes traction breakage along the part and at the elastic. Keep tension moderate, vary where the braid starts day to day so the same follicles are not stressed constantly, and never braid soaking wet hair, which stretches and snaps. Sleeping in a tight braid is the other common mistake; loosen it or redo it gently at night. Done right, a side braid is actually protective because your ends are tucked away from friction and wind.
How long does a side braid take?
A basic three-strand side braid takes two to three minutes once you have done it a few times. Dutch and fishtail versions take five minutes while learning and about three once your hands know the pattern. The waterfall braid and the curled version are the slowest here, at ten to fifteen minutes, because of the sectioning and prep. None of these are salon-dependent skills. Give yourself one week of morning practice and even the fishtail becomes muscle memory.
Can I wear a side braid to a formal event?
Absolutely, and the trick is finishing. A side braid reads casual when it is loose and day-two textured, but the same braid with a sleek part, smoothed edges, and the tail curled or tucked becomes event-ready. Add a ribbon, a few pearl pins along the braid, or a decorative clip at the elastic, and nobody will read it as a gym style. Pair it with statement earrings on the exposed side for a finished, balanced look.
Keep Exploring
If side braids have you hooked on the whole braid family, there is plenty more to try. The french braid guide walks through classic scalp-to-tip braids for every occasion, and if you loved the fishtail idea above, the fishtail braid collection has even more variations to play with. For something softer and more romantic, the waterfall braid ideas piece pairs beautifully with the waterfall side braid at number five.