# 15 French Braid Hairstyles for Every Occasion
French braids never really leave the picture: the gym, weddings, red carpets, lazy Sunday mornings. That staying power comes from something simple. The style is a workhorse. It keeps hair out of your face, survives wind and humidity, and looks polished with almost no fuss.
The trick is knowing which version to reach for. A tight classic braid reads totally different from a loose pancaked one, and a ribbon changes the mood again. Below are fifteen takes, each with honest notes on who they suit, how to nail them at home, and what upkeep actually feels like.
1Classic Center French Braid
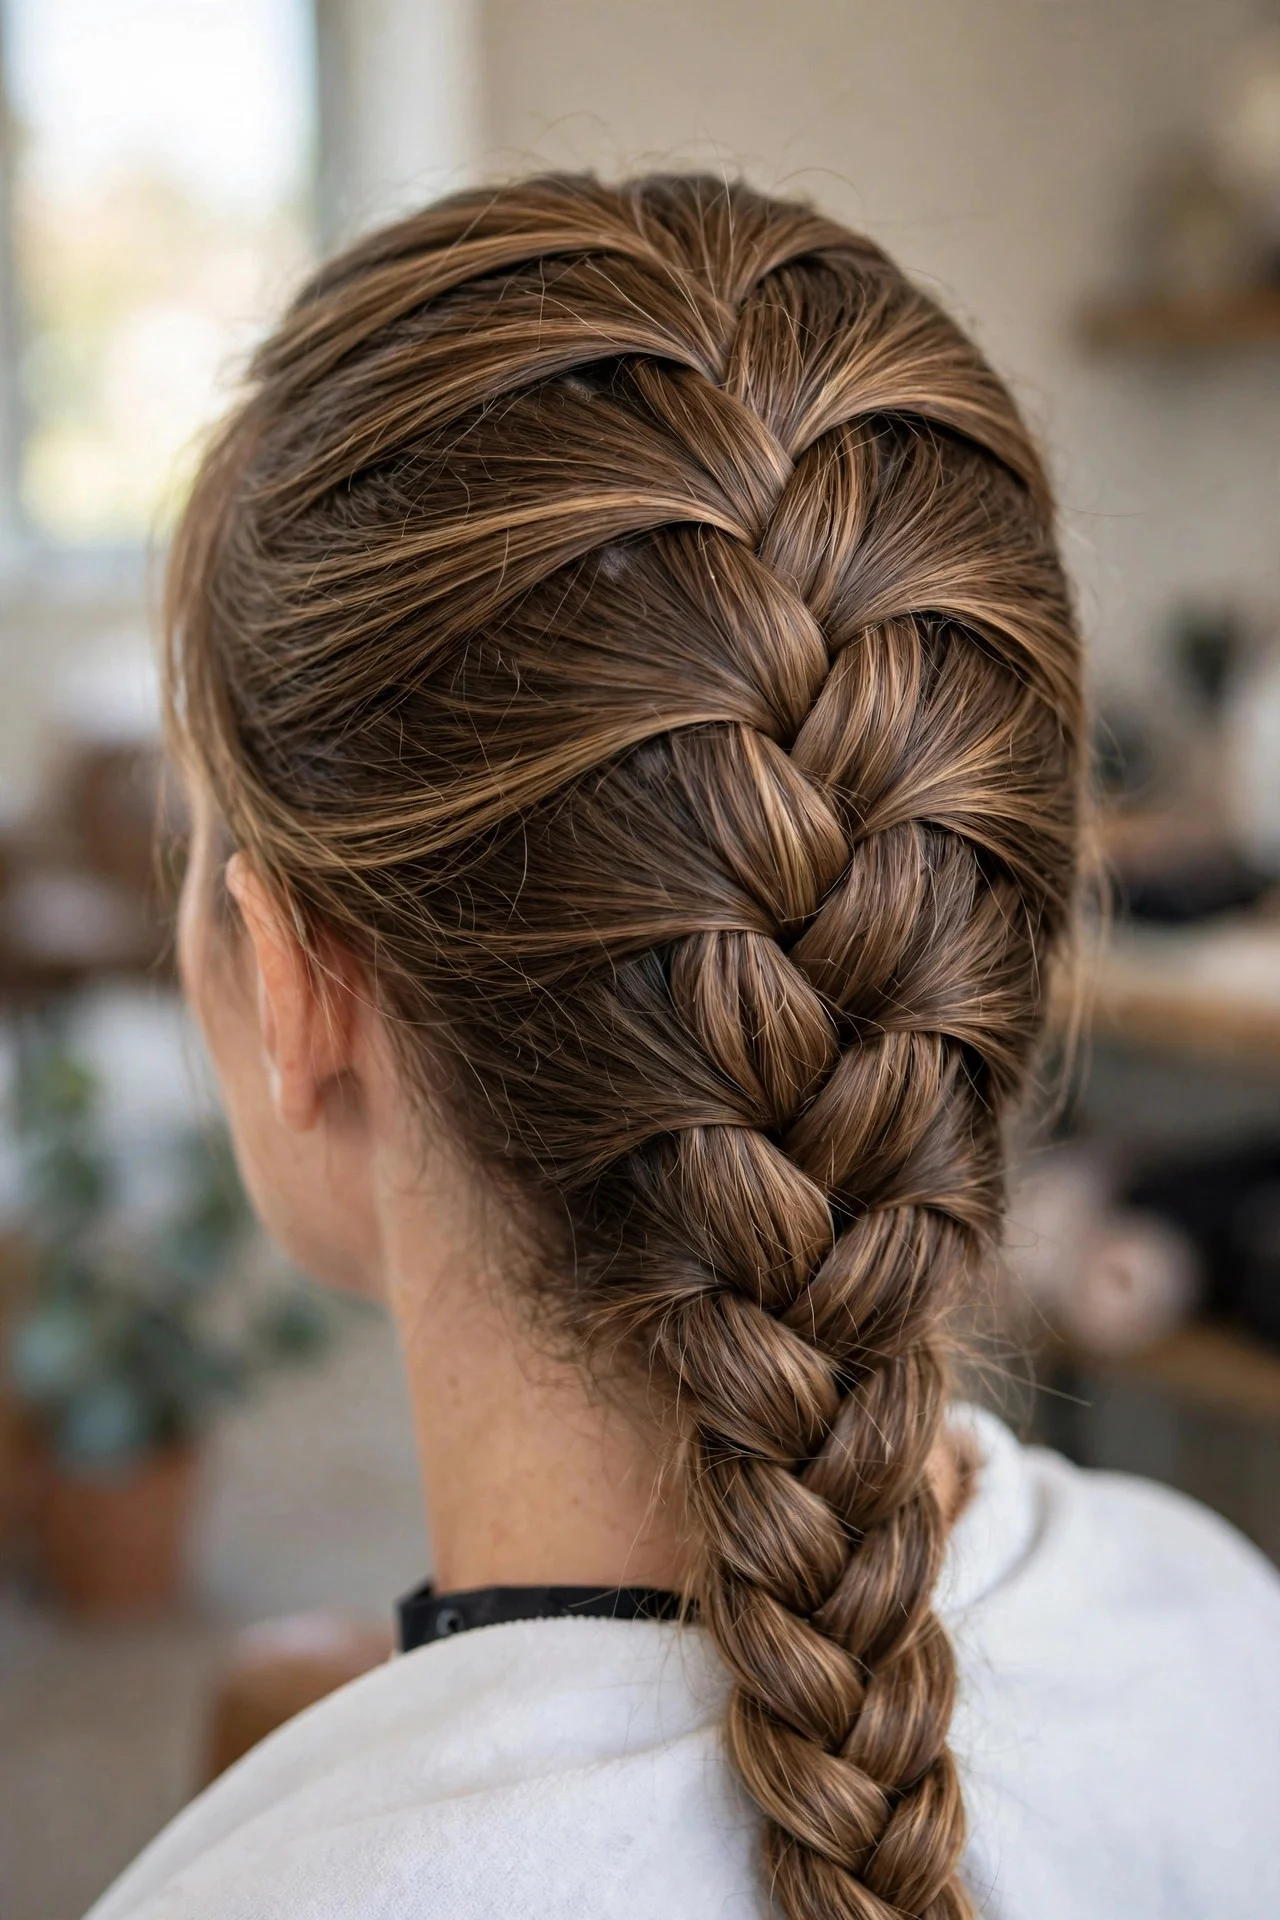
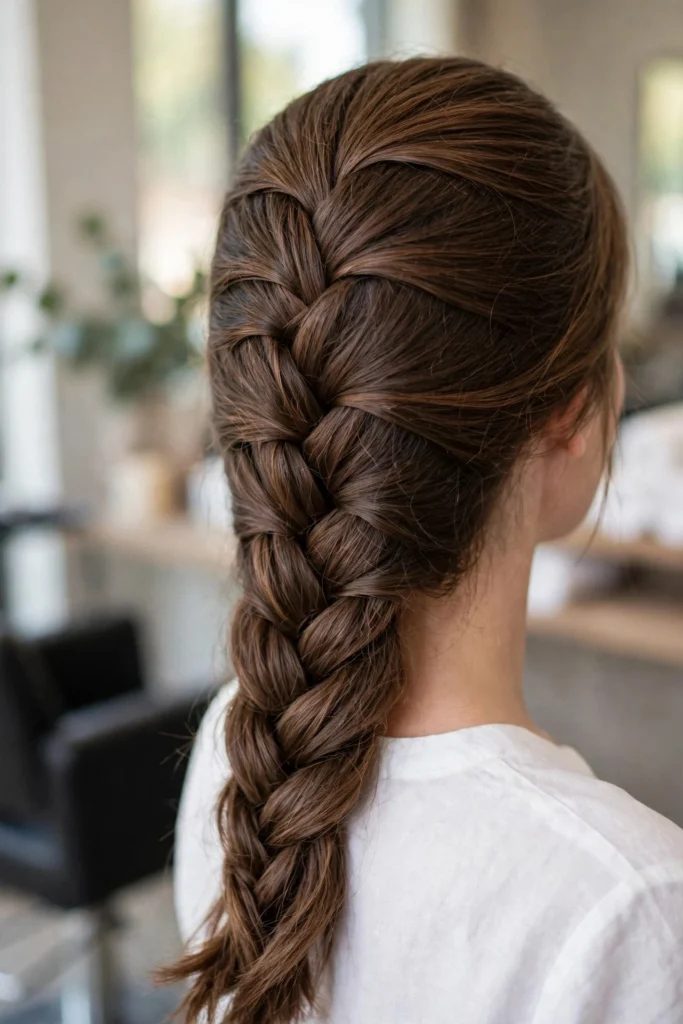
Start at the crown with three sections and feed in hair from each side as you cross over, working straight down the back of the head to the nape, then finish with a regular three-strand braid and a clear elastic. It looks cleanest on straight or slightly wavy hair between shoulder and mid-back length. Sleep in a loose version or a silk bonnet and it holds two to three days; refresh the roots with dry shampoo. The honest drawback is learning it blind: braiding down the back of your own head takes practice, and your arms will ache the first few times.
2Double French Braids
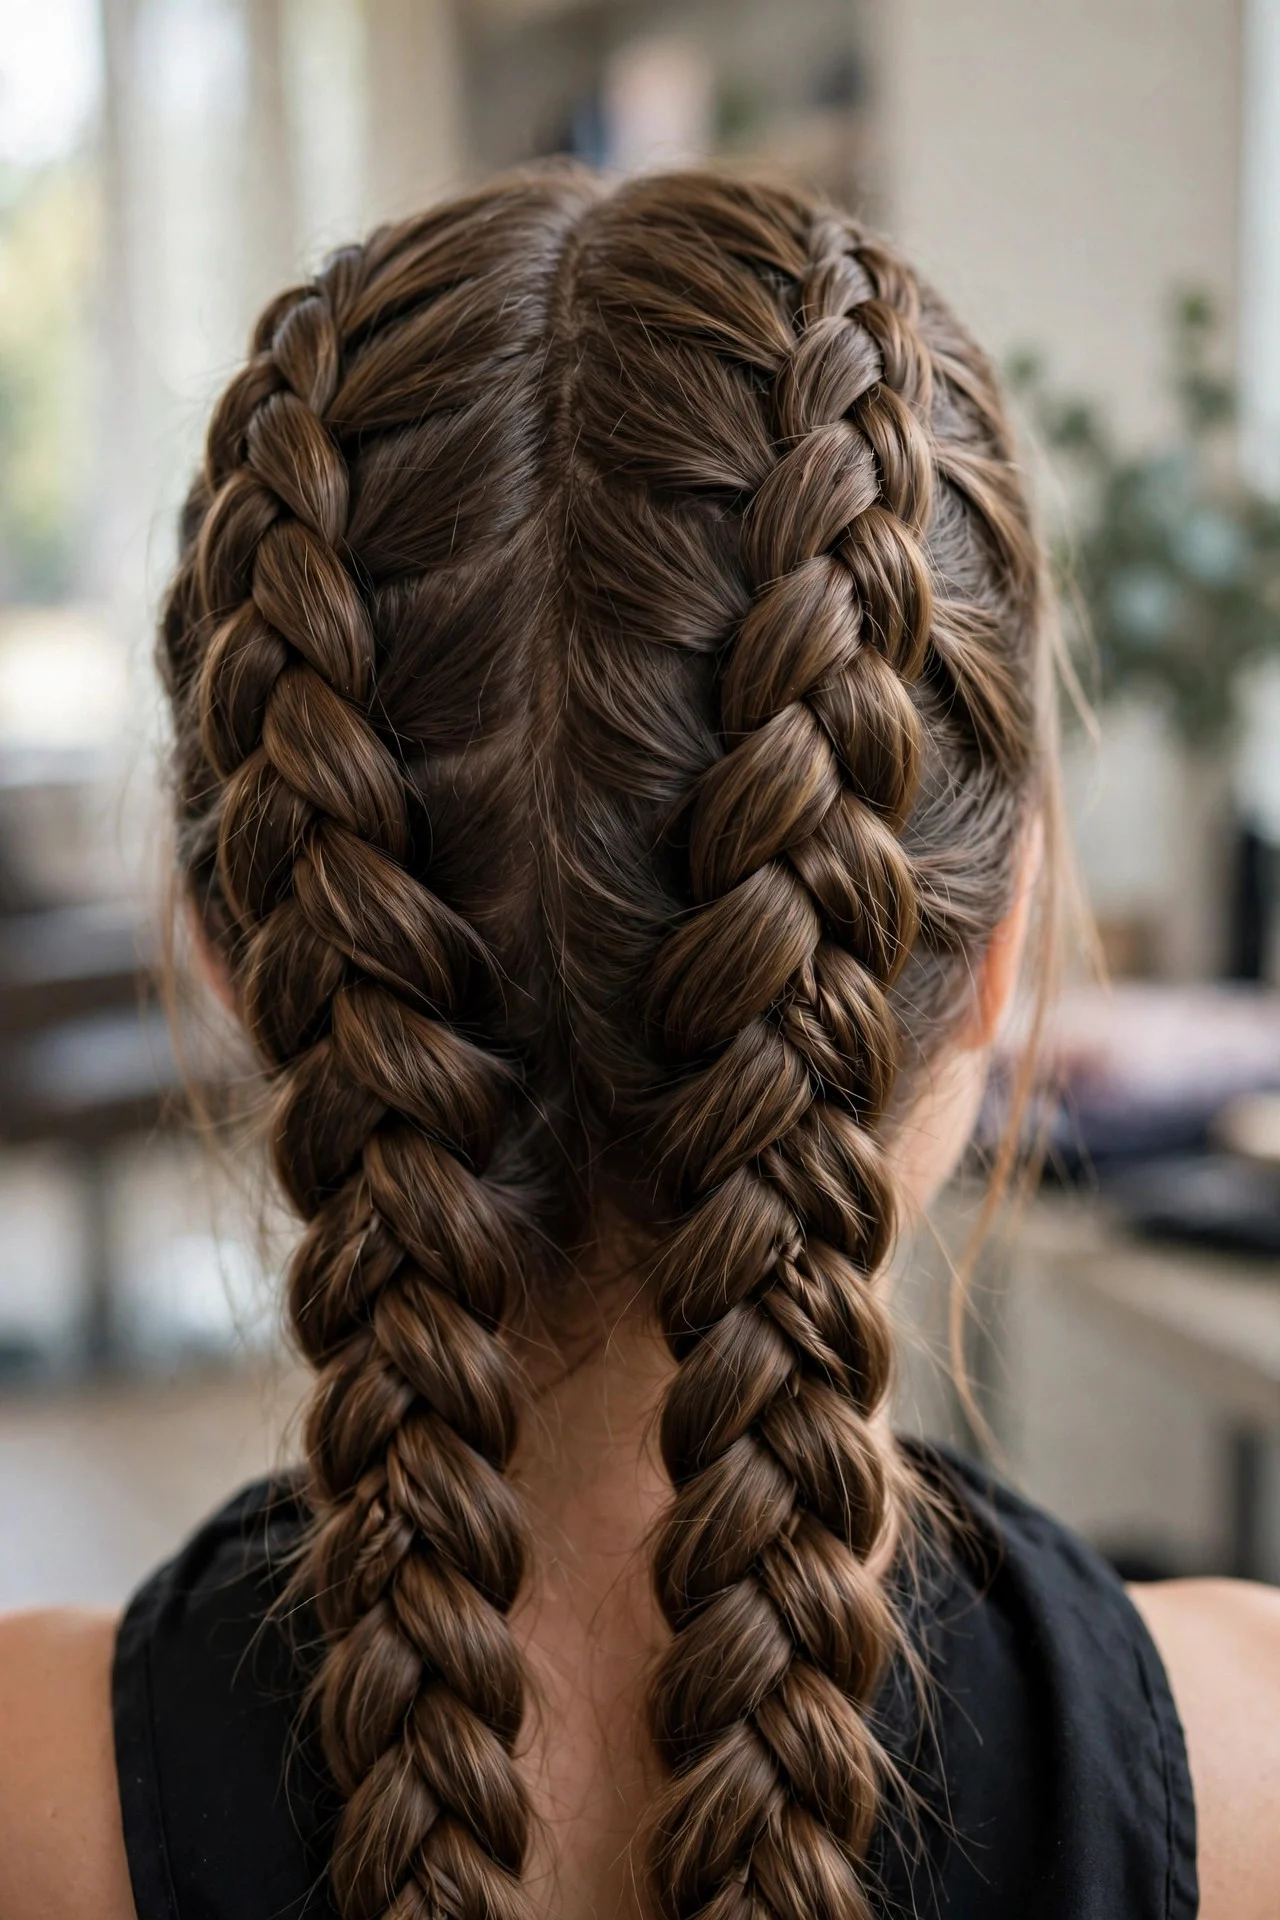
Part hair sharply down the middle, then French braid each side from the front hairline to the nape, securing with small elastics or merging into one tail. This gym staple distributes tension evenly, stays put through workouts, and works on every texture including curly. At the salon, ask for two tight French braids with clean parting. Upkeep is easy: the style wears well for two days, and day-two braids look better with a bit of lived-in texture. The downside is the parting. Getting two even, clean sections takes a tail comb and patience, and any wiggle at the part shows.
3French Braid High Ponytail
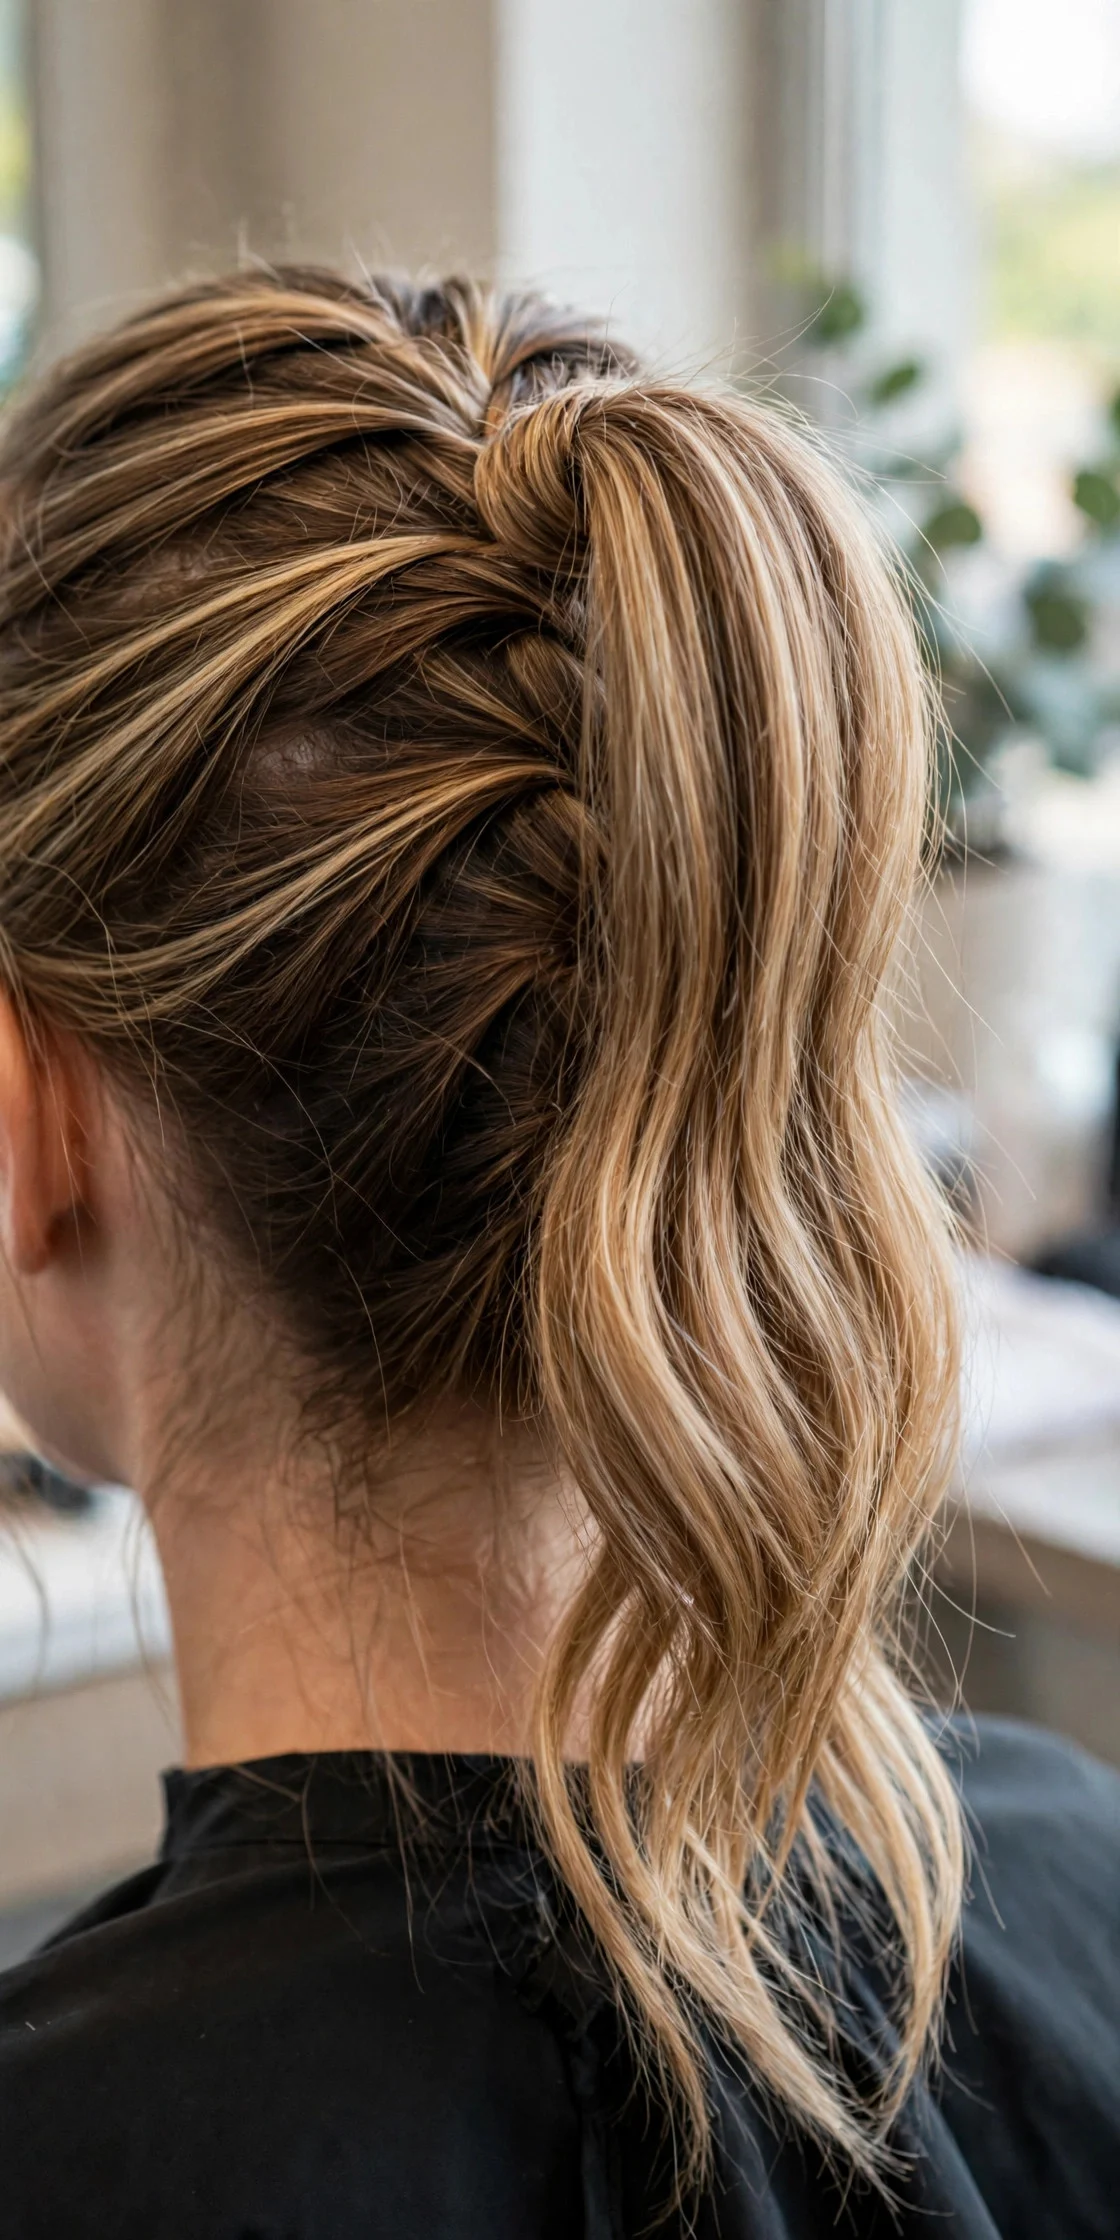
Braid French-style from the front hairline straight back over the crown, then instead of continuing down, gather everything into a high ponytail and wrap a strand of hair around the base to hide the elastic. This gives root lift a plain ponytail never manages, and suits round and oval faces by adding height. It reads dressy but takes ten minutes, making it a wedding and party favorite. To keep it fresh, smooth flyaways with a toothbrush sprayed with hairspray before photos. The catch: the high gathering point can tug the front hairline, so loosen the first crosses and never sleep in it.
4Romantic Side French Braid
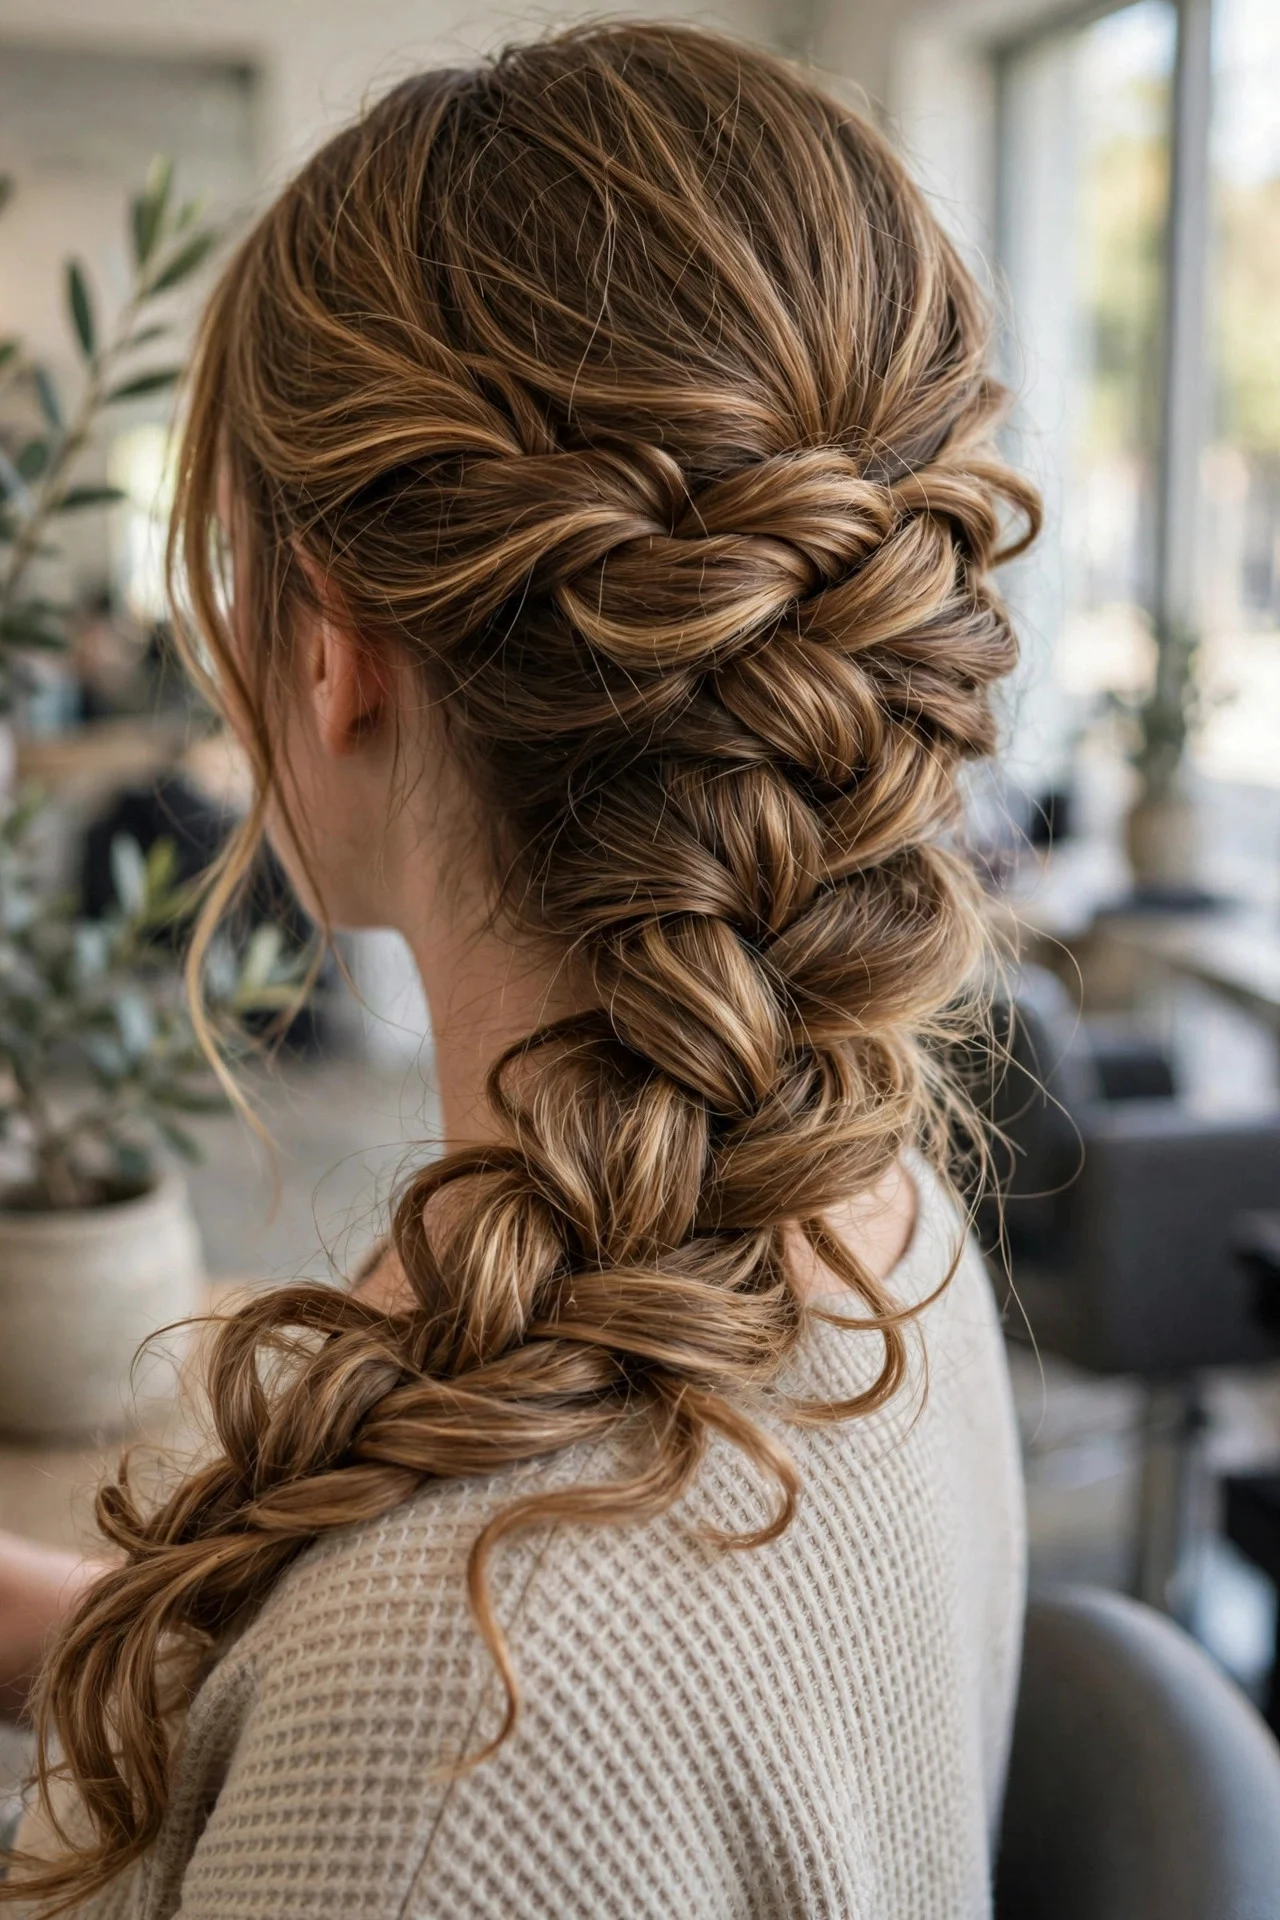
Sweep all your hair to one side and start the French braid just above the opposite ear, working diagonally down toward the chosen shoulder. Loosen each cross as you go so the braid sits full and soft. It flatters heart-shaped and long faces because the diagonal breaks up length, and it photographs beautifully. Finish with a few curled face-framing pieces and a satin elastic. It lasts about a day before loosening, which is the point here. The real drawback is asymmetry: you will inevitably make one side fuller, and fixing it means undoing more than you want to.
5Halo French Braid Crown
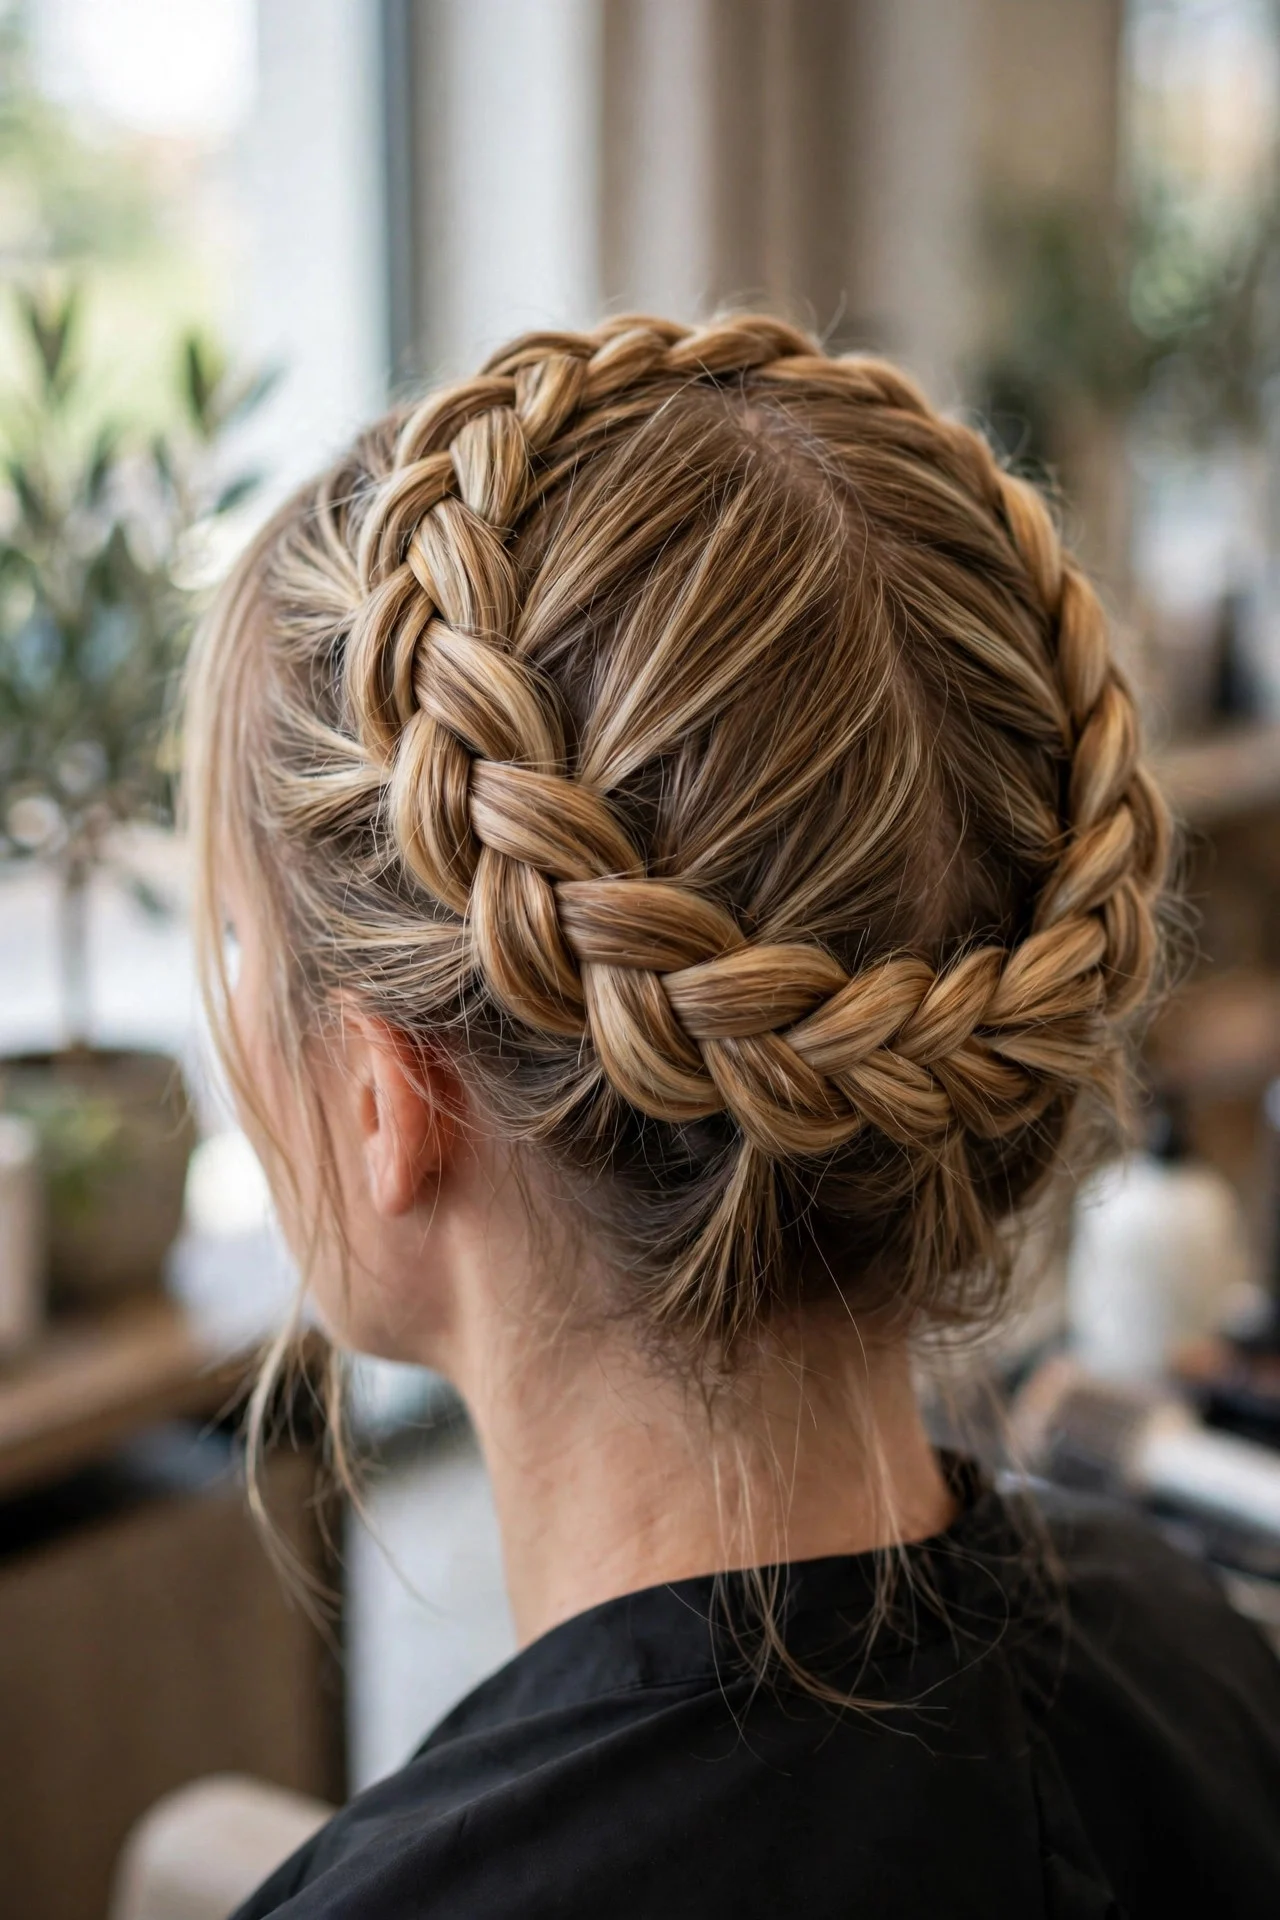
Create a deep side part and begin a French braid at the front hairline on the fuller side, following the head’s curve all the way around until the ends meet the start, tucking them under and pinning securely. This wedding-guest and prom pick works best on medium to thick hair; thin hair needs padding or extensions for the crown to look substantial. Ask your stylist for a full halo with pinned ends and a light mist of strong-hold spray. It survives a full day of dancing. The honest cost is time: a stylist needs 30 to 45 minutes, and at home it is a two-mirror, trial-and-error project.
6Low Braided Chignon
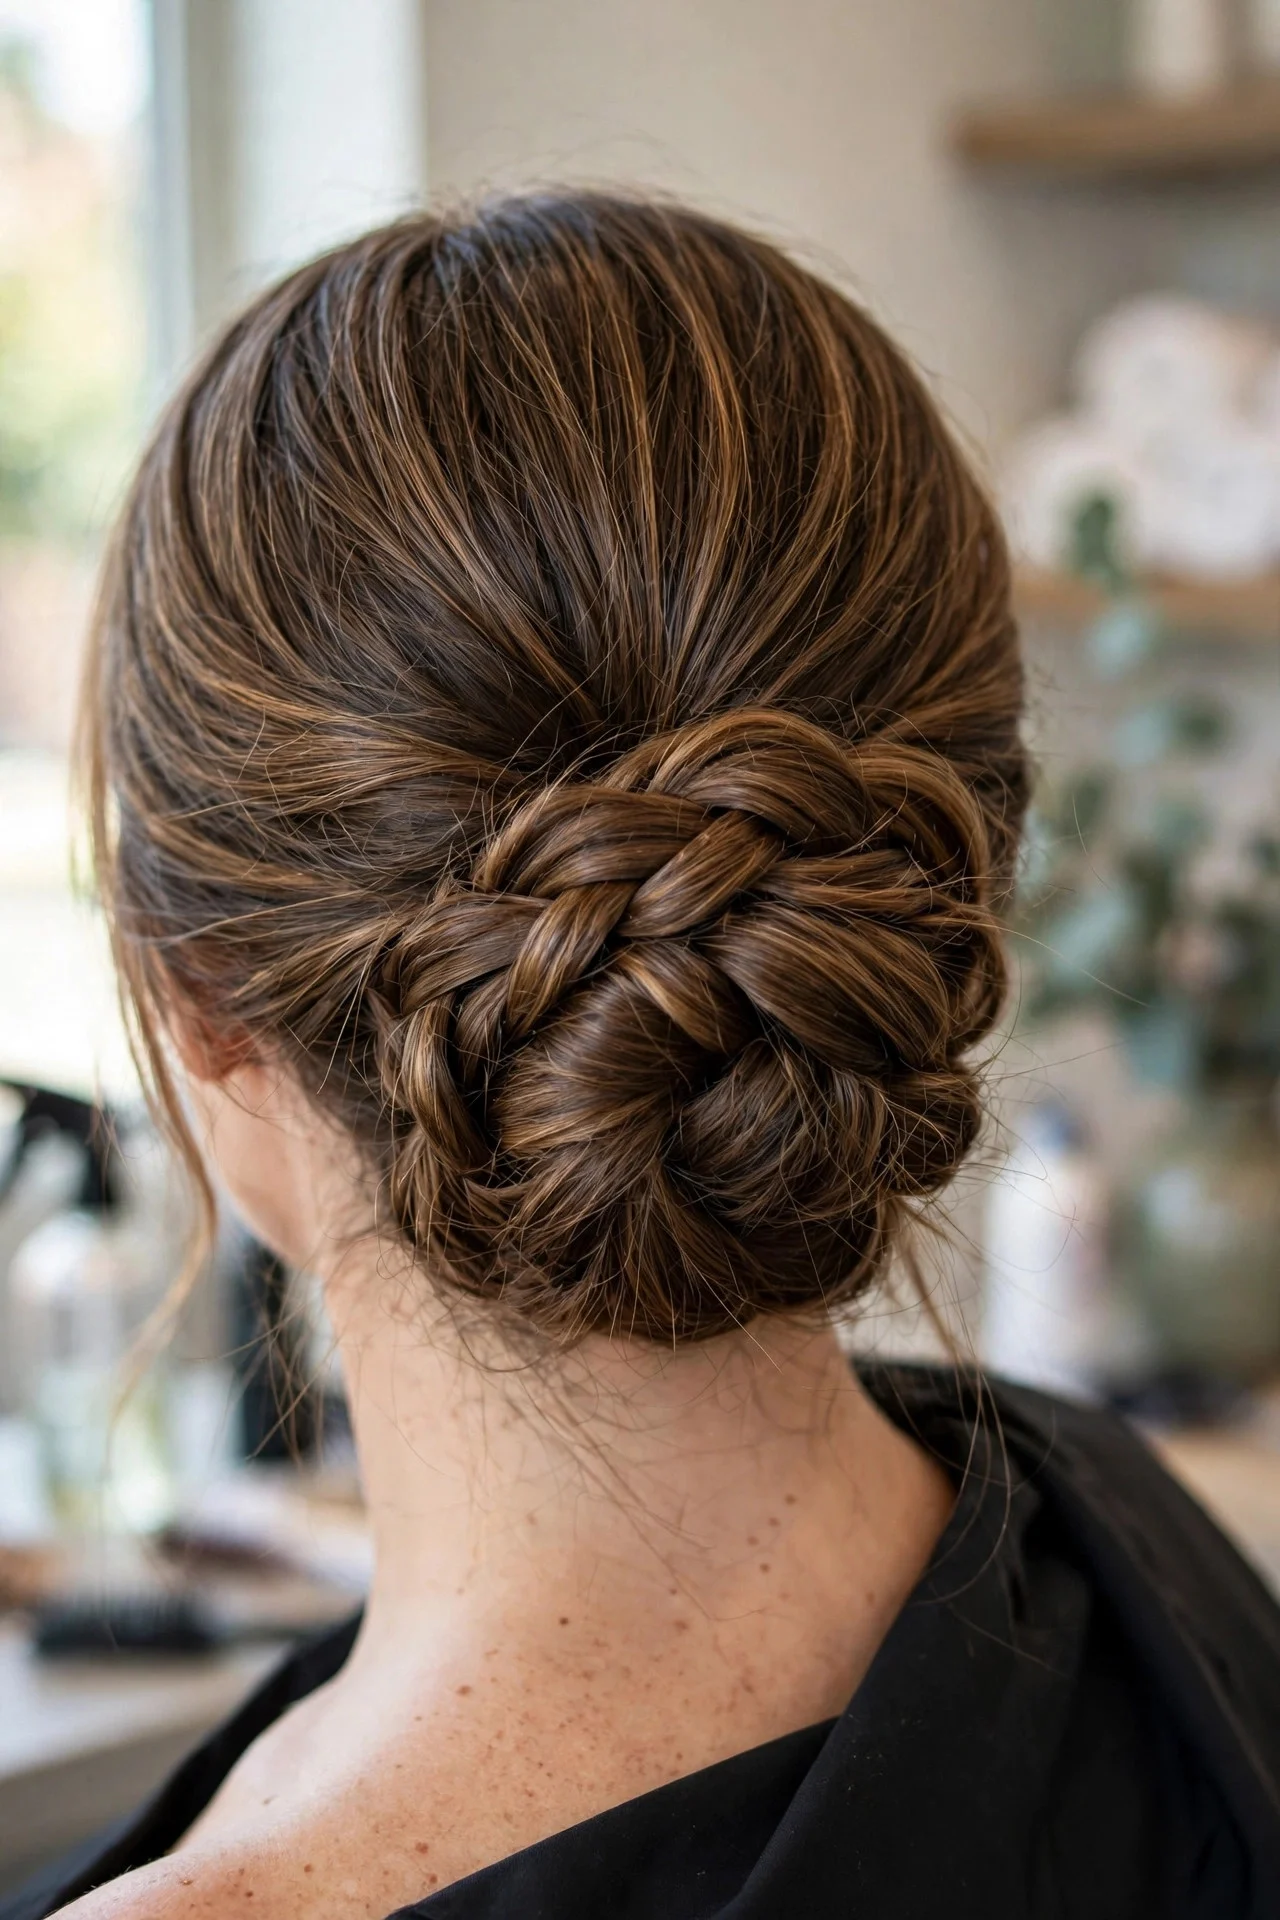
French braid from the crown down to the nape, then twist the remaining tail into a low bun and pin it against the head, tucking the ends underneath. This is the polished-office and formal-dinner version: sleek, out of the way, and flattering on square and oval faces. A handful of bobby pins and flexible spray hold it all day, and it survives a commute without the frizz a loose style picks up. The drawback is pin fatigue: you need more pins than you think, they loosen through the day, and removal means carefully unwinding everything.
7Waterfall French Braid
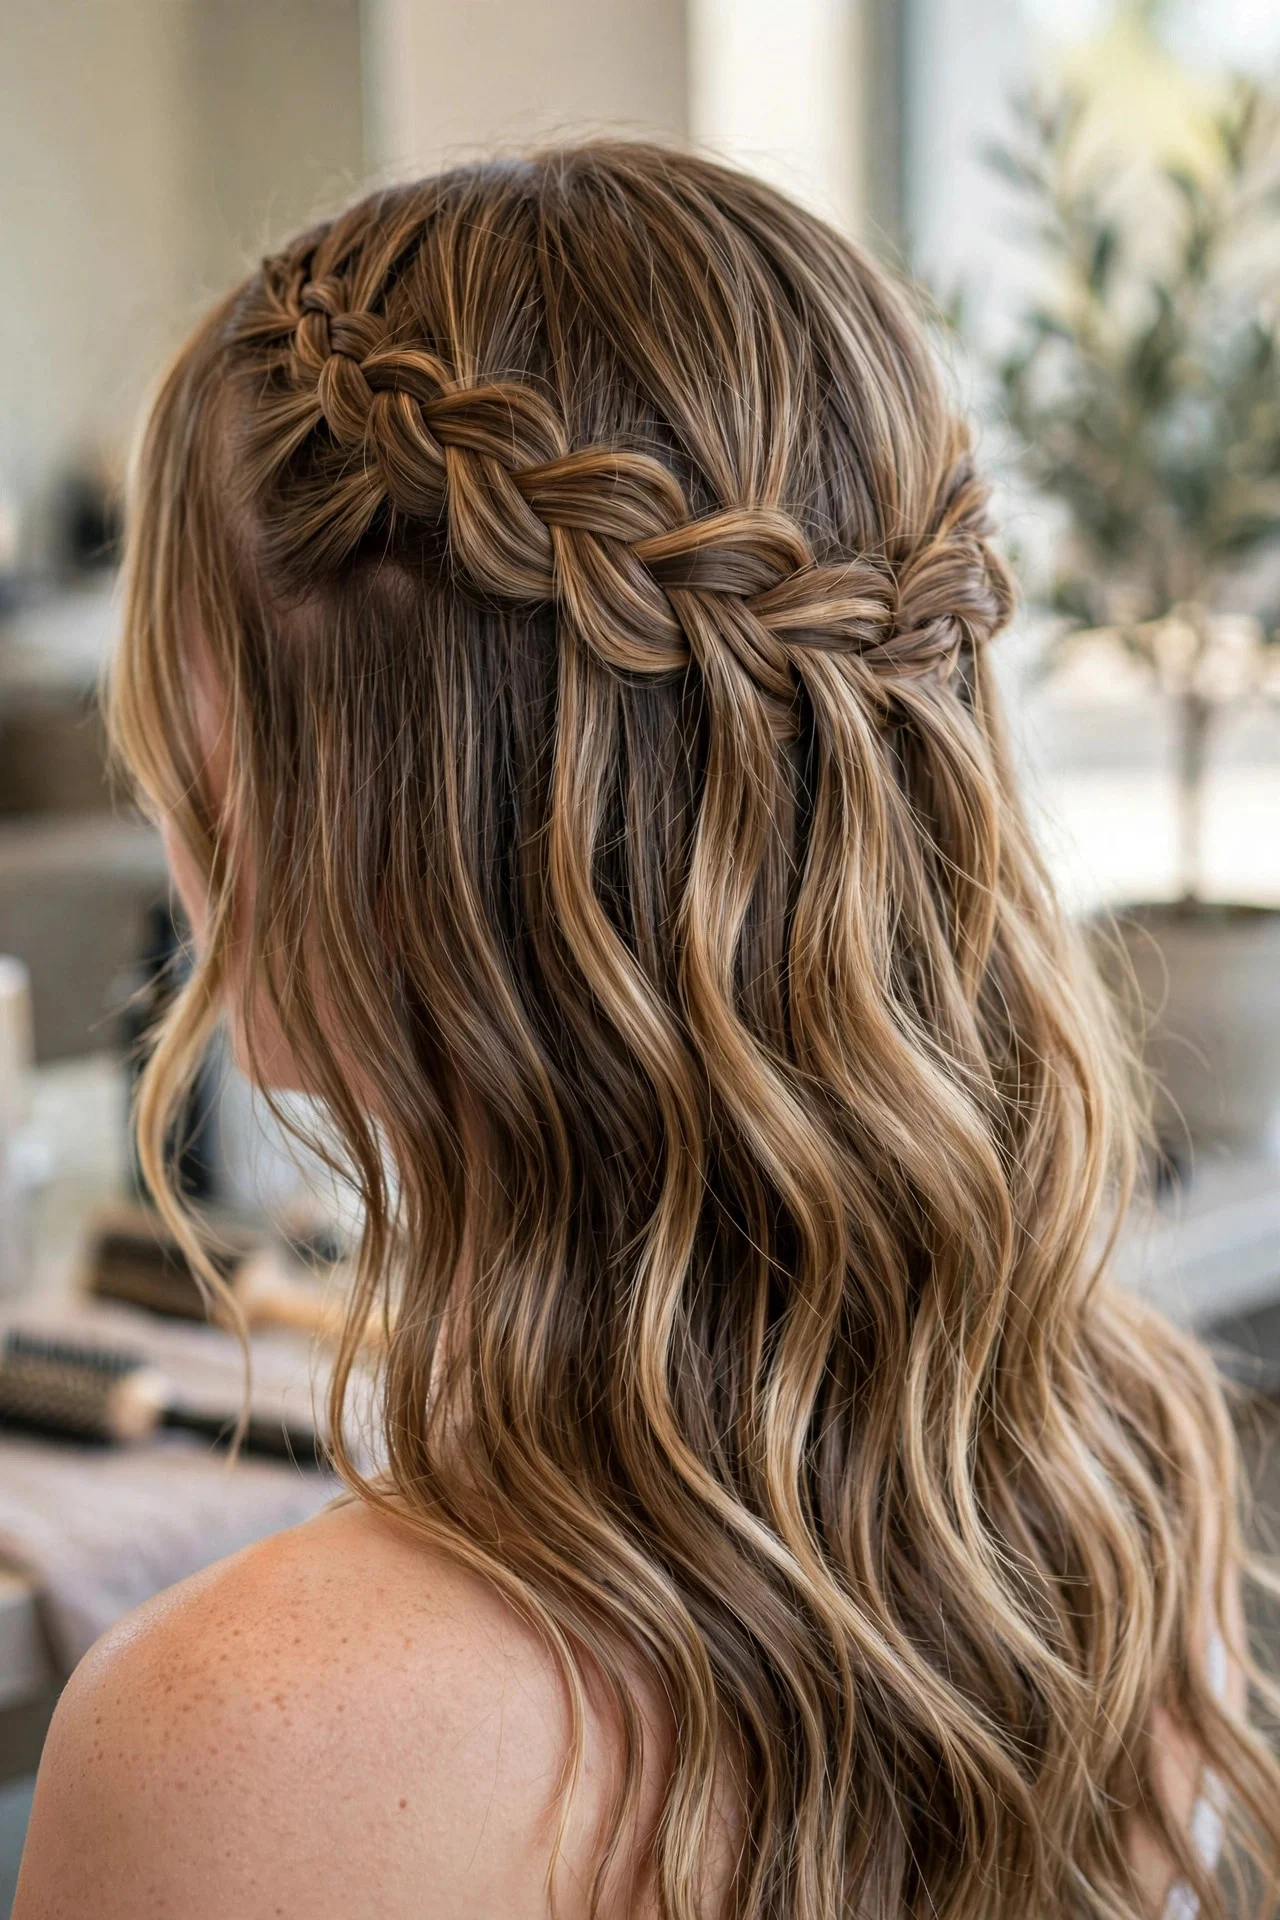
Braid French-style across the side or back, but instead of feeding each dropped strand back in, let it fall and pick up a fresh piece in its place. The falling strands create a cascading effect that looks lovely on long, layered hair and waves. It suits weddings, festivals, and date nights when you want braid prettiness with most of your hair down. Curl the loose pieces with a large barrel iron to make the waterfall pop. The headache: dropped strands slip and flatten within hours on fine hair, so texture spray beforehand is non-negotiable.
8Fishtail-Tipped French Braid
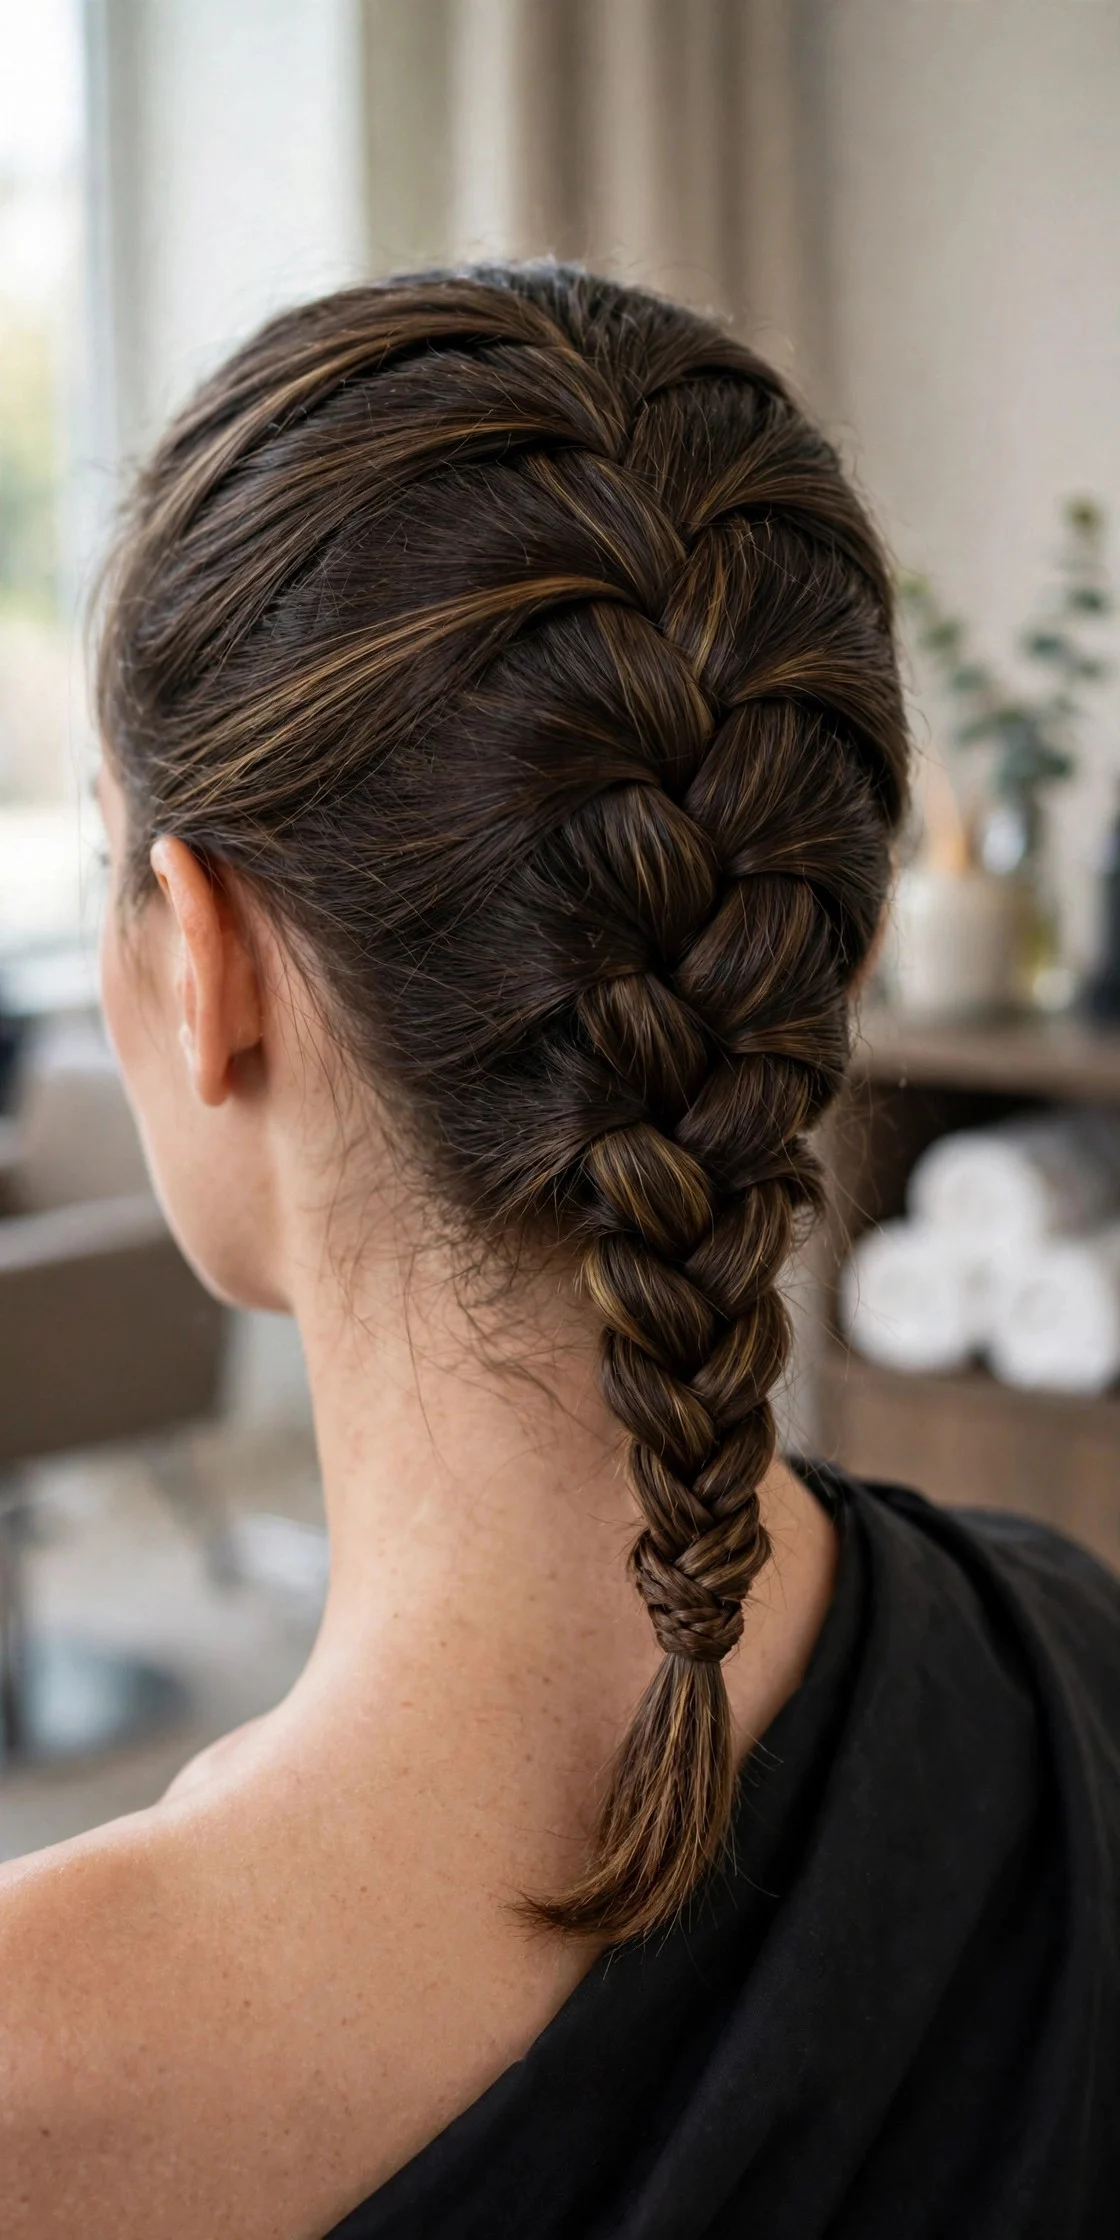
Braid French-style from the crown to the nape, then switch the remaining tail into a fishtail: split into two sections and cross tiny outer pieces back and forth. The smooth French top against the intricate fishtail end looks far more complicated than it is, and suits anyone wanting a high-effort party braid. Use a little pomade on your fingertips while fishtailing to control flyaways, and keep the pieces tiny for the neatest finish. The downside is pure time: a neat fishtail takes twice as long as a three-strand finish, and your hands will tire before the end.
9Upside-Down French Braid Topknot
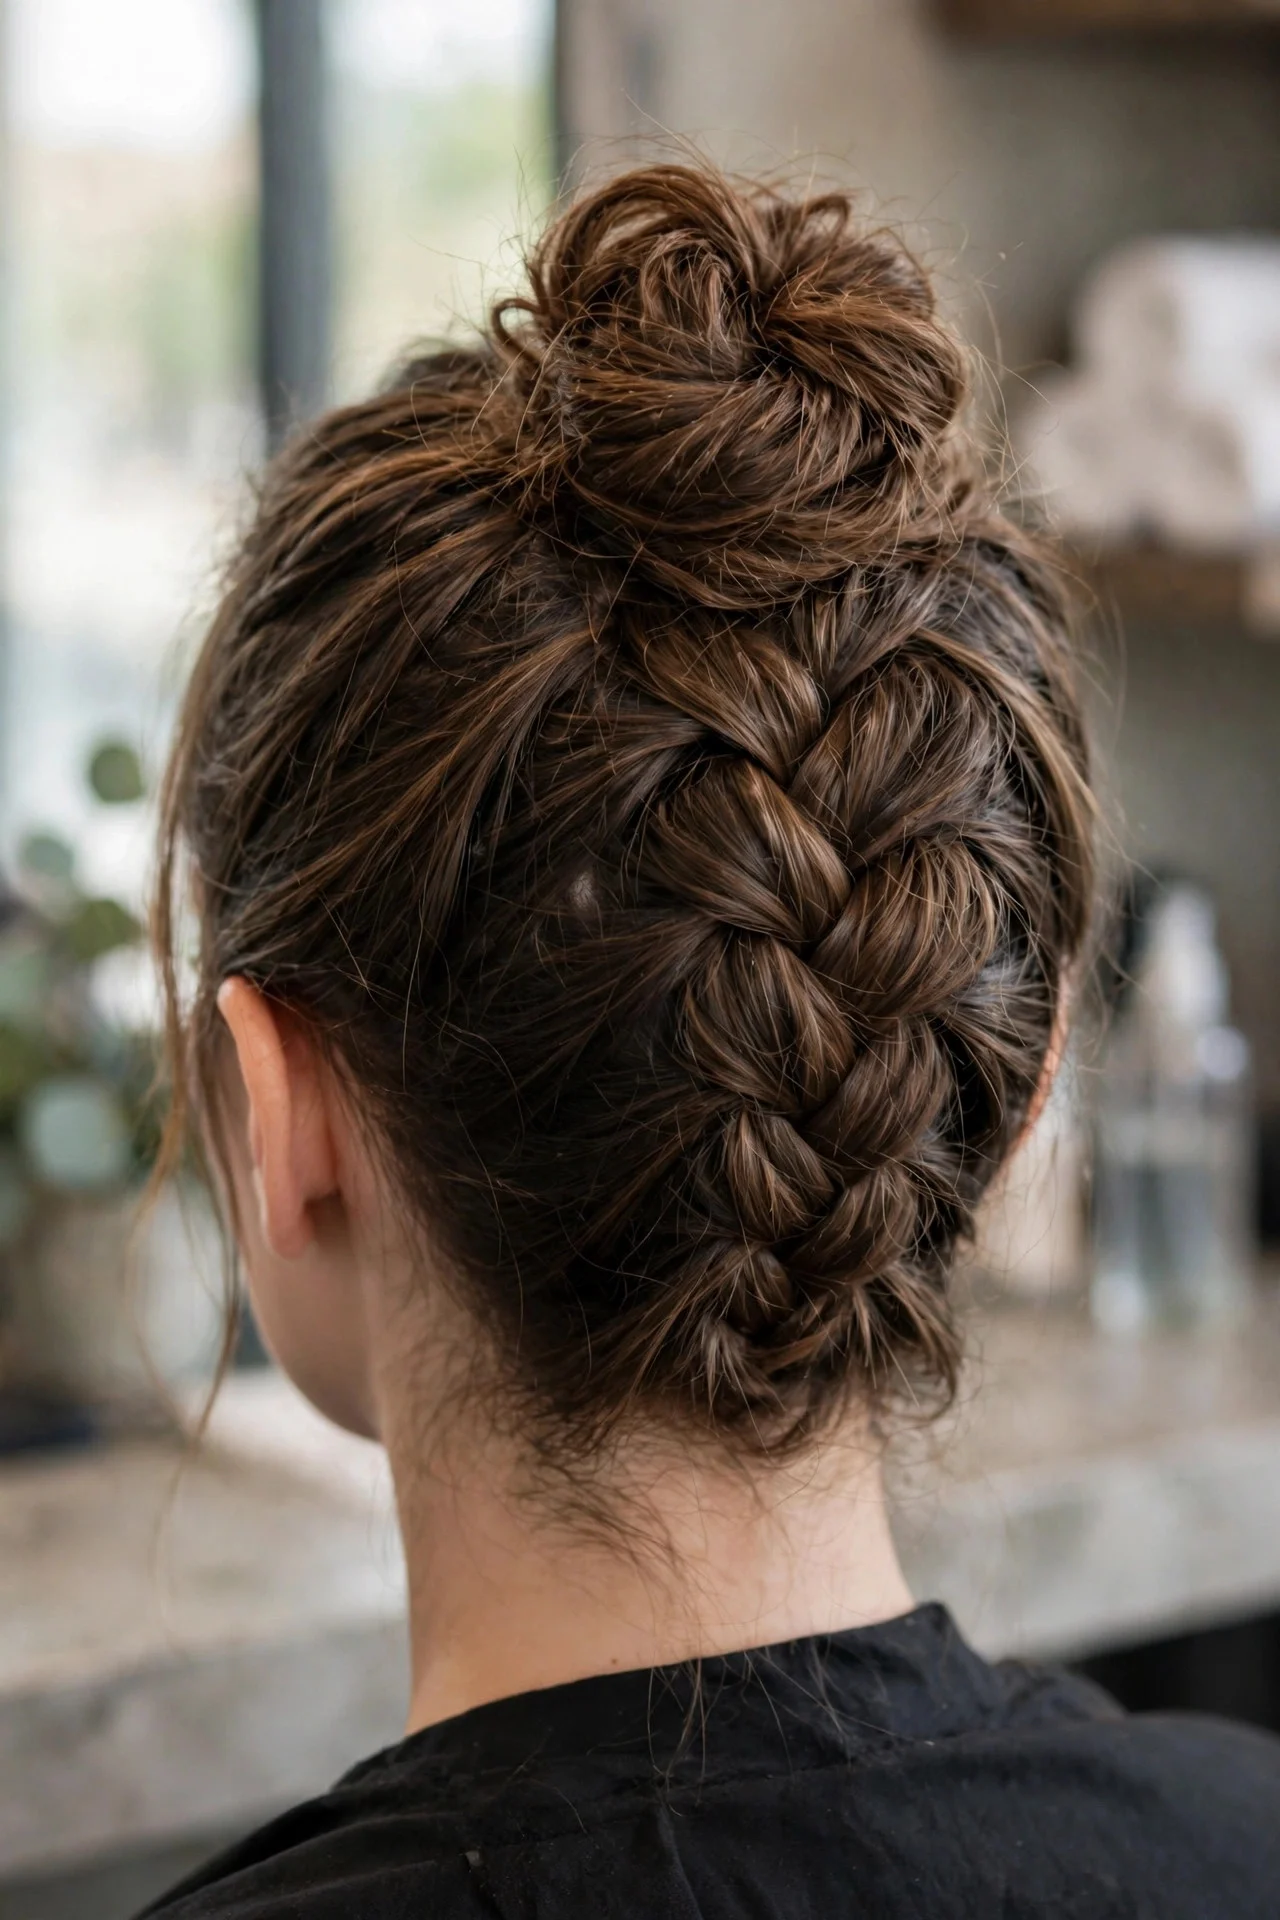
Flip your head forward, French braid from the nape up to the crown, then gather everything into a high bun and pin. This adds volume at the bun’s base that a plain topknot lacks, and keeps the nape cool: a summer favorite. It suits active days, hot weather, and anyone with hair that slips out of regular topknots. Dry shampoo at the roots before flipping adds needed grip. The drawback is the position: braiding upside down makes your head throb, and the braid often goes crooked because you cannot see it.
10French Braid Pigtail Space Buns
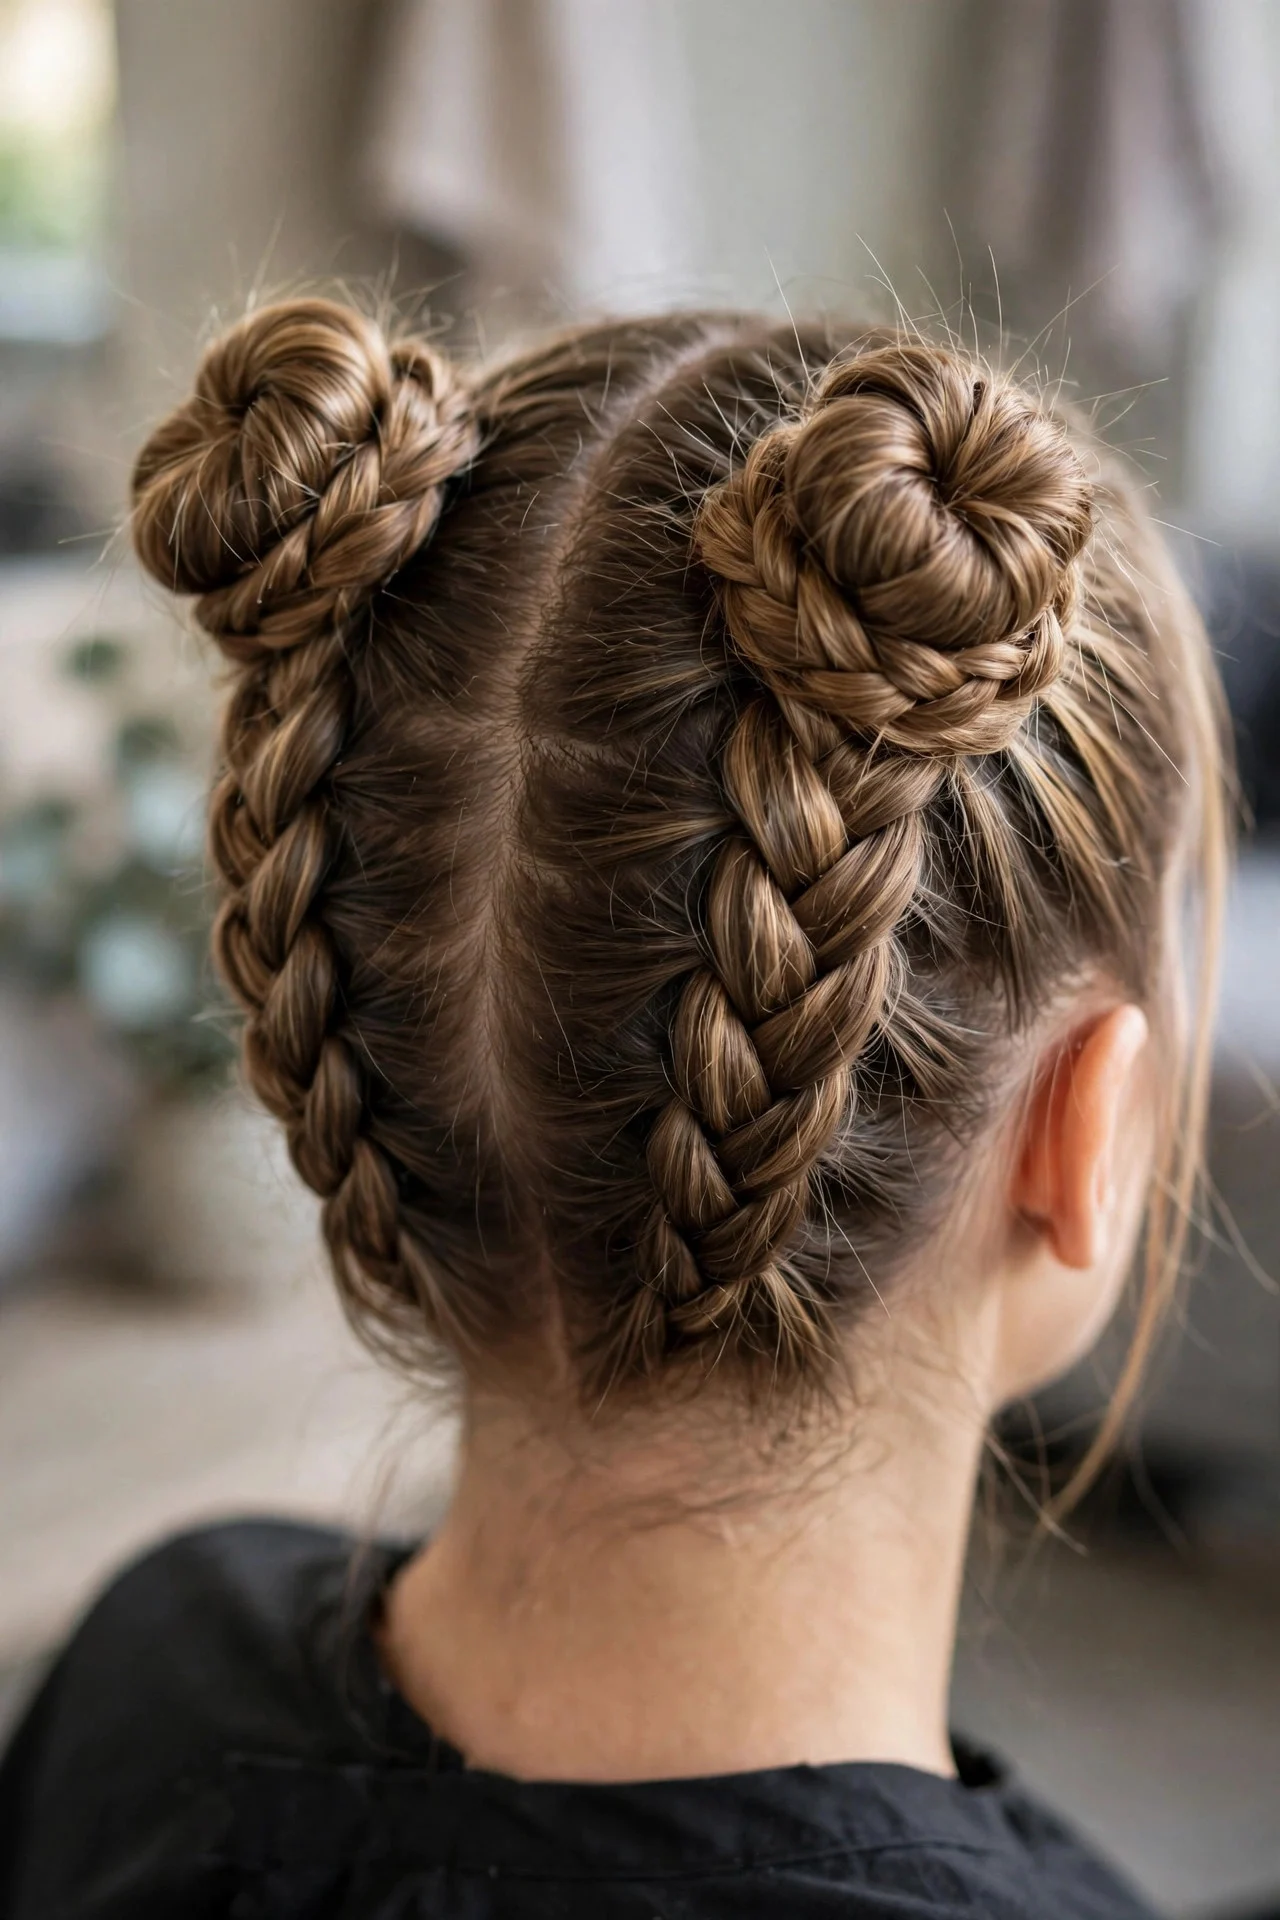
Part down the middle, French braid each side to the crown, then twist each into a high bun and pin. This festival and concert look is playful but neat, and works on short to medium hair since each section is smaller. Space the buns wide for a bolder look or closer together for something sweeter. Glitter roots or temporary color spray around the parts make it extra fun for events. Upkeep is simple because buns hide a multitude of sins on day two. The drawback: this is strictly daytime, and taking it down leaves wild waves needing a wash or full restyle.
11Chunky Pancaked French Braid
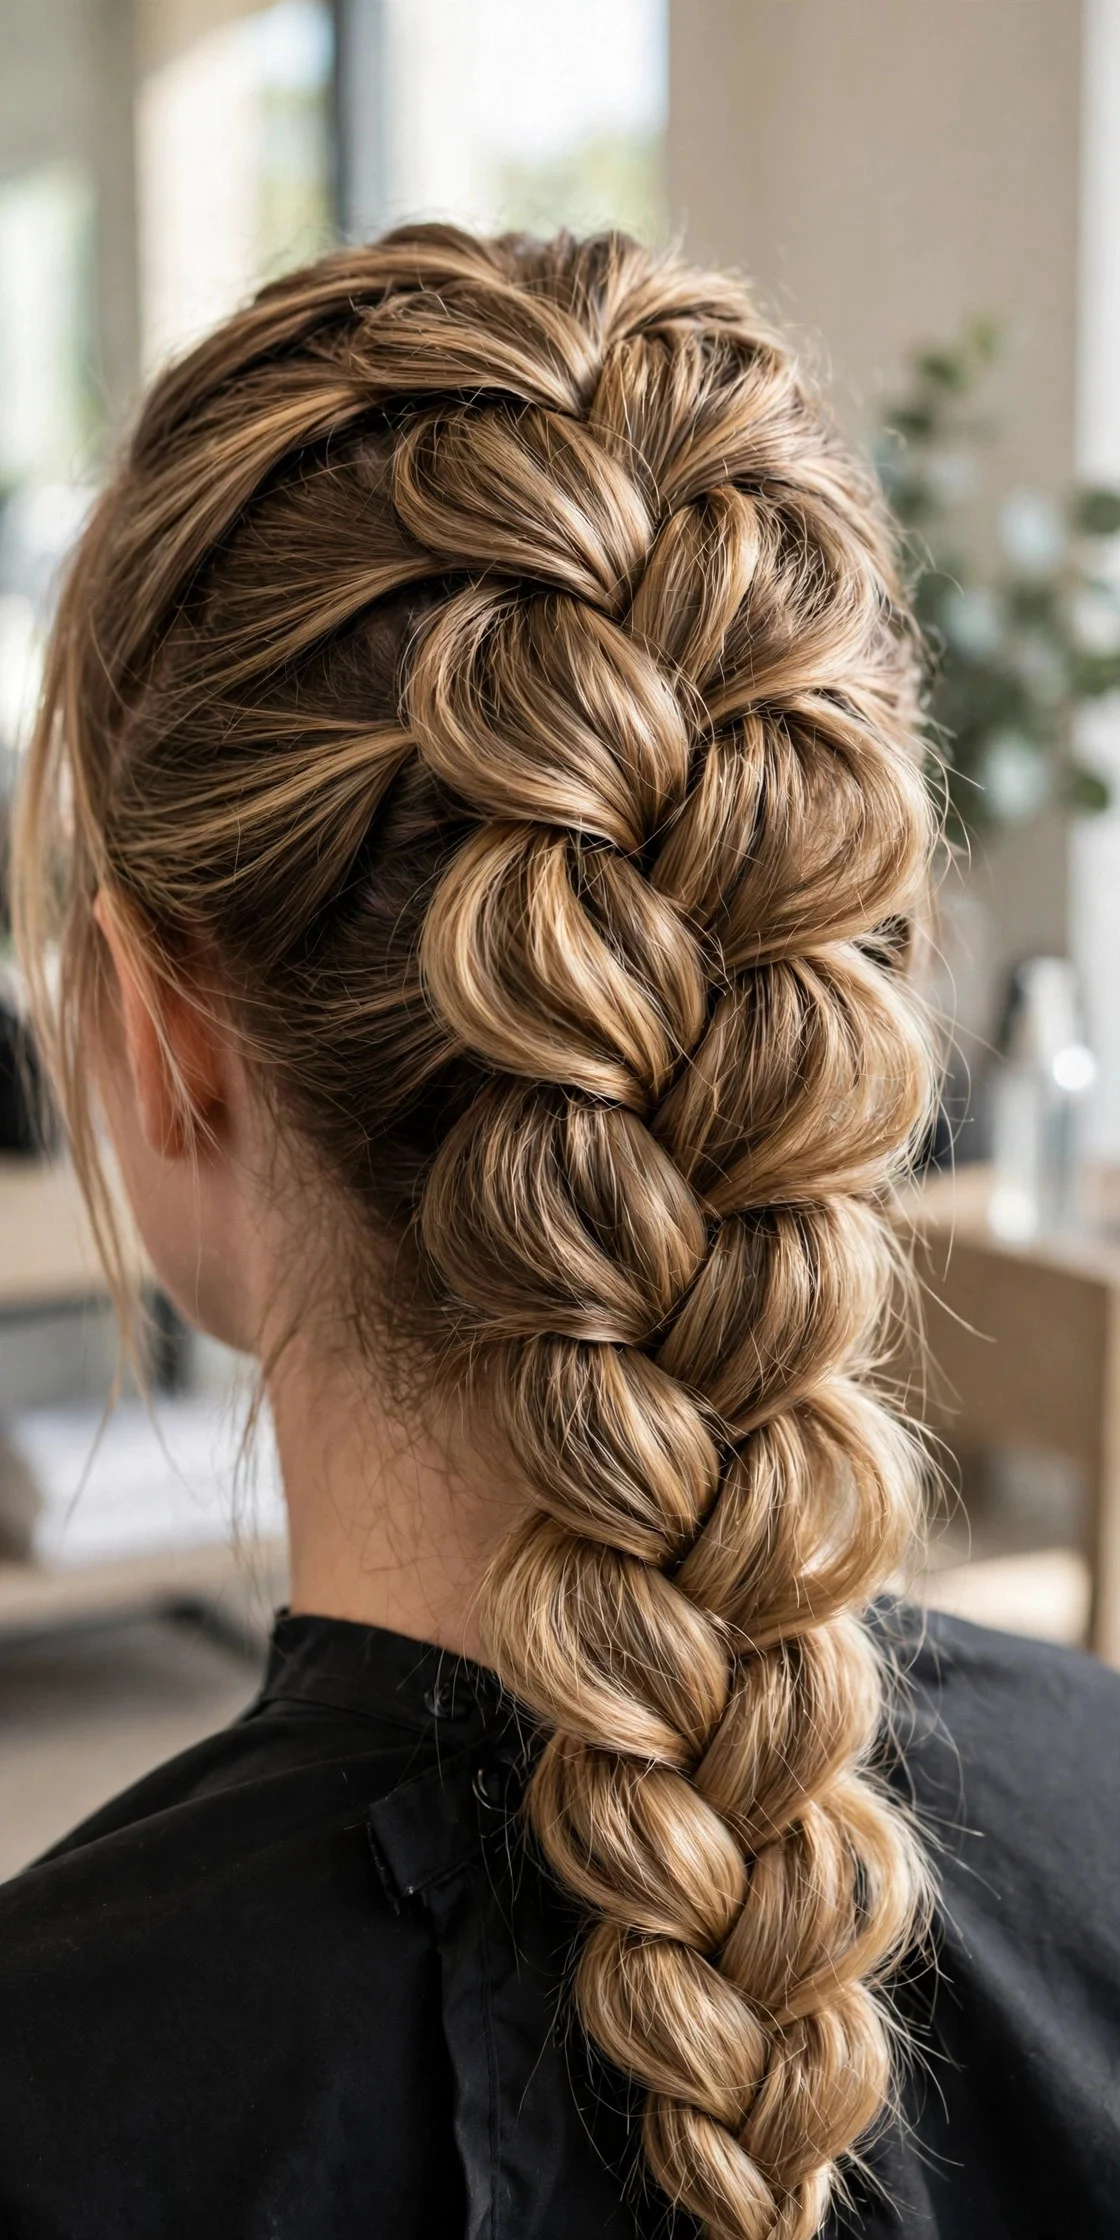
Braid a little looser than usual, then tug each cross’s edges outward, working bottom-up, until the braid looks twice as thick. This is the secret weapon for fine or thin hair because pancaking creates fullness that simply is not there naturally, and it photographs like a dream for special occasions. A light dusting of texture powder before braiding gives your fingers something to grip. The style holds well since looser crosses still lock together. The drawback is fragility: pull too hard and the whole braid loosens unevenly, and on freshly washed silky hair it can unravel completely.
12Ribbon-Woven French Braid
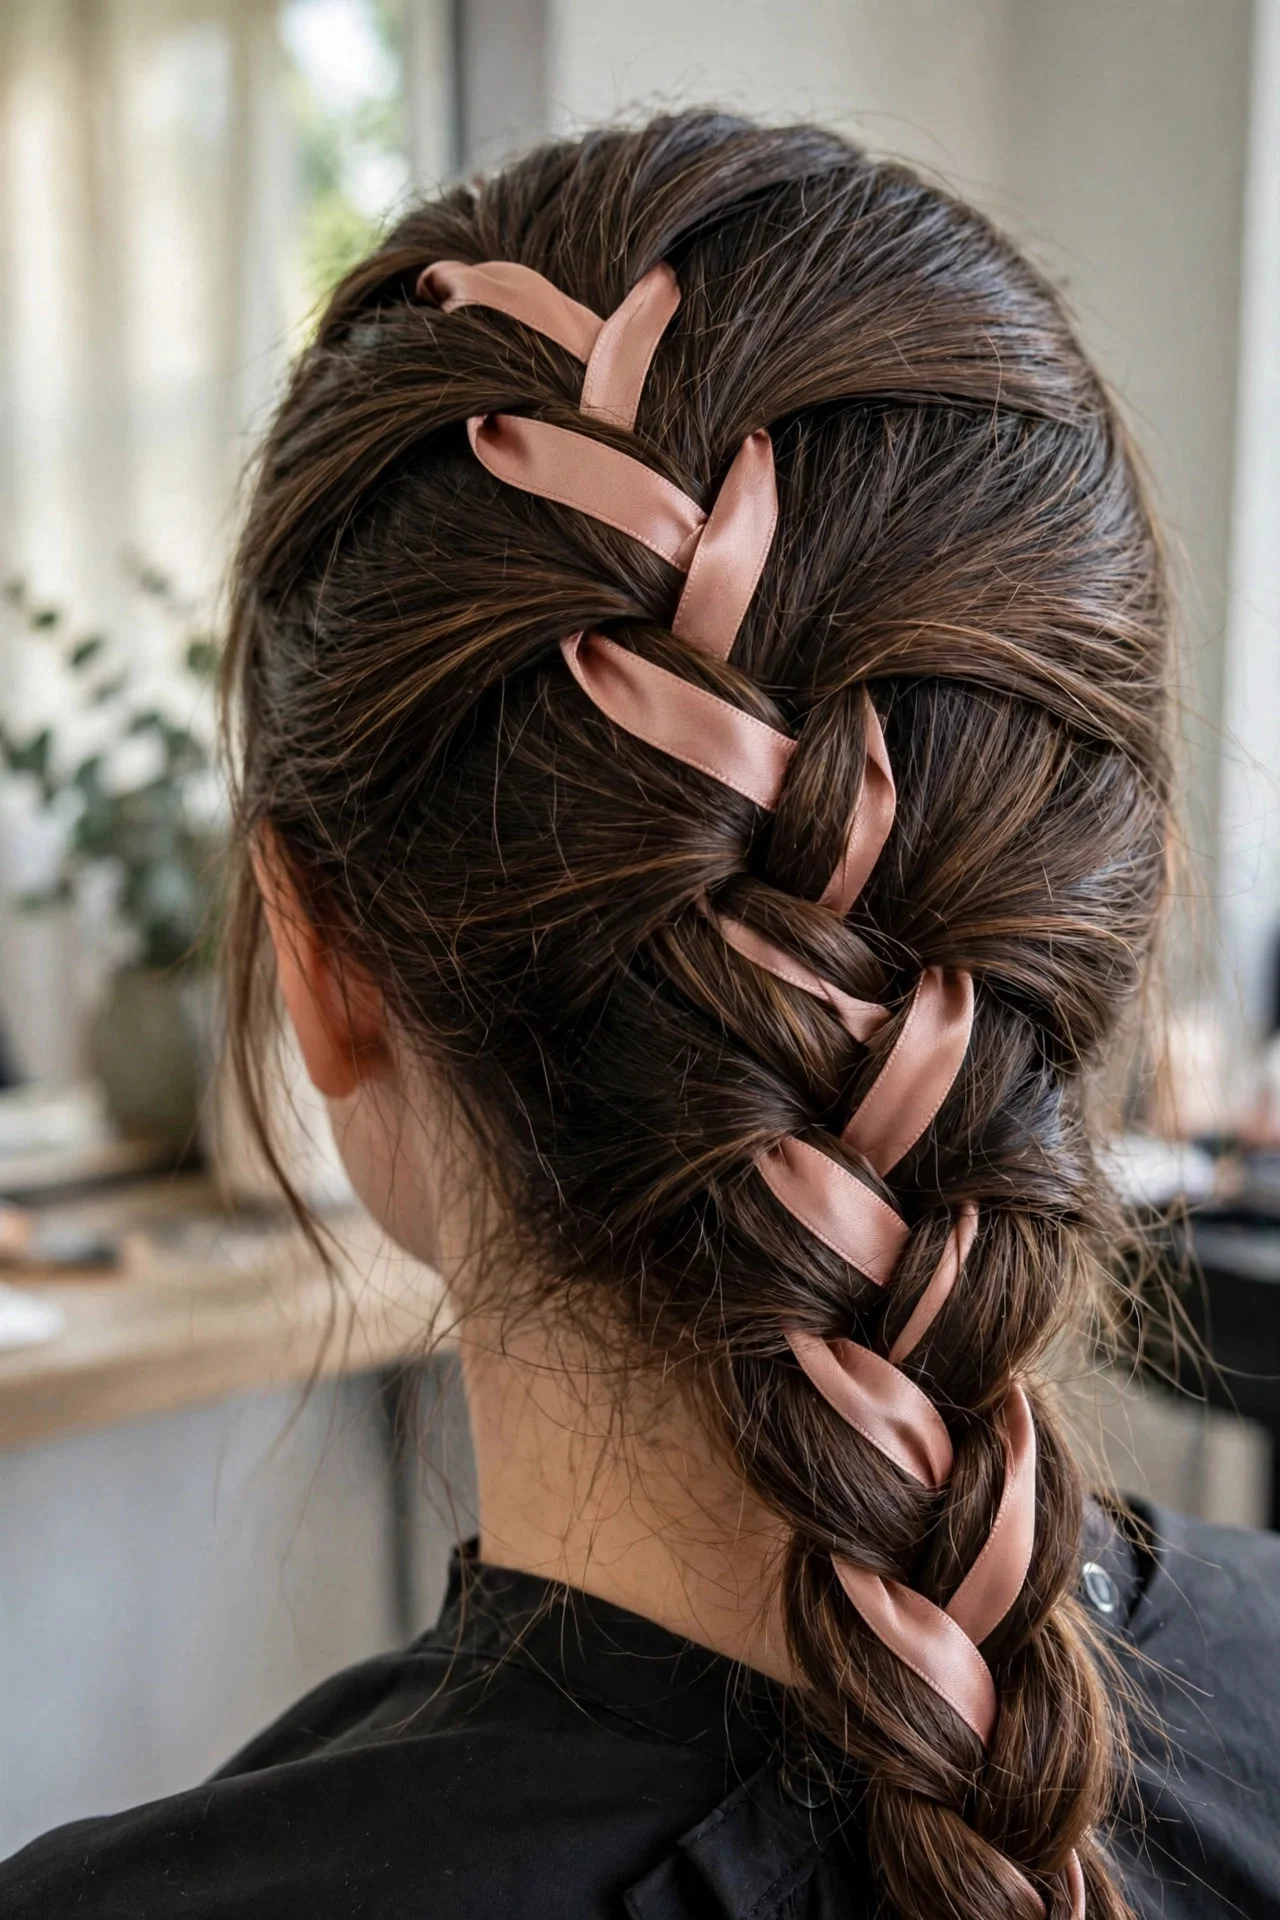
Tie a ribbon to one top section before starting, then braid it in as a fourth element weaving through to the end. Velvet ribbon reads romantic for weddings, grosgrain reads preppy for everyday, and the color can match your outfit or the season. It makes a simple braid feel occasion-ready without heat styling. Cut the ribbon extra long and seal the ends with clear nail polish so they do not fray. The drawback is bulk: ribbon plus hair is thicker to braid, the tail gets fiddly, and tying it off neatly takes a spare set of hands.
13French Mohawk Braid
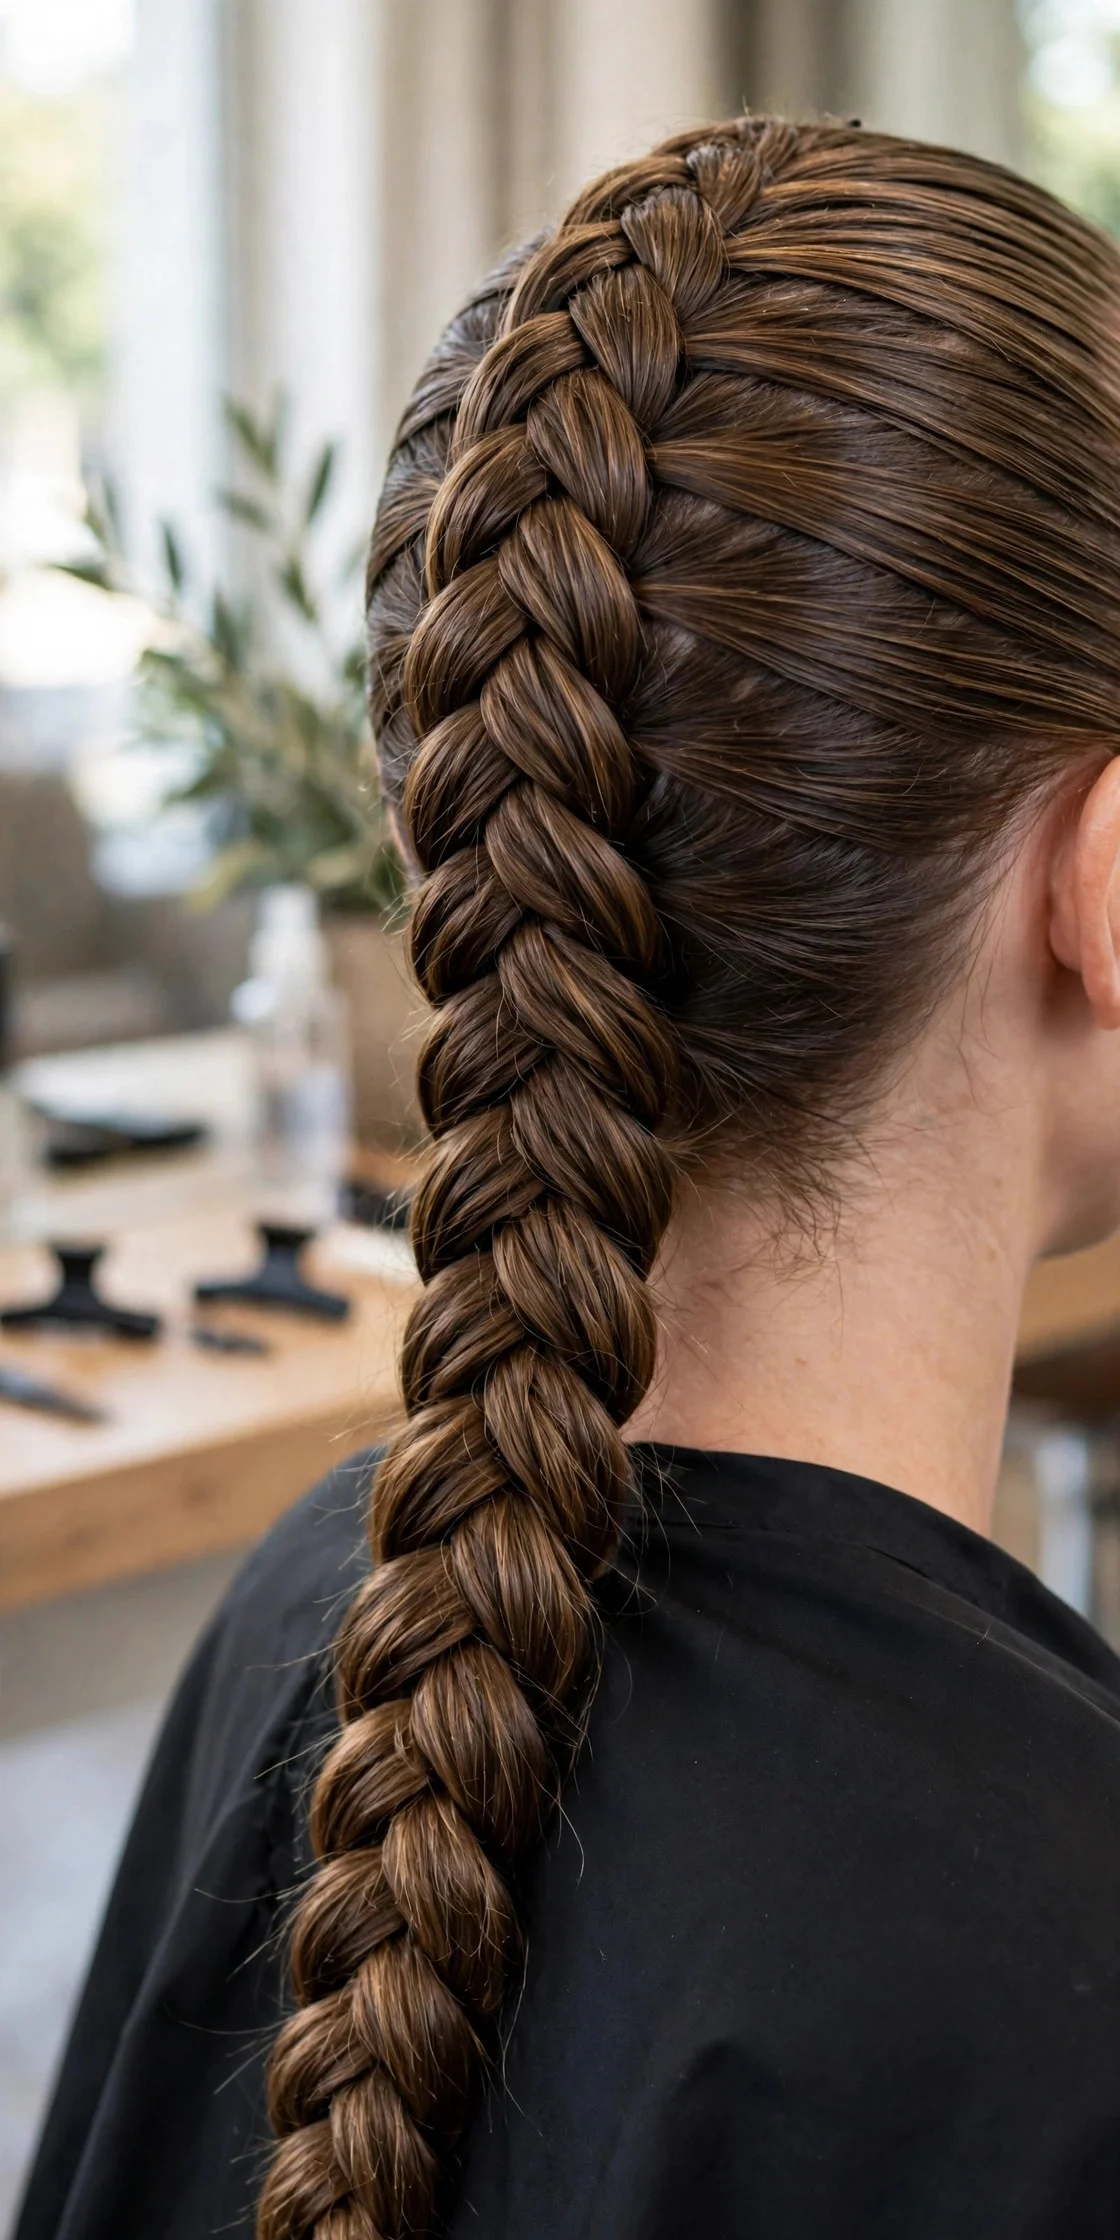
Section a wide strip from hairline to crown and French braid just that strip, keeping it raised, then leave the sides smooth or slicked. This gives edgy, editorial energy without cutting anything, and suits oval and heart-shaped faces by adding central height. At the salon, ask for a raised center French braid with sleek sides. It is a strong choice for nights out and concerts. Use edge control on the sides for a clean finish. The drawback is balance: the braid must stay centered and raised, and it collapses on heavy or very long hair without serious backcombing underneath.
14Half-Up French Braid with Loose Waves
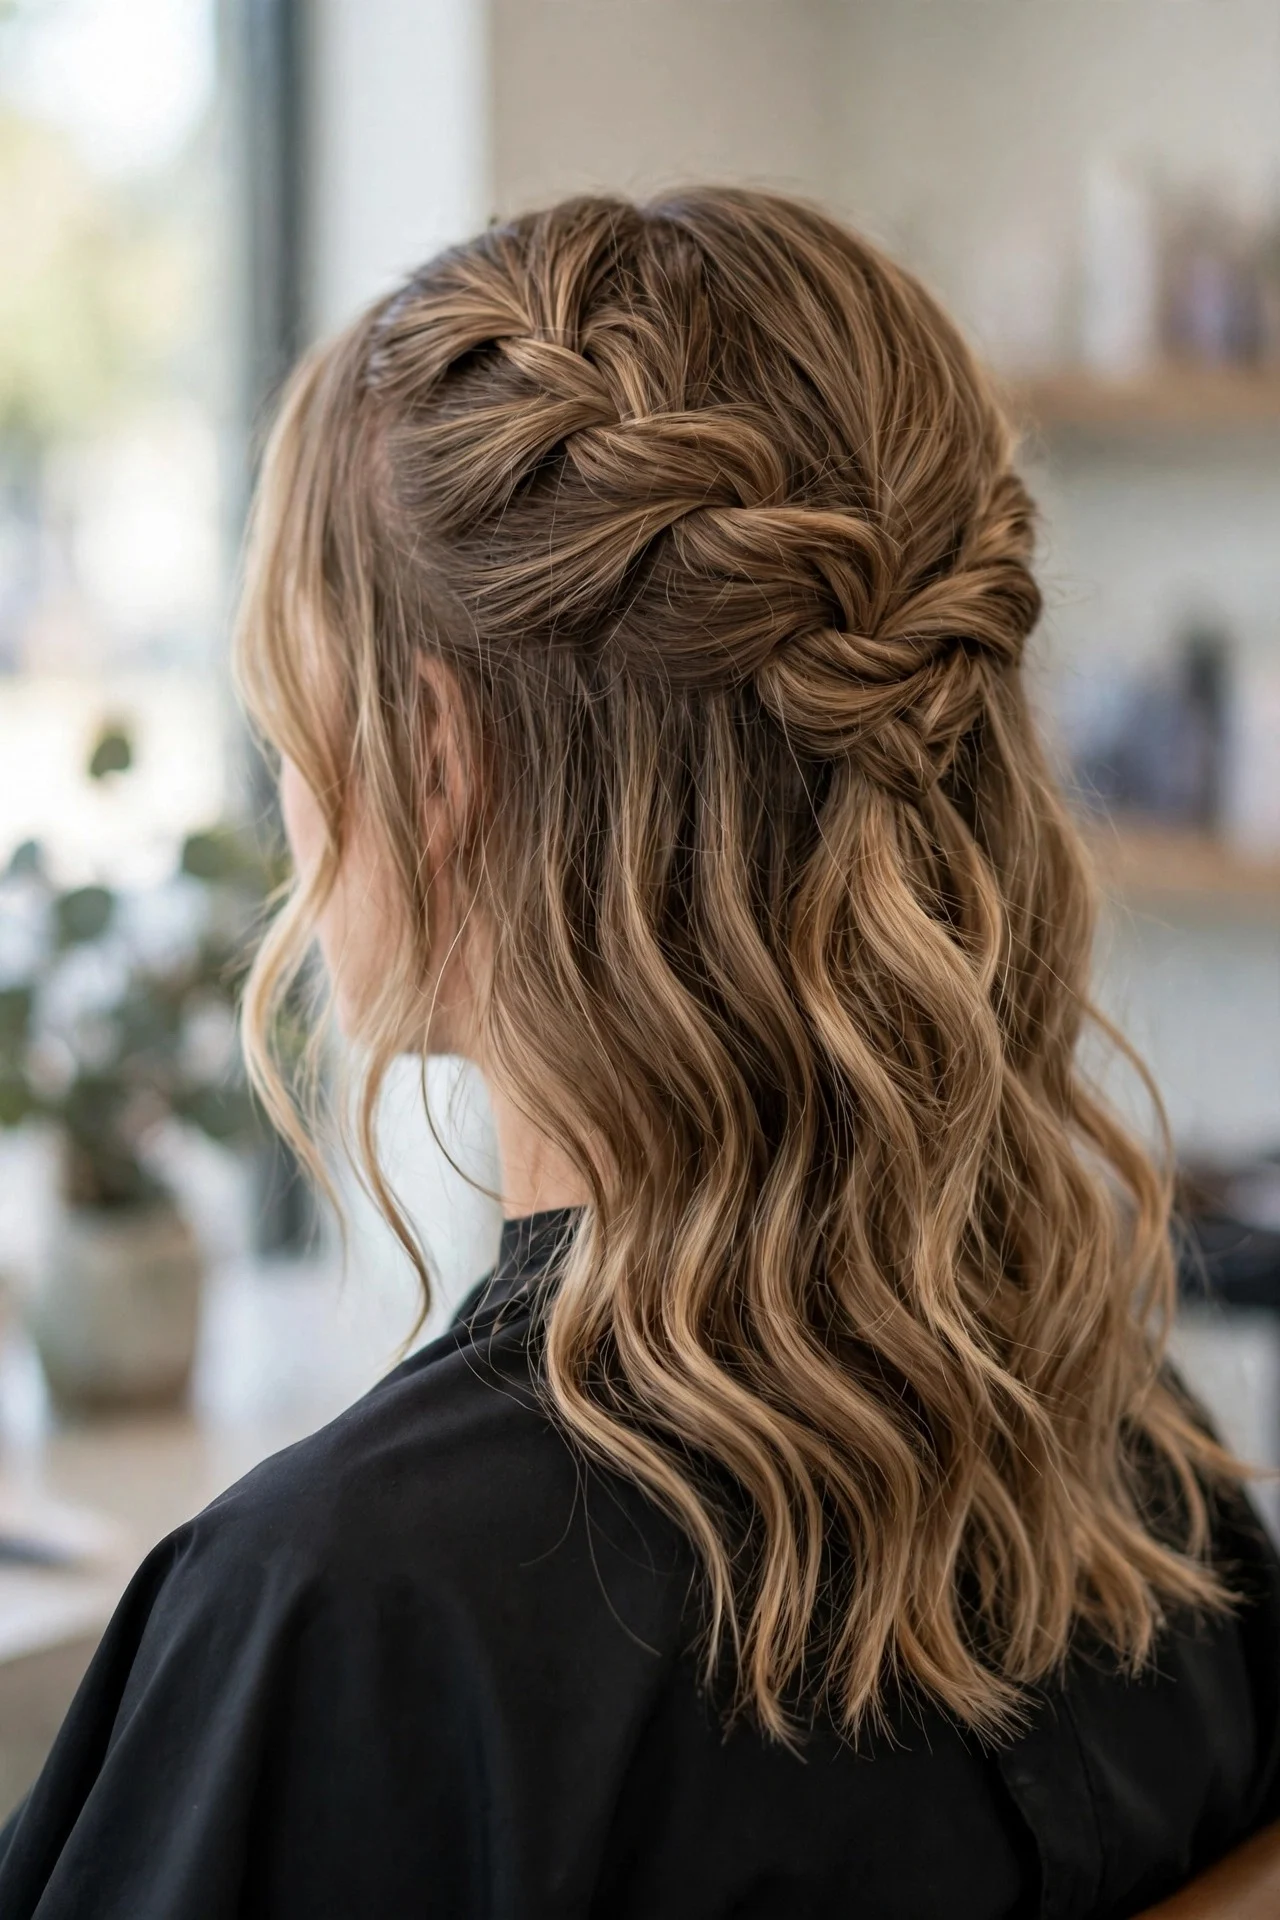
French braid just the top section to the crown, secure it, and leave the rest down in loose waves. Best of both worlds: the face stays clear and polished while the length still moves. It suits almost every face shape and texture, and is forgiving to learn since you only braid the top. Curl the loose hair away from the face for a soft finish. It is a go-to for workdays, brunches, and anywhere you want to look put-together fast. The drawback: the unbraided hair needs its own styling; air-dried and left alone, it can look unfinished next to the neat braid.
15Inverted Dutch-Style French Braid
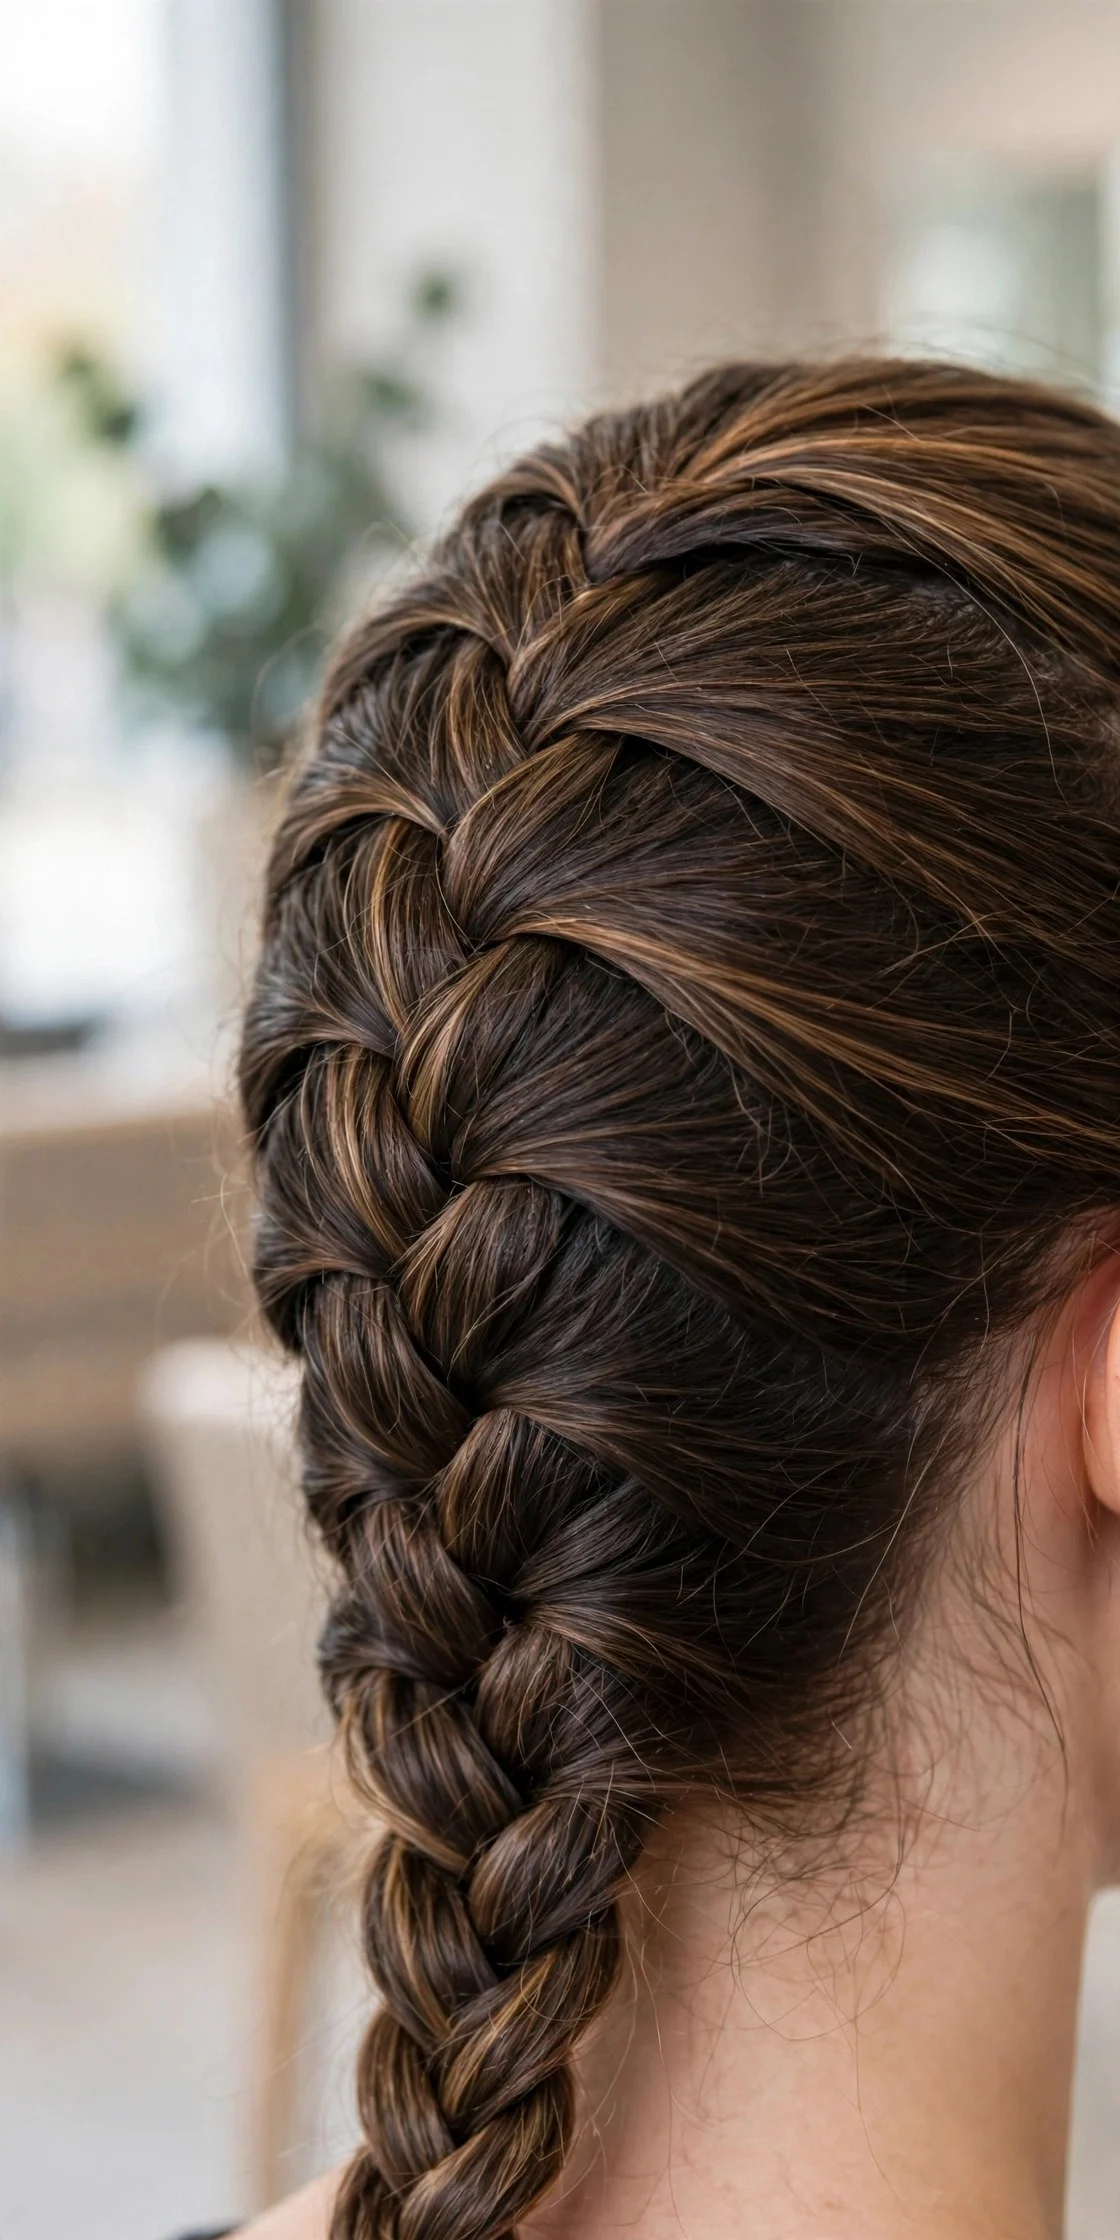
Braid underhand, crossing each section underneath instead of over, so the braid pops off the head with dramatic dimension. Sometimes called a Dutch braid, it is still the French method with the direction flipped. It creates the boldest, most three-dimensional braid of the bunch: a favorite for photoshoots and events. It suits thick hair best since the pop needs substance, though fine hair can work with texture spray. The maintenance is standard braid care. The real drawback is the learning curve: your hands want to cross over by habit, and retraining them takes several frustrating attempts.
Styling and Care Tips
Preparation decides the result before you start. Second-day hair grips far better than freshly washed hair, so plan braid days accordingly or fake texture with dry shampoo. Take small, even sections, keep steady tension, and never rush the first few crosses.
Tension is the line between a braid that lasts and one that hurts. Pull firmly enough that the braid locks, but stop before your scalp feels tight, especially at the front hairline. If you feel tugging, redo the last crosses looser. A relaxed braid beats a drum-tight one you remove by noon.
For multi-day wear, focus on the roots. Dry shampoo at the part line on day two absorbs oil without disturbing the structure, and a toothbrush misted with hairspray smooths flyaways. When taking it down, work oil through the tail first and uncross from the bottom up. The leftover waves make great next-day hair.
Frequently Asked Questions
How long does a French braid actually last?
Two to three days on most hair. Day one is neatest, day two usually looks best, and by day three the edges get fuzzy. Curly and textured hair often gets an extra day. A silk bonnet at night makes the biggest difference.
Can you French braid short hair?
Yes, down to about chin length if you keep the braid close to the head and add hair in small pieces. Shorter layers will poke out; pomade on your fingertips keeps them in line. For bobs, try two smaller braids or pin back just the front section.
Why does my French braid look messy instead of neat?
Uneven sections or rushed first crosses cause most of the mess. Take smaller pieces than you think, keep tension consistent, and smooth each new piece before crossing. Second-day hair helps enormously. Most people improve a lot after five or six tries.
How do I make my French braid look thicker?
Pancake it: after braiding, gently pull each cross’s outer edges outward, working bottom-up. Texture spray beforehand gives fine hair grip and volume. For a big event, clip-in extensions at the nape make the most dramatic difference.
Do French braids damage your hair?
Not with sensible tension. Damage comes from braiding too tightly, especially at the same hairline repeatedly. Keep braids snug rather than drum-tight, vary where the braid sits, and never sleep in a tight style. Done gently, they are one of the kindest protective styles.
Keep Exploring
If braids are your thing, <a href=”https://hairtrendly.com/french-curl-braids-hairstyles/”>French curl braids take the same technique in a softer, more romantic direction with curled ends and a looser finish. For wedding season, the <a href=”https://hairtrendly.com/12-tiara-hairstyles-for-weddings/”>tiara hairstyles roundup pairs beautifully with halo and crown braids when you want a little sparkle in an updo. And if buns are more your speed, these <a href=”https://hairtrendly.com/10-infinity-bun-hairstyles/”>infinity bun hairstyles show how a simple twist turns any braid into an evening look.