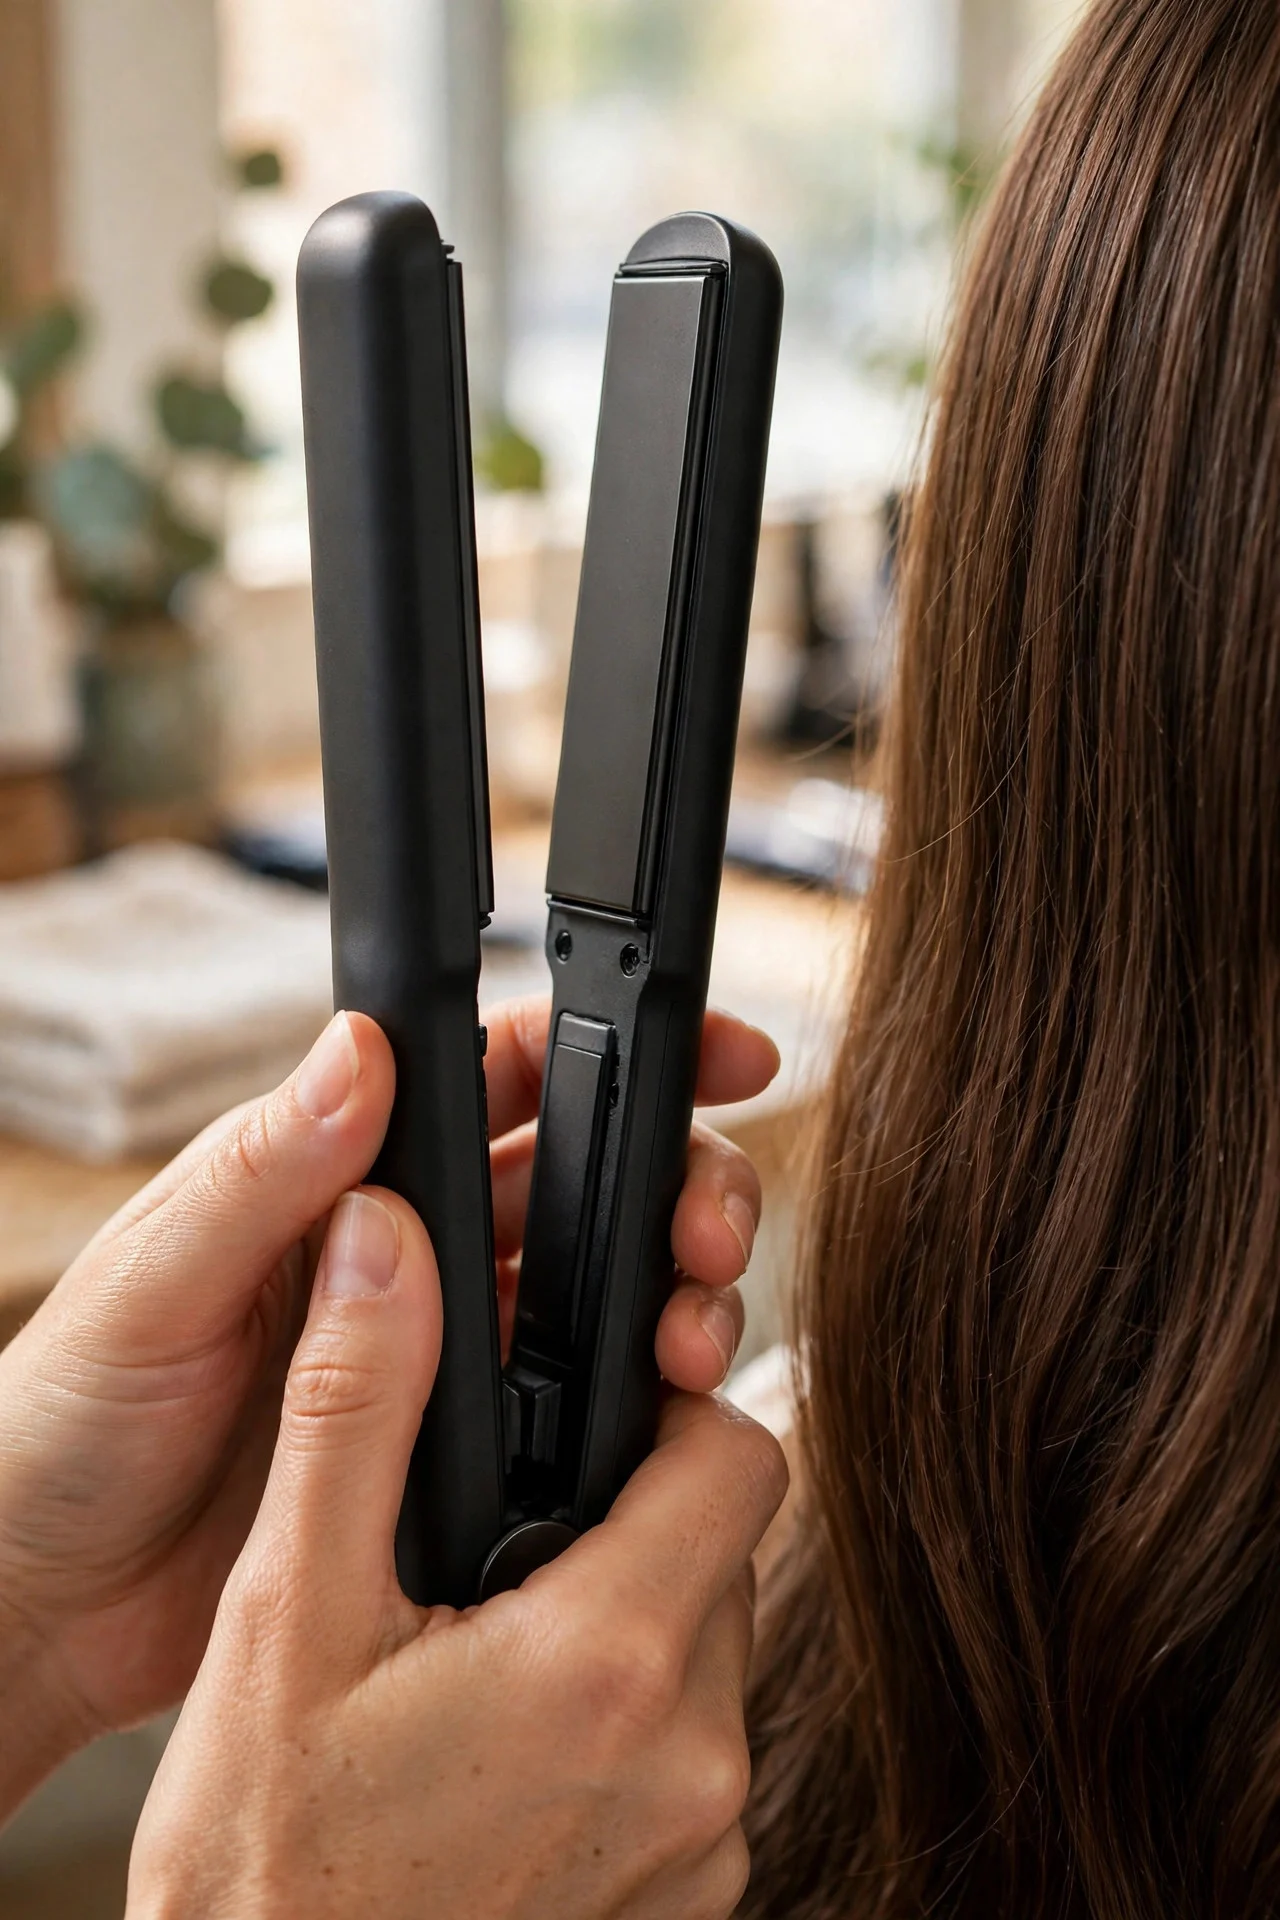
If you own a flat iron, you already own a curling tool. You just don’t know it yet. The first time I curled my hair with a straightener, I expected a frizzy disaster. Instead I got soft, bouncy curls that looked like I’d spent an hour with a curling wand. It took fifteen minutes.
The technique is simple once you understand the motion: clamp, twist, and glide. The straightener’s flat plates create tension while the twist shapes the curl. Below is the exact method, with the temperatures and section sizes that actually work, broken into ten steps.
Step 1: Start With Completely Dry Hair
Never use a hot straightener on damp hair. The water turns to steam inside the hair shaft, which causes breakage and sizzling damage you can actually hear. Your hair must be 100 percent dry before you start. If you just washed it, blow-dry it completely first. Second-day hair is actually ideal for curling because it has more grip and texture. If your hair is very clean and slippery, add a light texturizing spray or dry shampoo at the roots for hold.
Step 2: Apply Heat Protectant Everywhere
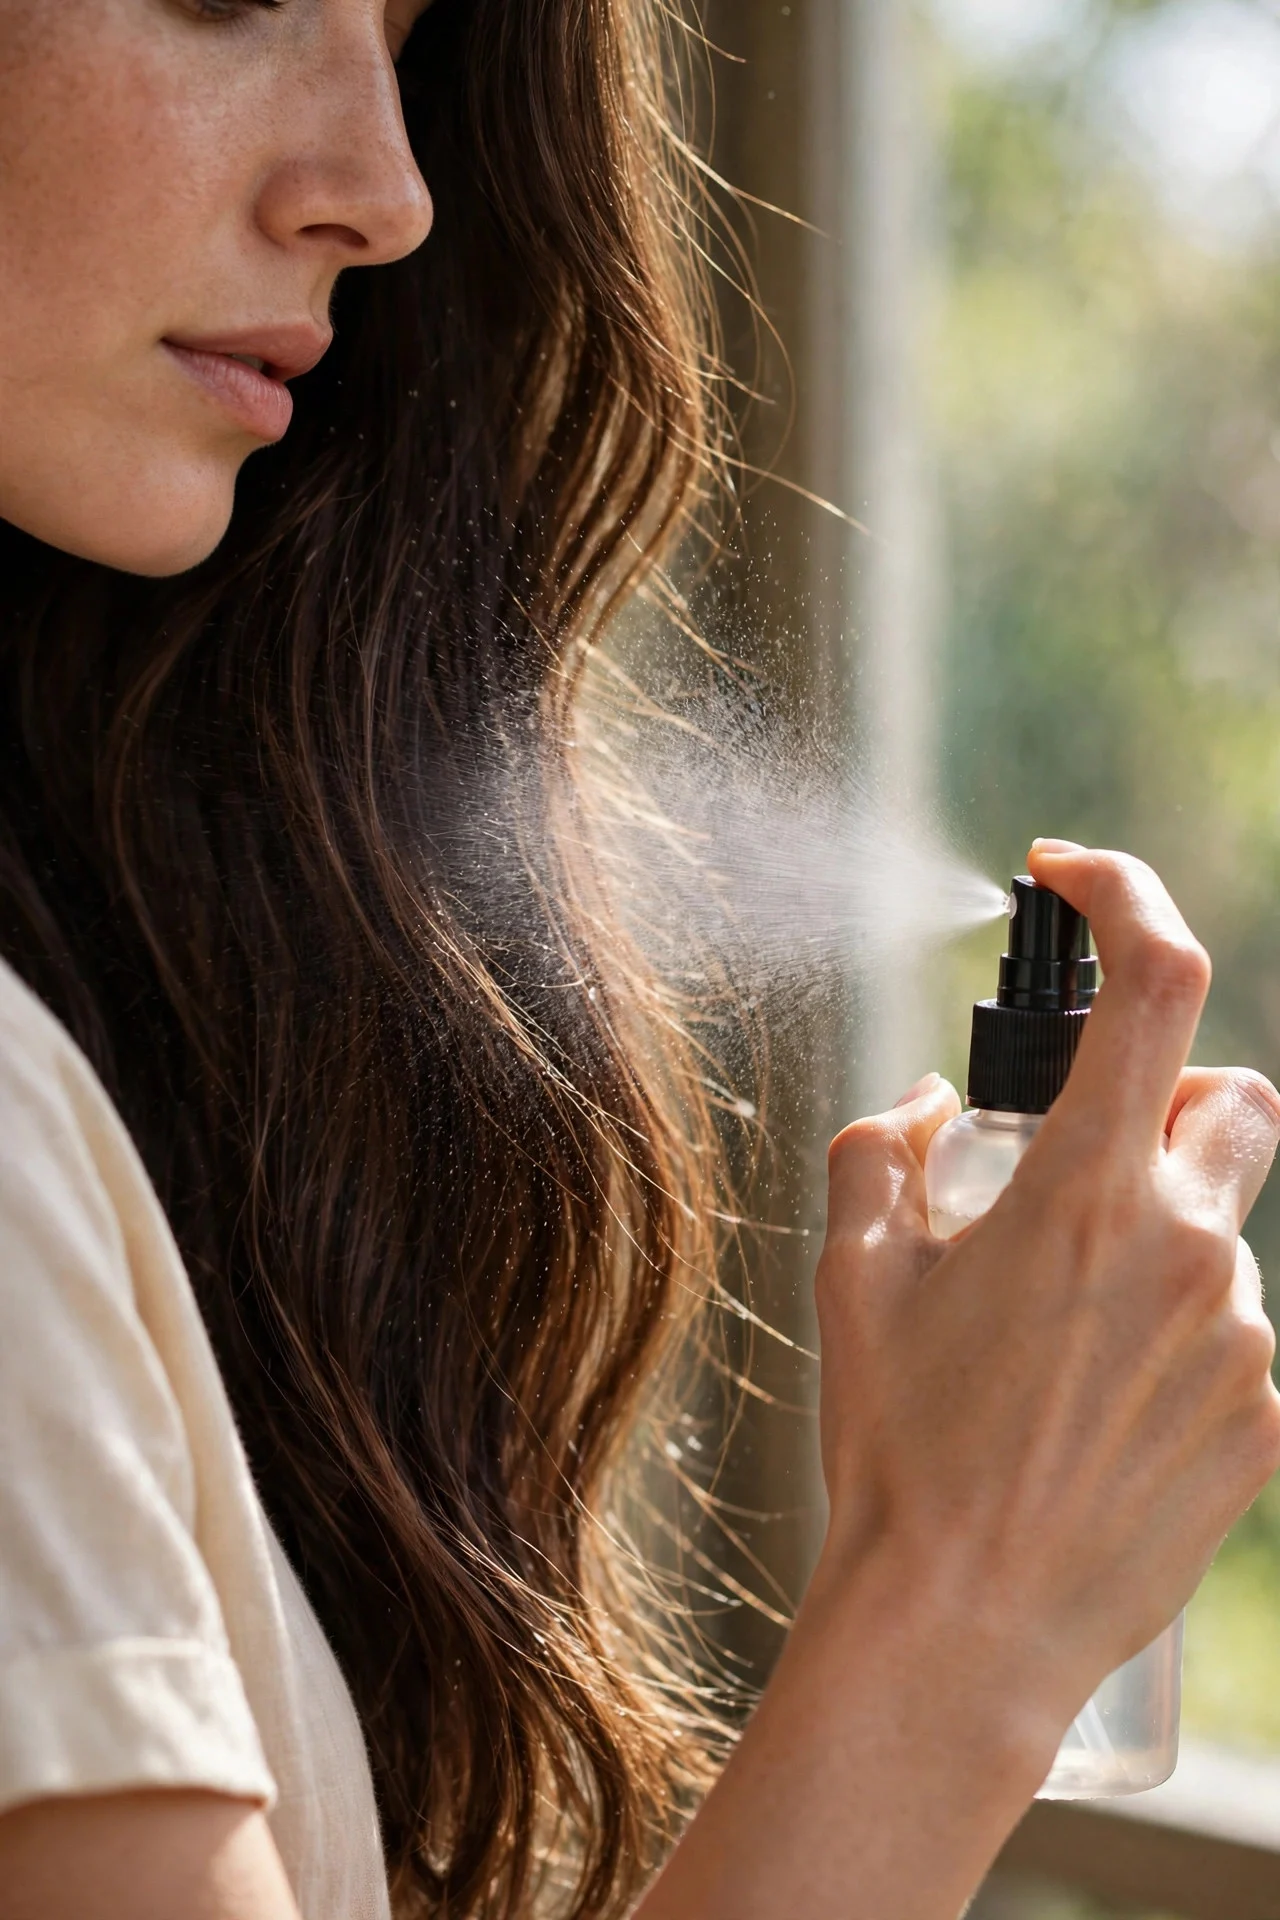
Spray a heat protectant evenly through your hair from roots to ends. Do not skip this. A straightener pressed directly onto unprotected hair causes cumulative damage that shows up as split ends and breakage weeks later. Use a lightweight spray, not a heavy cream, so you don’t weigh the curls down. Comb it through with a wide-tooth comb to distribute evenly. The protectant also adds a little slip that helps the iron glide smoothly, which gives you more even curls.
Step 3: Section Your Hair
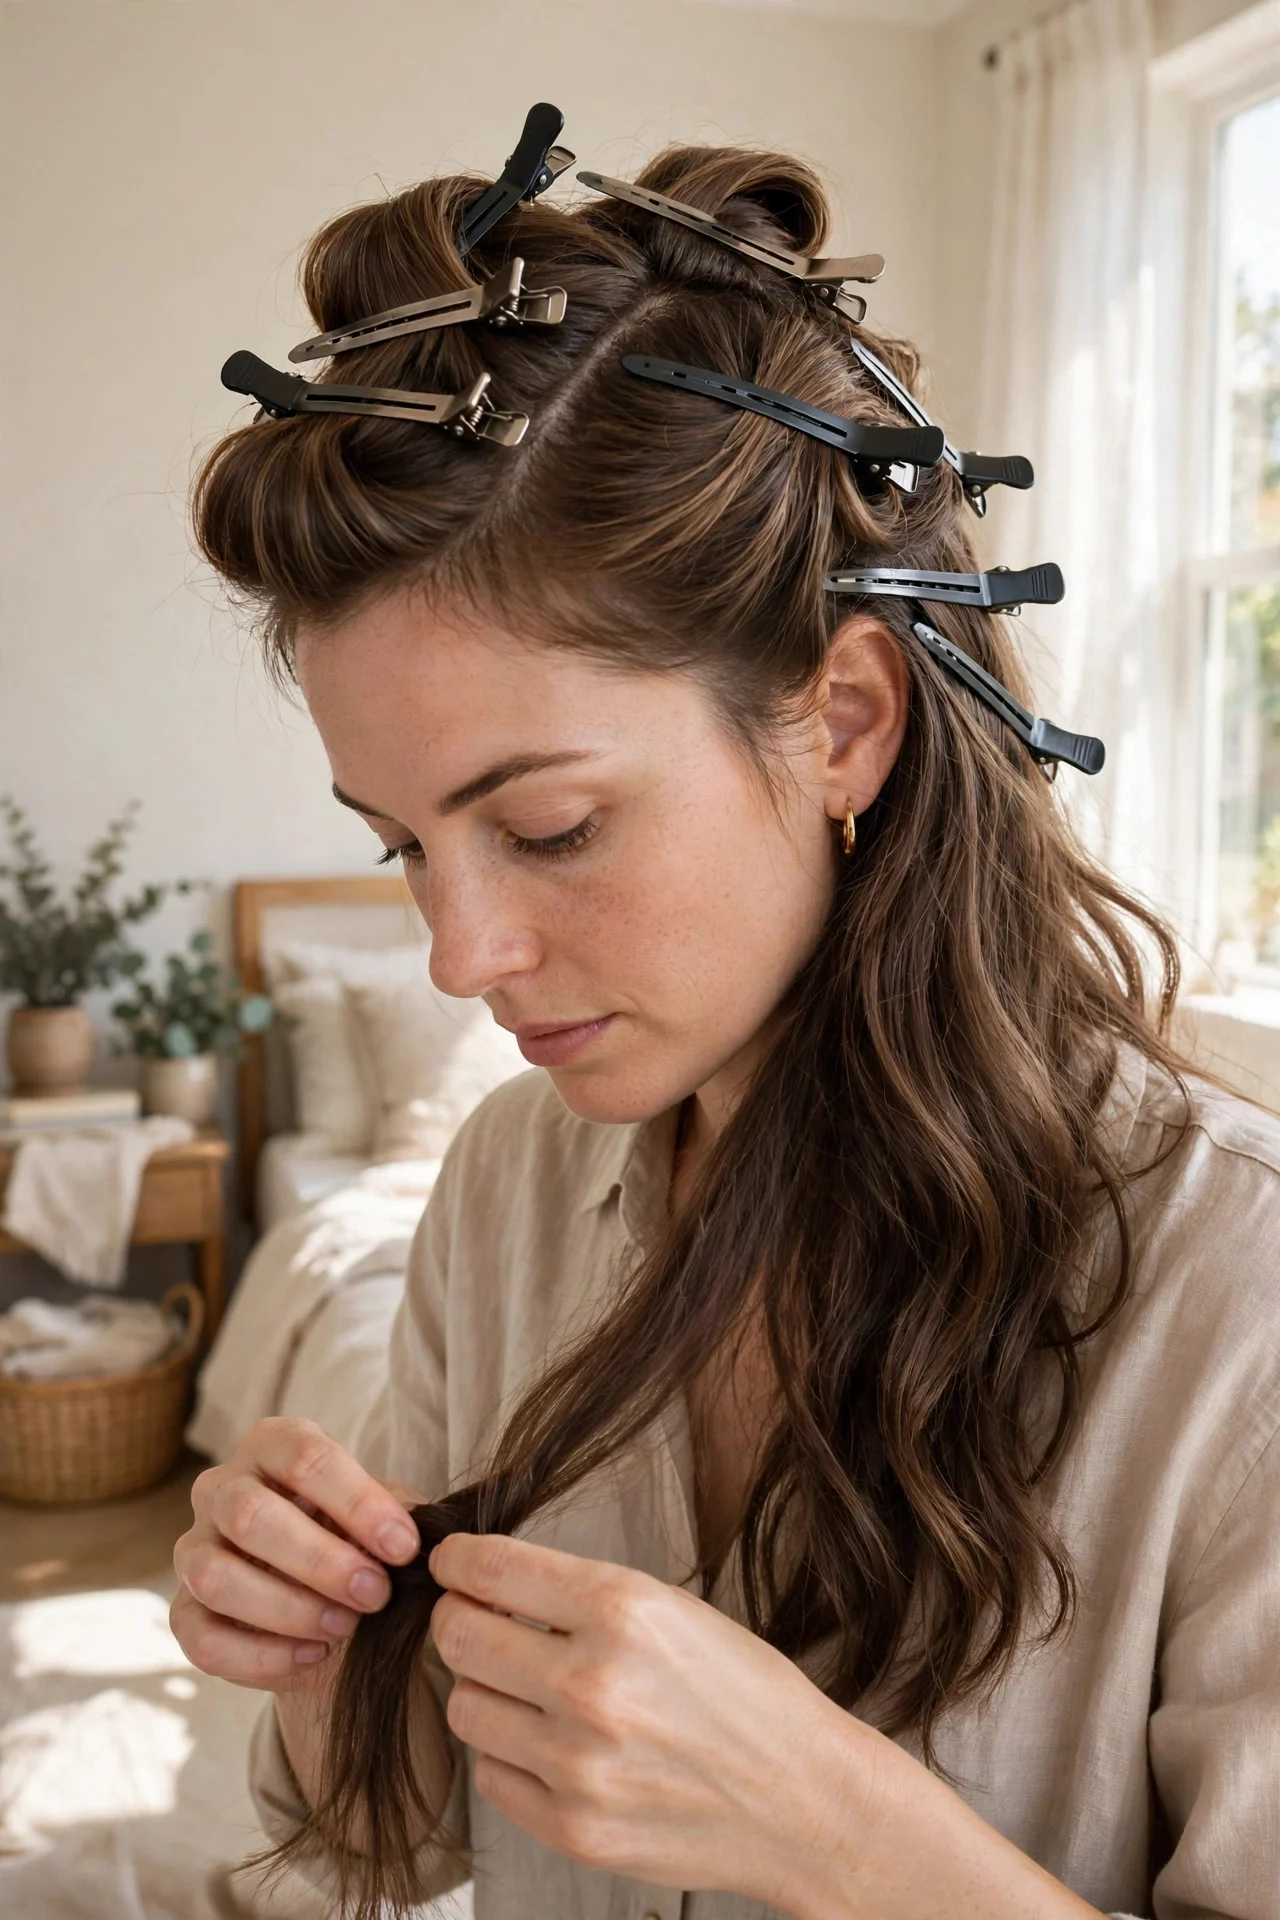
Divide your hair into manageable sections. For most people, four sections work well: split your hair down the middle, then split each side into a top and bottom layer. Clip the top sections up and start with the bottom. Work with one-inch sections for defined curls, or two-inch sections for loose waves. Smaller sections give you tighter curls and more of them; larger sections give you softer, beachier waves. Keep your sections consistent for a uniform look.
Step 4: Set the Right Temperature for Your Hair Type
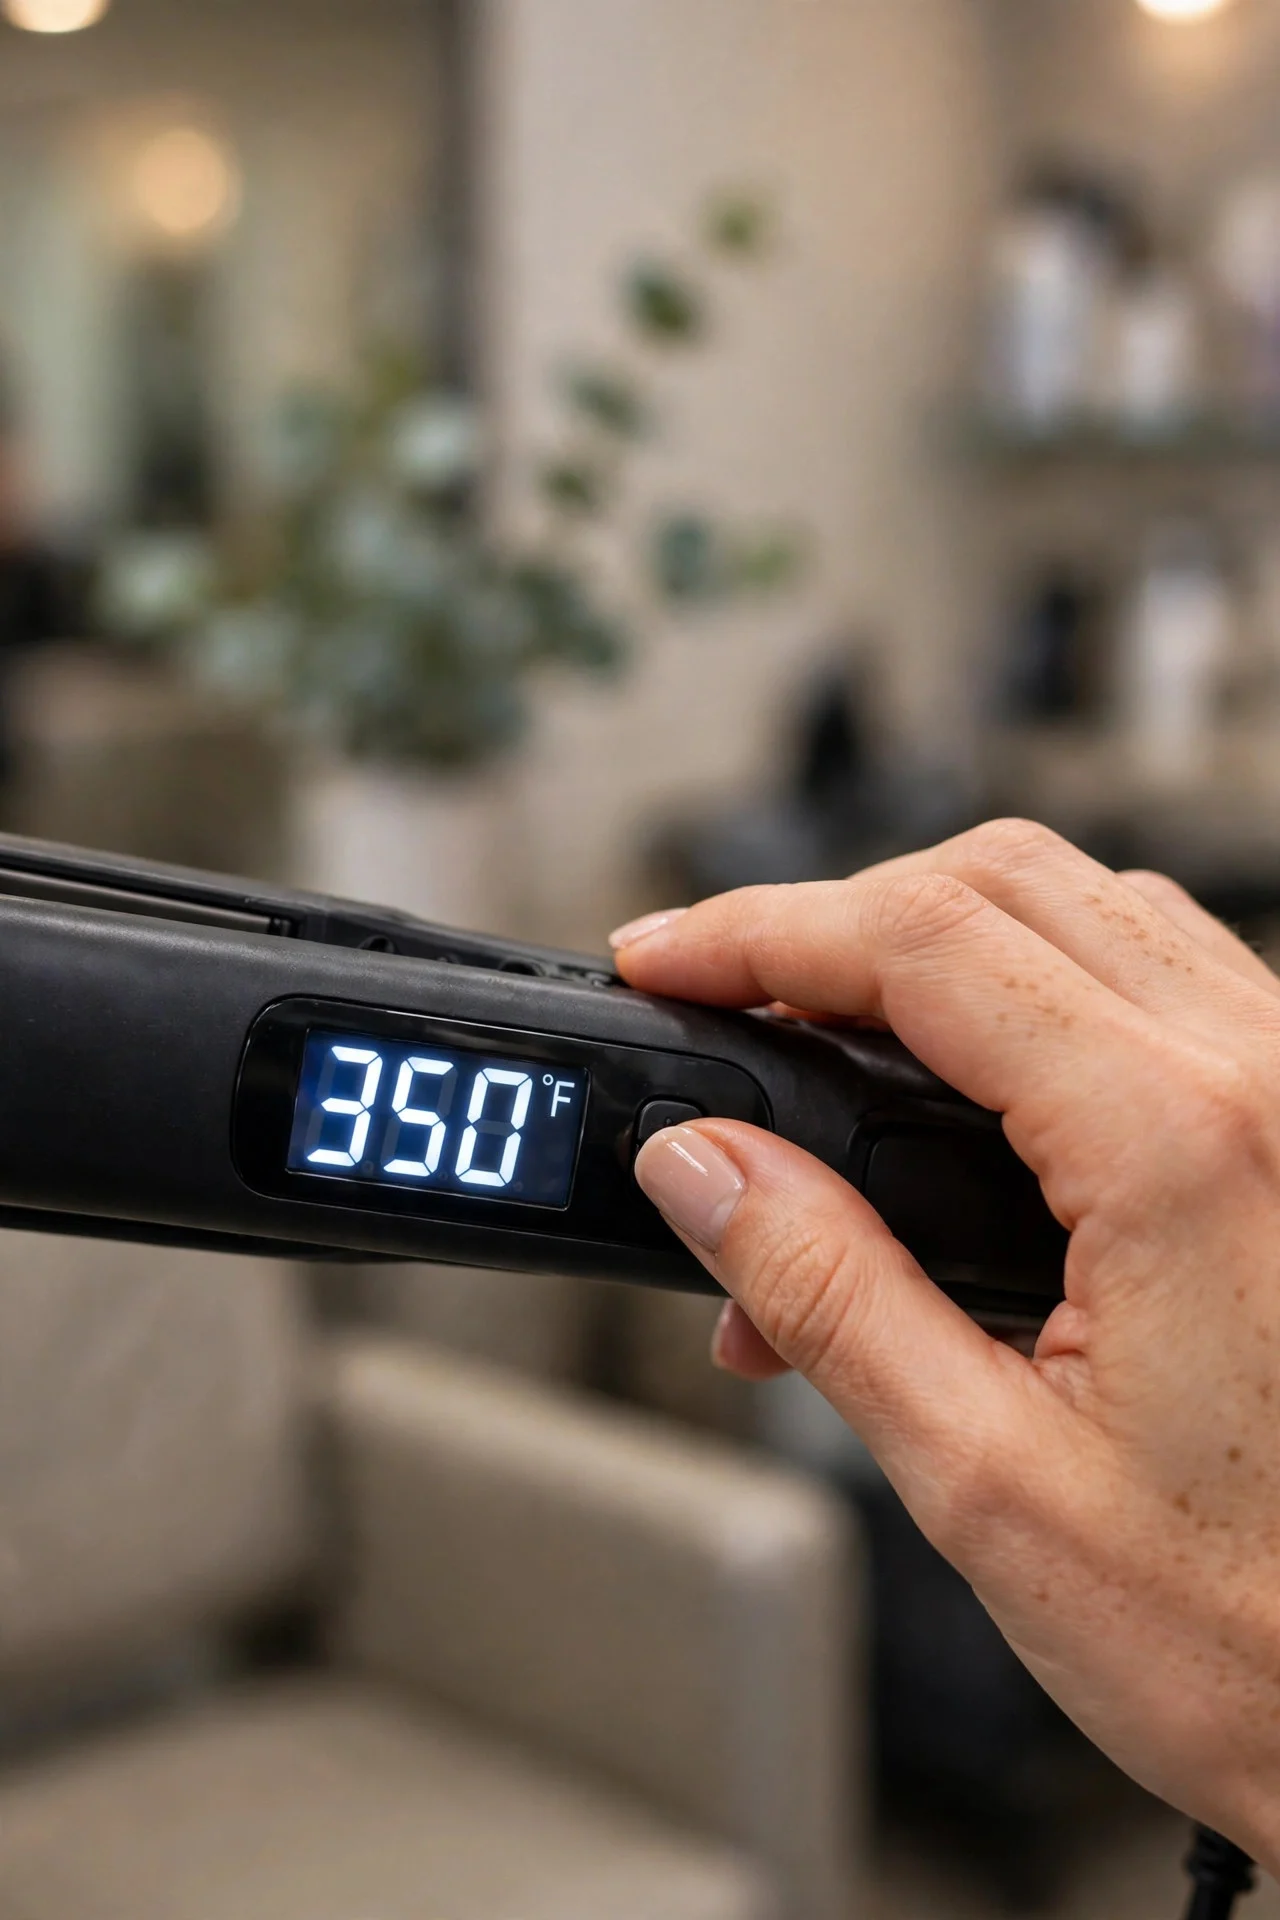
Temperature is where most people go wrong, and the wrong direction. Fine or damaged hair needs only 300 to 325 degrees. Medium, healthy hair does best between 350 and 375. Thick, coarse, or resistant hair can handle 380 to 400. Never go above 410 with a straightener, because curls need less heat than straightening does and cranking it higher only fries the ends. Here’s the rule to remember: always start at the low end of your range and bump up in 15-degree increments only if the curl falls out in under an hour. A curl made at the right temperature lasts longer than a curl made at the wrong one, no matter how hot you go.
Step 5: Clamp, Twist, and Glide
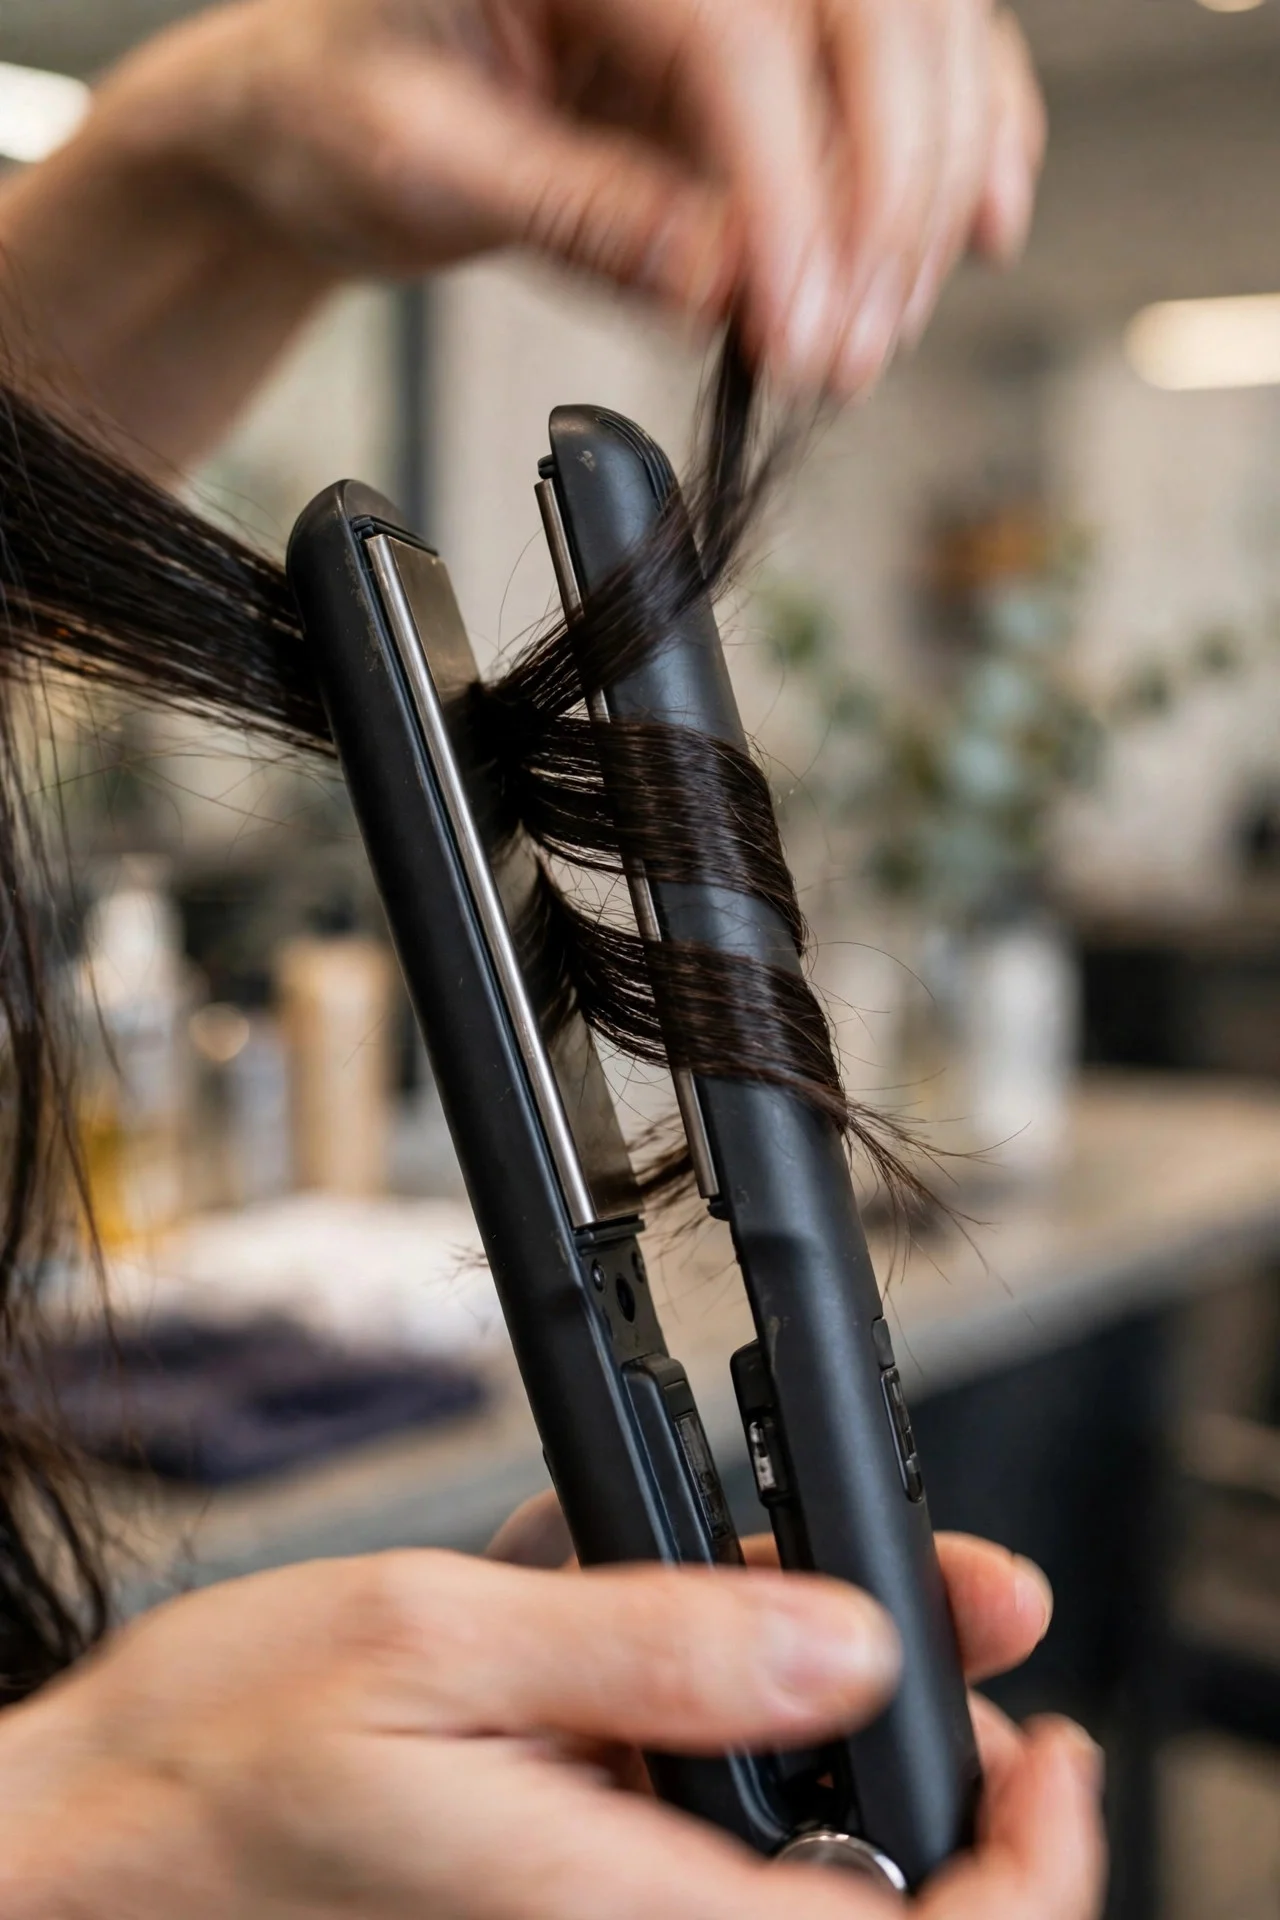
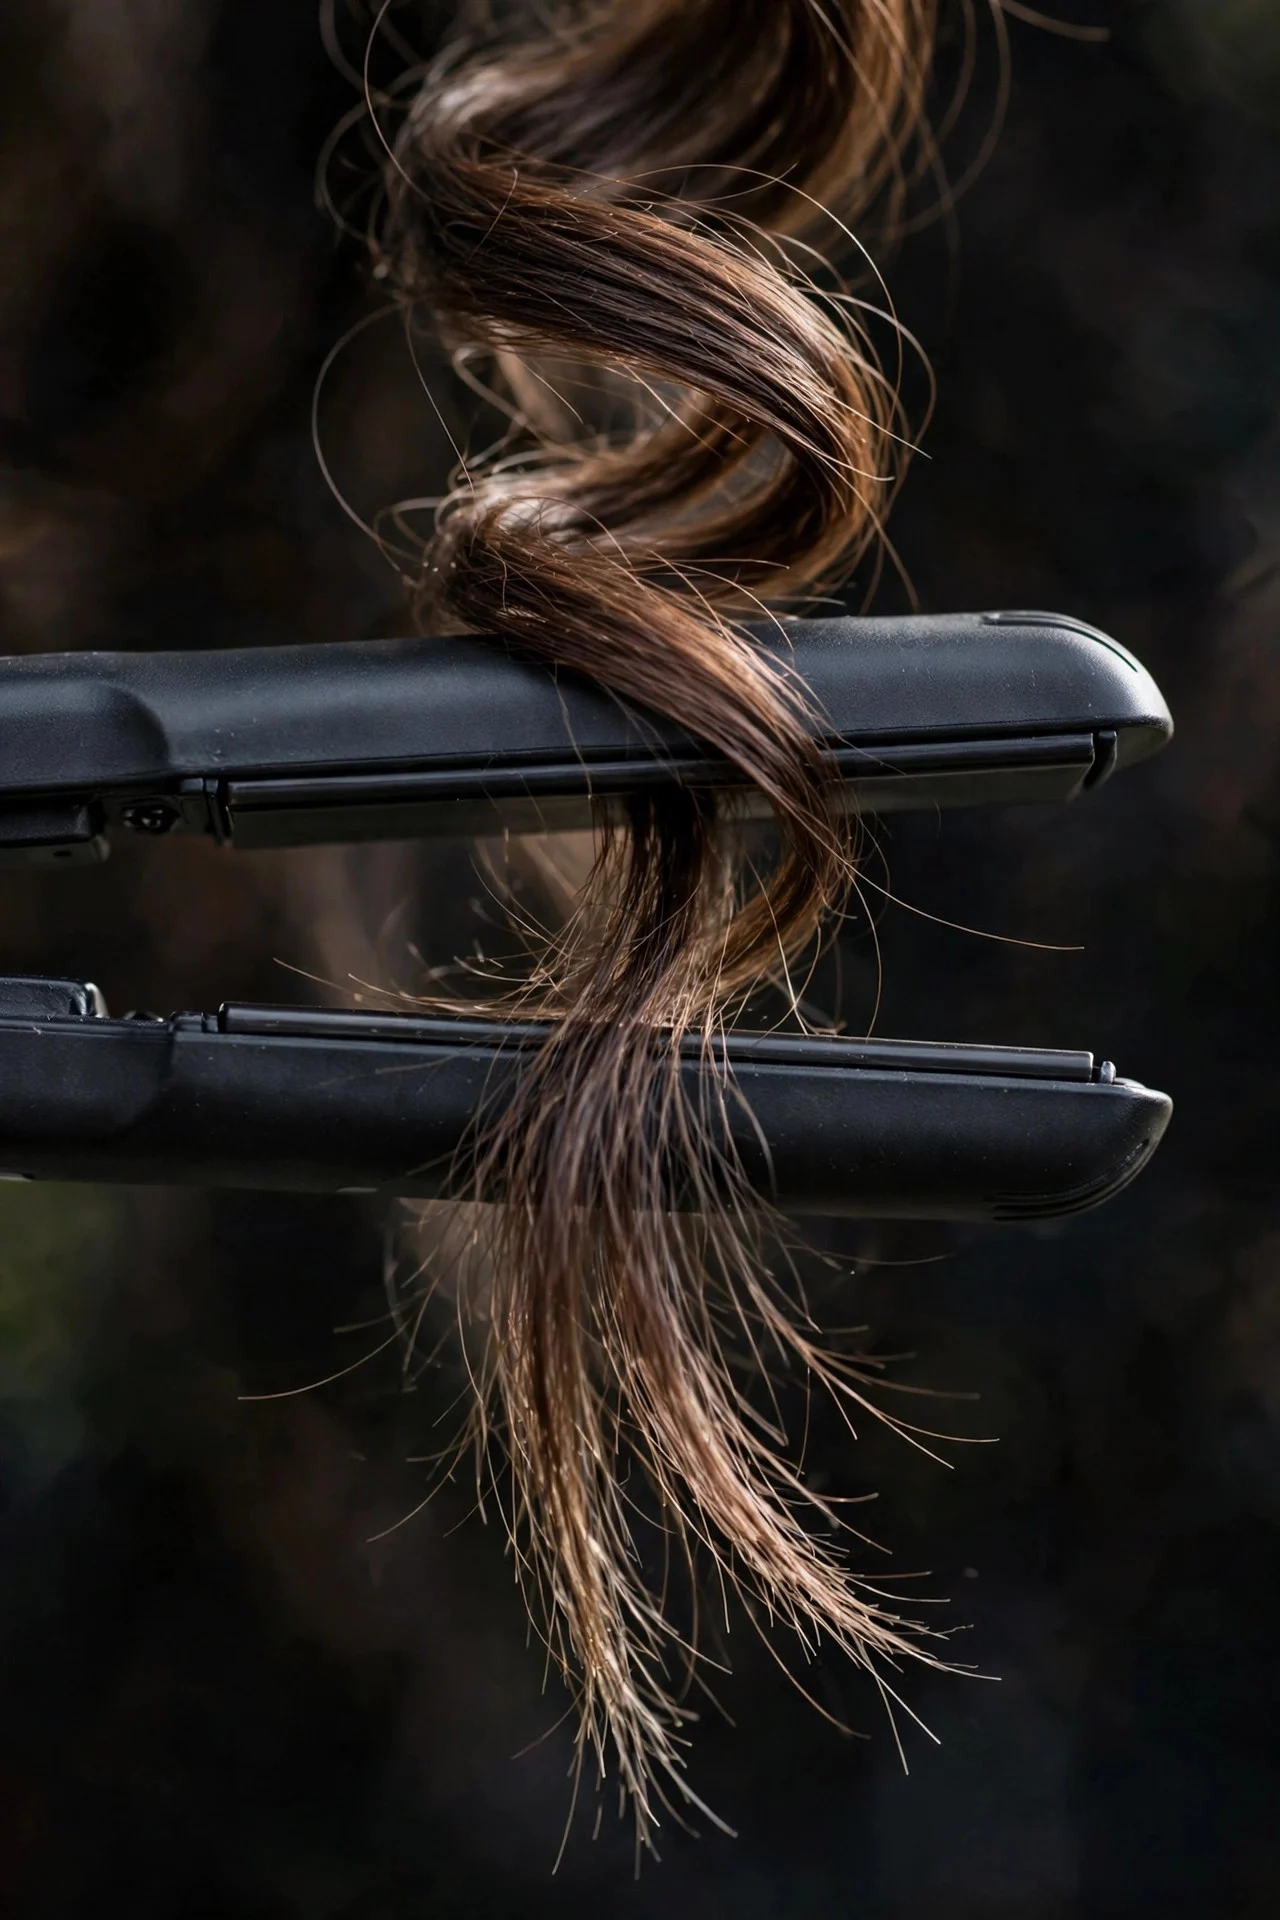
Take a one-inch section and clamp the straightener near the roots. Twist the iron 180 degrees away from your face (a half turn), then slowly glide it down the length of the hair while maintaining the twist. The key is steady, even motion; don’t stop or hesitate mid-glide or you’ll get a kink. The slower you go, the tighter the curl. For loose waves, glide a bit faster. Keep the tension consistent. This is the core motion, and it feels awkward the first two or three times. By the fifth section, your hands will know what to do.
Step 6: Alternate Curl Direction
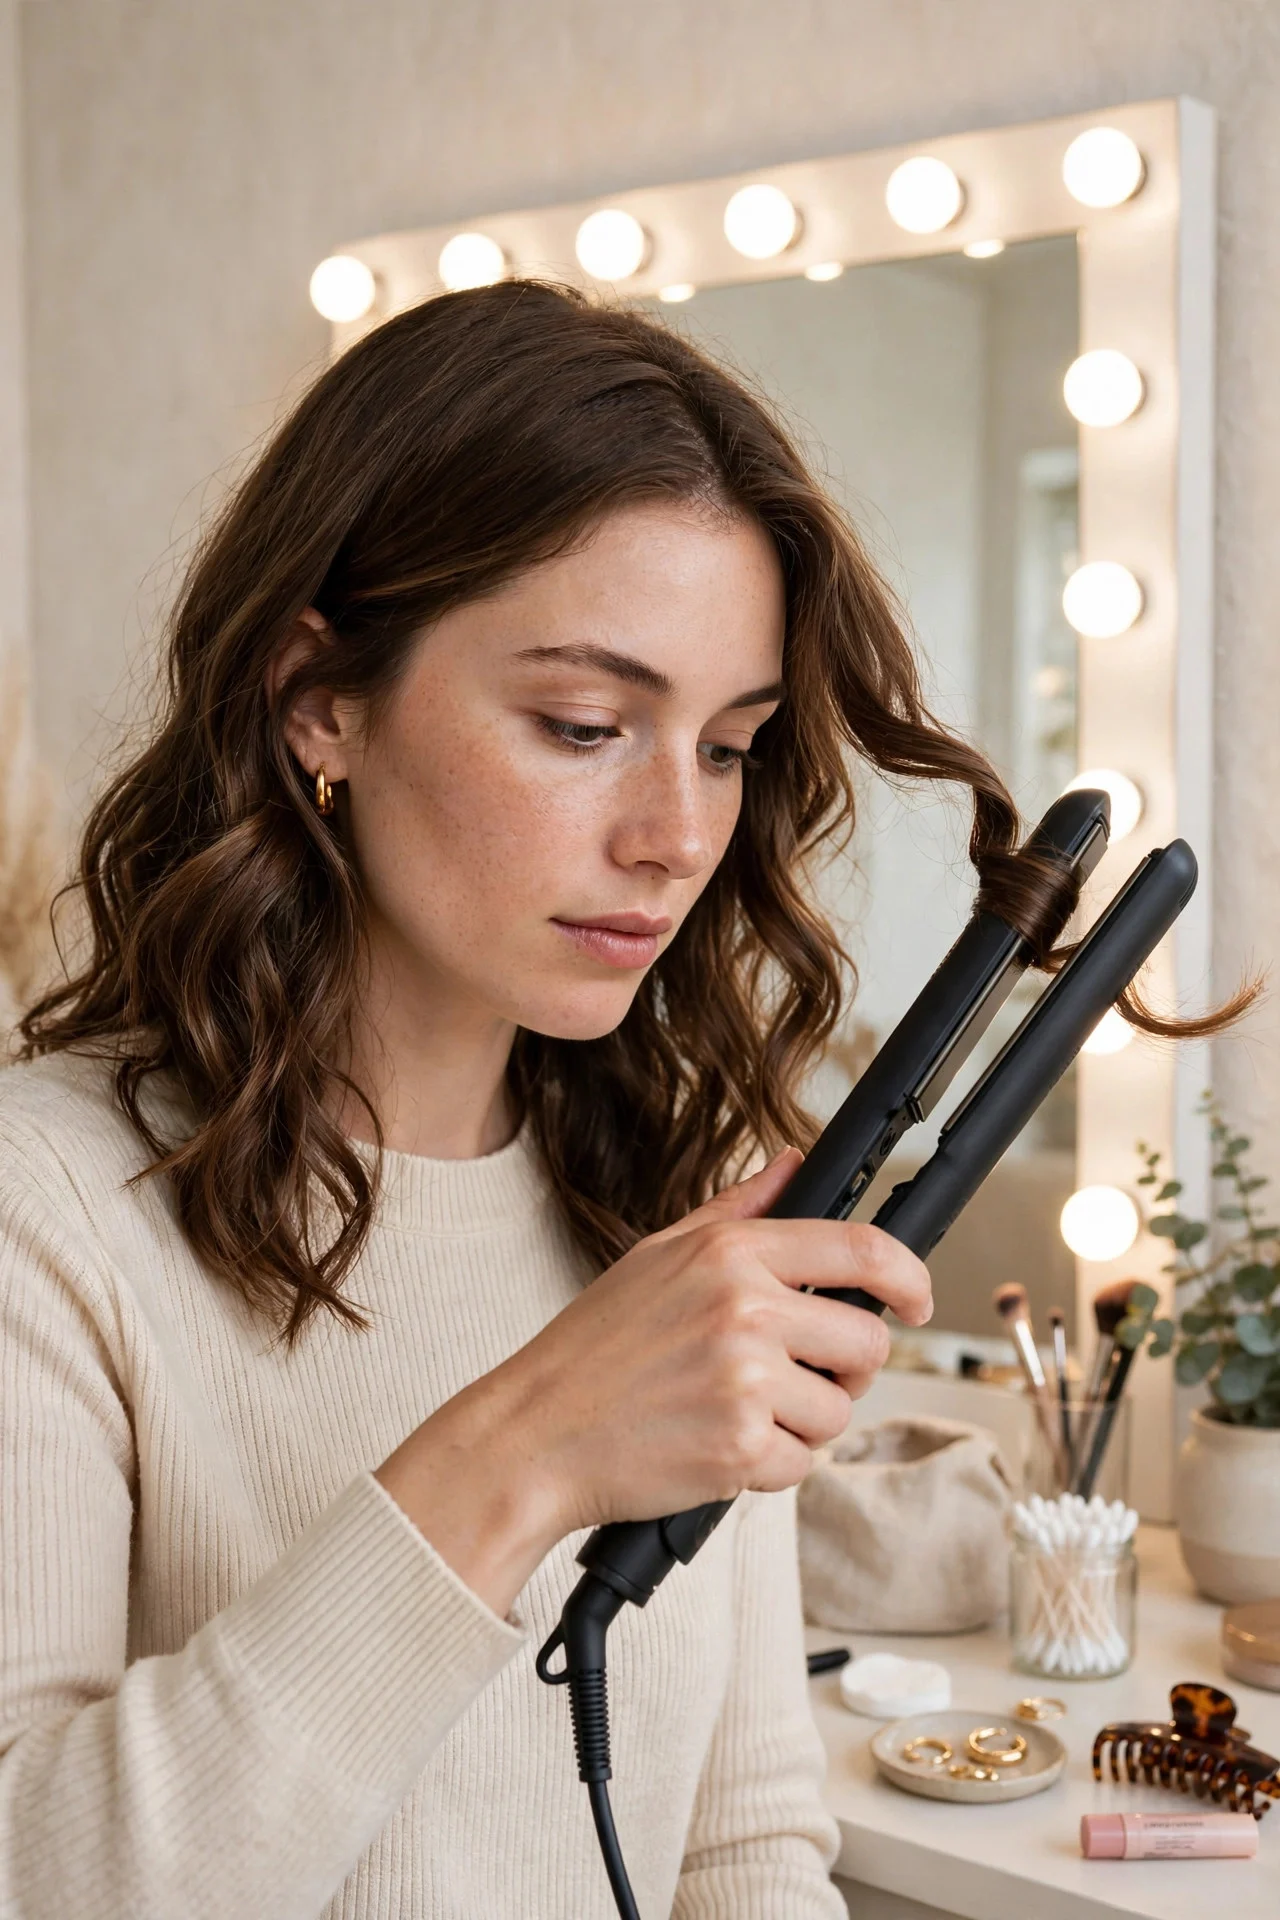
For a natural, modern look, alternate the direction you twist. Curl one section away from your face, the next toward your face. This prevents the curls from clumping into one solid mass and gives you that effortless, piecey texture. The pieces framing your face should always curl away from your face; this opens up your features and looks more flattering. The back sections matter less since they’re less visible, but alternating still gives better volume and movement overall.
Step 7: Let Each Curl Cool Before Touching
This is the step everyone skips and the reason most curls fall flat. After you release a curl from the iron, don’t touch it. Let it cool completely in its coiled shape. The curl sets as it cools; touching it while warm breaks the shape before it locks in. If you want extra hold, pin each warm curl to your head with a clip and let them all cool together, then release them at the end. It adds ten minutes but doubles how long your curls last. At minimum, finish your whole head before you touch any of the curls.
Step 8: Work From Bottom to Top
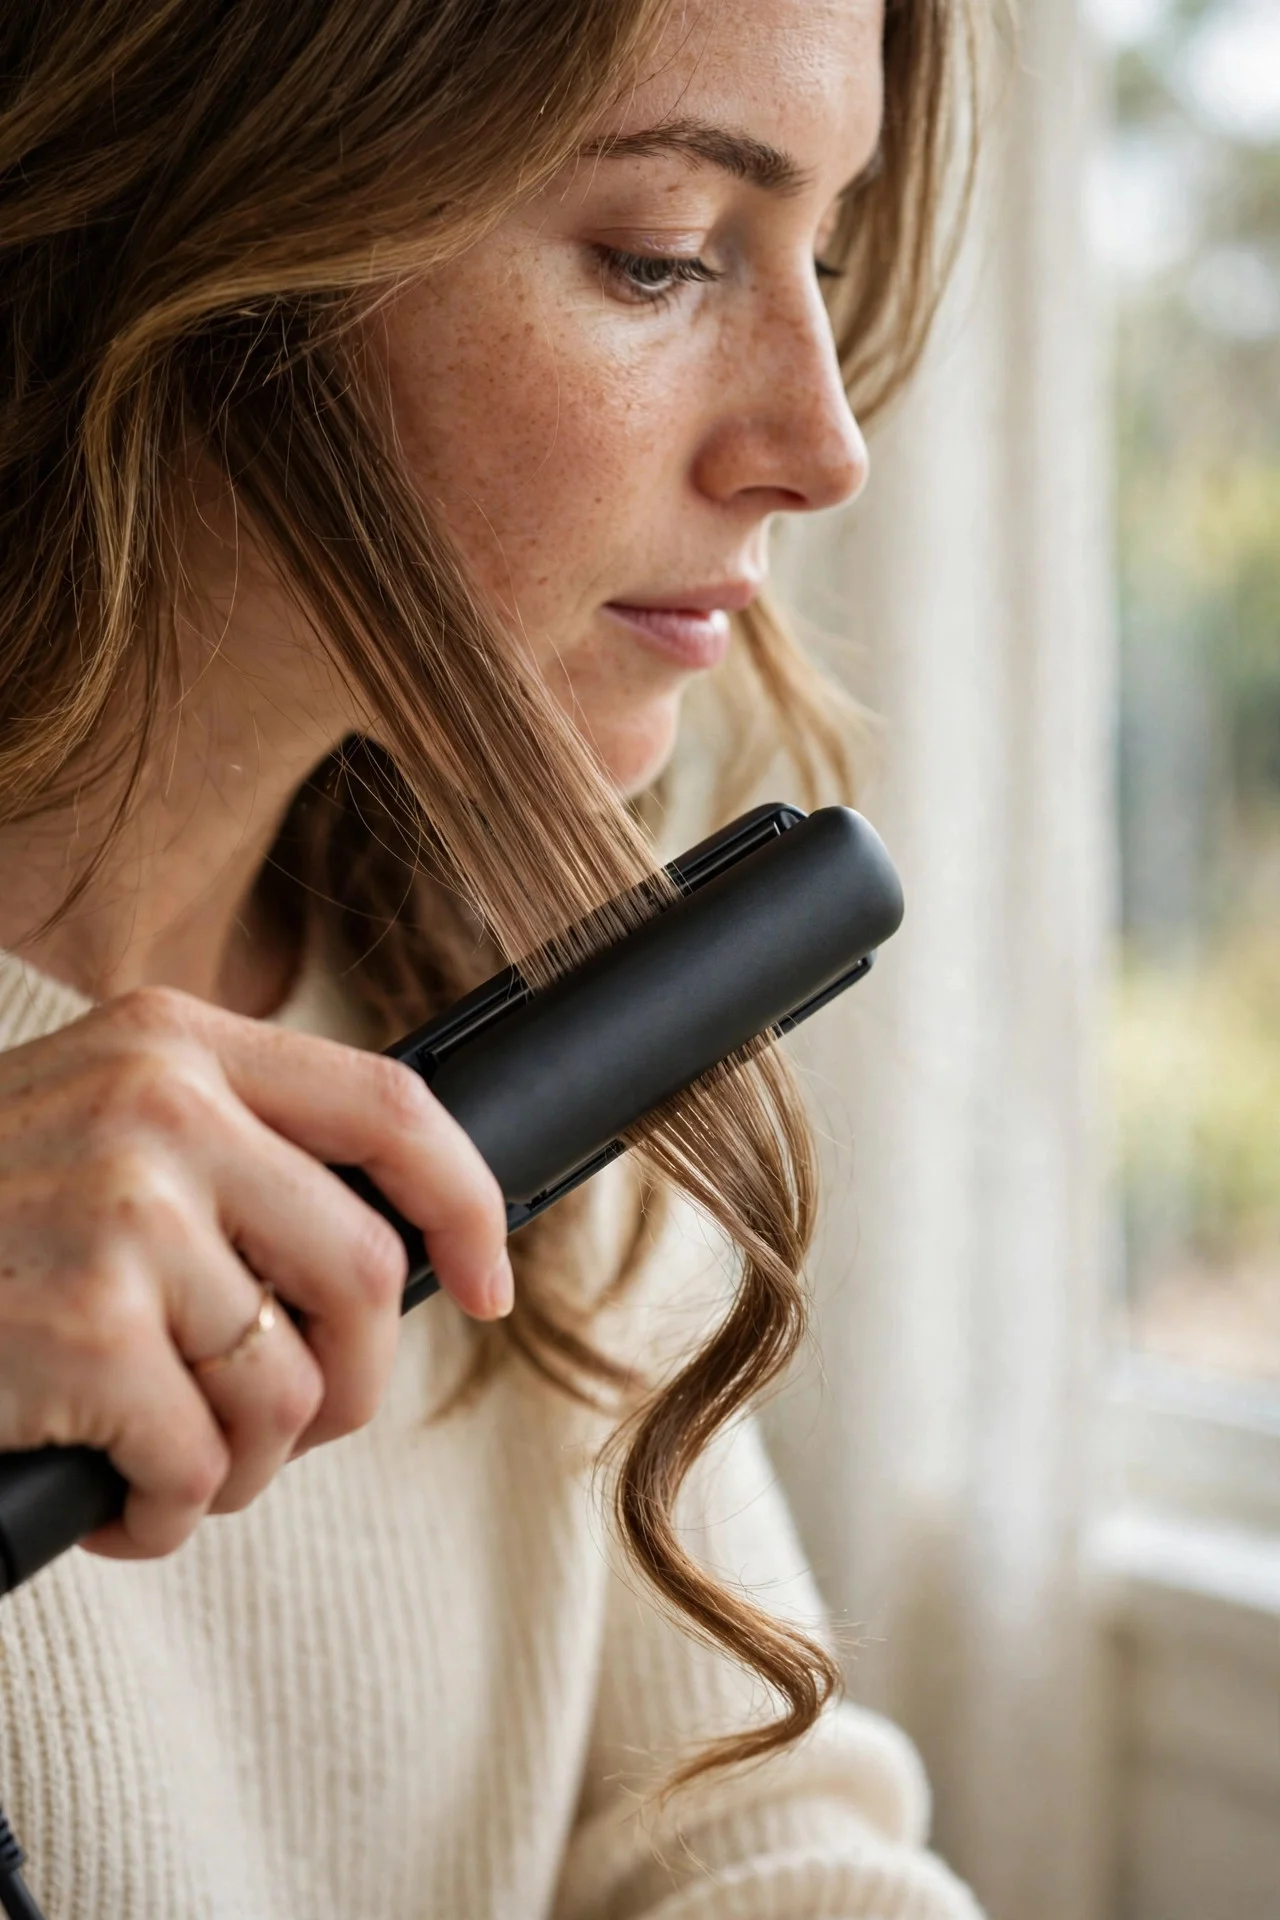
Always curl the bottom layers first, then release the top sections and curl those. This keeps the already-curled hair out of your way and prevents you from accidentally straightening over a finished curl. When you get to the top layers, you can use slightly larger sections for softer curls that blend over the tighter bottom curls. This layering is what gives the style dimension rather than a uniform helmet of curls. Take your time on the top layer; it’s the most visible.
Step 9: Break Up the Curls Gently
Once all your curls are cool, gently separate them with your fingers. Don’t use a brush; it will pull the curls into frizz. Run your fingers through from roots to ends, shaking the curls out to your desired looseness. For more volume, flip your head upside down and shake. For a polished look, separate less. The goal is soft, touchable curls, not tight ringlets (unless that’s what you want). If any curl is too tight, tug it gently while it’s still slightly warm from your fingers to loosen it.
Step 10: Lock It In With Finishing Products
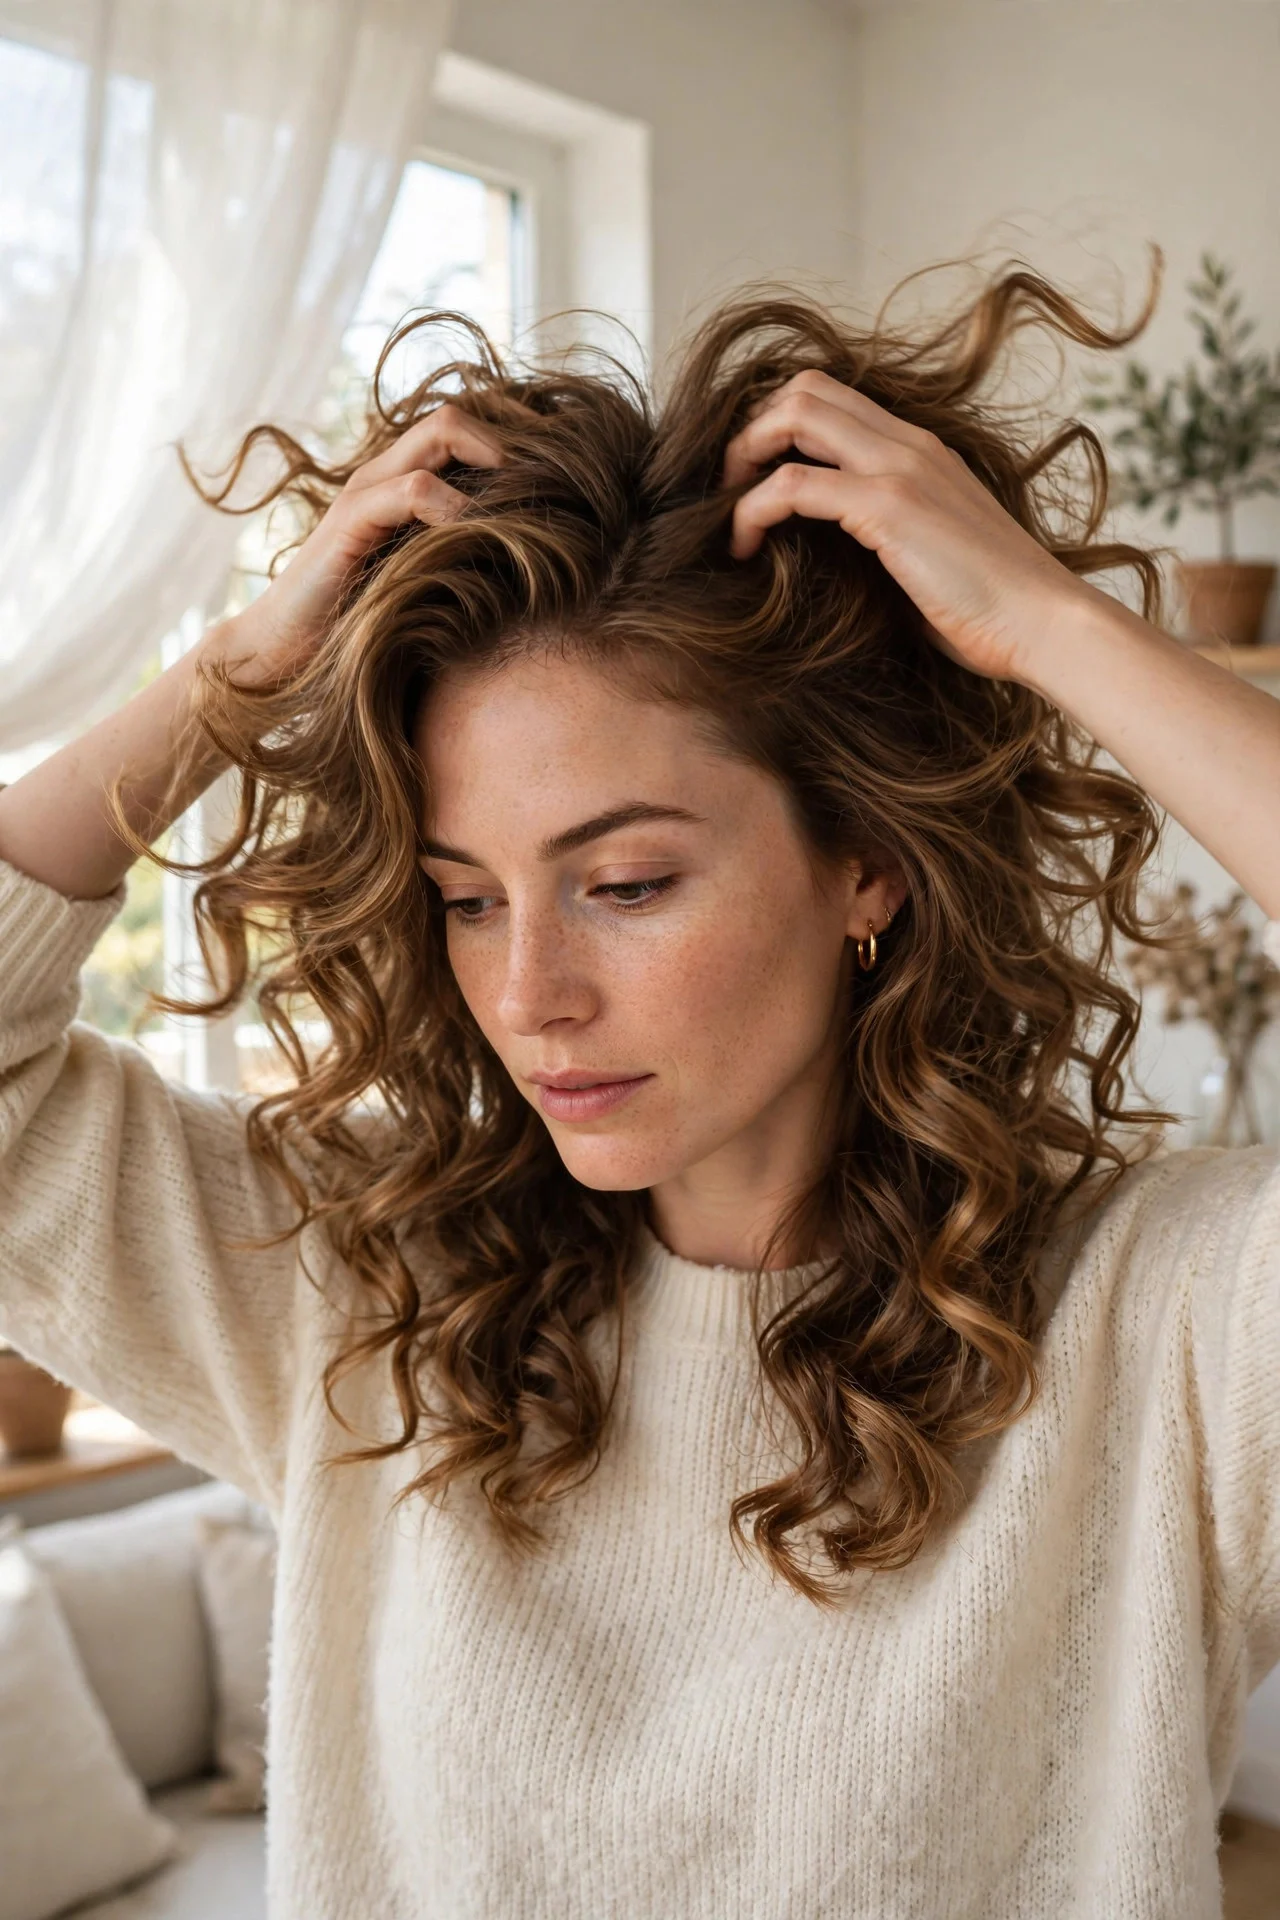
Finish with a light-hold hairspray, misting from about 10 inches away. Don’t use a heavy or stiff hairspray; it will make the curls crunchy and they’ll fall faster under the weight. A flexible-hold spray keeps movement while adding staying power. For extra shine, add a tiny drop of hair oil to the ends only, not the roots. If you want more texture, scrunch a pea-sized amount of texturizing cream into the mid-lengths. Step back, check the mirror, and you’re done. The whole process takes 20 to 30 minutes once you’ve practiced.
Making the Curls Last
Flat-iron curls can last all day and into the next if you set them right. The cooling step is the biggest factor; curls that cool undisturbed hold significantly longer. Sleeping on your curls: gather them into a loose high ponytail (a pineapple) with a silk scrunchie, or braid them loosely. In the morning, shake them out and refresh with a little dry shampoo at the roots and a quick touch-up on any flat pieces with the straightener. Avoid touching your curls throughout the day; the oils from your hands weigh them down and break the shape.
On freshly washed hair with heat protectant and proper temperature, expect a full day of wear, softening into loose waves by evening. Hair that holds a curl well, or second-day hair with some natural grip, can go two days with a morning refresh.
What temperature should I use to curl hair with a straightener?
Fine or damaged hair: 300 to 325 degrees. Medium, healthy hair: 350 to 375. Thick, coarse, or resistant hair: 380 to 400. Never exceed 410. Start at the low end of your range and increase in 15-degree increments only if curls fall out quickly.
Can I curl short hair with a straightener?
Yes, but use a straightener with narrow plates (one inch or less). The technique is the same, but you’ll work with smaller sections and twist more tightly. Very short pixie-length hair is difficult; you need at least 3 to 4 inches of length to wrap around the iron.
Why do my curls fall flat after an hour?
Usually it’s one of three things: the temperature was too low for your hair type, you moved the iron too quickly for the heat to set, or your hair was too clean and slippery. Try bumping the heat 15 degrees, slowing your glide, and using a little dry shampoo or texturizing spray for grip.
Keep exploring: once your curls are done, they are the perfect base for an updo. Try pinning them into one of these 12 Twisted Updos for Medium Hair (2026) or a soft 12 Low Chignon Hairstyles for Elegance (2026) for date night. And since curls show off dimension beautifully, this is a great time to consider a rich 15 Mocha Balayage Hair Ideas for a Rich Dimensional Look (2026) on your next salon visit.