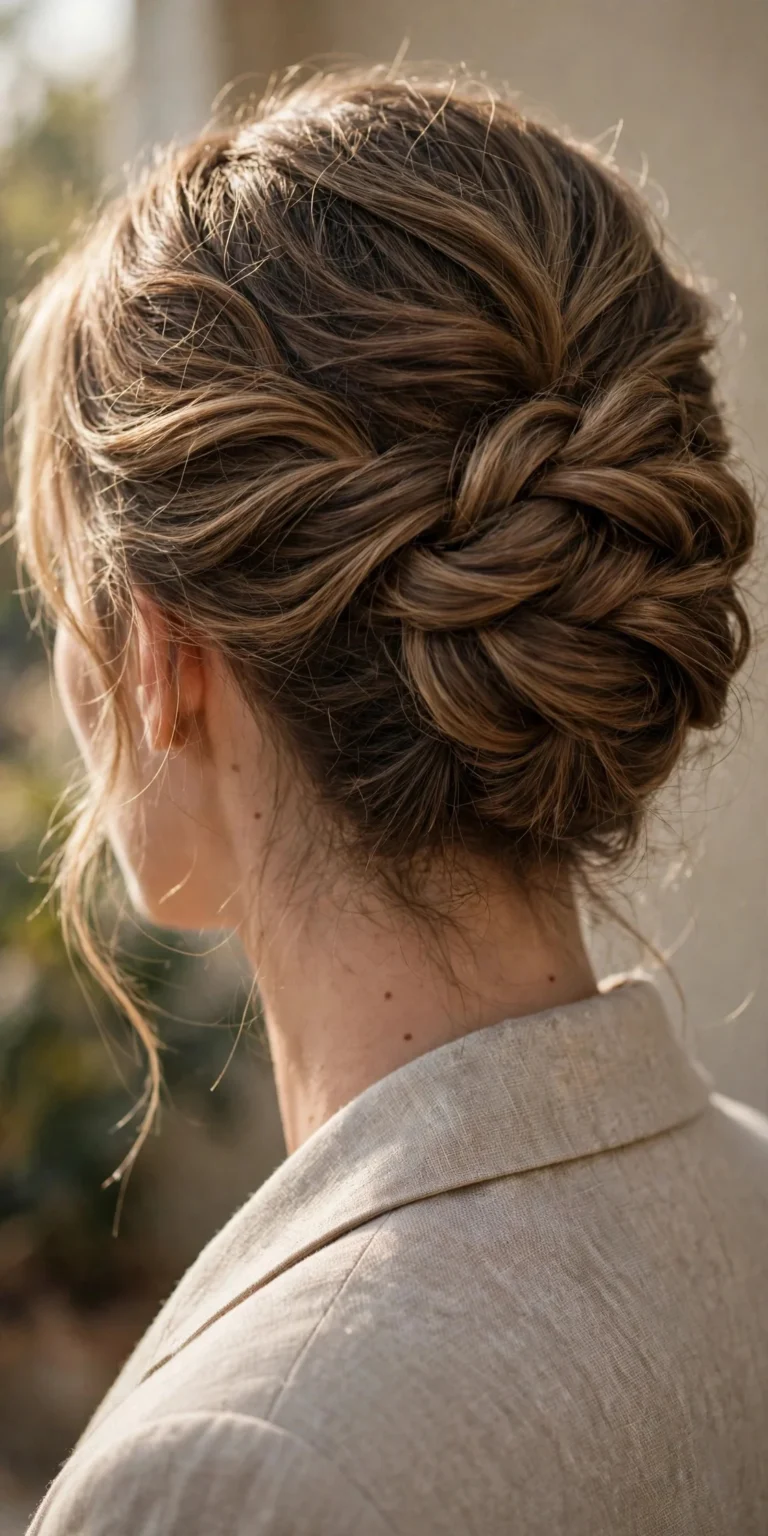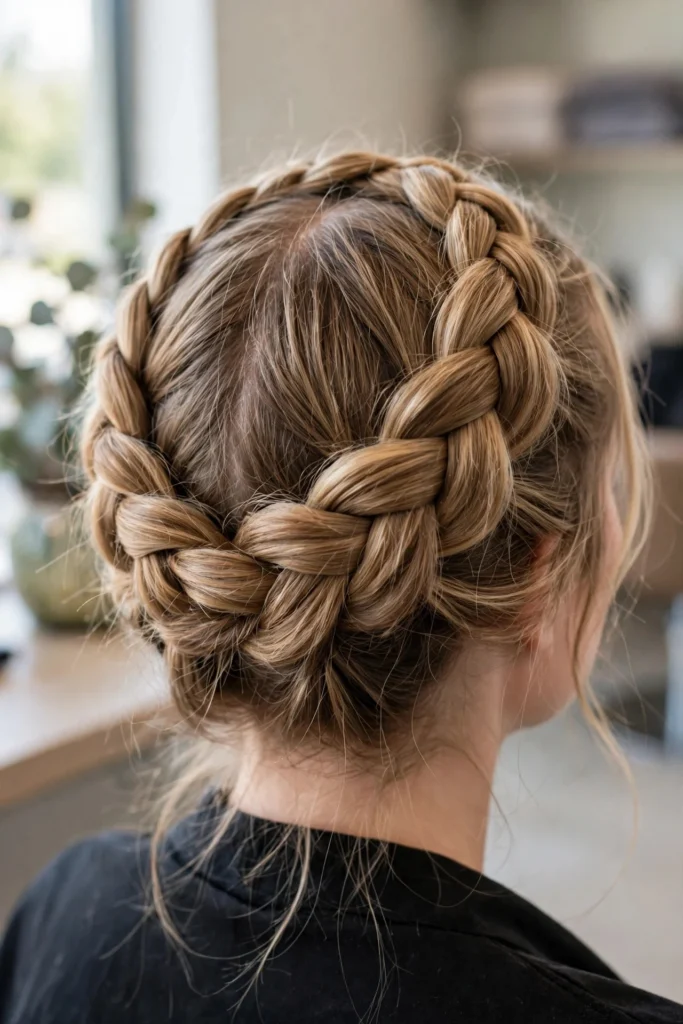
# 12 Milkmaid Braids for a Soft Feminine Look
There is something about a milkmaid braid that just softens everything. The face, the outfit, the whole mood. It is romantic without trying too hard, and it has survived every trend cycle because it genuinely works on almost everyone.
The trick is knowing which version suits you. A thick Dutch braid wrapped around the crown reads very different from two loose fishtails pinned like a halo. Below are twelve variations, from the classic crown to modern undone versions, each with honest notes on upkeep and who it flatters most.
1The Classic Crown Wrap
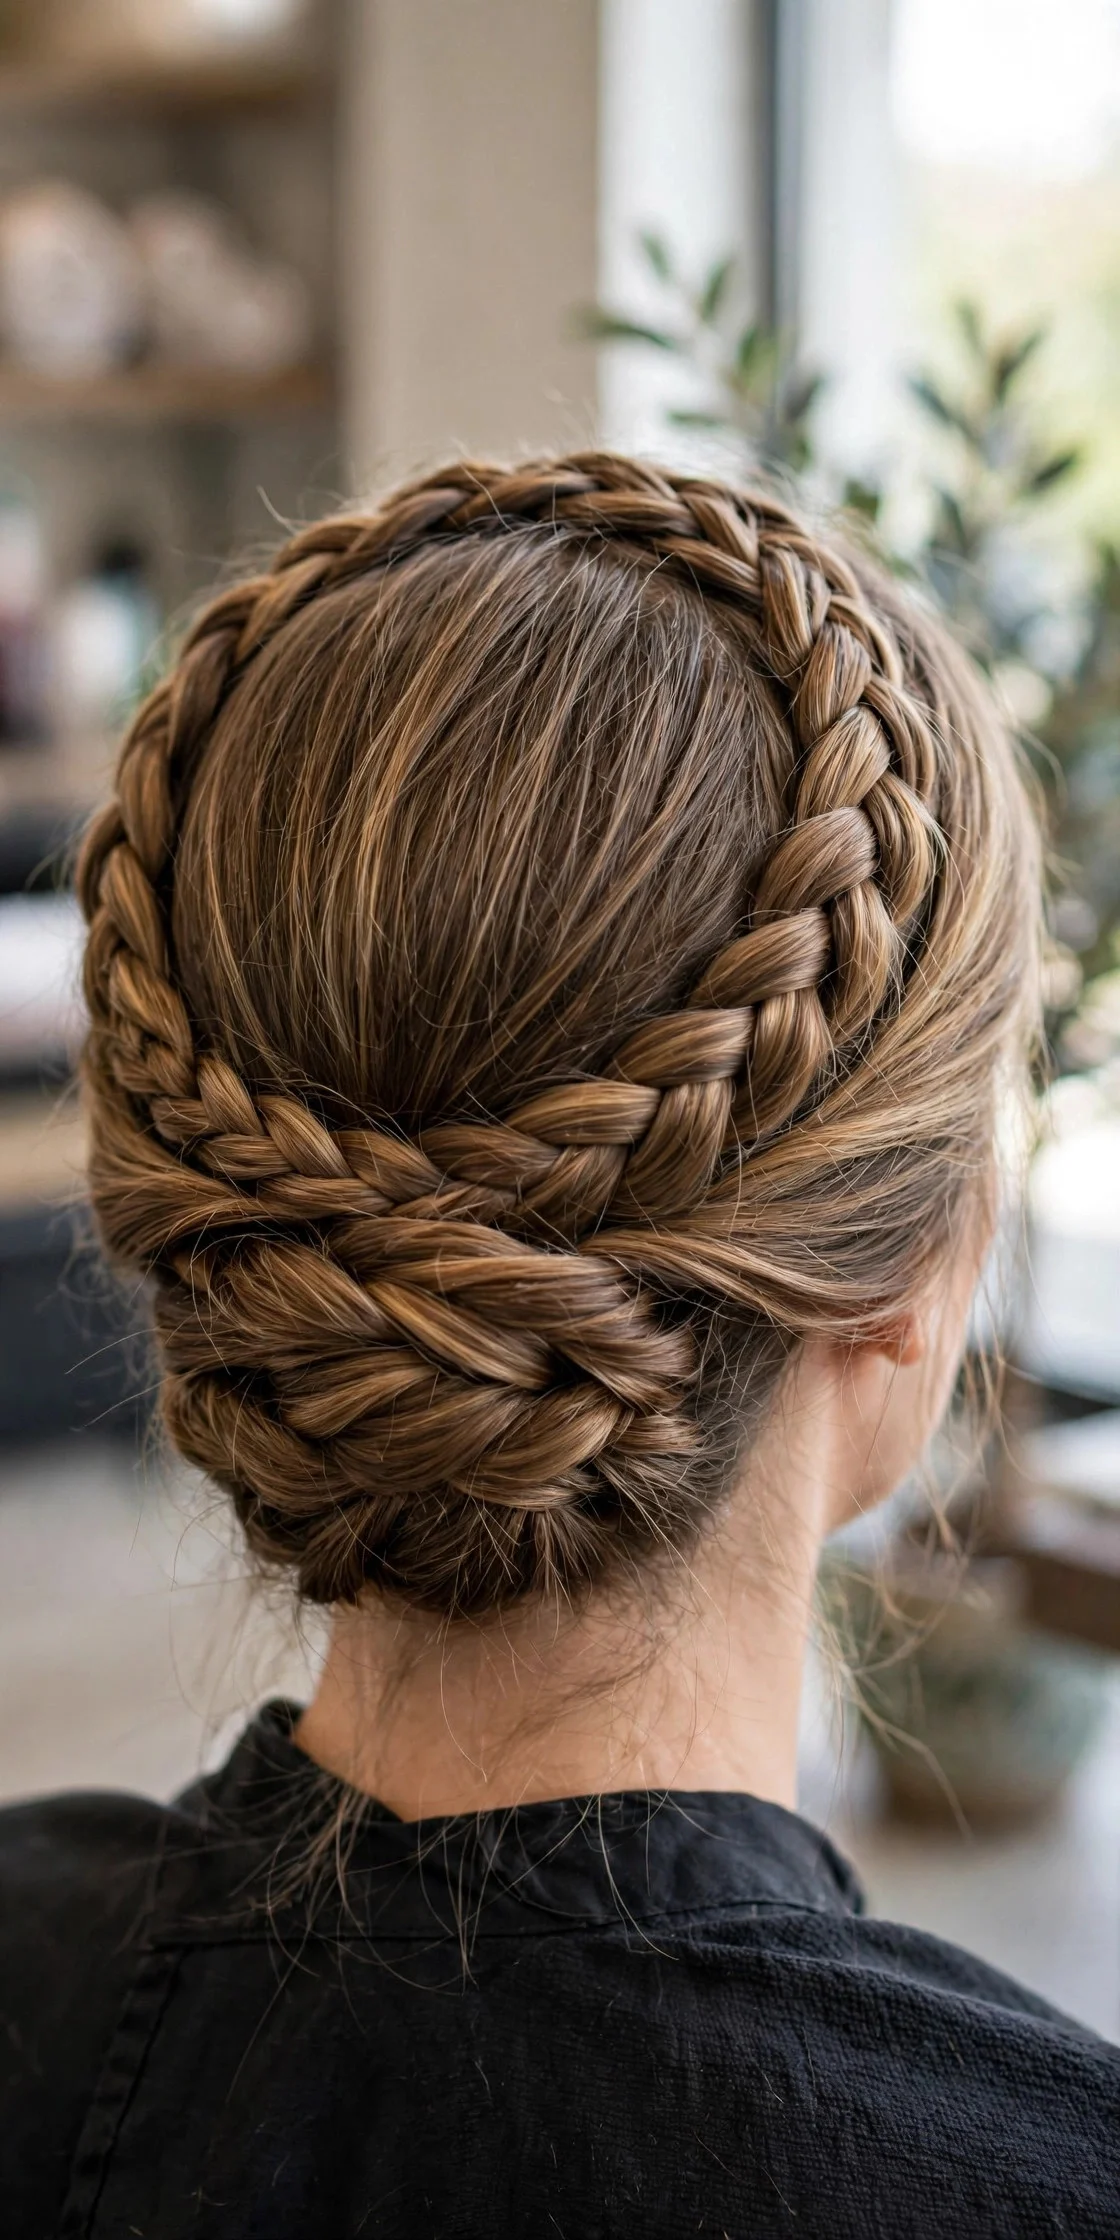
Part your hair down the middle and Dutch-braid each side starting just above the ear, angling the plaits upward toward the crown. Cross them over the top of your head like a headband and pin the ends underneath the opposite braid. This suits oval, round, and heart faces because the wrapped braid lifts the eye upward and balances the jawline. On wash day it lasts all day with a little hairspray; on second-day hair it grips even better. The honest drawback is pin visibility. If your hair is fine or thin, the pins and tail ends can peek through at the nape, so ask your stylist for U-pins instead of standard bobbies if this becomes your signature style.
2Loose Boho Halo Braid
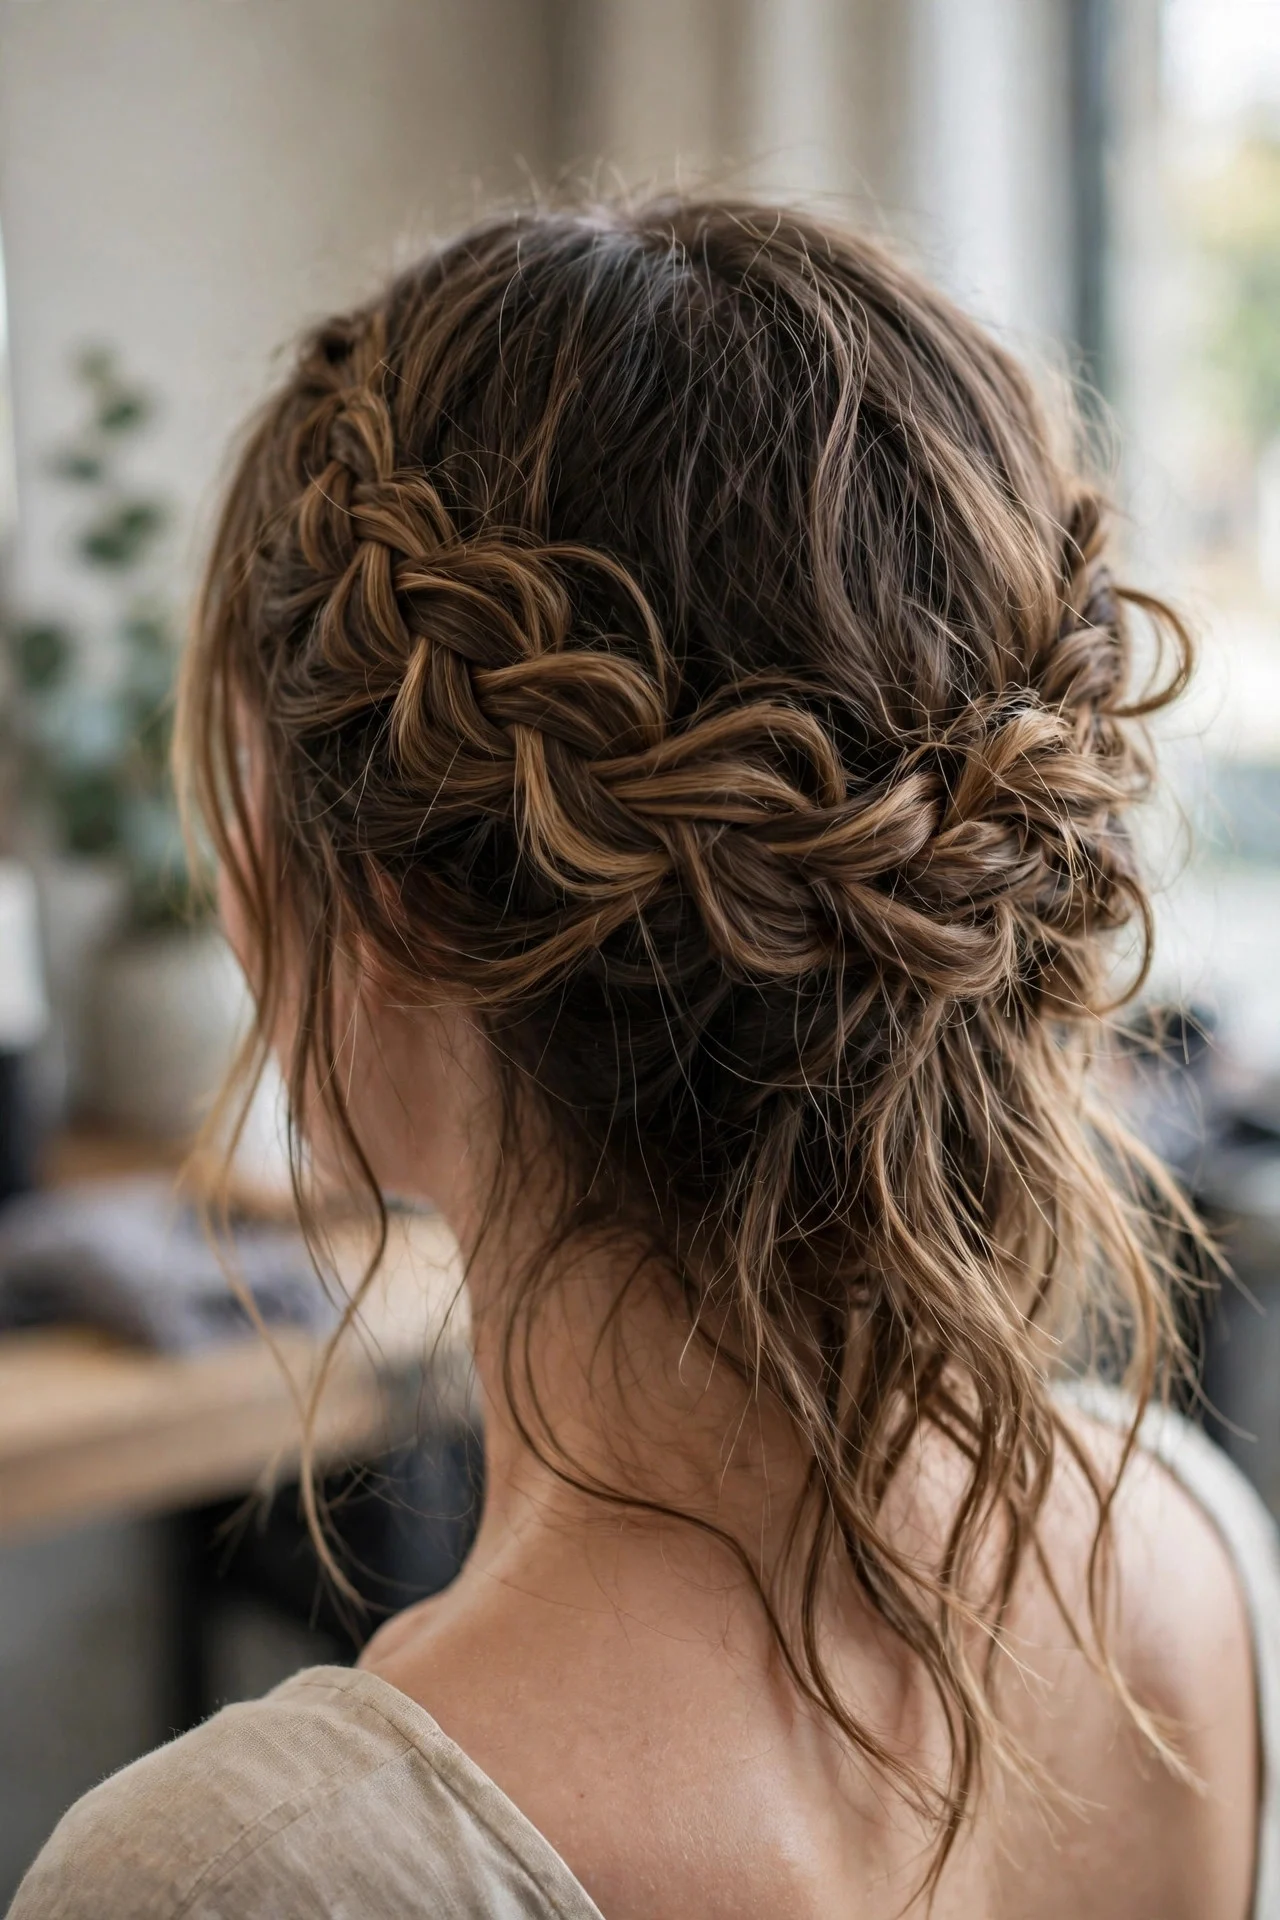
This is the lived-in cousin of the classic crown. Braid two loose three-strand plaits low on each side, tug them outward with your fingertips to widen them (this is called pancaking), then wrap them across the crown loosely and pin. It suits wavy and curly textures beautifully, and it is forgiving on faces that do not like severe pulled-back styles because the softness around the hairline keeps it gentle. Maintenance is almost zero since messiness is the point. The drawback is longevity: because it is deliberately loose, it can unravel by evening. Keep four spare pins in your bag for event days.
3Fishtail Milkmaid Braid
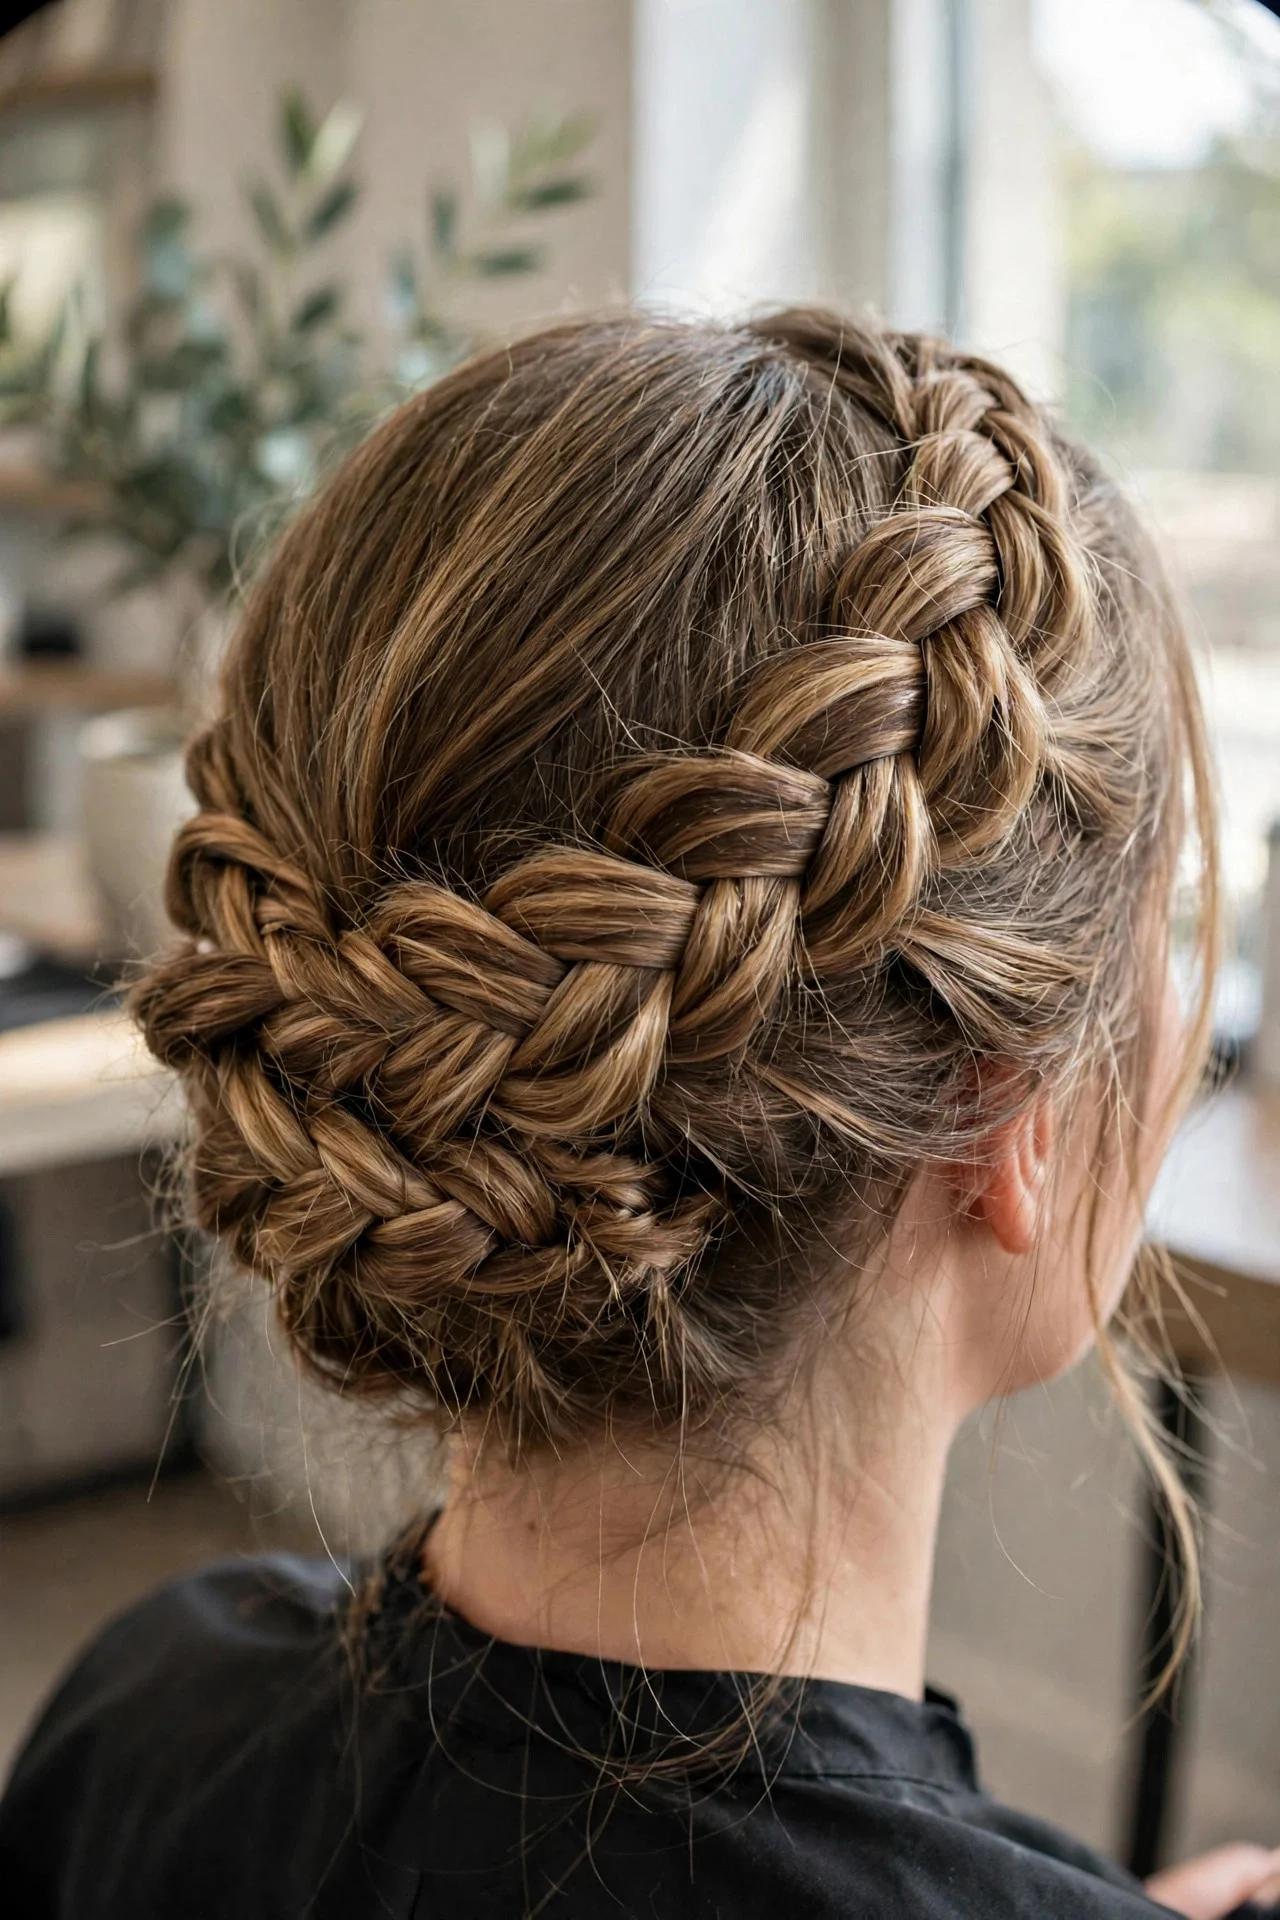
Swap the standard three-strand braid for fishtails and the whole look turns more intricate and polished. Fishtail each side from the nape up toward the temple, pancake them slightly, then cross them over the crown and pin. This suits medium to long hair with layers because the fishtail texture disguises uneven ends. It reads dressy, so it works for weddings and evening events. Maintenance is moderate: fishtails loosen faster than Dutch braids, so set them with a light-hold spray before wrapping. The honest drawback is time. A neat fishtail takes twice as long to braid, and doing it overhead on your own head is genuinely tiring.
4Milkmaid Braid with Face-Framing Pieces
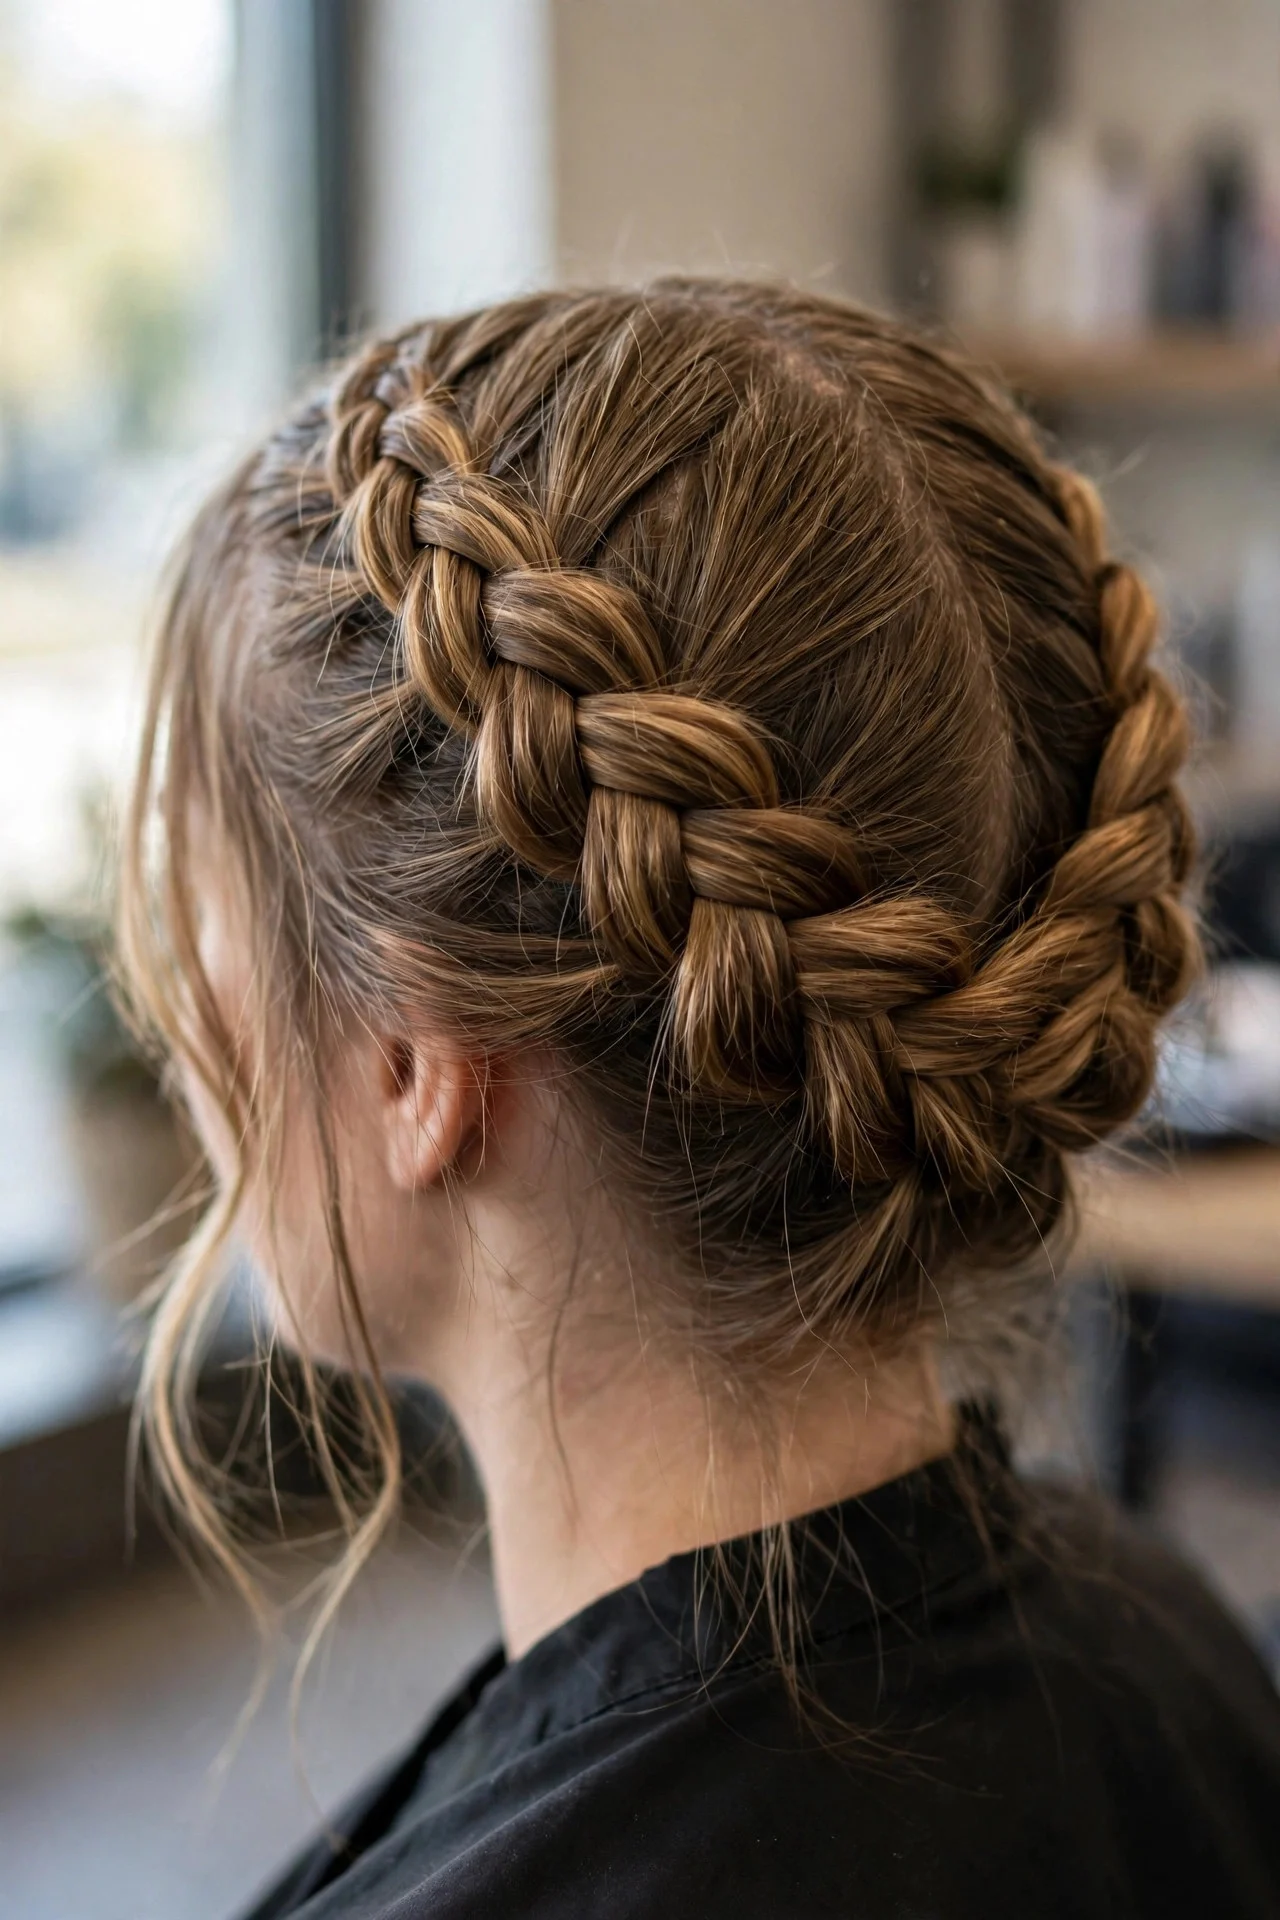
Braid the full crown but pull out two soft tendrils in front of the ears and a few wisps at the temples. Curl the tendrils lightly with a 1-inch iron. This is the most flattering variation for square and oblong faces because the loose pieces soften strong angles and shorten the look of a long face. It photographs beautifully, which is why makeup artists love it for bridal trials. Upkeep during the day means re-curling the tendrils once if they fall flat, which takes about two minutes. The drawback is humidity: the face-framing pieces can frizz into halos. A tiny bit of smoothing cream on just those strands solves it.
5Dutch Braid Crown (Inside-Out Volume)
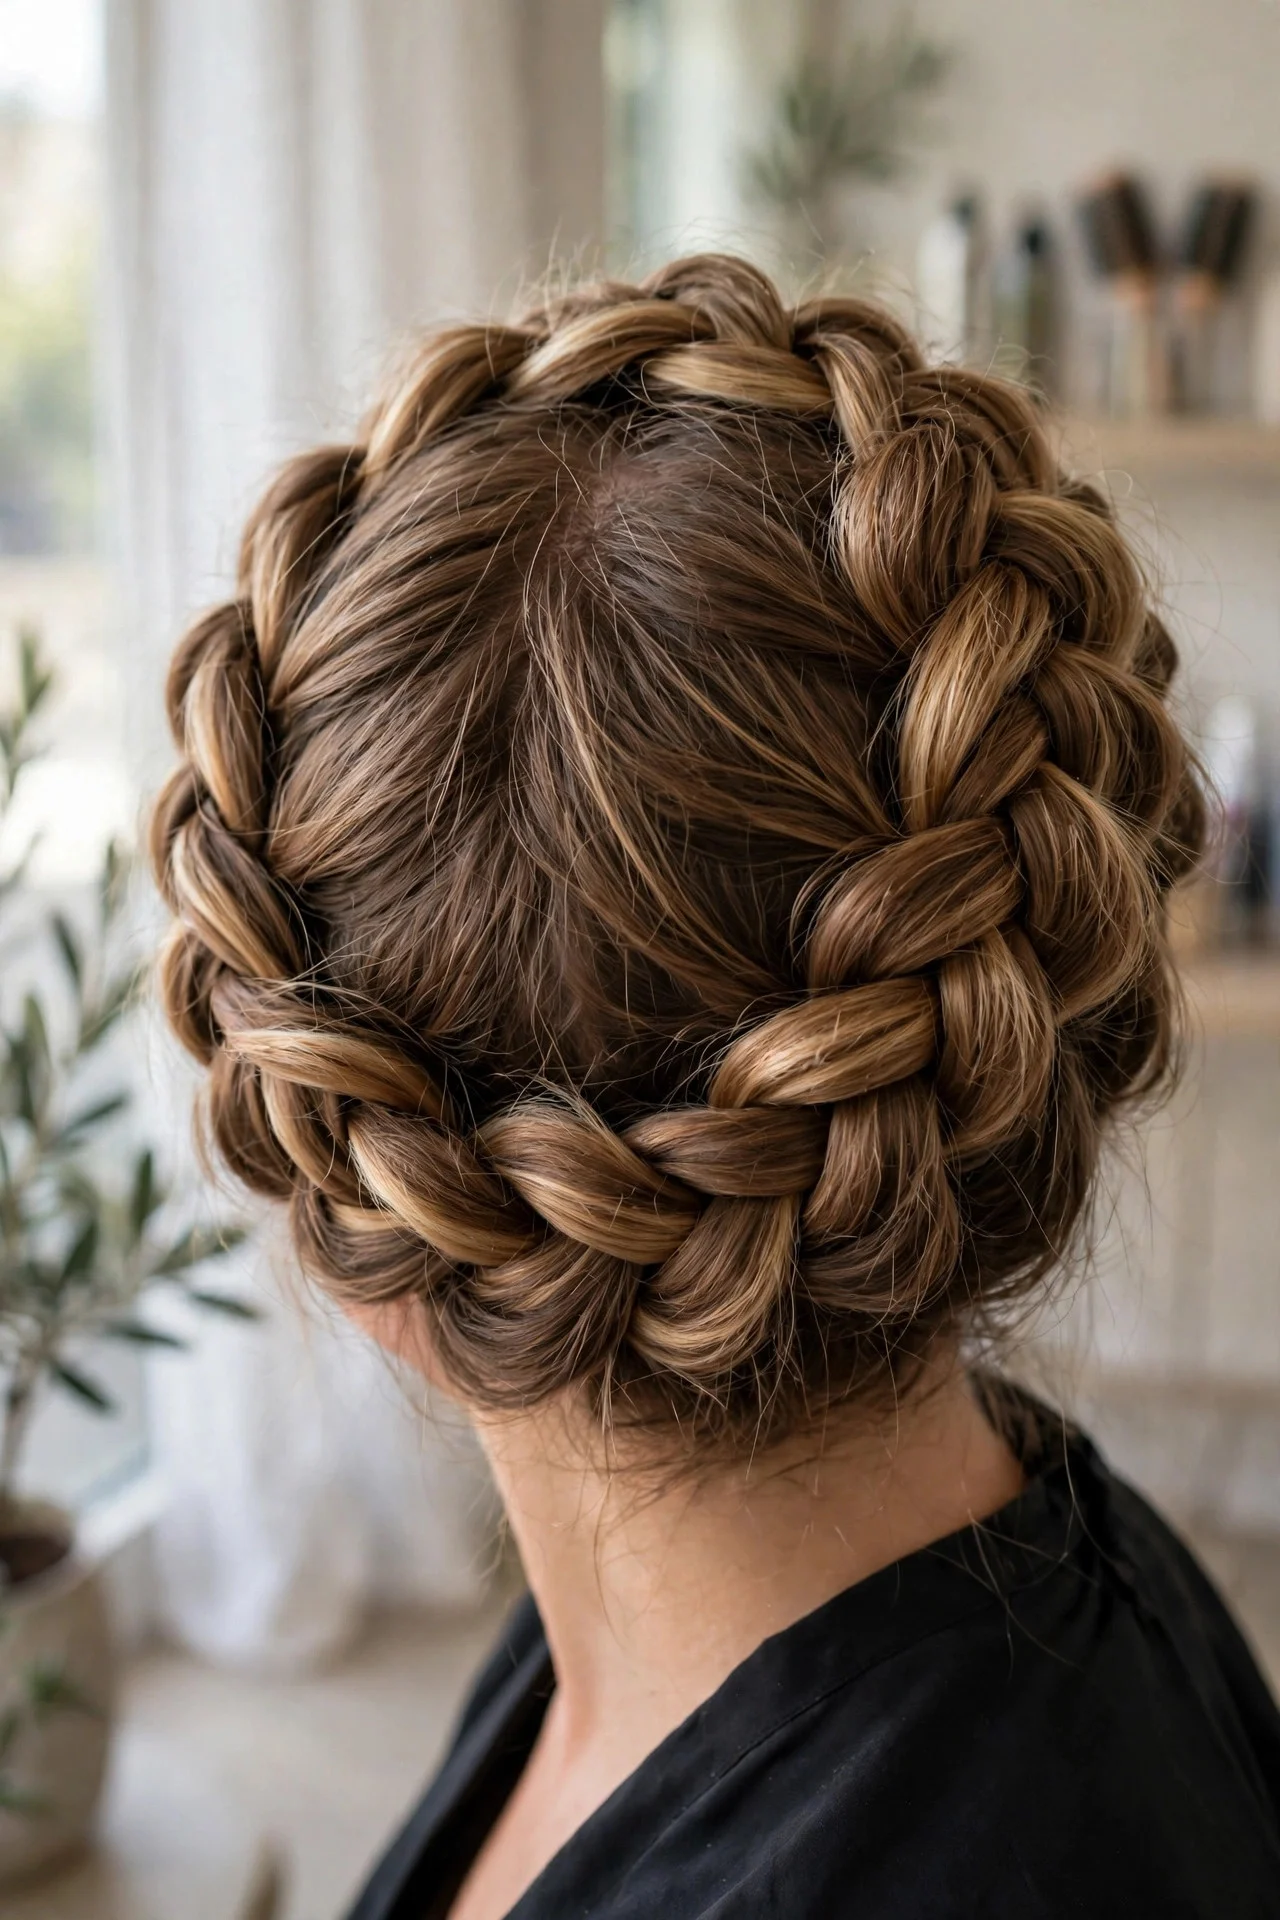
The Dutch braid sits on top of the hair instead of inside it, giving the crown noticeably more height than a French braid. Braid each side Dutch-style from the ear upward, wrap across the crown, and pin. This suits fine-haired girls especially because the inside-out technique creates the illusion of thickness where the hair wraps the head. Maintenance is easy: it stays put for 8 to 10 hours. The drawback is the learning curve. Dutch braiding behind your own ear toward the crown is awkward at first, so practice in front of a mirror once or twice before an important day.
6Milkmaid Braid for Short Hair
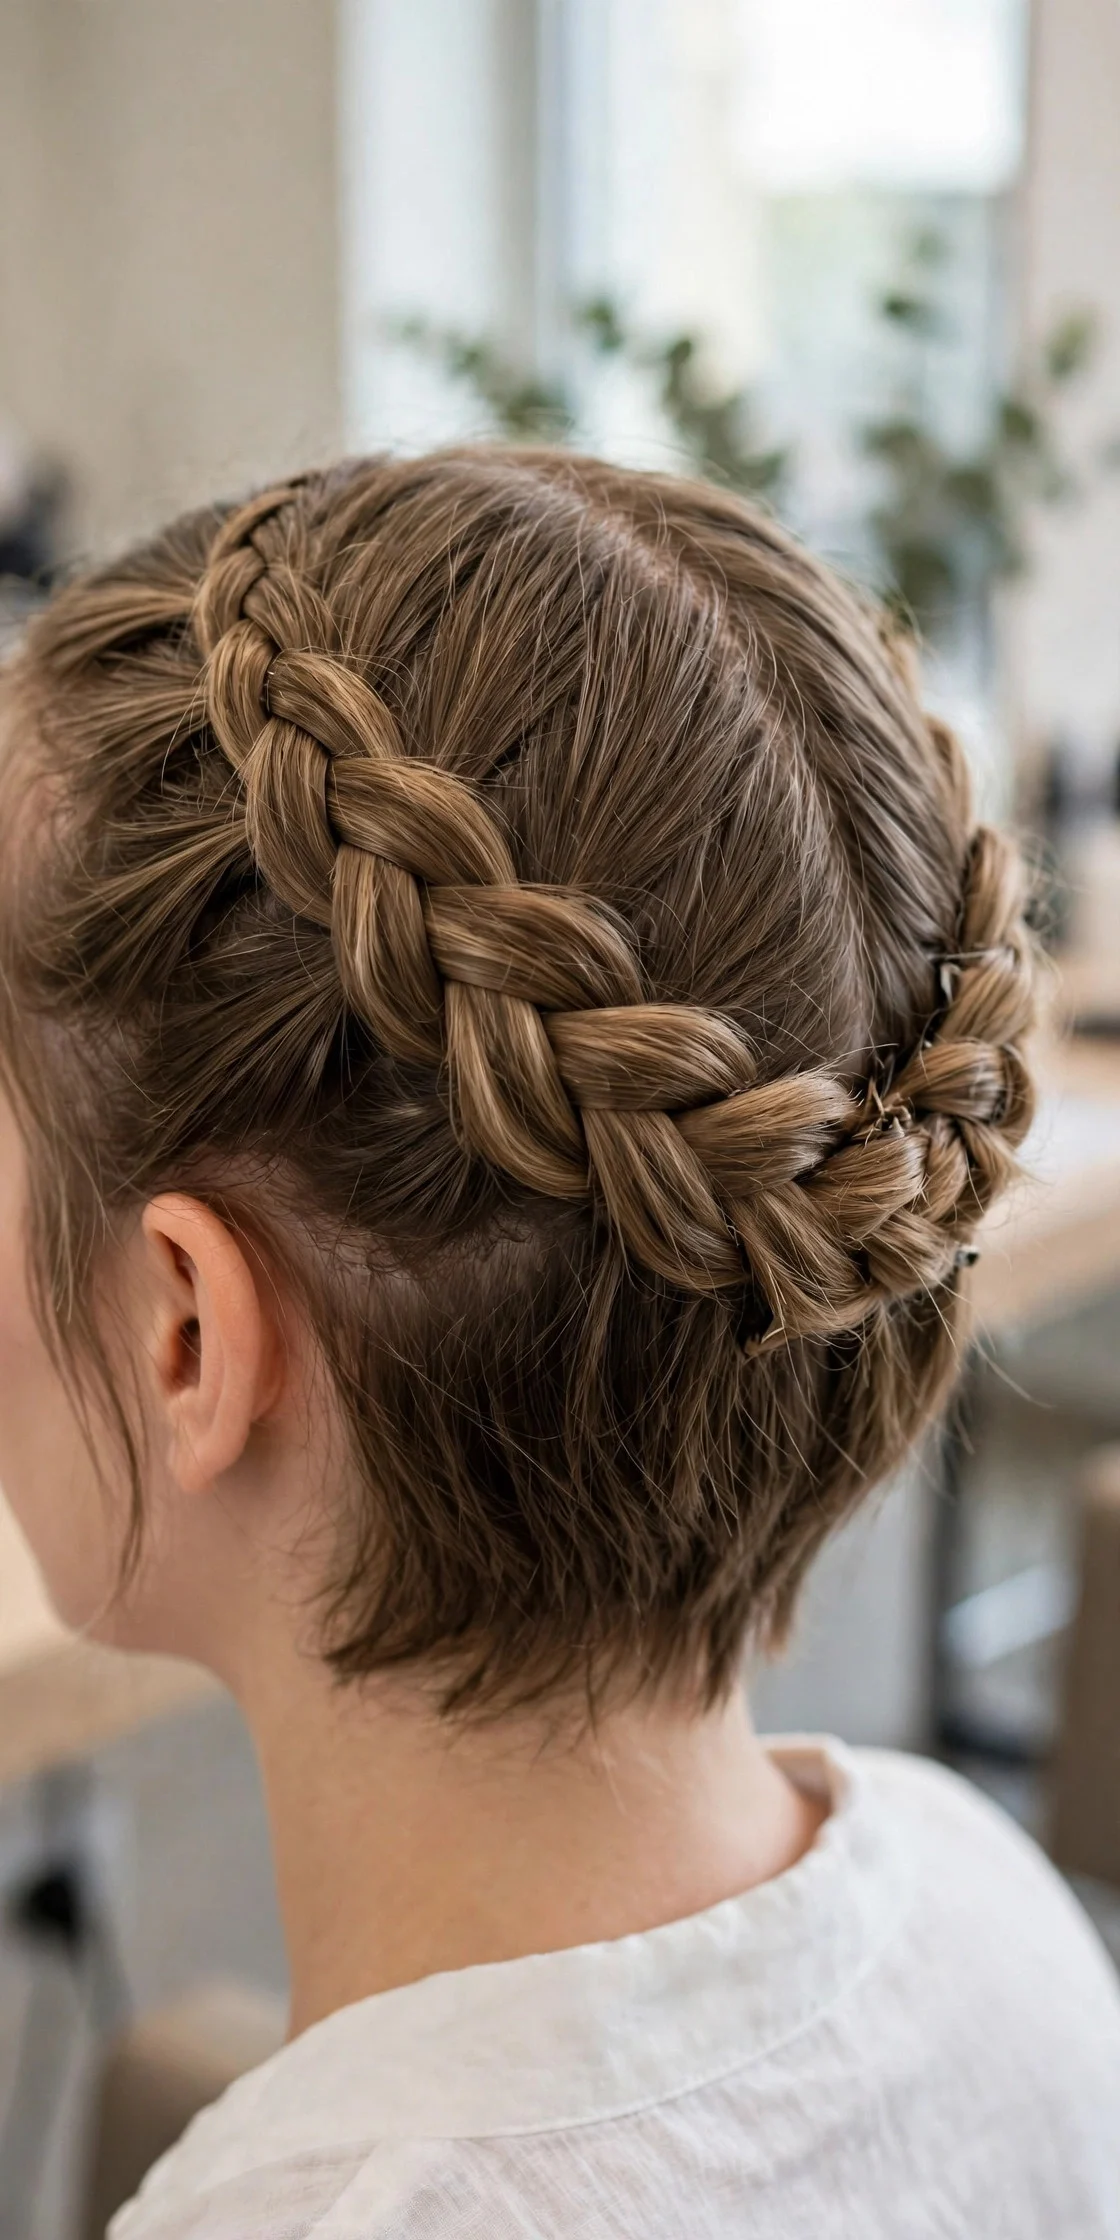
Short hair can do this too, down to about a chin-length bob. Part in the middle, Dutch-braid each side as far as it goes, then pin the short tails flat with U-pins and cover them by crossing the second braid over. It suits textured bobs and lobs, and it is a lovely way to grow out a cut gracefully. Texturizing spray before you start is non-negotiable since short layers slip out of everything. The honest drawback is that it will not look like the versions done on waist-length hair. Expect a sweet, narrow halo rather than a thick crown.
7Side-Swept Milkmaid Braid
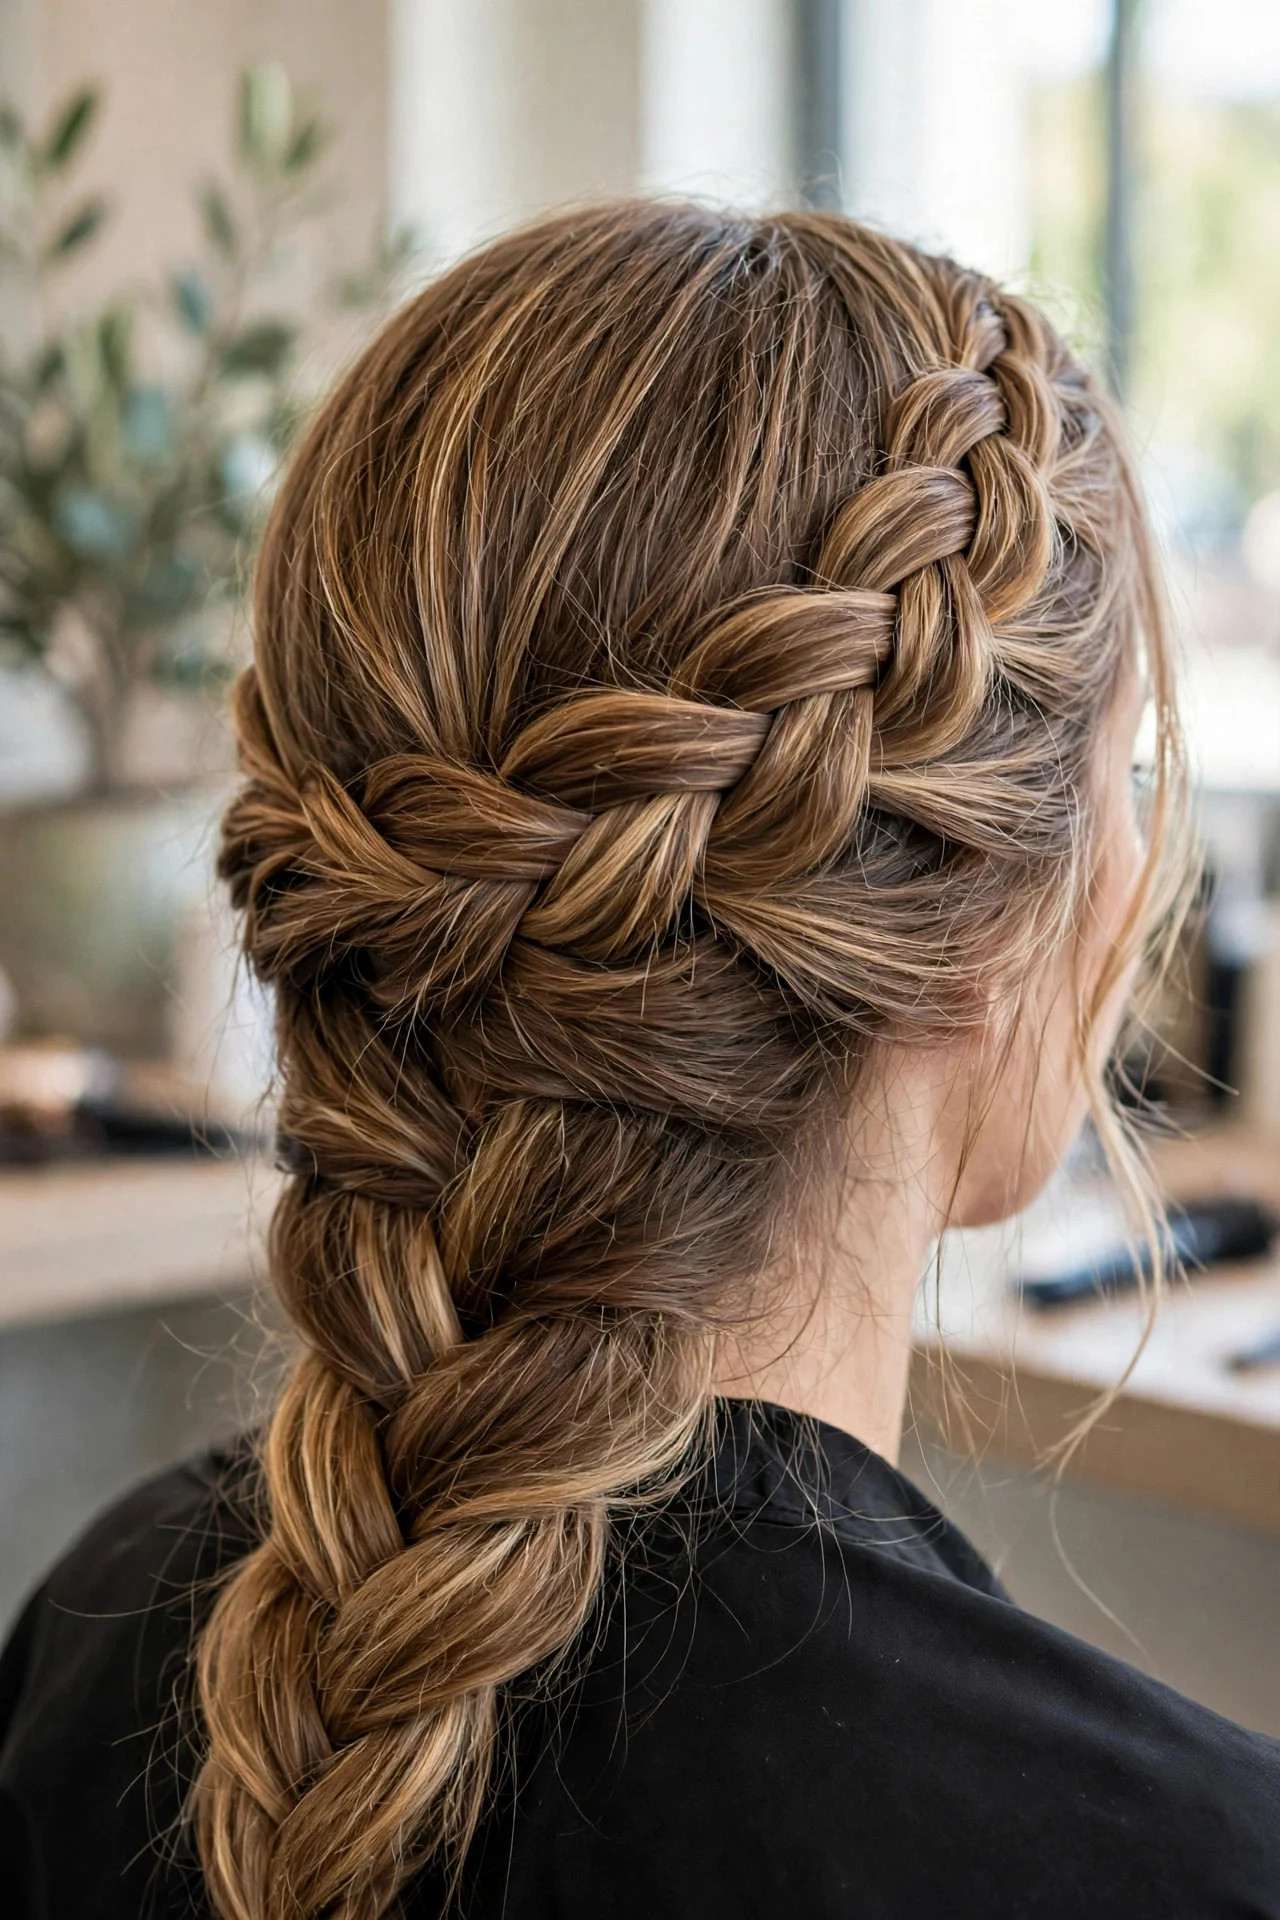
Instead of centering the part, sweep everything into a deep side part and braid one thick Dutch braid that wraps diagonally across the crown, pinning the tail behind the opposite ear. This suits anyone with a high forehead or a strong part preference, and it reads a little more modern and editorial than the symmetrical versions. It also works well on layered hair since everything travels in one direction instead of fighting a center part. Maintenance is simple and it holds well. The drawback is asymmetry risk: if one side is noticeably thicker, it looks like a mistake rather than a choice, so keep the braid tension even as you wrap.
8Milkmaid Braid with Ribbon Woven In
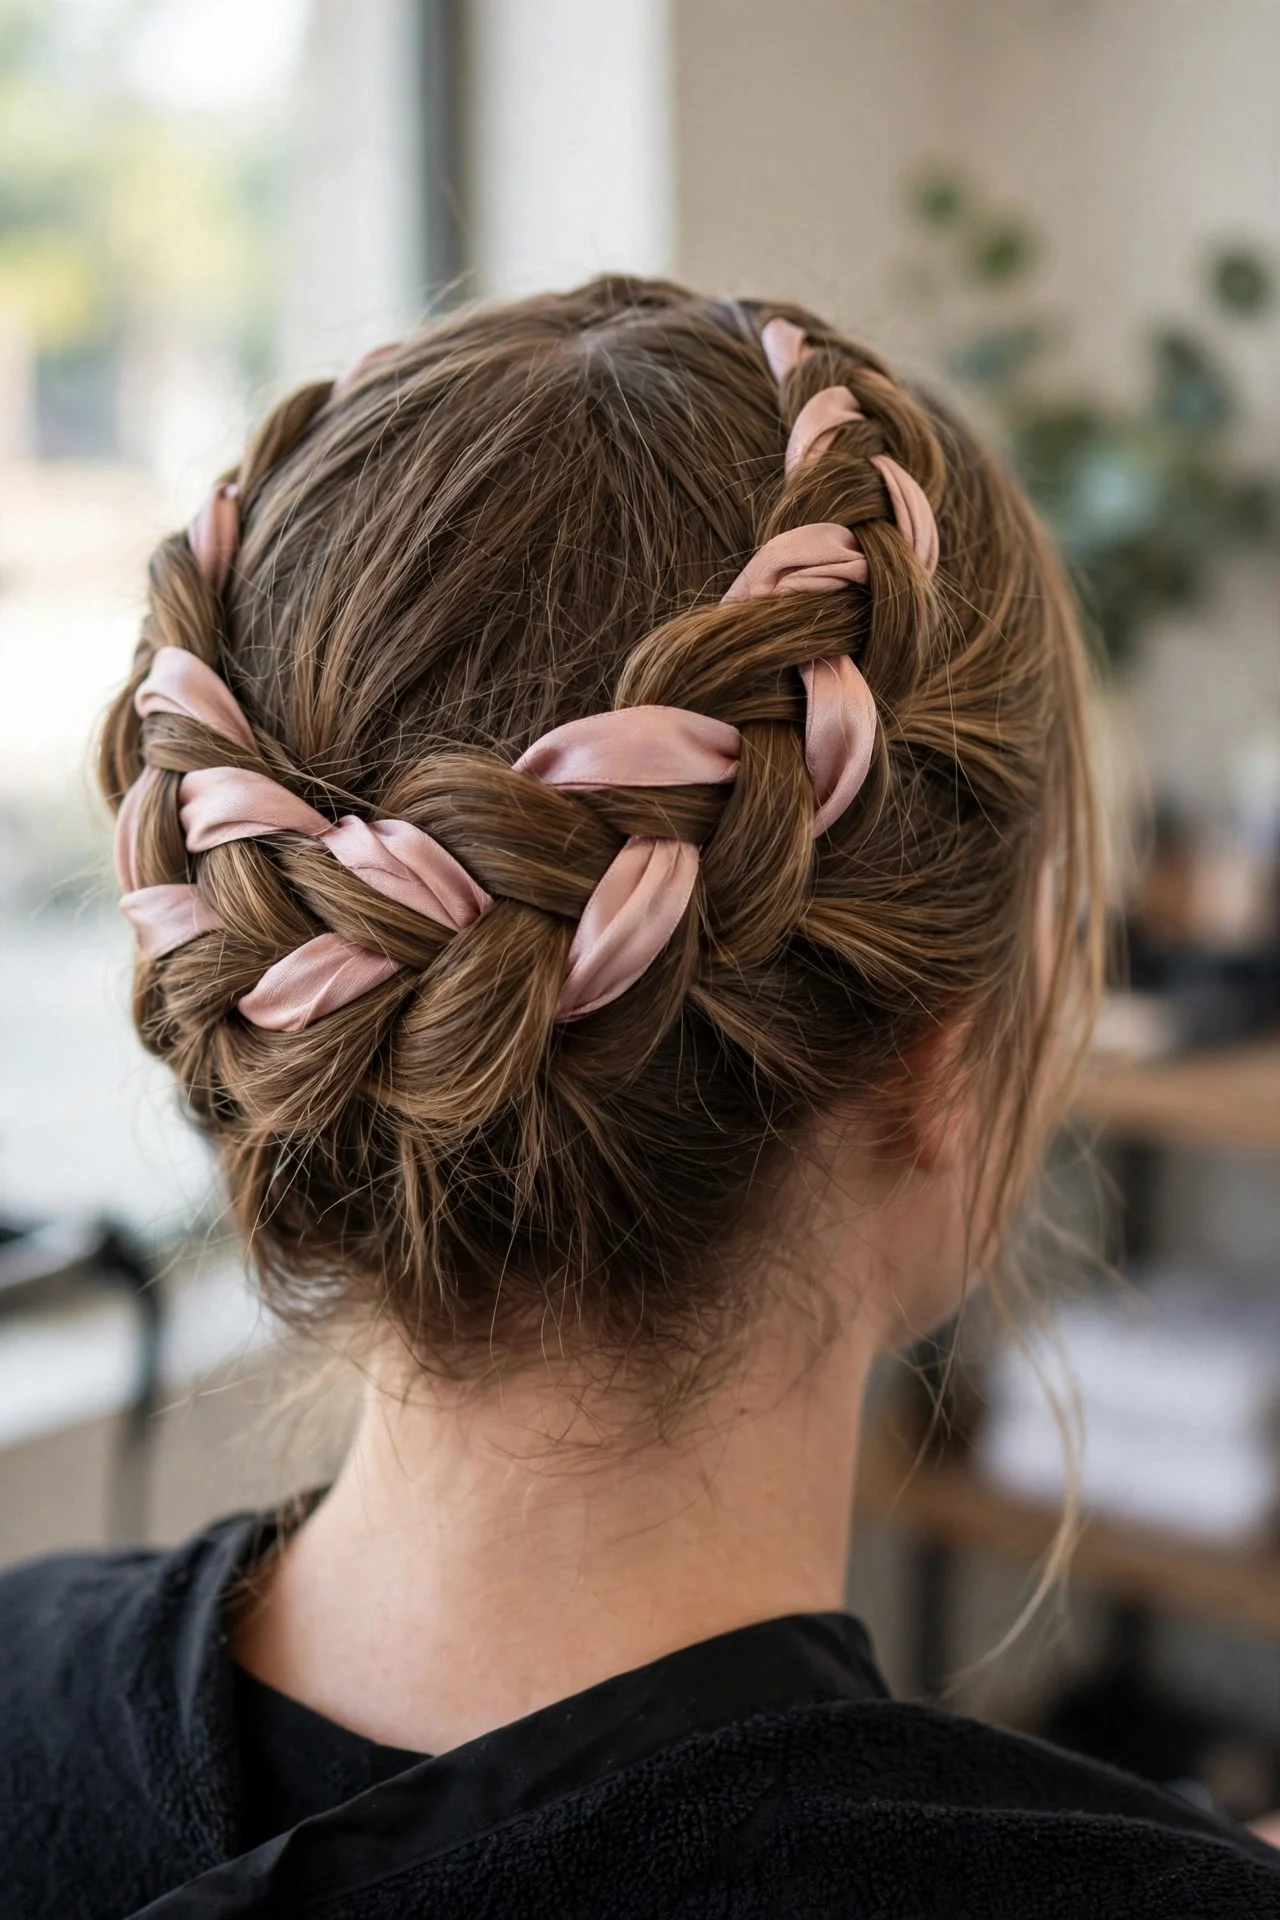
Weave a narrow velvet or grosgrain ribbon into one of the braids before wrapping, leaving the ends to tie in a small bow at the crown. This suits romantic occasions, holidays, and anyone who loves a cottagecore or vintage touch. Choose a ribbon color that echoes your outfit rather than matching your hair, since contrast is what makes it visible. It takes no extra maintenance beyond the base braid itself. The drawback is bulk: ribbon plus thick hair can make the crown feel heavy and look slightly costumey if the rest of your styling is also elaborate. Keep makeup and jewelry simple when the ribbon comes out.
9Textured Milkmaid with Braided Bangs
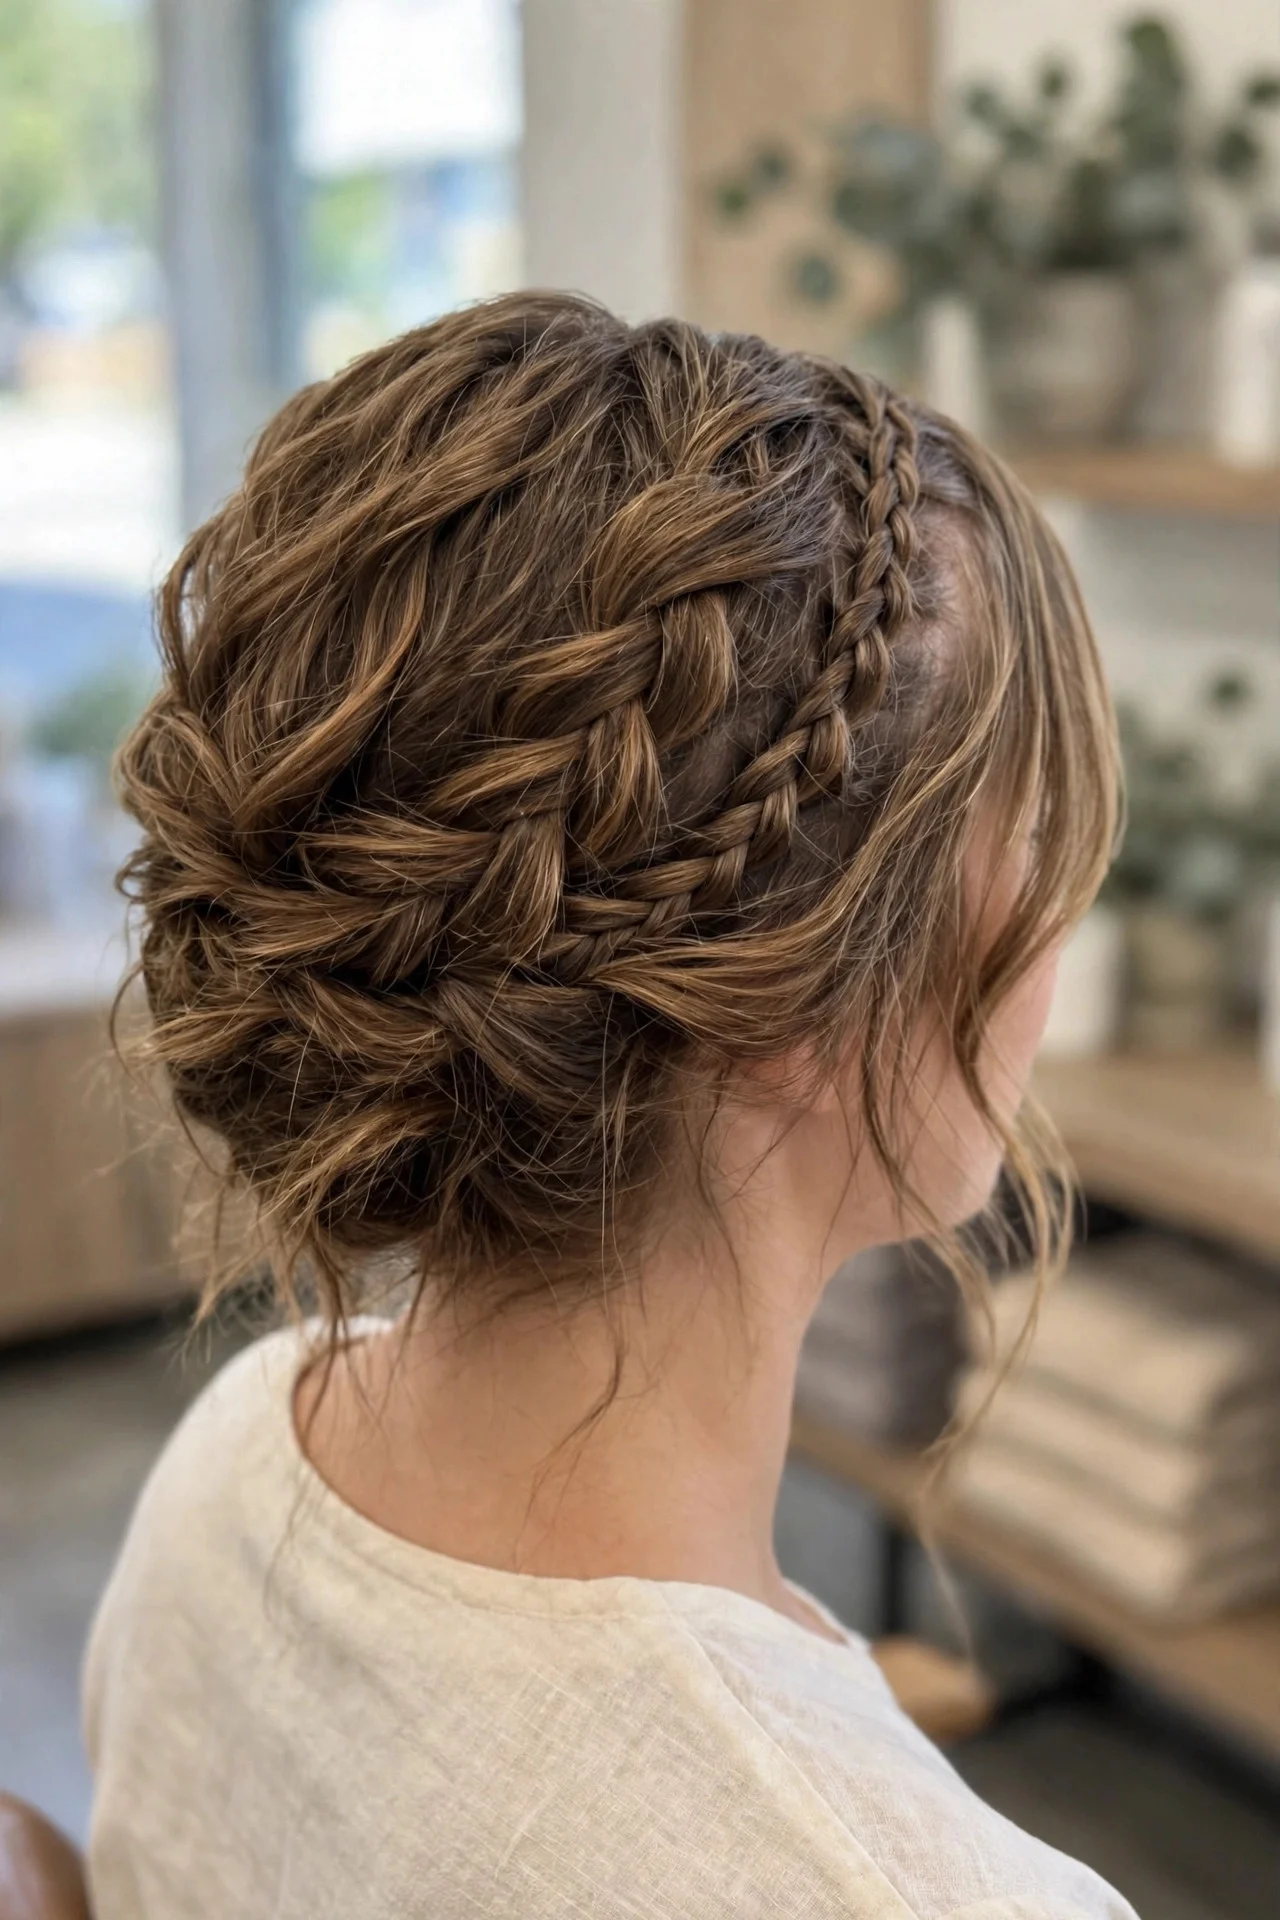
If you have curtain bangs or longer fringe, braid the bangs into small plaits on each side and blend them into the main crown braids as you wrap. This suits anyone growing out bangs or tired of styling them daily, and it keeps fringe off the face in heat. The braided-bangs detail makes the whole style look more intentional. Use a pea-sized amount of pomade on the bang braids so short layers stay contained. The drawback is regrowth awkwardness: bangs at that in-between length slip out of the plaits by afternoon. A couple of mini pins hidden inside the braid keep them anchored.
10Double Milkmaid (Two Parallel Braids)
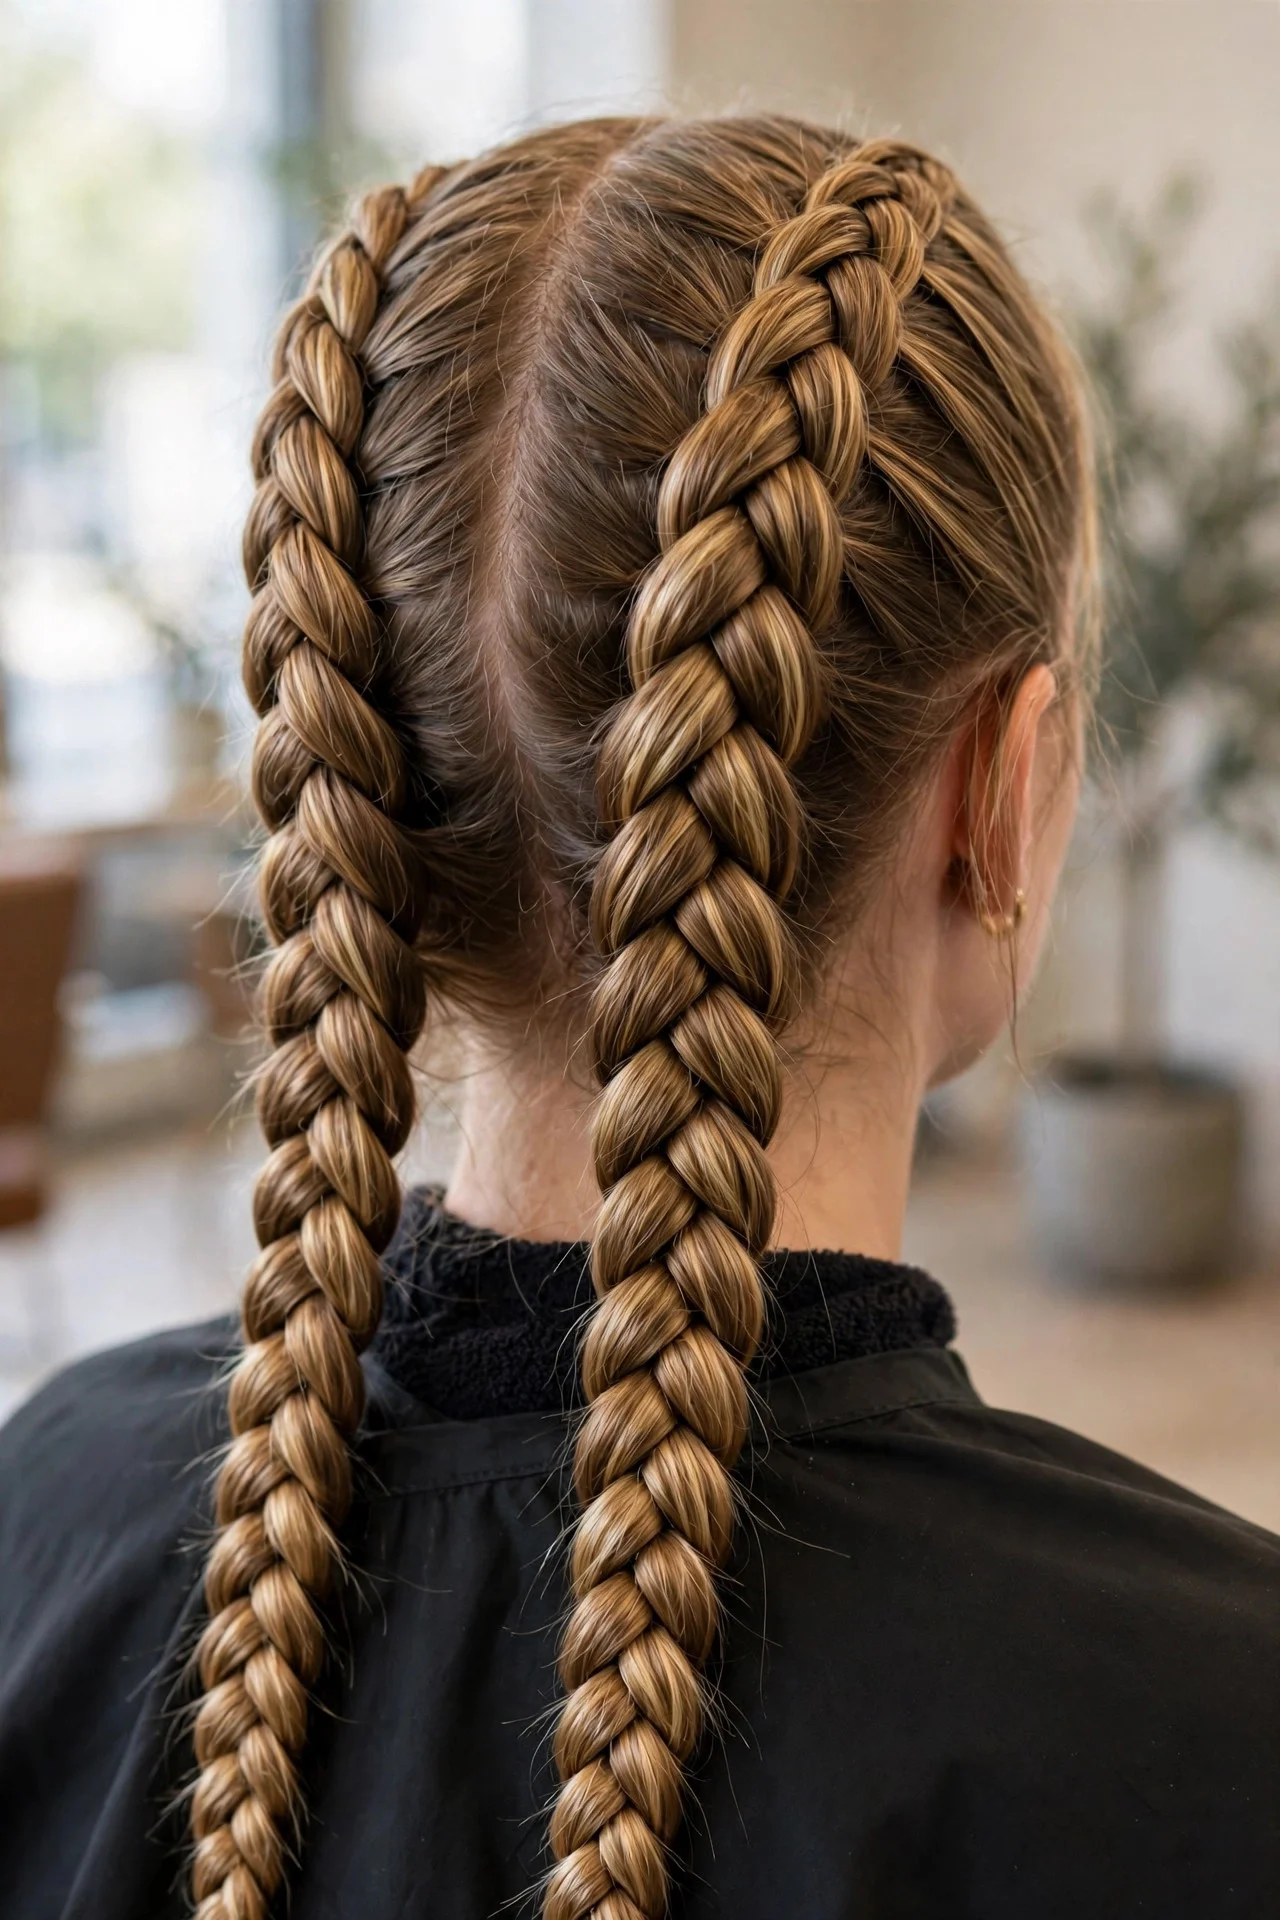
Braid two slim Dutch braids on each side, one at the hairline and one slightly behind it, then wrap both pairs across the crown in parallel lines. This suits thick hair because it distributes the volume into two slimmer plaits instead of one heavy rope, and it looks impressively detailed in photos. It is a favorite for festivals and outdoor weddings. Maintenance is good since four anchored braids distribute tension evenly. The drawback is time and arm fatigue. Four braids plus the wrap takes 25 to 30 minutes on yourself, so this one is best done with a friend or booked as a salon style.
11Milkmaid Braid on Curly Hair
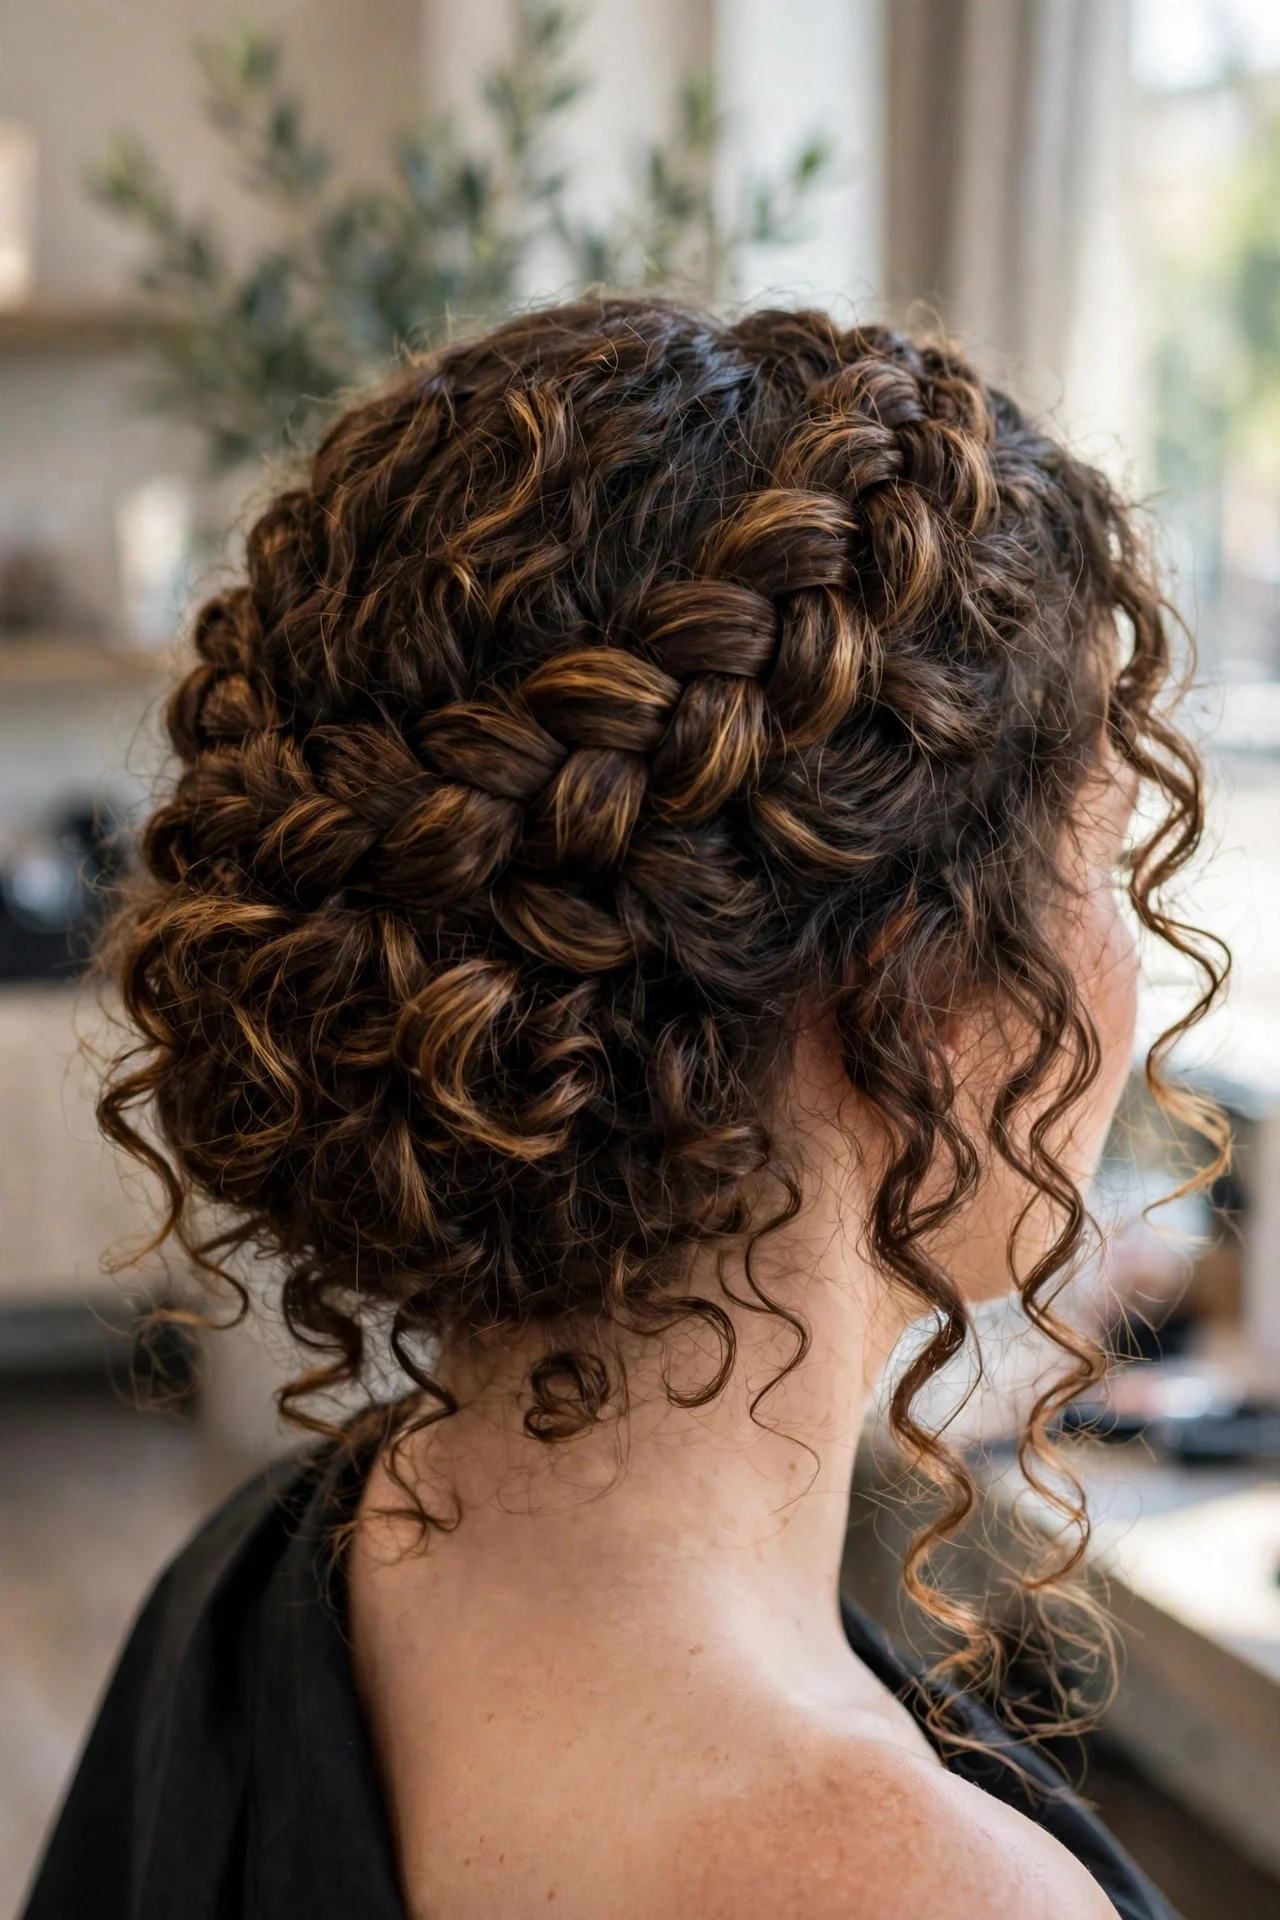
Do not straighten first. Braid each side on stretched-but-not-blown-out curls, keeping the braids slightly loose so the curl pattern stays visible in the plait. Wrap across the crown and pin into the curls themselves, which grip pins better than straight hair does. This suits type 2C through 4A textures beautifully and shows off natural volume. Refresh with a light mist of water and leave-in before braiding for the smoothest result. The honest drawback is shrinkage: the crown may sit lower than you expect once curls spring up, so braid with a little extra slack to get the height you want.
12Sleek Polished Milkmaid for Evenings
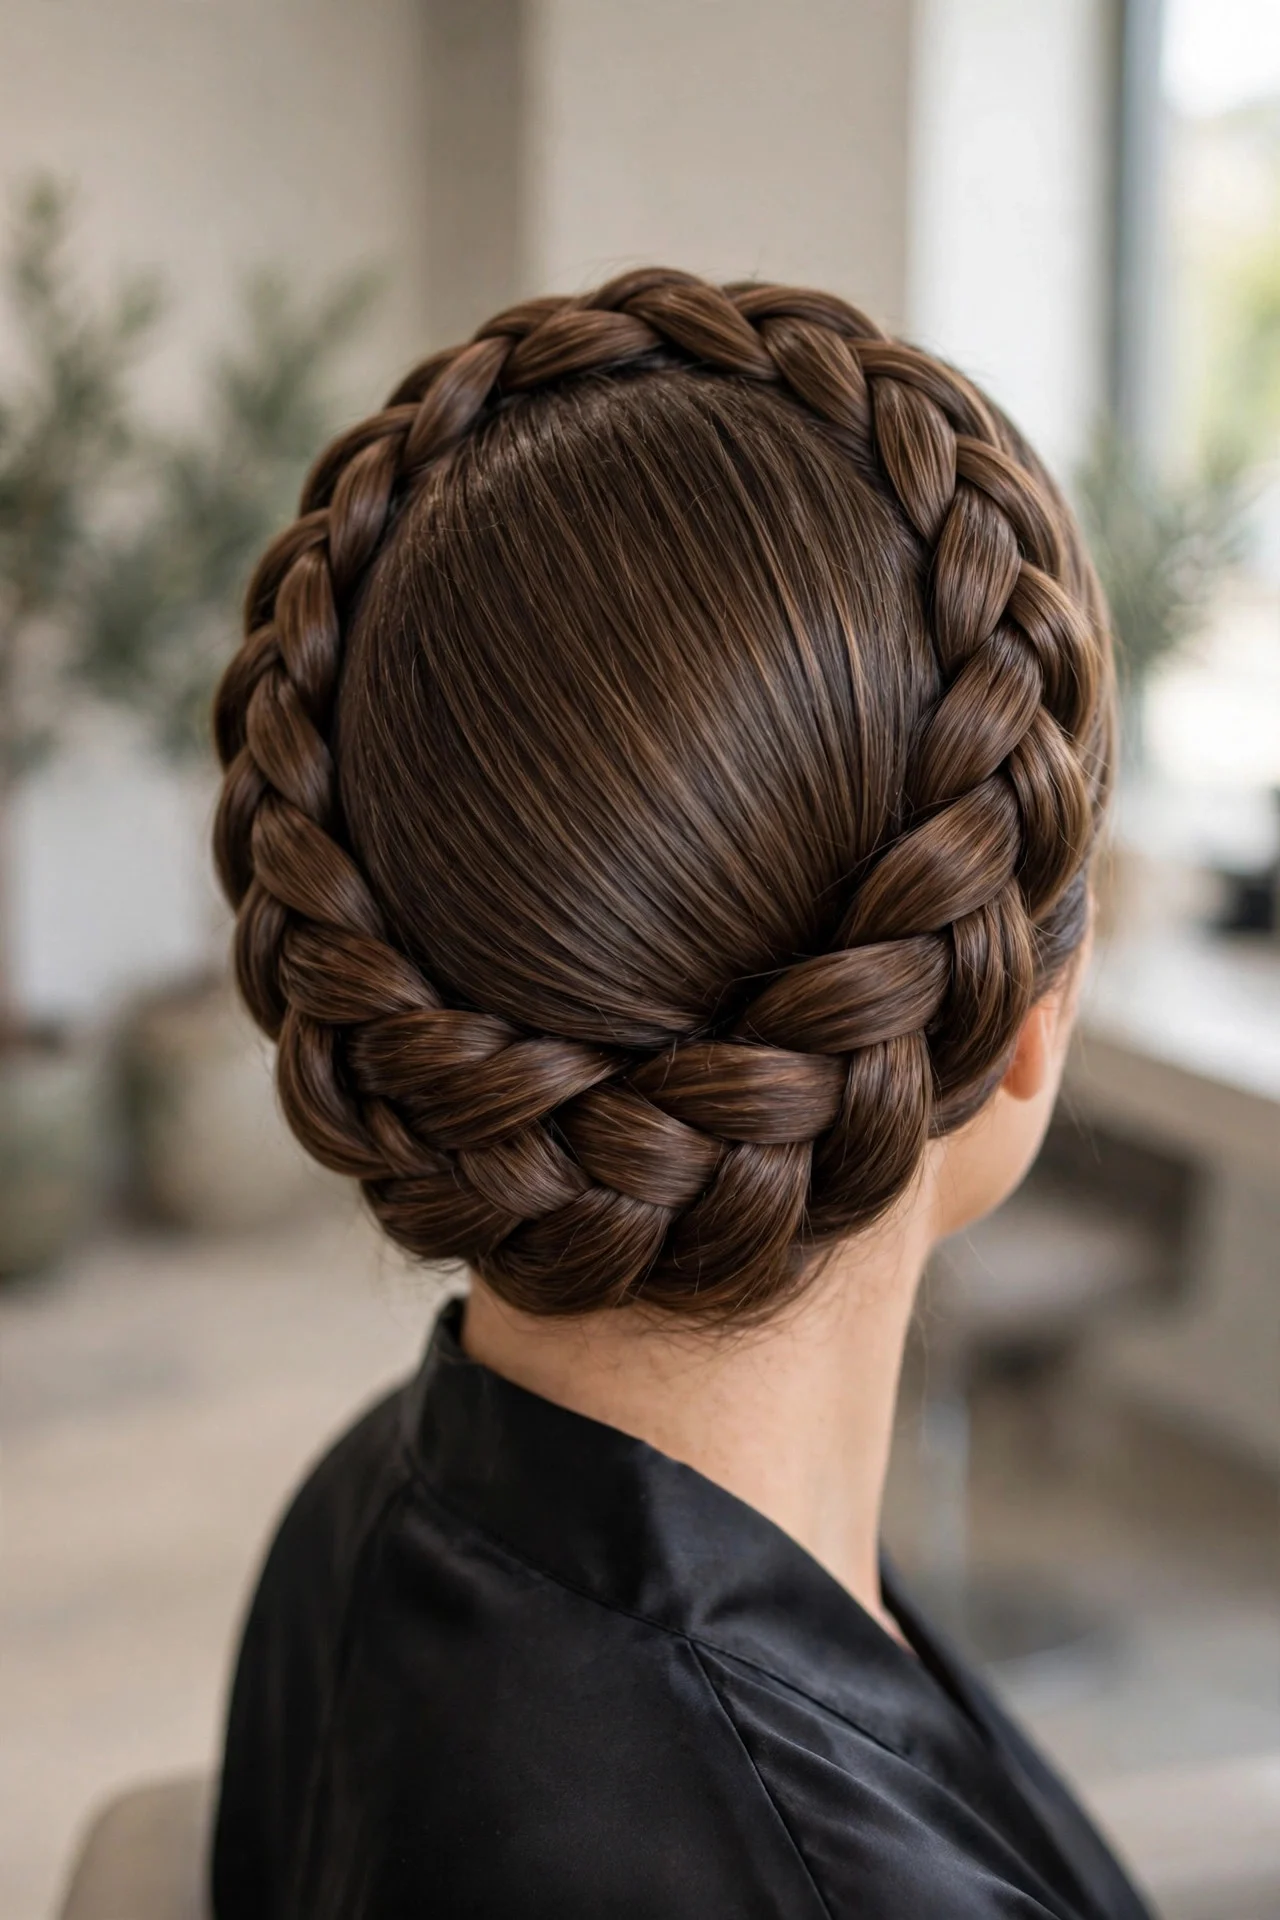
For a formal version, blow the hair smooth, apply a light serum, and braid two tight, even Dutch braids with no pancaking. Wrap them precisely across the crown, tuck every end, and finish with a strong-hold spray. This suits evening events, galas, and black-tie weddings where the boho version would look underdressed. It pairs beautifully with statement earrings since the ears stay fully visible. It holds from ceremony to last dance. The drawback is that the sleekness shows every imperfection: bumps, uneven tension, or visible pins have nowhere to hide. Do a full practice run a day or two before the event.
Styling and Care Tips
Prep makes or breaks a milkmaid braid. Braids grip best on hair that is not freshly washed, so day-two hair with a little dry shampoo at the roots is the sweet spot. If your hair is very clean and slippery, a texturizing spray through the lengths first gives the strands something to hold onto. For fine hair, a volumizing mousse at the roots adds the body the crown needs.
Pins are the hidden architecture of this style, so use the right ones. U-shaped hair pins disappear better into thick braids and grip more hair per pin than standard bobbies, which means fewer pins overall. Slide pins in with the wavy side against your scalp and cross two pins in an X over each tail end for a hold that survives dancing.
At night, you have two options. To wear it again tomorrow, wrap a silk scarf over the crown loosely and sleep on a satin pillowcase; the style usually survives one more day with a quick pin check in the morning. If you are taking it down, unpin gently rather than pulling, since yanked pins cause breakage at the crown. Undo the braids and let your hair rest loose overnight so the tension points recover.
For events, finish with a flexible-hold hairspray rather than a maximum-hold one. Flexible formulas keep the braid soft and touchable while still locking it in, without that crunchy helmet feeling.
Frequently Asked Questions
How long does my hair need to be for a milkmaid braid?
Shoulder length is the practical minimum for a comfortable wrap, and chin-length hair can manage it with extra pinning and texturizing spray. Waist-length hair gives the thickest, most dramatic crown. If your hair is on the shorter side, the short-hair variation above with U-pins and crossed braids is your best approach.
Will a milkmaid braid work on thin or fine hair?
Yes, and it can actually make fine hair look fuller. The Dutch braid sits on top of the hair and creates visible dimension, and pancaking the plaits before wrapping doubles their apparent width. Use a volumizing mousse at the roots and a texturizing spray through the lengths first. The main challenge is hiding pins and tail ends, so use U-pins and tuck ends under the opposite braid.
How do I stop the braids from unraveling during the day?
Anchor everything in stages. Pin each braid tail to the head before wrapping, then pin again after wrapping, crossing pins in an X for grip. A light mist of flexible-hold hairspray on each braid before wrapping helps strands stick together. Dutch and fishtail braids hold longer than standard plaits because of how the strands interlock.
Can I do a milkmaid braid on myself or do I need help?
You can absolutely do it yourself with practice. The classic crown takes most people two or three tries before it feels natural, mainly because braiding upward behind the ear is an unfamiliar angle. Stand between two mirrors or prop your phone as a rear view the first few times. The double milkmaid and long fishtail versions are the only ones where a friend genuinely helps, mostly to save your arms.
Is the milkmaid braid appropriate for a wedding?
It is one of the most requested bridal braids for a reason. The classic crown and the sleek polished version both suit ceremonies, and the face-framing variation is a favorite for bridal portraits. Book a trial run so your stylist can check how the style holds on your hair texture and length. Bridesmaids love it too because it keeps hair off the neck during outdoor summer ceremonies and photographs well from every angle.
Keep Exploring
If you loved the romantic braided feel of these milkmaid styles, you will enjoy more intricate braid tutorials on the blog. The step-by-step <a href=”https://hairtrendly.com/12-pammy-updo-tutorials/”>12 Pammy Updo Tutorials cover elegant pinned-up styles that pair beautifully with a milkmaid crown for special occasions, and the detailed guides in <a href=”https://hairtrendly.com/french-curl-braids-hairstyles/”>French Curl Braids Hairstyles are perfect for leveling up your braiding technique. For brides planning the full look, <a href=”https://hairtrendly.com/12-tiara-hairstyles-for-weddings/”>12 Tiara Hairstyles for Weddings shows how to style a crown or tiara over an updo like this one.