# 10 Dragon Braid Tutorials for Beginners
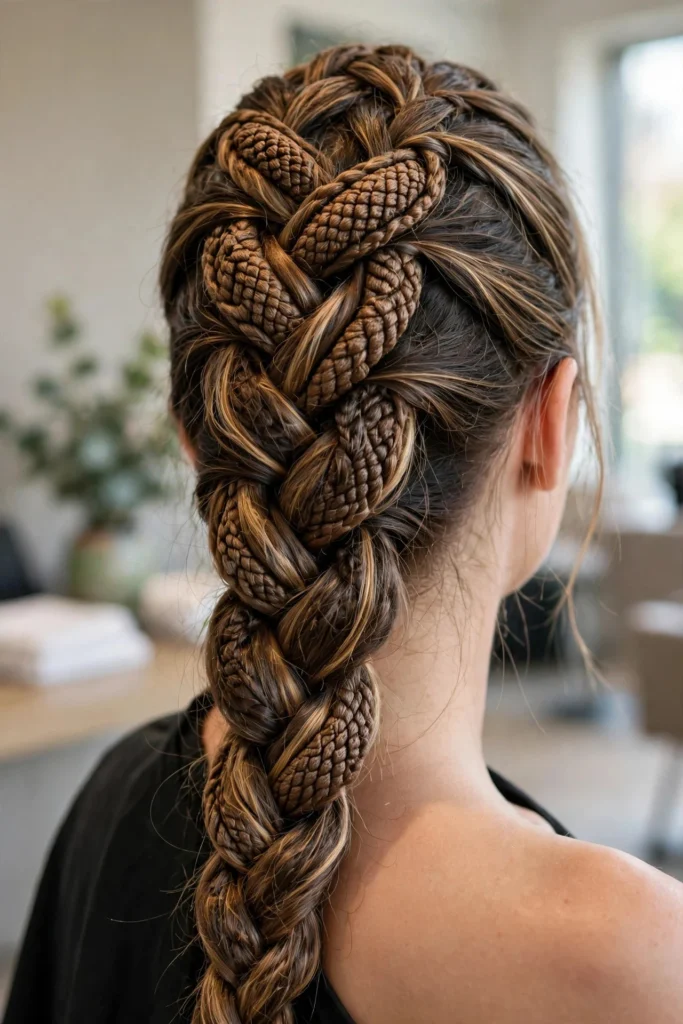
The dragon braid has been popping up everywhere this year, and it is not hard to see why. It looks bold and textured, almost armor-like, but it is really just a clever twist on a ponytail. If you can do a basic three-strand braid, you already have the skills to start.
These tutorials break the style down for true beginners. Each one covers a different way to wear the braid, from the classic single braid down the back to playful space buns. Pick the one that matches your hair length, then practice before a big day. Most of these get noticeably easier on the third or fourth try.
1The Classic Single Dragon Braid
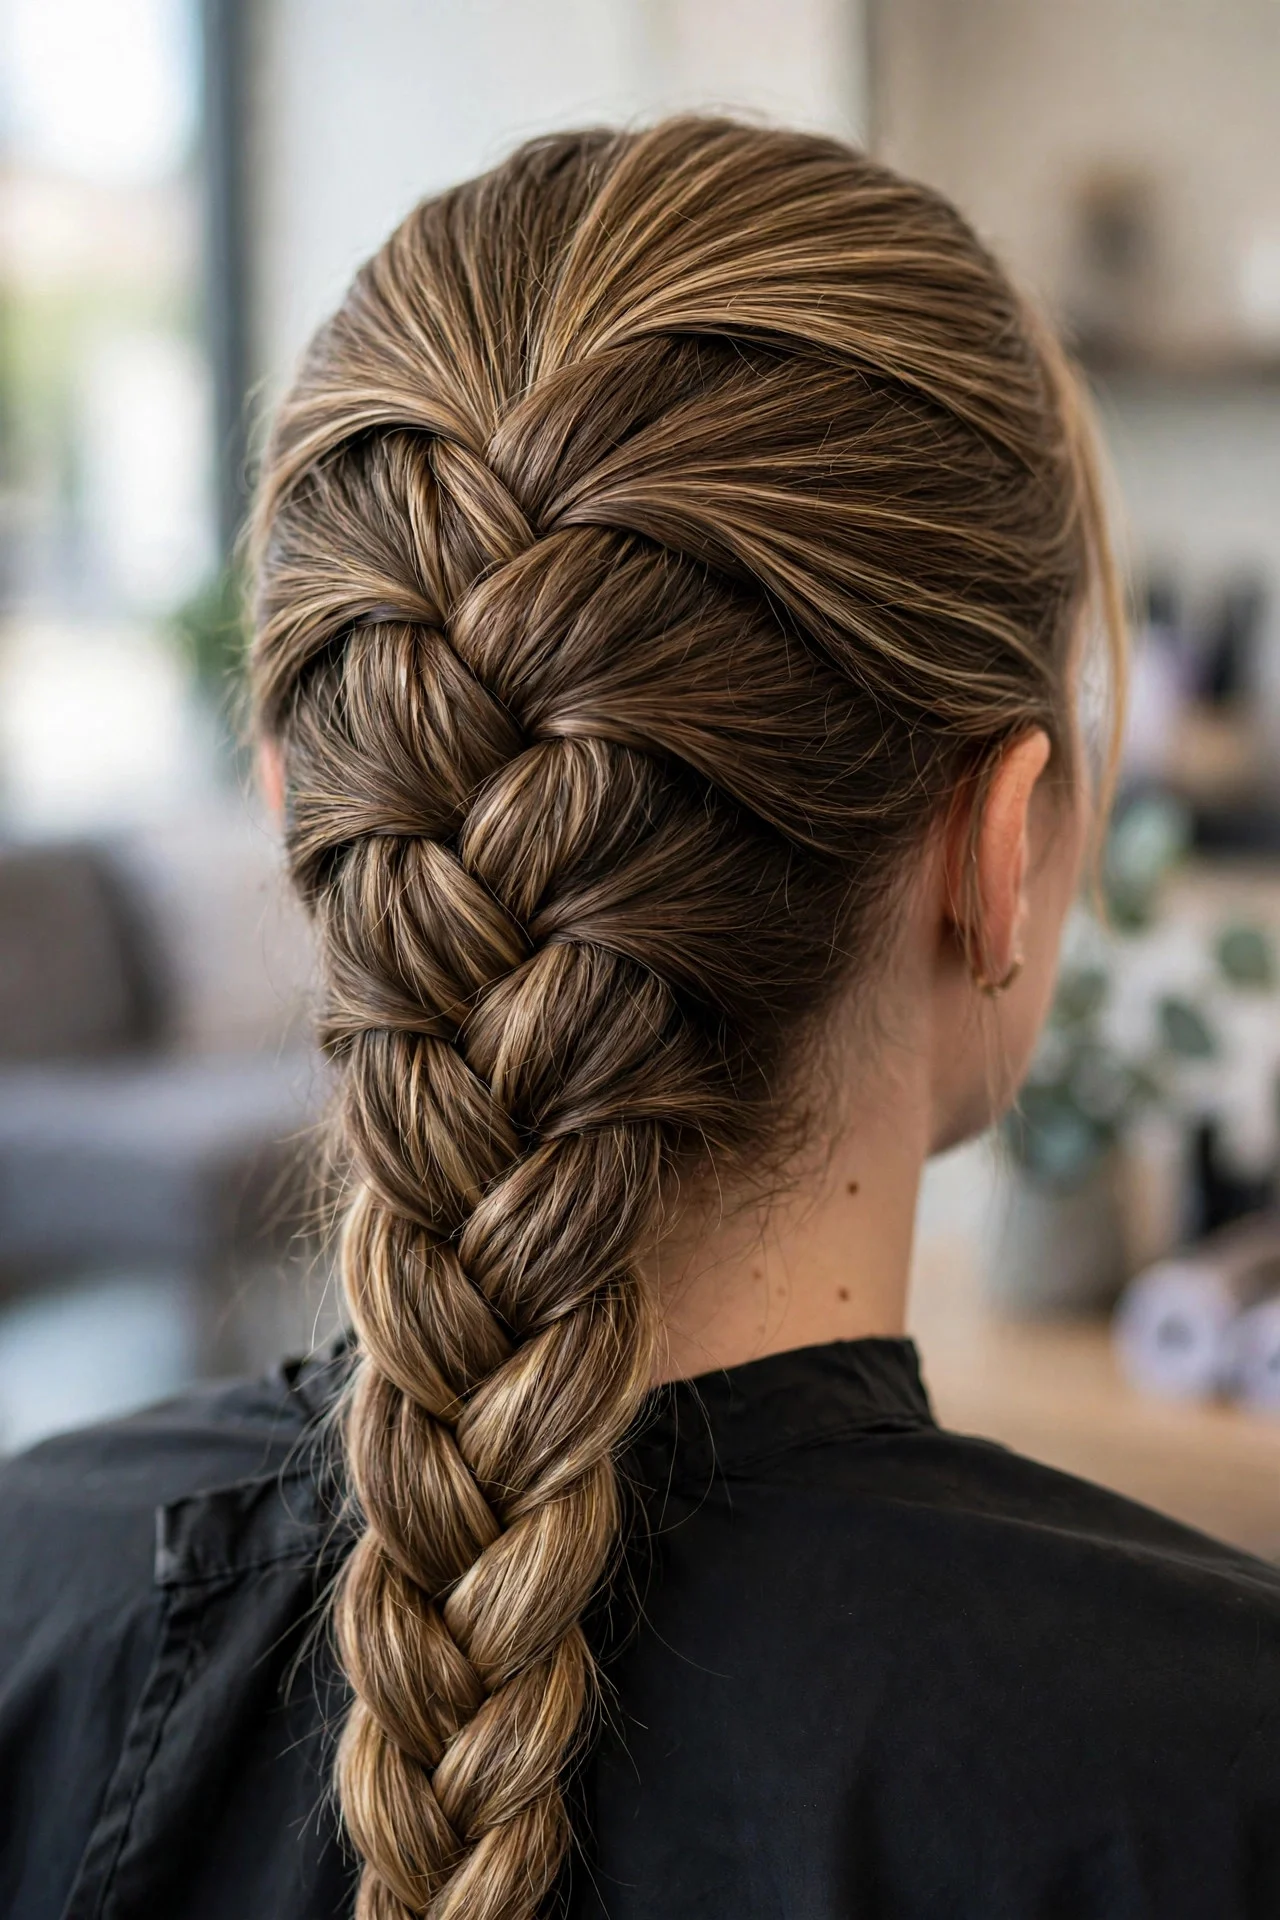
Start with a high or mid ponytail and secure it with a snag-free elastic. Divide the ponytail into small, even sections and tie off each section a couple of inches down with a clear elastic. Now gently pancake each bubble: pull the edges outward and slightly up until it looks full and rounded, and keep the middle slightly puffed. Work down to the ends and secure the last section. This suits thick or long hair best because the bubbles look fuller with more hair, but it works on medium lengths too. Maintenance is easy: wrap the braid in a loose scarf at night to keep the bubbles from flattening. The honest drawback is time. Your first attempt may take 30 minutes, and holding your arms up that long can be tiring.
2Double Dragon Braids for Short Hair
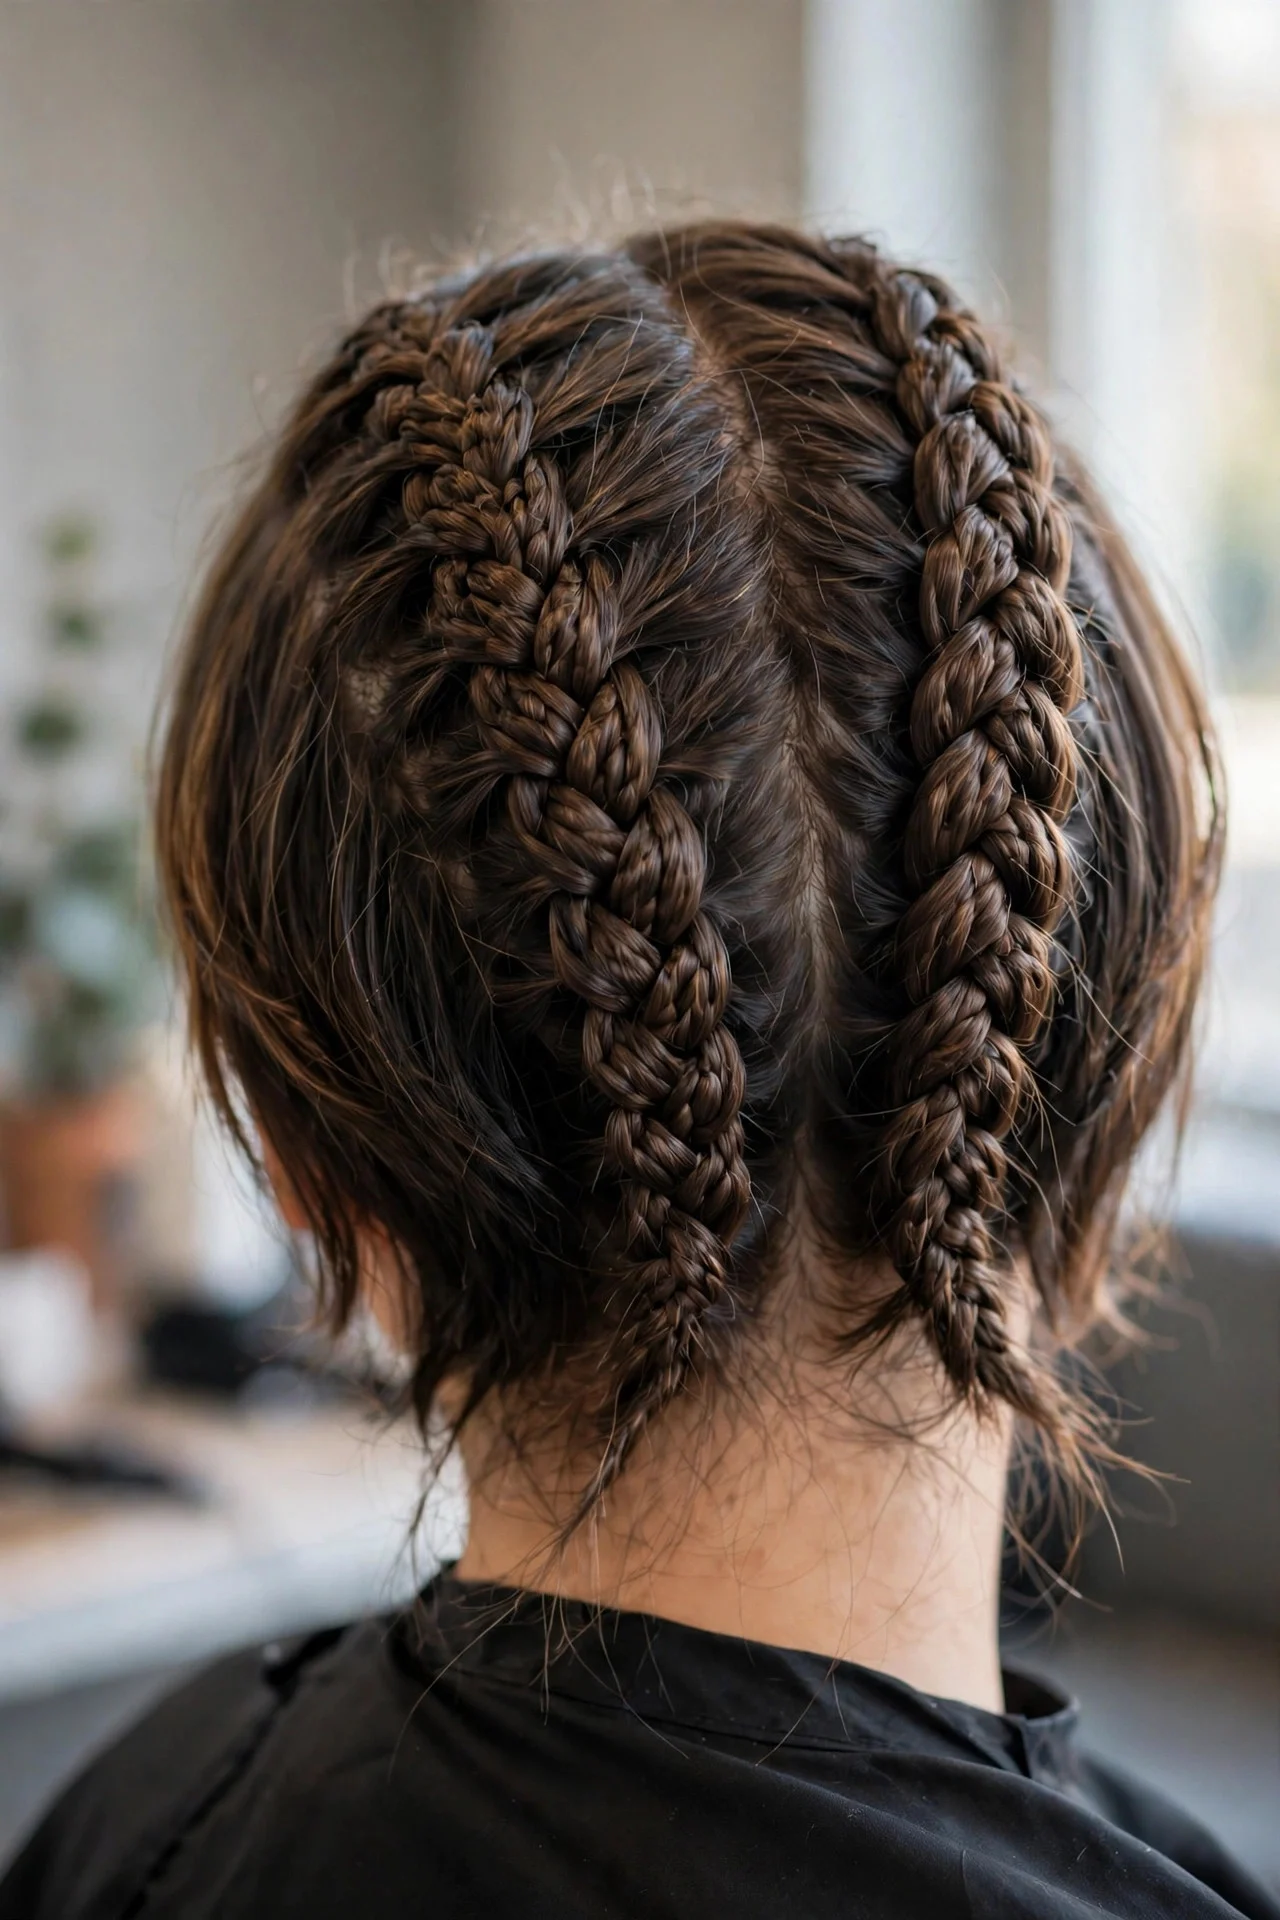
You do not need waist-length hair for this one. Split your hair down the middle and clip one side away. On the other side, create two to three small bubbles starting near the crown, using tiny clear elastics and gentle pancaking. Repeat on the second side and you have a pair of mini dragon braids that sit flat against the head. This is perfect for bob-length or lob-length hair, and it keeps hair out of your face during workouts or windy days. Refresh the style by re-pancaking the bubbles the next morning with dry fingers. The drawback is grip: short hair loves to slip out of elastics, so you will need strong-hold ties and maybe a few bobby pins. Practice the pancaking on one side first before committing to both.
3Dragon Braid Ponytail Hybrid
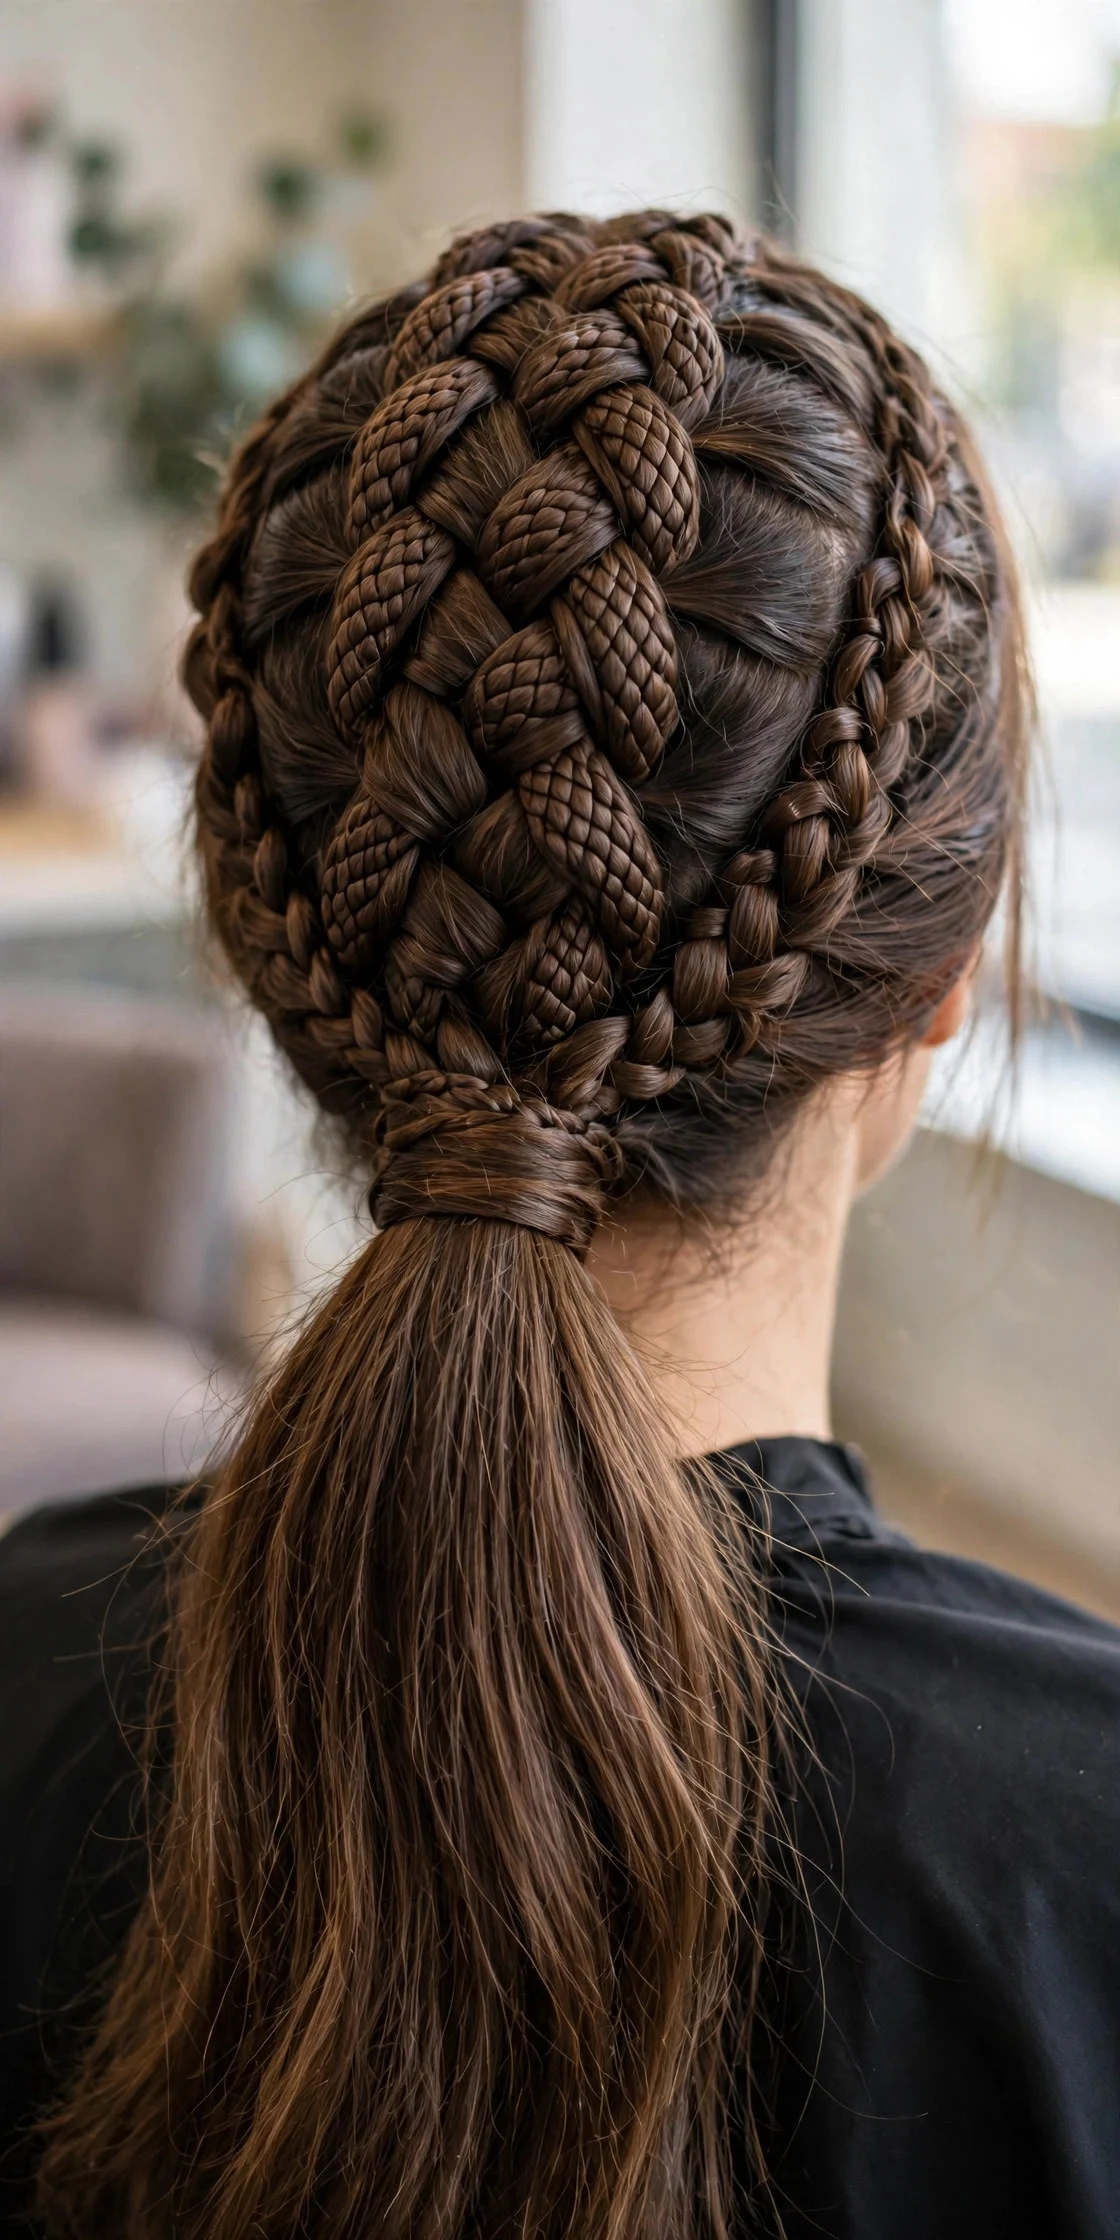
This one pairs a dragon braid with a sleek ponytail for a polished finish. Smooth your hair into a high ponytail with a brush and a touch of gel for flyaway control. Then build your bubbles down the length of the ponytail, keeping each section even and pancaking gently for volume. The contrast between the smooth base and the textured bubbles is what makes this look so good in photos. It suits straight and wavy hair especially well, and it reads professional enough for the office. Night maintenance is simple: take the braid down, sleep in the ponytail alone, and re-bubble in the morning in five minutes. The drawback is that smooth hair can make the bubbles look flat, so teasing each section lightly before pancaking is almost required.
4Half-Up Dragon Braid
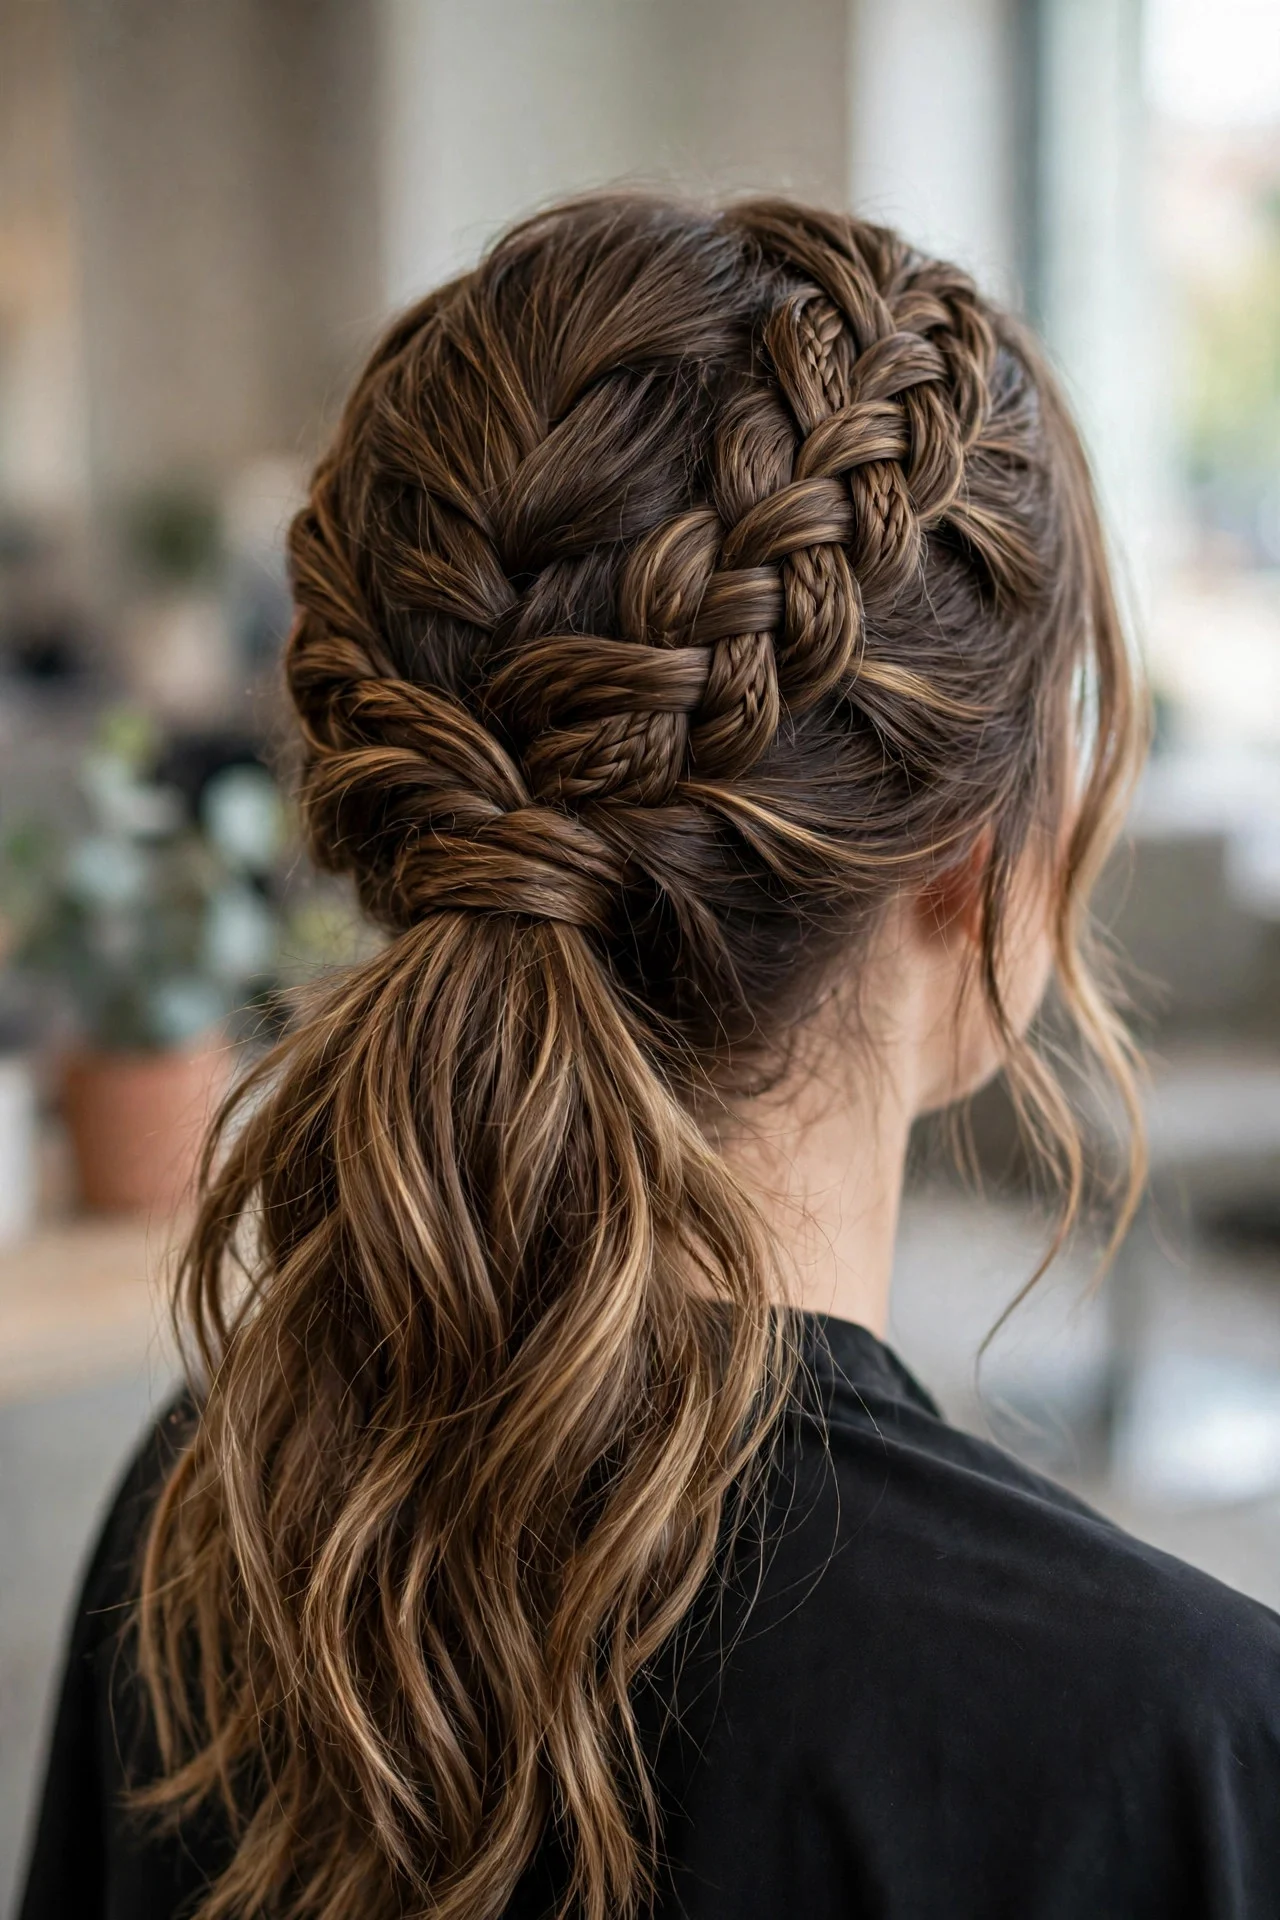
Take the top half of your hair from ear to ear and tie it into a half-up ponytail. Build three to four bubbles down this section and pancake them for softness, letting the bottom half of your hair hang loose underneath. This is the friendliest option for beginners because you are working with half the hair, and mistakes are less obvious with loose waves flowing below. It suits medium to long hair and works beautifully with a few face-framing pieces left out. Wear time is comfortable since the braid does not pull on your scalp. The drawback is that the bubbles can get lost in thick hair, so pancake generously. Also plan on touching up the loose bottom section with a curling iron if it falls flat.
5Side-Swept Dragon Braid
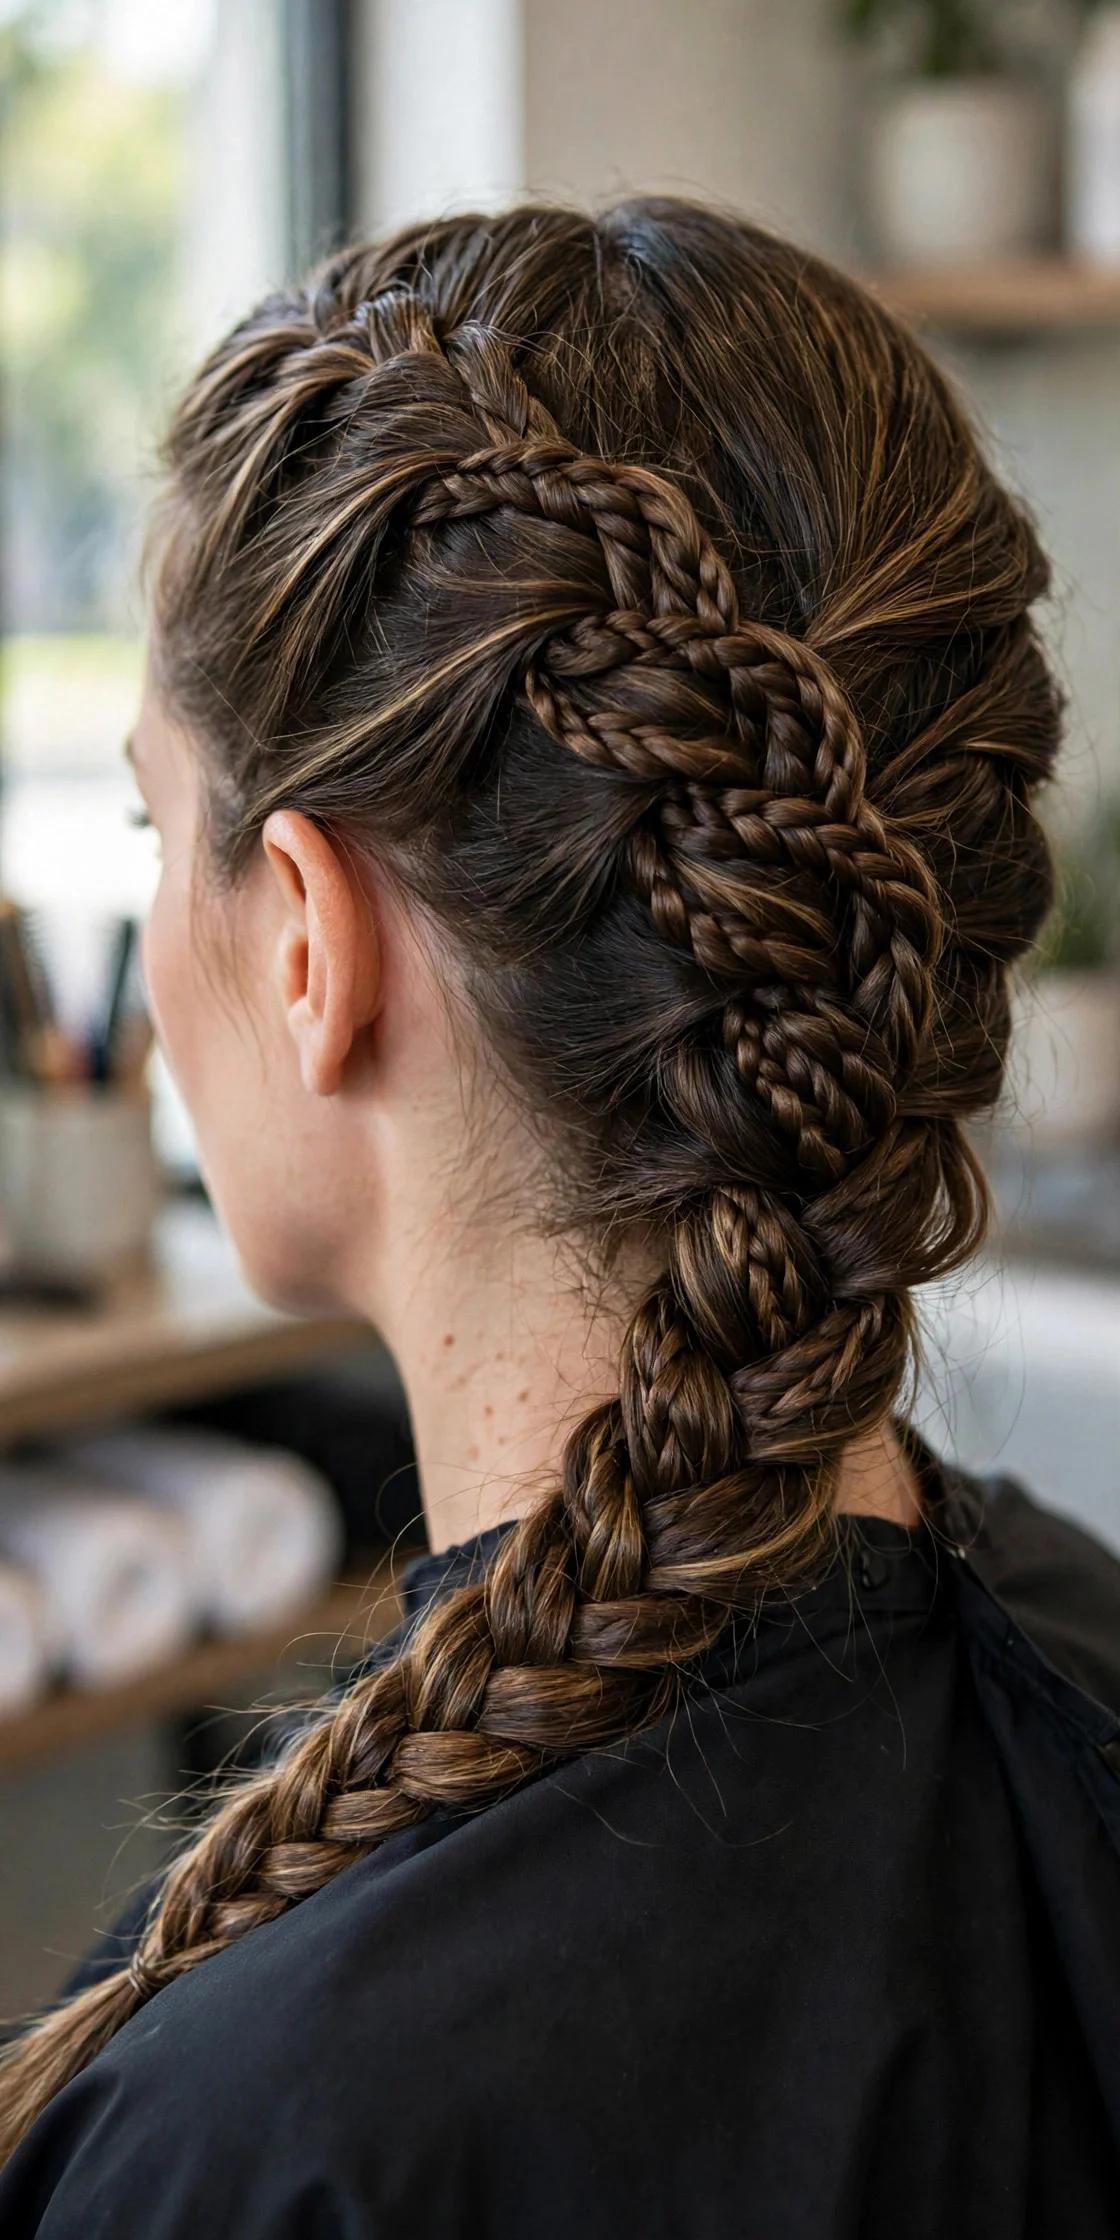
Sweep all your hair over one shoulder and secure it loosely at the nape with a clear elastic. Build your bubbles down the side, pancaking each one as you go, and angle the braid slightly so it drapes forward over the shoulder. This style flatters round and square face shapes because the diagonal line softens the jawline. It is a great choice for date night or events since it photographs well from the front, and it takes well to a simple dress. To maintain it through an evening, carry two spare elastics in case a bottom section loosens. The honest drawback is that side braids loosen faster than centered ones because of gravity, so keep your first elastic tight and consider a light mist of flexible-hold spray at the end.
6Dragon Braid Space Buns
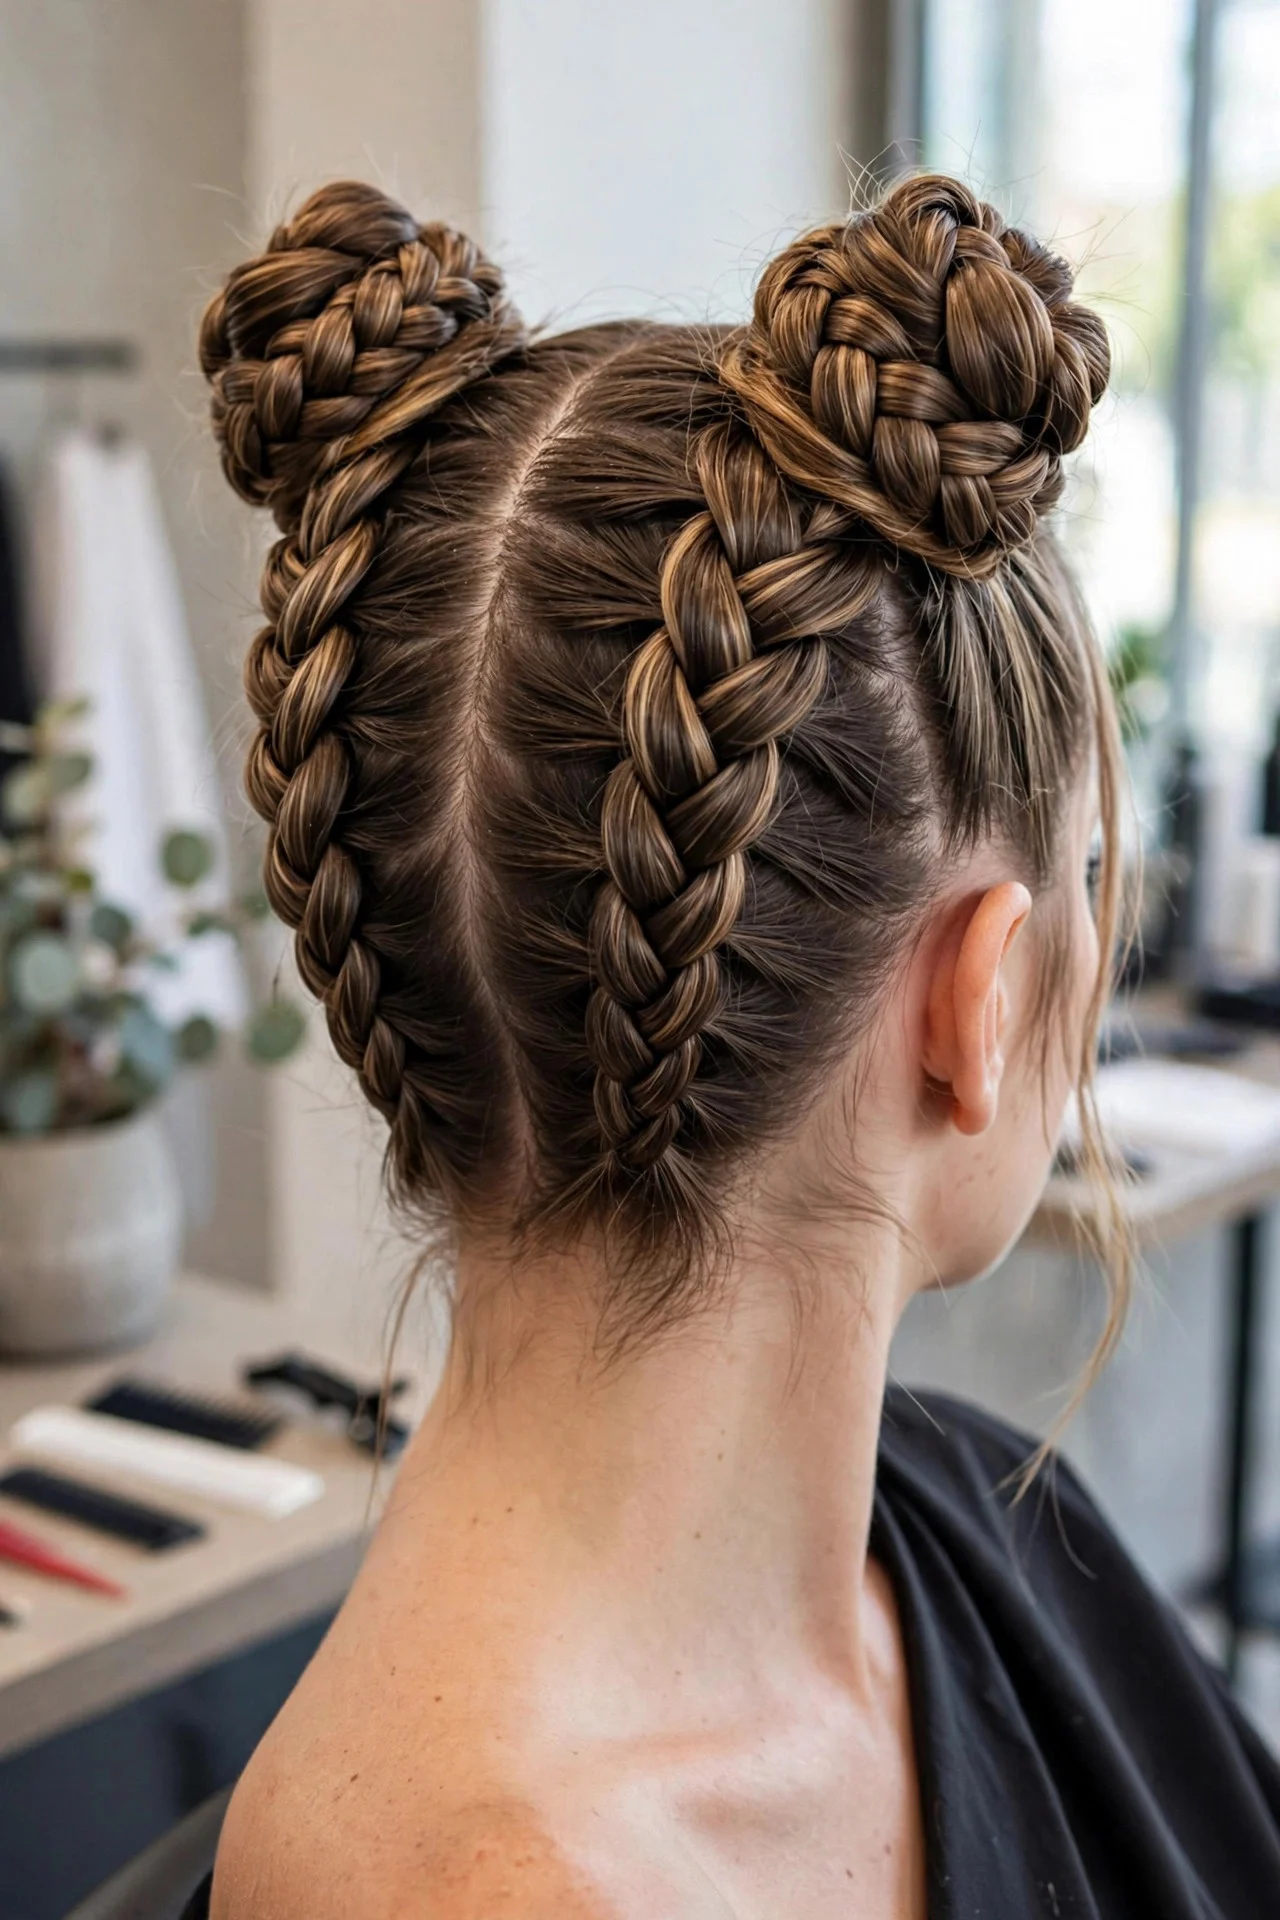
Make two high pigtails and build mini dragon braids down each one with three to four bubbles per side. Coil each braided ponytail into a bun and pin it in place with bobby pins crossed in an X. This playful style suits festival days, concerts, and casual weekends. It works on a wide range of hair textures, and the buns hide shorter ends neatly. The style can last a full day since pinned buns hold their shape well, and sleeping in it is possible if you loosen the pins. The drawback is symmetry: getting both sides even takes real practice, and your arms will be tired by the second bun. Try practicing the coiling motion on one side with the other side still loose before pinning anything.
7Braided Dragon Crown
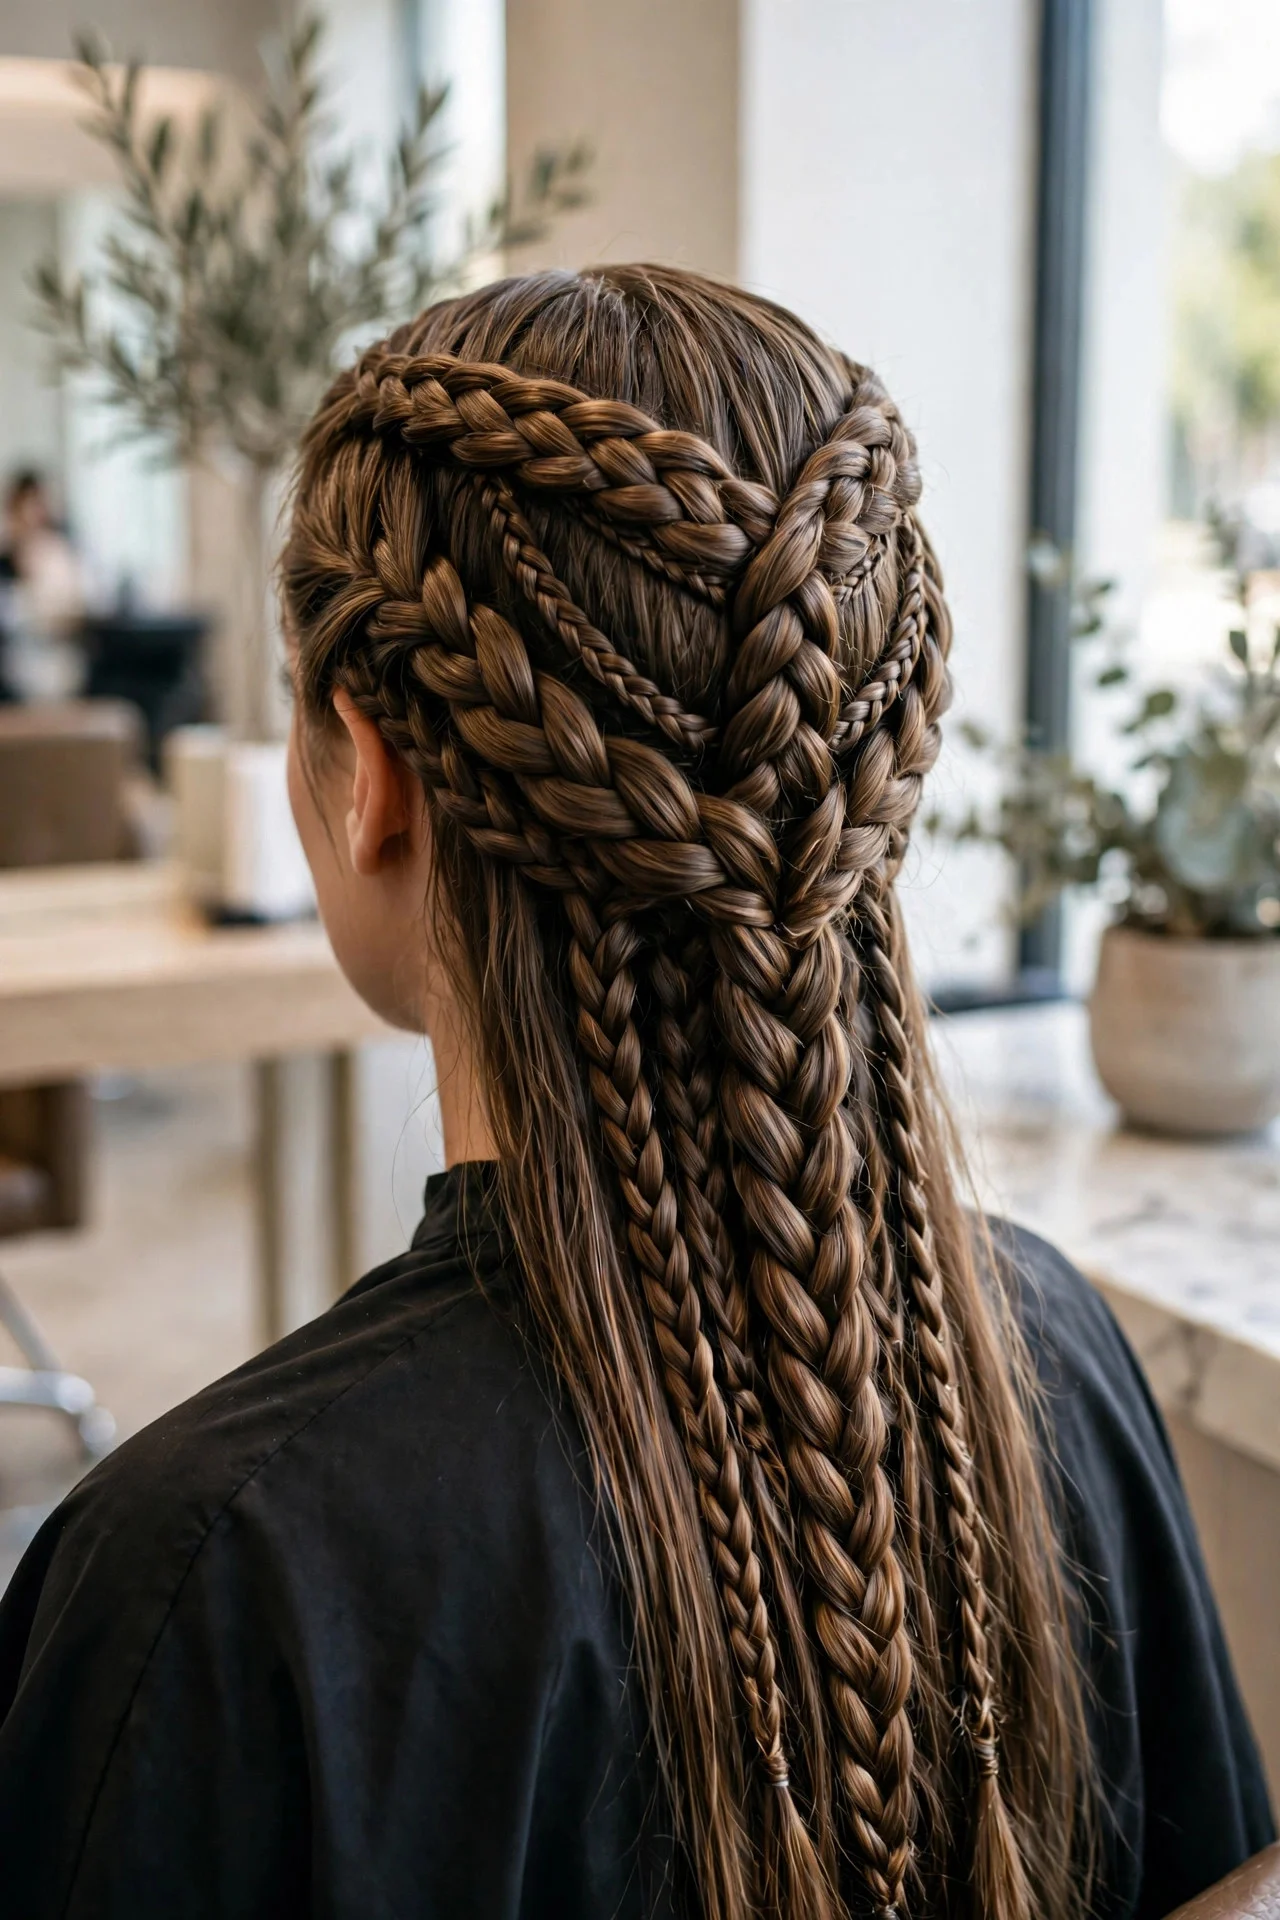
Part your hair in the middle and create two low bubble braids, one on each side. Instead of letting them hang, wrap each braid up and across the crown of your head, pinning as you go so the two meet in the middle like a halo. This creates a crown effect that keeps every strand off your neck, which is wonderful for hot weather or long shifts at work. It suits oval and heart-shaped faces because the wrapped braid adds width at the top. Tuck a few bobby pins under the bubbles where they overlap for security. The drawback is that this one takes practice to place well, and most beginners need a hand mirror to see the back. Try it on a friend or mannequin head first.
8Dragon Braid With a Scrunchie Finish
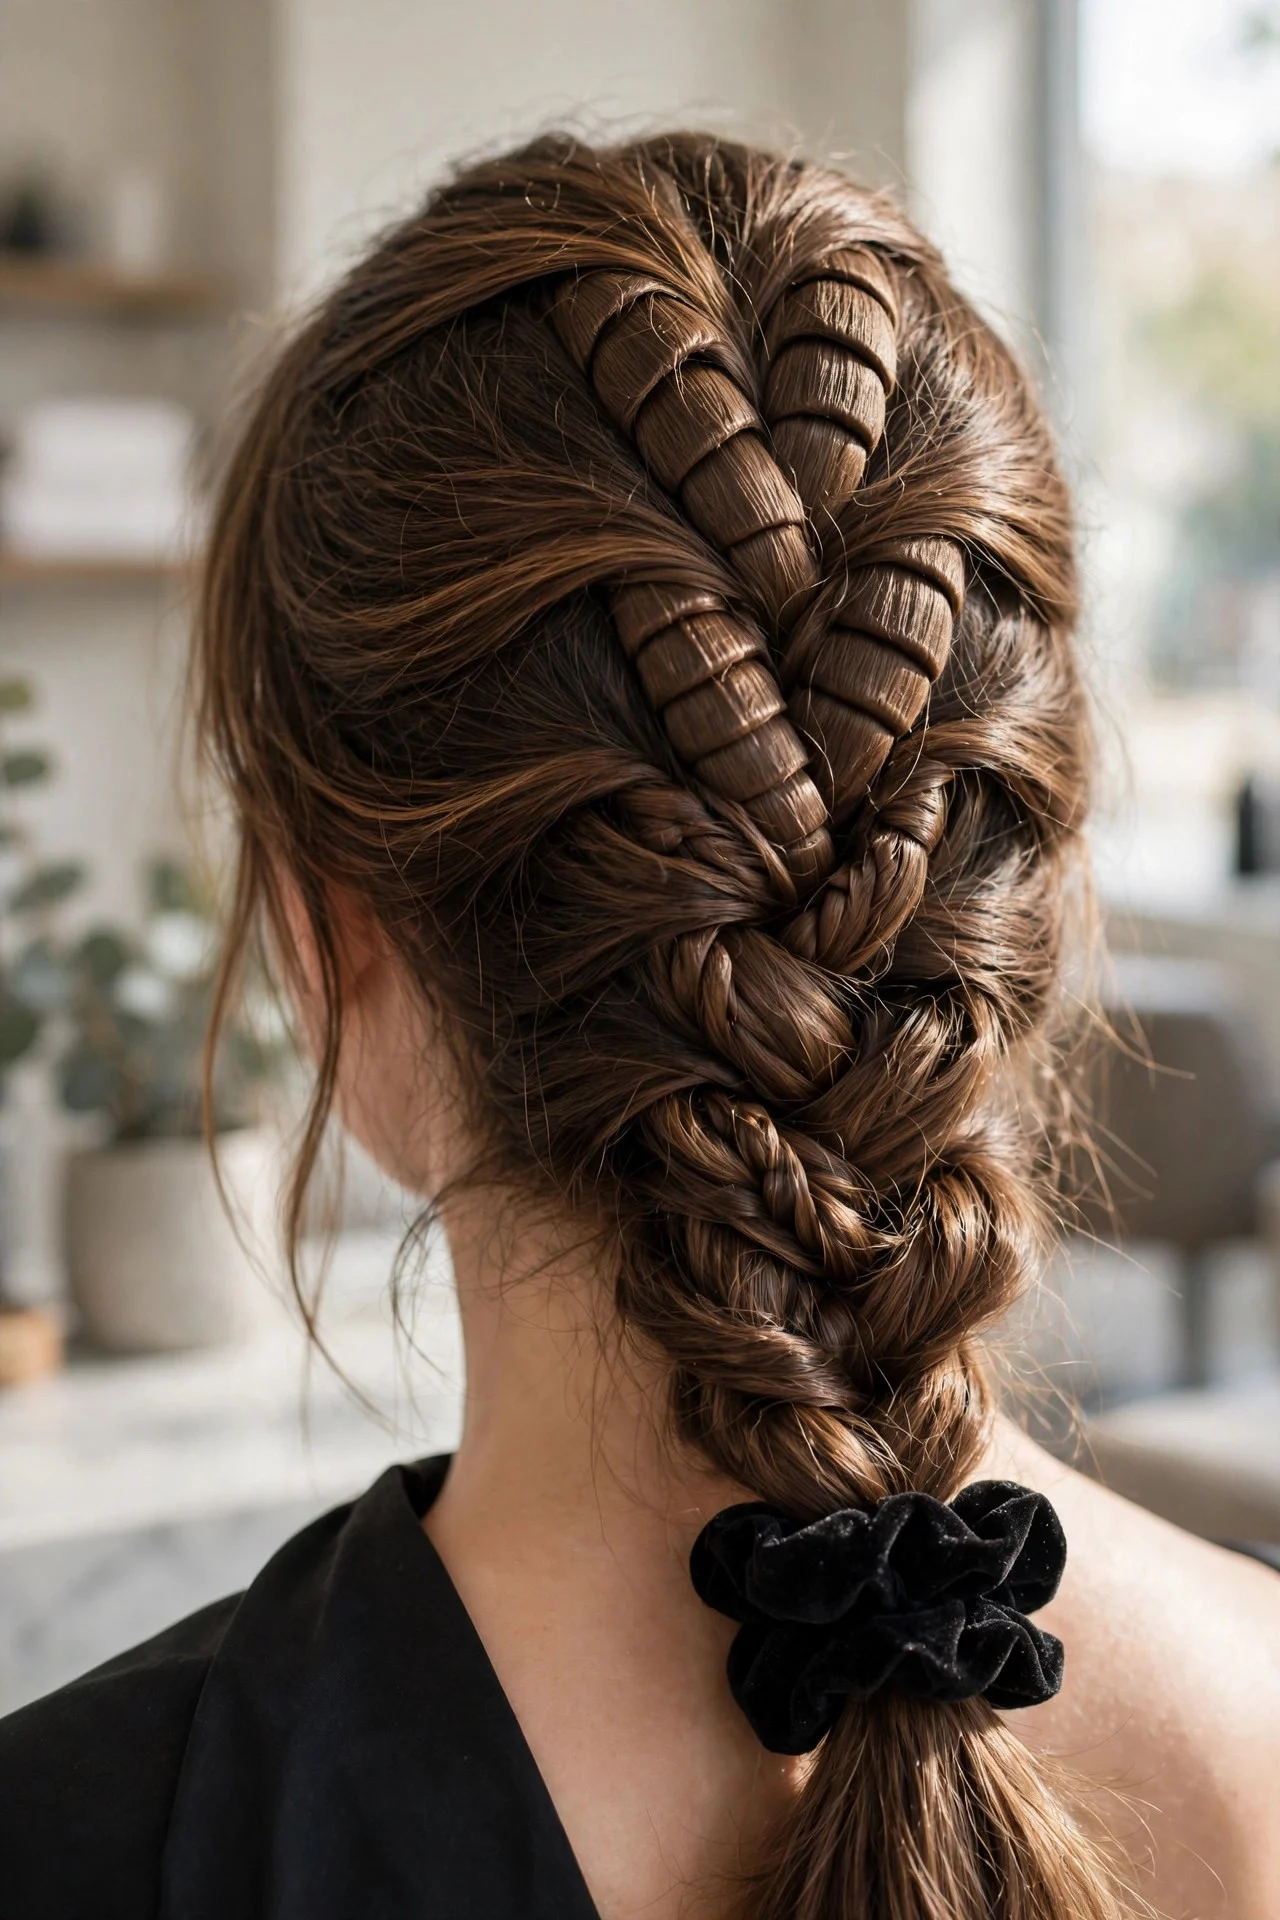
Build a classic single dragon braid down the back, but finish it by wrapping a silk or satin scrunchie around the final elastic instead of leaving the end bare. The scrunchie adds polish, protects the ends from the tight elastic, and gives the whole style a softer look. This suits beginners because the scrunchie hides an imperfect last bubble, and it is kind on fine or breakage-prone hair. You can wear this from a workday straight into dinner since the finish looks intentional rather than thrown together. At night, swap the scrunchie to a loose one and sleep in the braid to preserve the bubbles. The drawback is that silk scrunchies slip on very smooth hair, so anchor the scrunchie over a regular elastic rather than relying on it alone.
9Messy Textured Dragon Braid
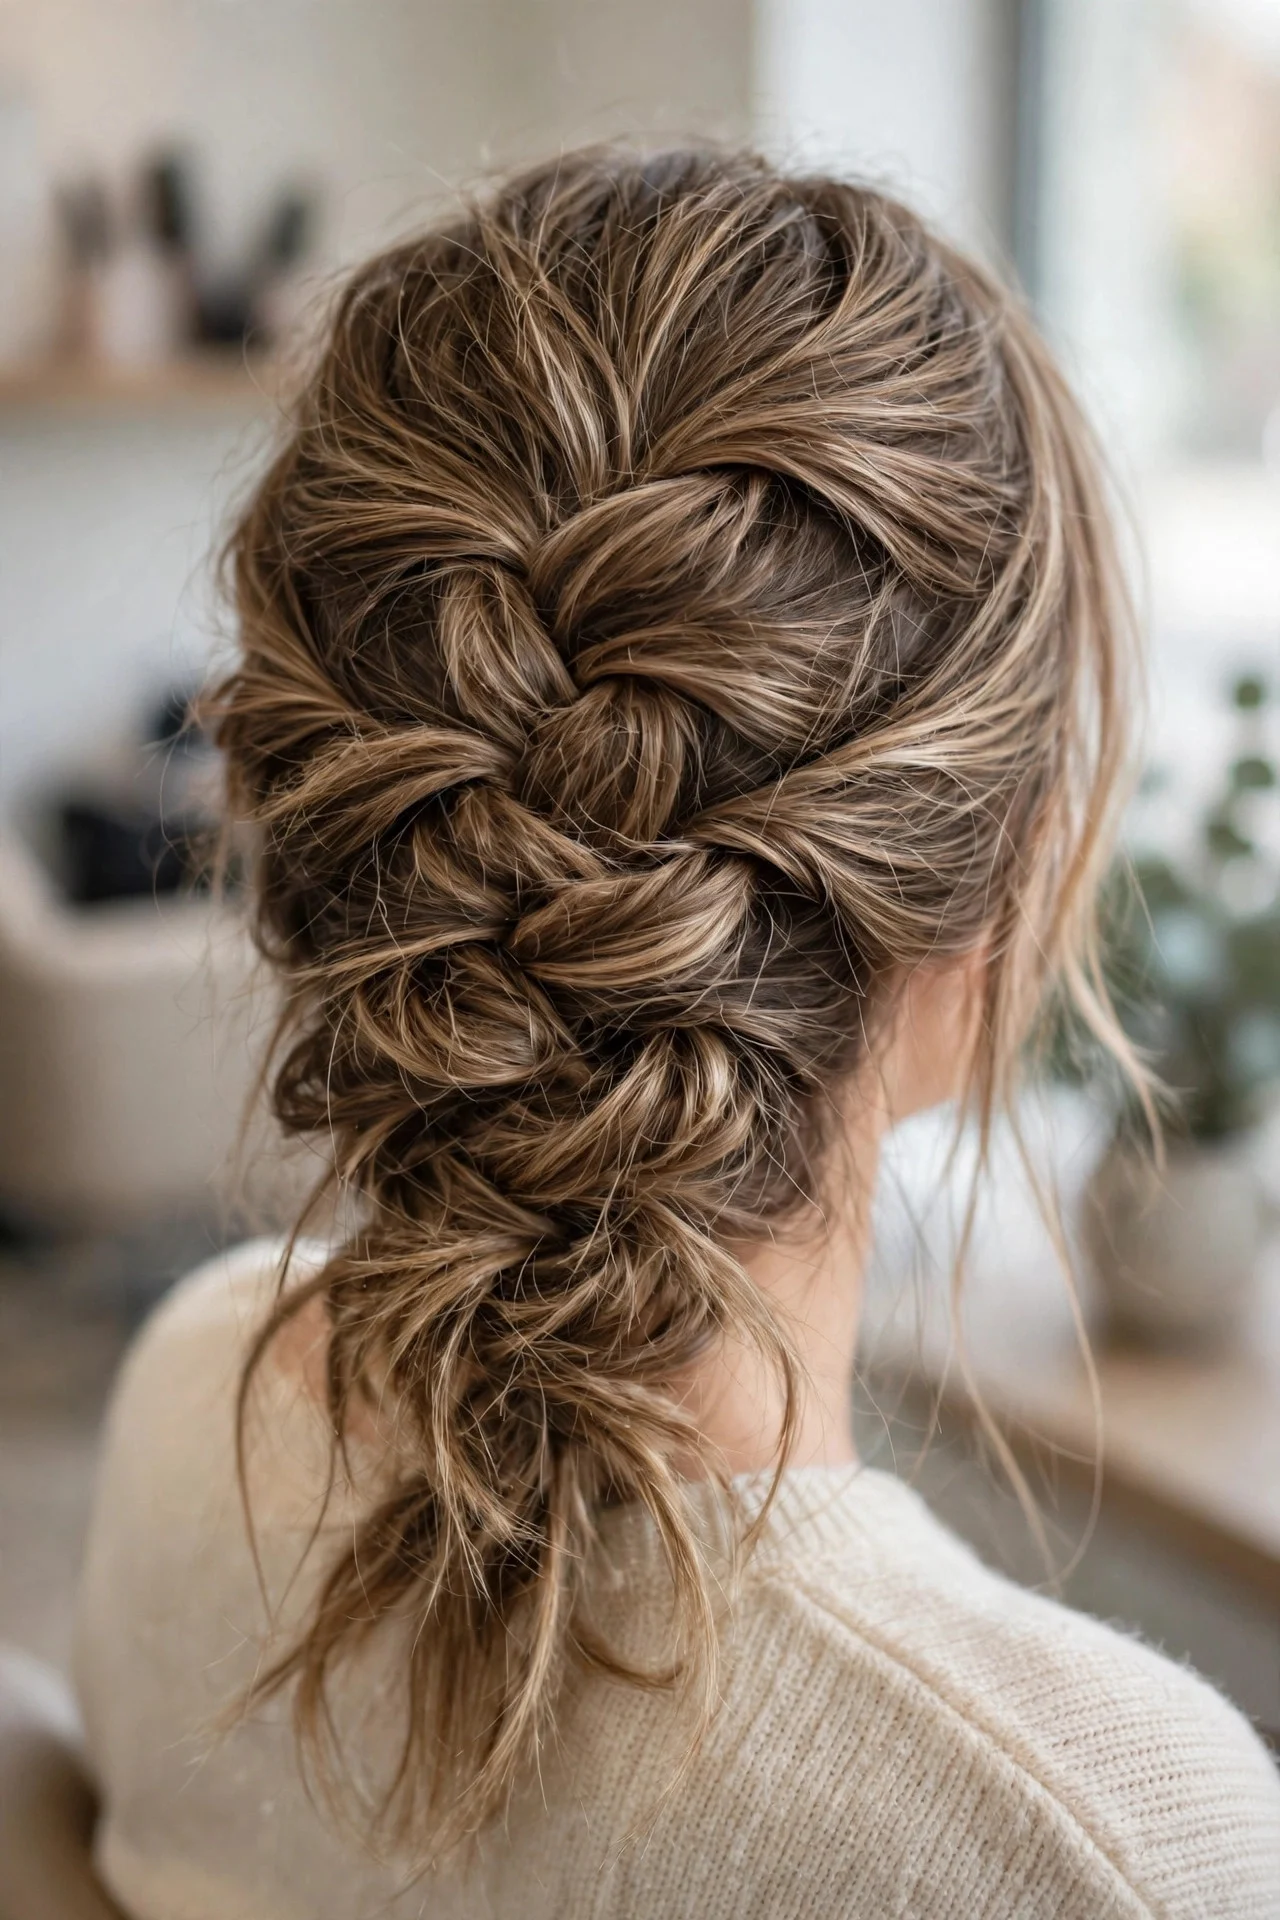
This relaxed version is actually a beginner favorite because perfection is the enemy here. Start with second-day hair or add dry shampoo and texture spray at the roots. Tie your sections loosely, pancake each bubble unevenly on purpose, and pull out a few wisps around your hairline and ears. The messier it looks, the more it works. This suits wavy and naturally textured hair best because the flyaways blend in instead of looking sloppy, and it is ideal for casual days when you want to look effortless. Maintenance is nearly zero: just fluff it in the morning. The honest drawback is control. There is a fine line between artfully messy and actually tangled, so keep the elastics even and only mess with the edges, never the centers of the bubbles.
10Dragon Braid With Hair Rings
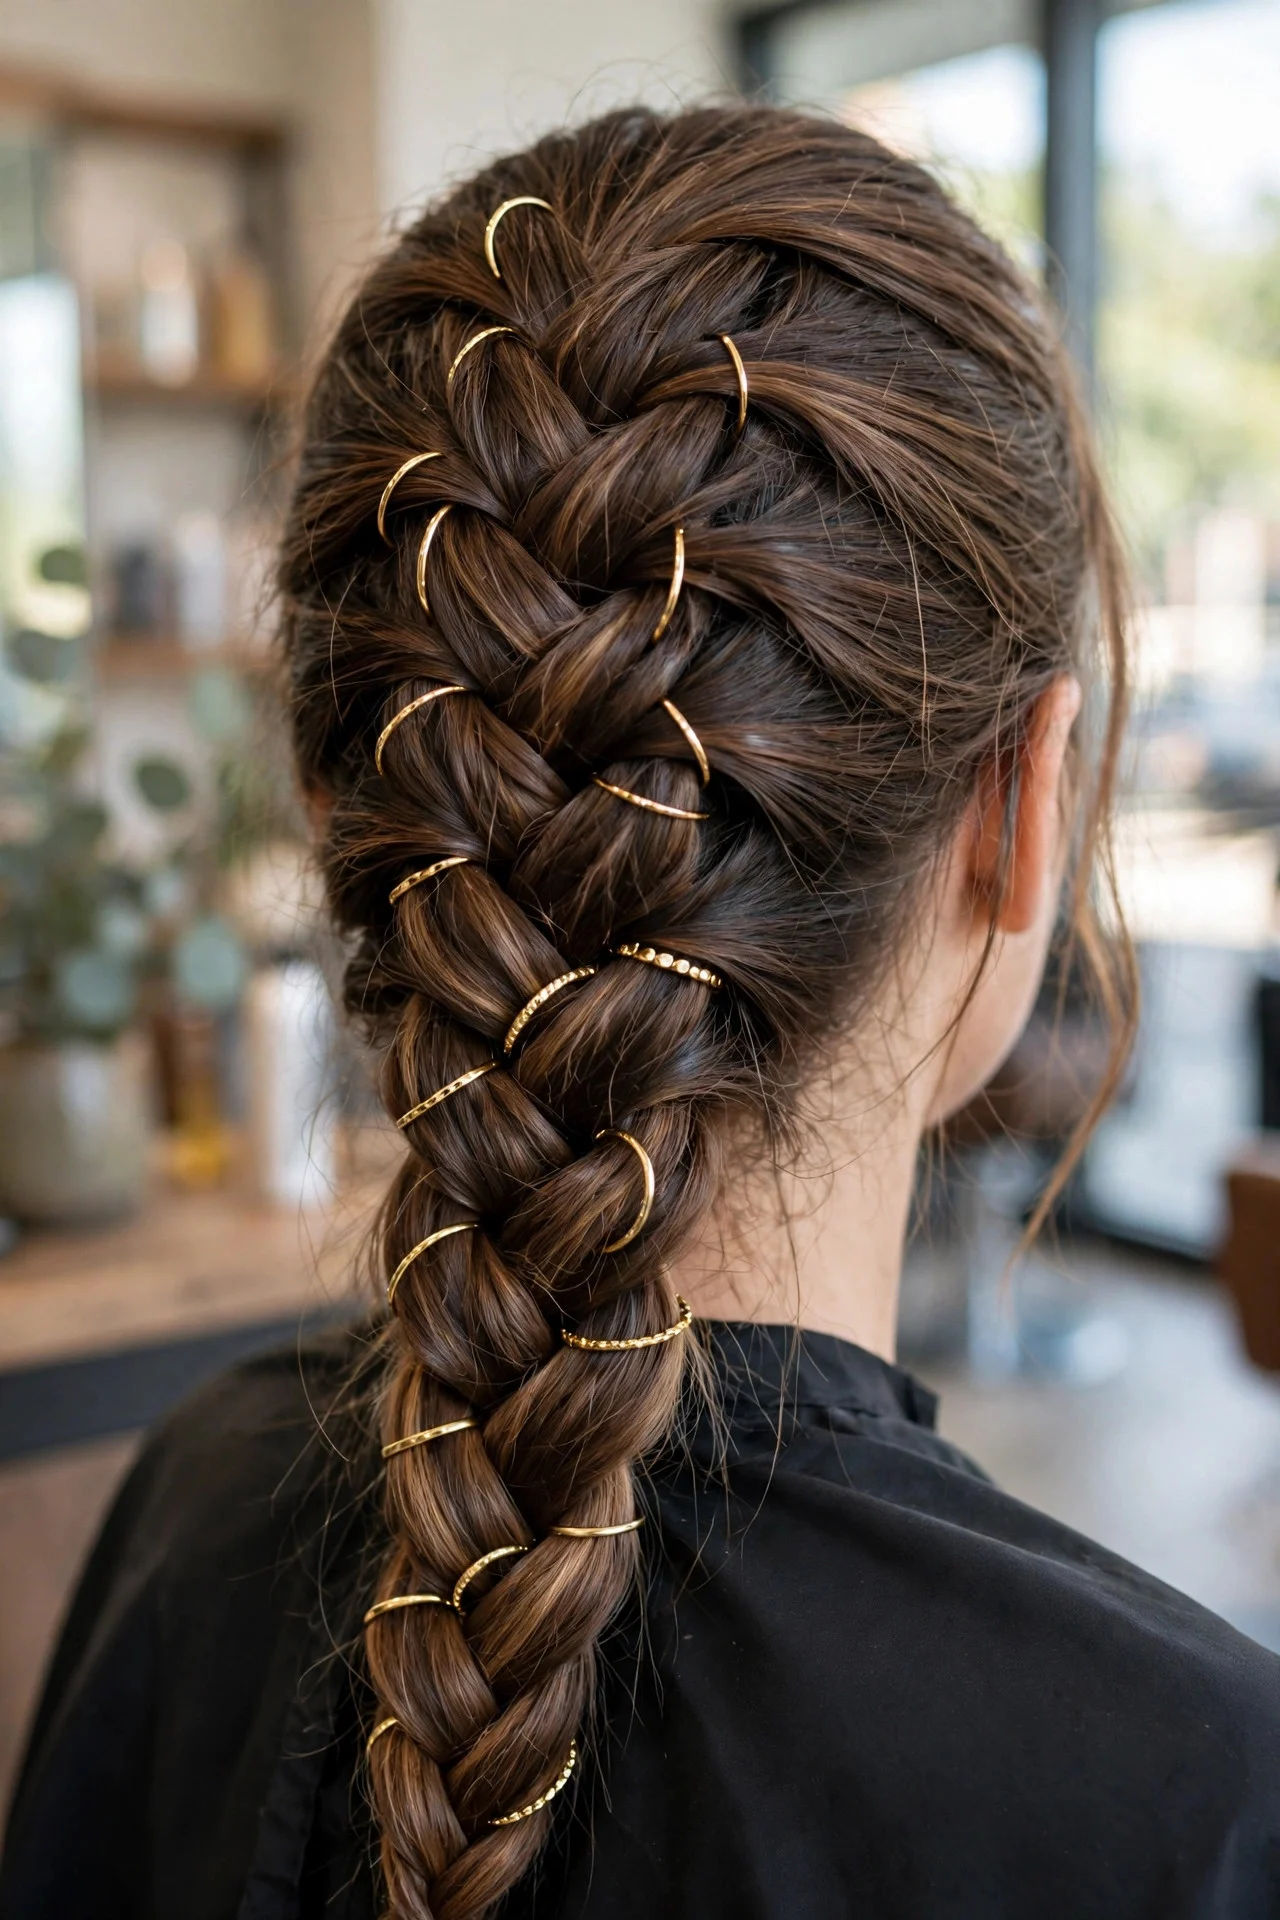
Build any basic dragon braid from this list, then slide small metal hair rings onto two or three of the bubbles for a bold accent. Place them unevenly, maybe on the second and fourth bubbles, for a more modern look. This suits the confident beginner who wants maximum impact for minimum extra skill, since the rings do all the decorative work. It works for parties and nights out, and the rings come out easily. Store the rings in a small pouch so they do not snag other jewelry. The drawback is weight and snagging: cheap rings with rough edges can catch on fine hair, so invest in smooth cuffs and test one ring on a strand before committing to the full braid.
Styling and Care Tips
Prep is half the battle with bubble braids. Start on clean, fully dry hair with a light detangling spray, because tangles make even sectioning nearly impossible. A pea-sized amount of smoothing cream on the mid-lengths tames frizz without making the hair too slippery for elastics. If your hair is freshly washed and slick, a spritz of dry shampoo at the roots adds the grip you need. Keep a pack of small clear elastics on hand, since colored ones distract from the braid texture. For styling, pancake gently and symmetrically. Tug the outer edges of each bubble with your fingertips, not your nails, and check your work in the mirror after every two bubbles rather than at the end. If a bubble looks lopsided, re-tug the other side instead of starting over. A light mist of flexible-hold hairspray at the finish helps the bubbles keep their shape, but skip heavy gel on the bubble sections because it makes them look wet and flat.
Care matters if you wear dragon braids often. Give your scalp a rest between wears, since repeated tight elastics can cause breakage at the tie points. When you take the braid down, remove elastics by gently rolling them off rather than pulling, and follow up with a moisturizing conditioner if your hair feels dry. Sleeping in a loose bubble braid is fine occasionally, but wear a satin bonnet or pillowcase so the bubbles do not frizz into a tangle by morning.
Frequently Asked Questions
How long does a dragon braid take for a beginner?
Your first attempt will probably take 25 to 40 minutes, including the learning curve of sectioning and pancaking. By your third or fourth try, most people get it down to 15 minutes. Double braids and crown styles take longer because you are working symmetrically. Give yourself extra time the first day you wear it out.
Does the dragon braid work on short hair?
Yes, but with adjustments. The double mini-braid tutorial in this list is designed for bob and lob lengths, and you can also do a half-up version with two or three bubbles. Very short pixie cuts will not have enough length to bubble. For chin-length hair, use the smallest clear elastics you can find so the sections do not slide apart.
What products do I actually need for a dragon braid?
You need small clear or black elastics, a brush or comb for smooth sectioning, and a light styling product for control. A texturizing or dry-shampoo spray helps slippery hair hold its shape, and a flexible-hold hairspray finishes the style. Decorative extras like hair rings and scrunchies are optional. You do not need extensions, though clip-in volume pieces can make bubbles fuller on fine hair.
How do I make the bubbles look even instead of lopsided?
Even sectioning is the secret. Measure each section by pulling it down next to the previous one before you tie it, using the same finger width as a guide, about two fingers per section. Pancake each bubble with equal tugs on the left and right edges. If one side still looks flat, gently pull that side again rather than undoing the elastic. Practicing on a friend lets you see symmetry from all angles.
Will wearing dragon braids damage my hair?
Worn occasionally and gently, no. The risk comes from tight elastics left in too long, pulling too hard during pancaking, or sleeping in a tight braid every night. Use snag-free elastics, keep tension moderate, and vary where you place your elastics. If you notice breakage at the tie points or a sore scalp, give your hair a few days of loose styles before braiding again.
Keep Exploring
Once you have the dragon braid down, a whole family of textured braided styles opens up. The techniques in <a href=”https://hairtrendly.com/french-curl-braids-hairstyles/”>french curl braids hairstyles build on the same sectioning skills, and <a href=”https://hairtrendly.com/pink-peekaboo-braids-ideas/”>pink peekaboo braids ideas show how color can take a basic braid from simple to statement. If you loved the playful side of this list, <a href=”https://hairtrendly.com/blonde-and-pink-box-braids-ideas/”>blonde and pink box braids ideas will spark ideas for your next braided look.